Whale Shark Craft for Kids (Easy Ocean Animal Activity)

Looking for a fun and simple ocean-themed craft for kids? This whale shark craft for kids is an engaging, hands-on activity that’s perfect for preschool, kindergarten, and early elementary learners. Using basic supplies, kids can create their own whale shark while learning about ocean animals and building important fine motor skills.
This easy craft works great for ocean units, summer learning, homeschool lessons, or a creative afternoon activity at home.
On a recent trip to Atlanta we visited the Georgia Aquarium. If you have never been, you should plan a trip to see all of the amazing animals. I was wowed by the huge whale shark, what an amazing animal to see! So, I was inspired to create a whale shark out of paper. This is a fun craft that involves a few supplies, you can create this yourself or purchase the template here.
Why This Whale Shark Craft Is Great for Kids
This ocean animal craft helps children:
- ✂️ Strengthen fine motor skills
- 🎨 Express creativity through art
- 🐟 Learn about ocean animals and sea life
- 👀 Practice following directions
- 🌈 Enjoy a low-prep, screen-free activity
Supplies Needed ✂️
You’ll only need a few simple materials for this whale shark craft:
- 📄 Construction paper or cardstock
- ✂️ Scissors
- 🧴 Glue stick
- 🖍️ Markers, crayons, or paint
- Q-tips
- 👀 Googly eyes (optional)
- ✏️ Pencil (for tracing shapes)
💡 Tip: Cardstock works best if you plan to display the finished whale sharks.
Step 1: Print and Cut the Body of the Whale Shark
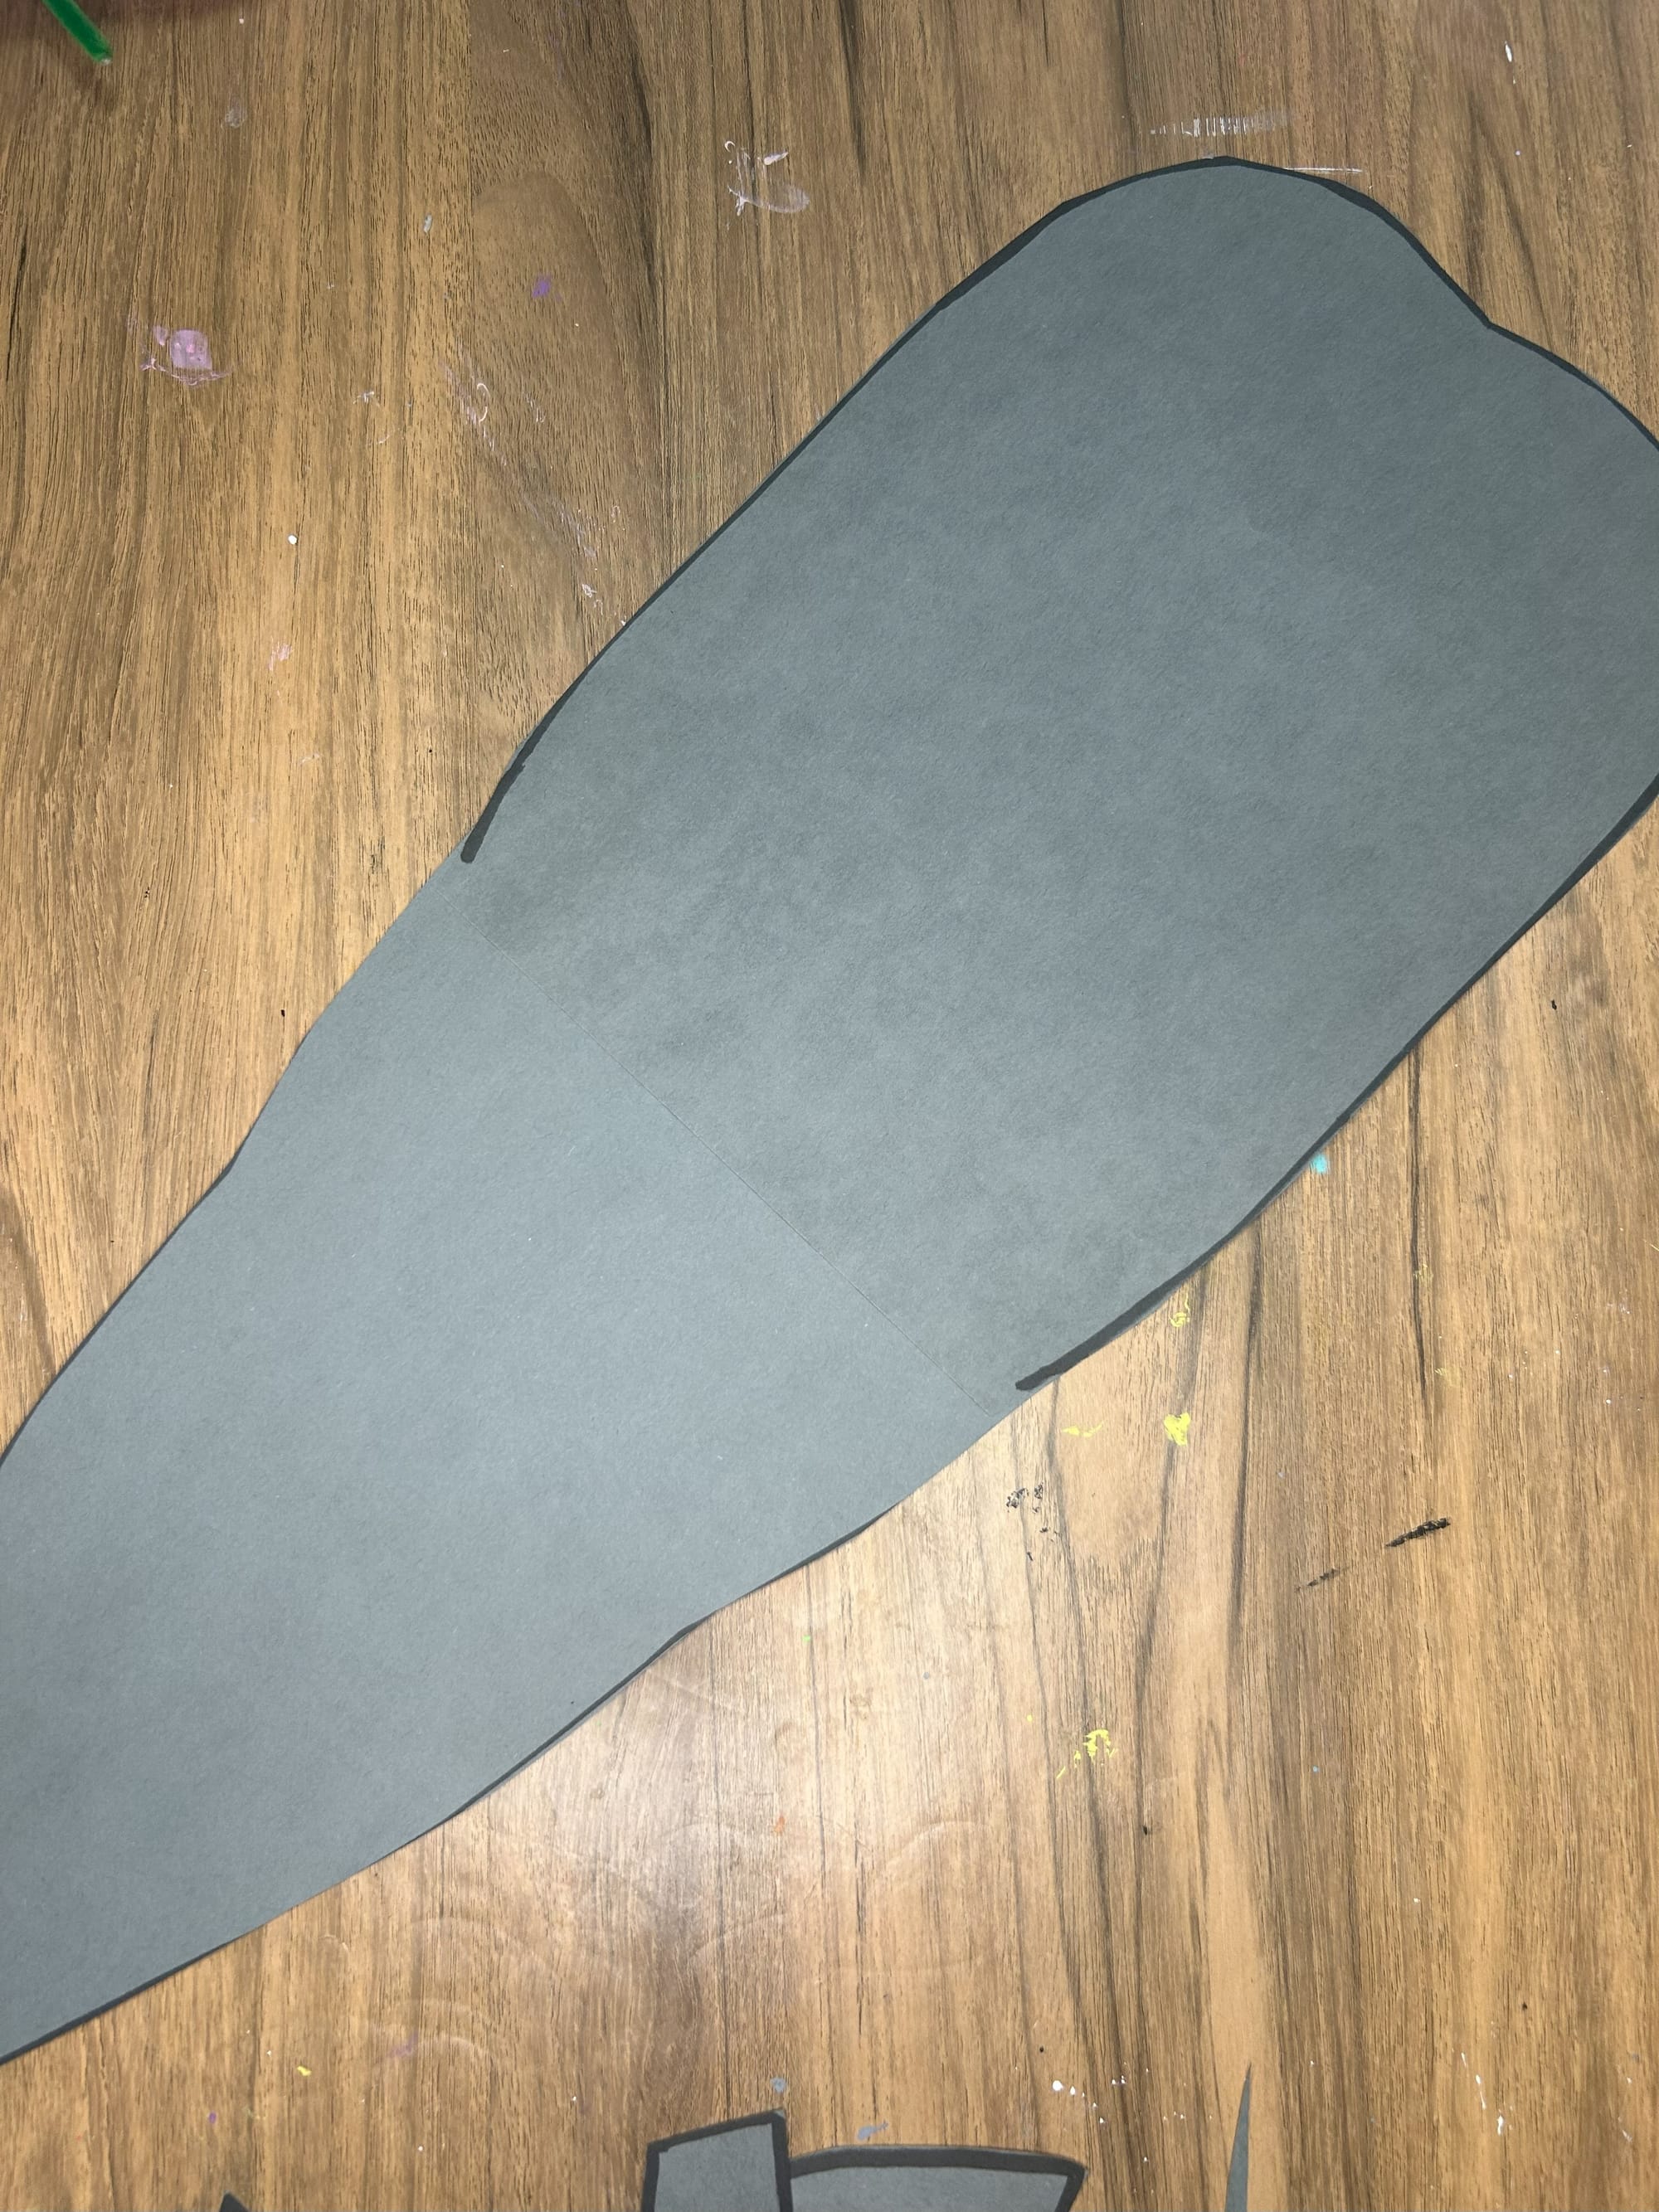
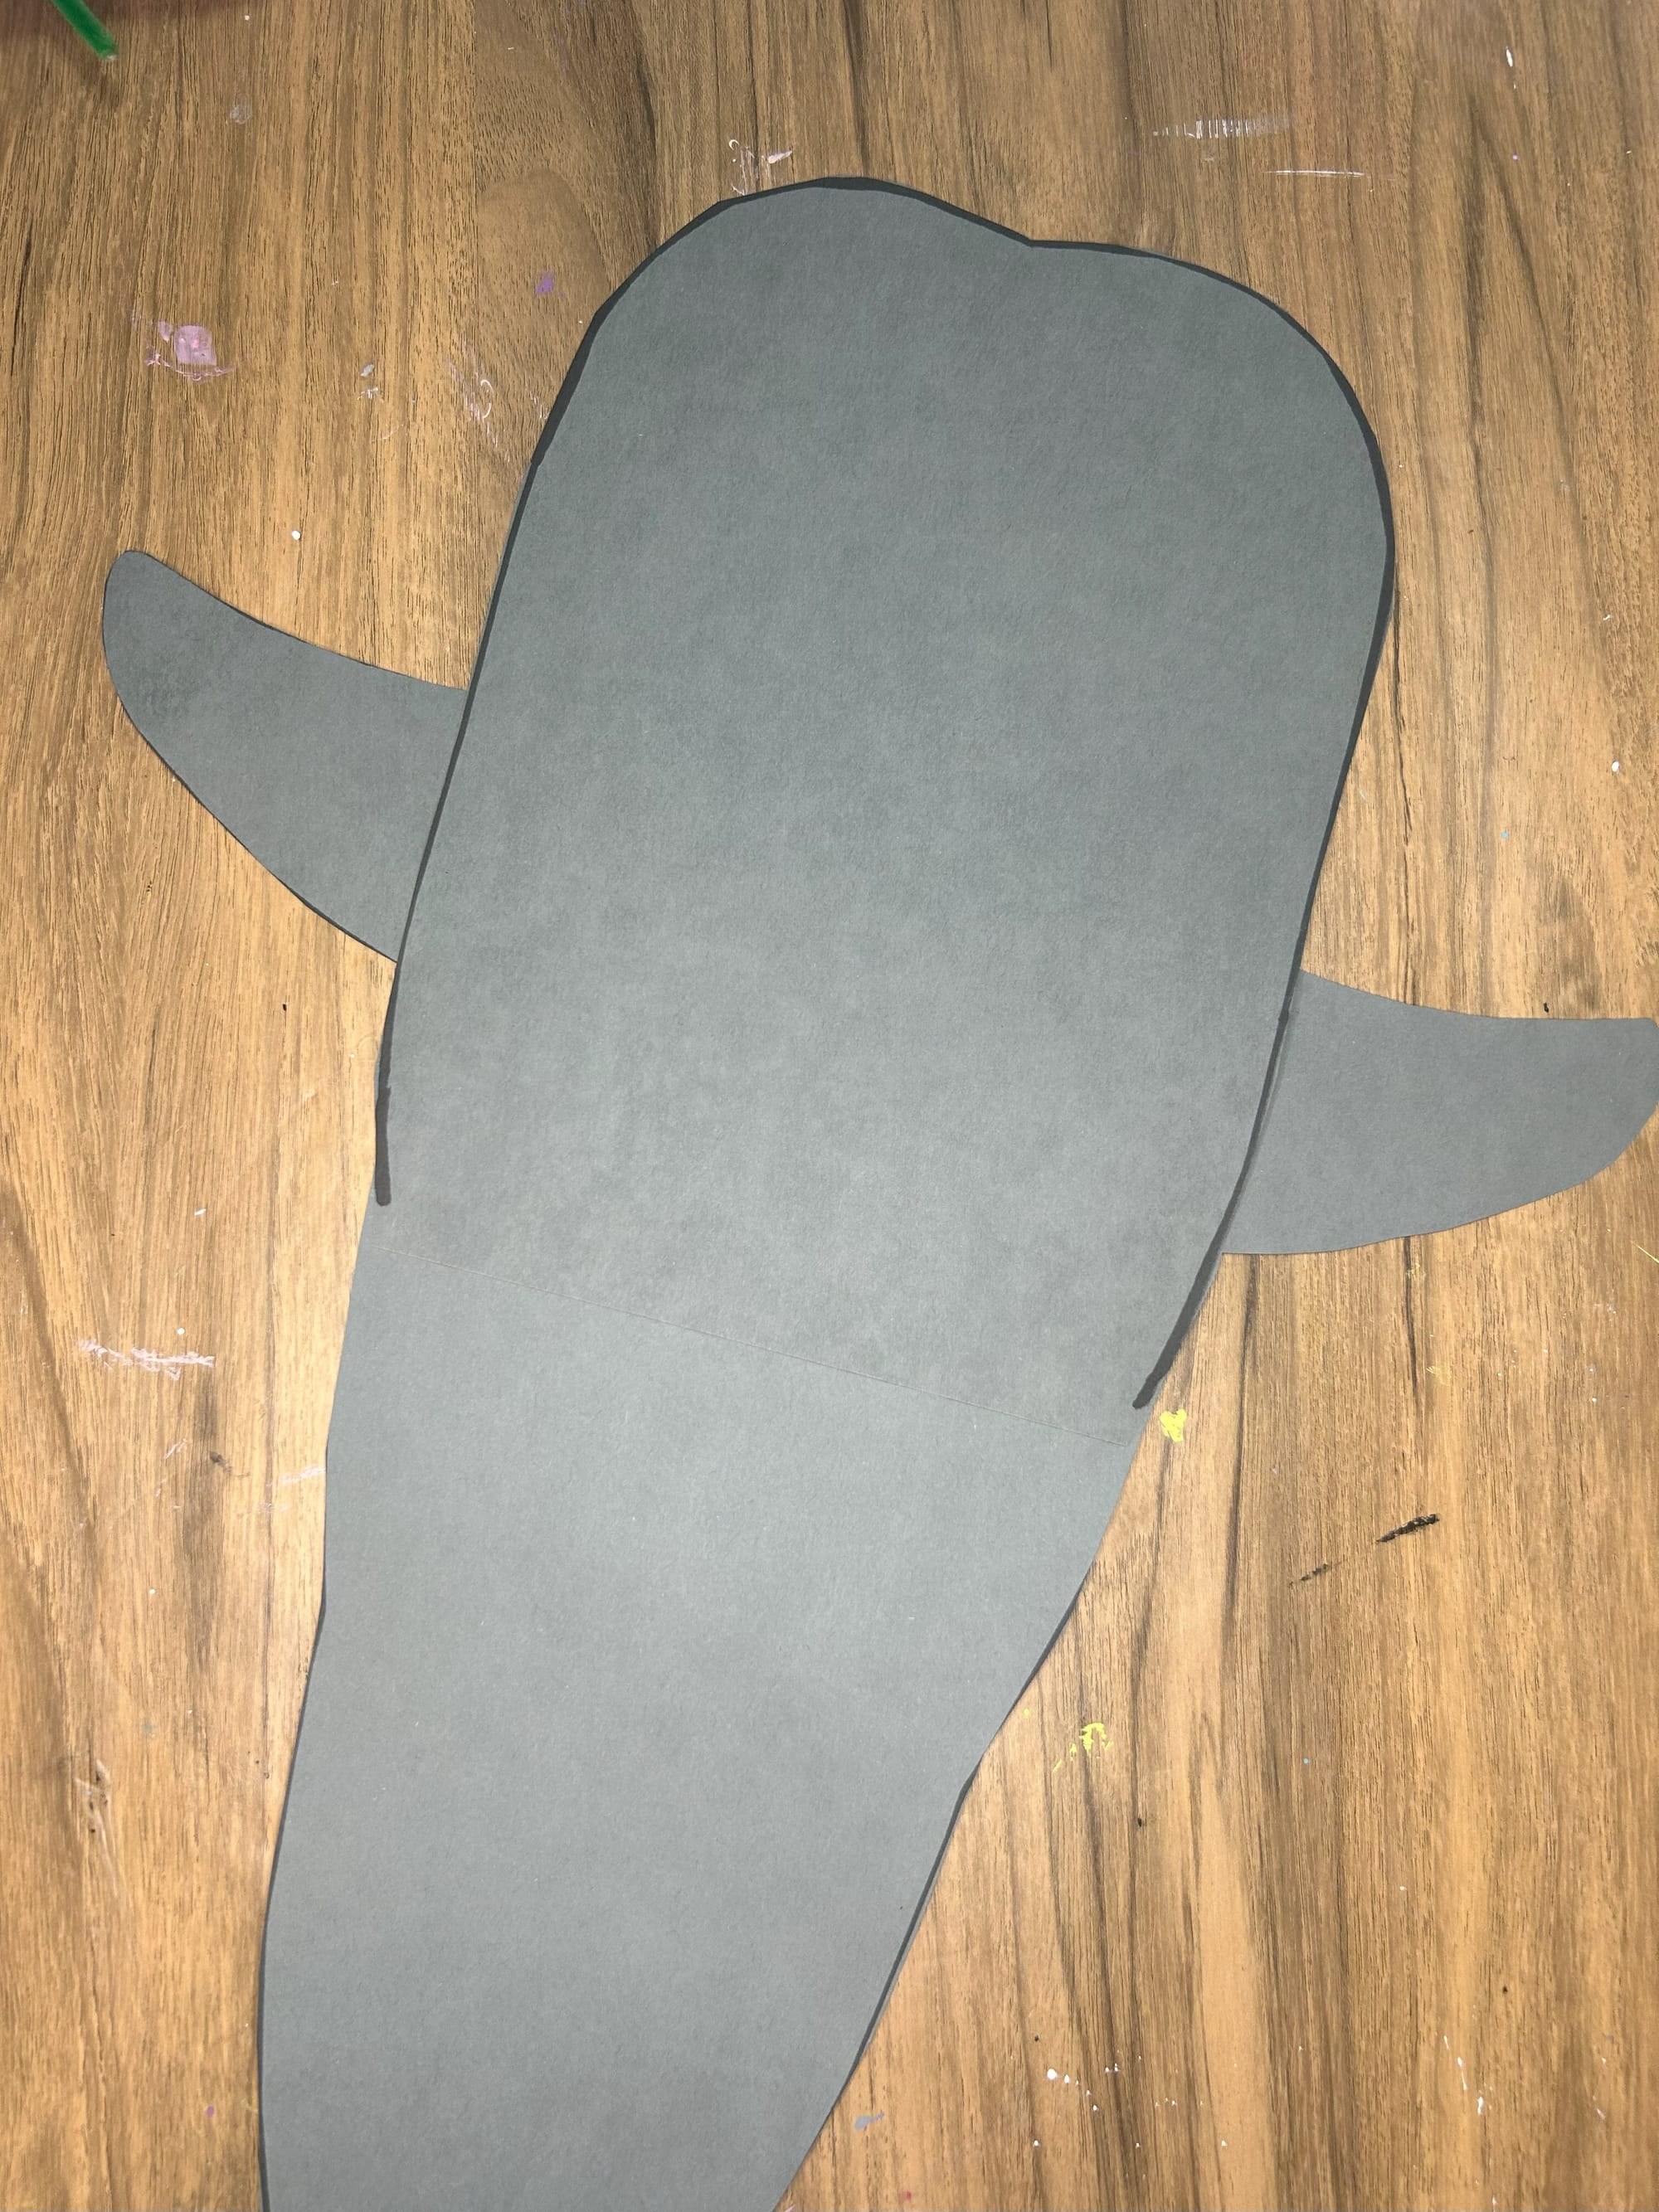
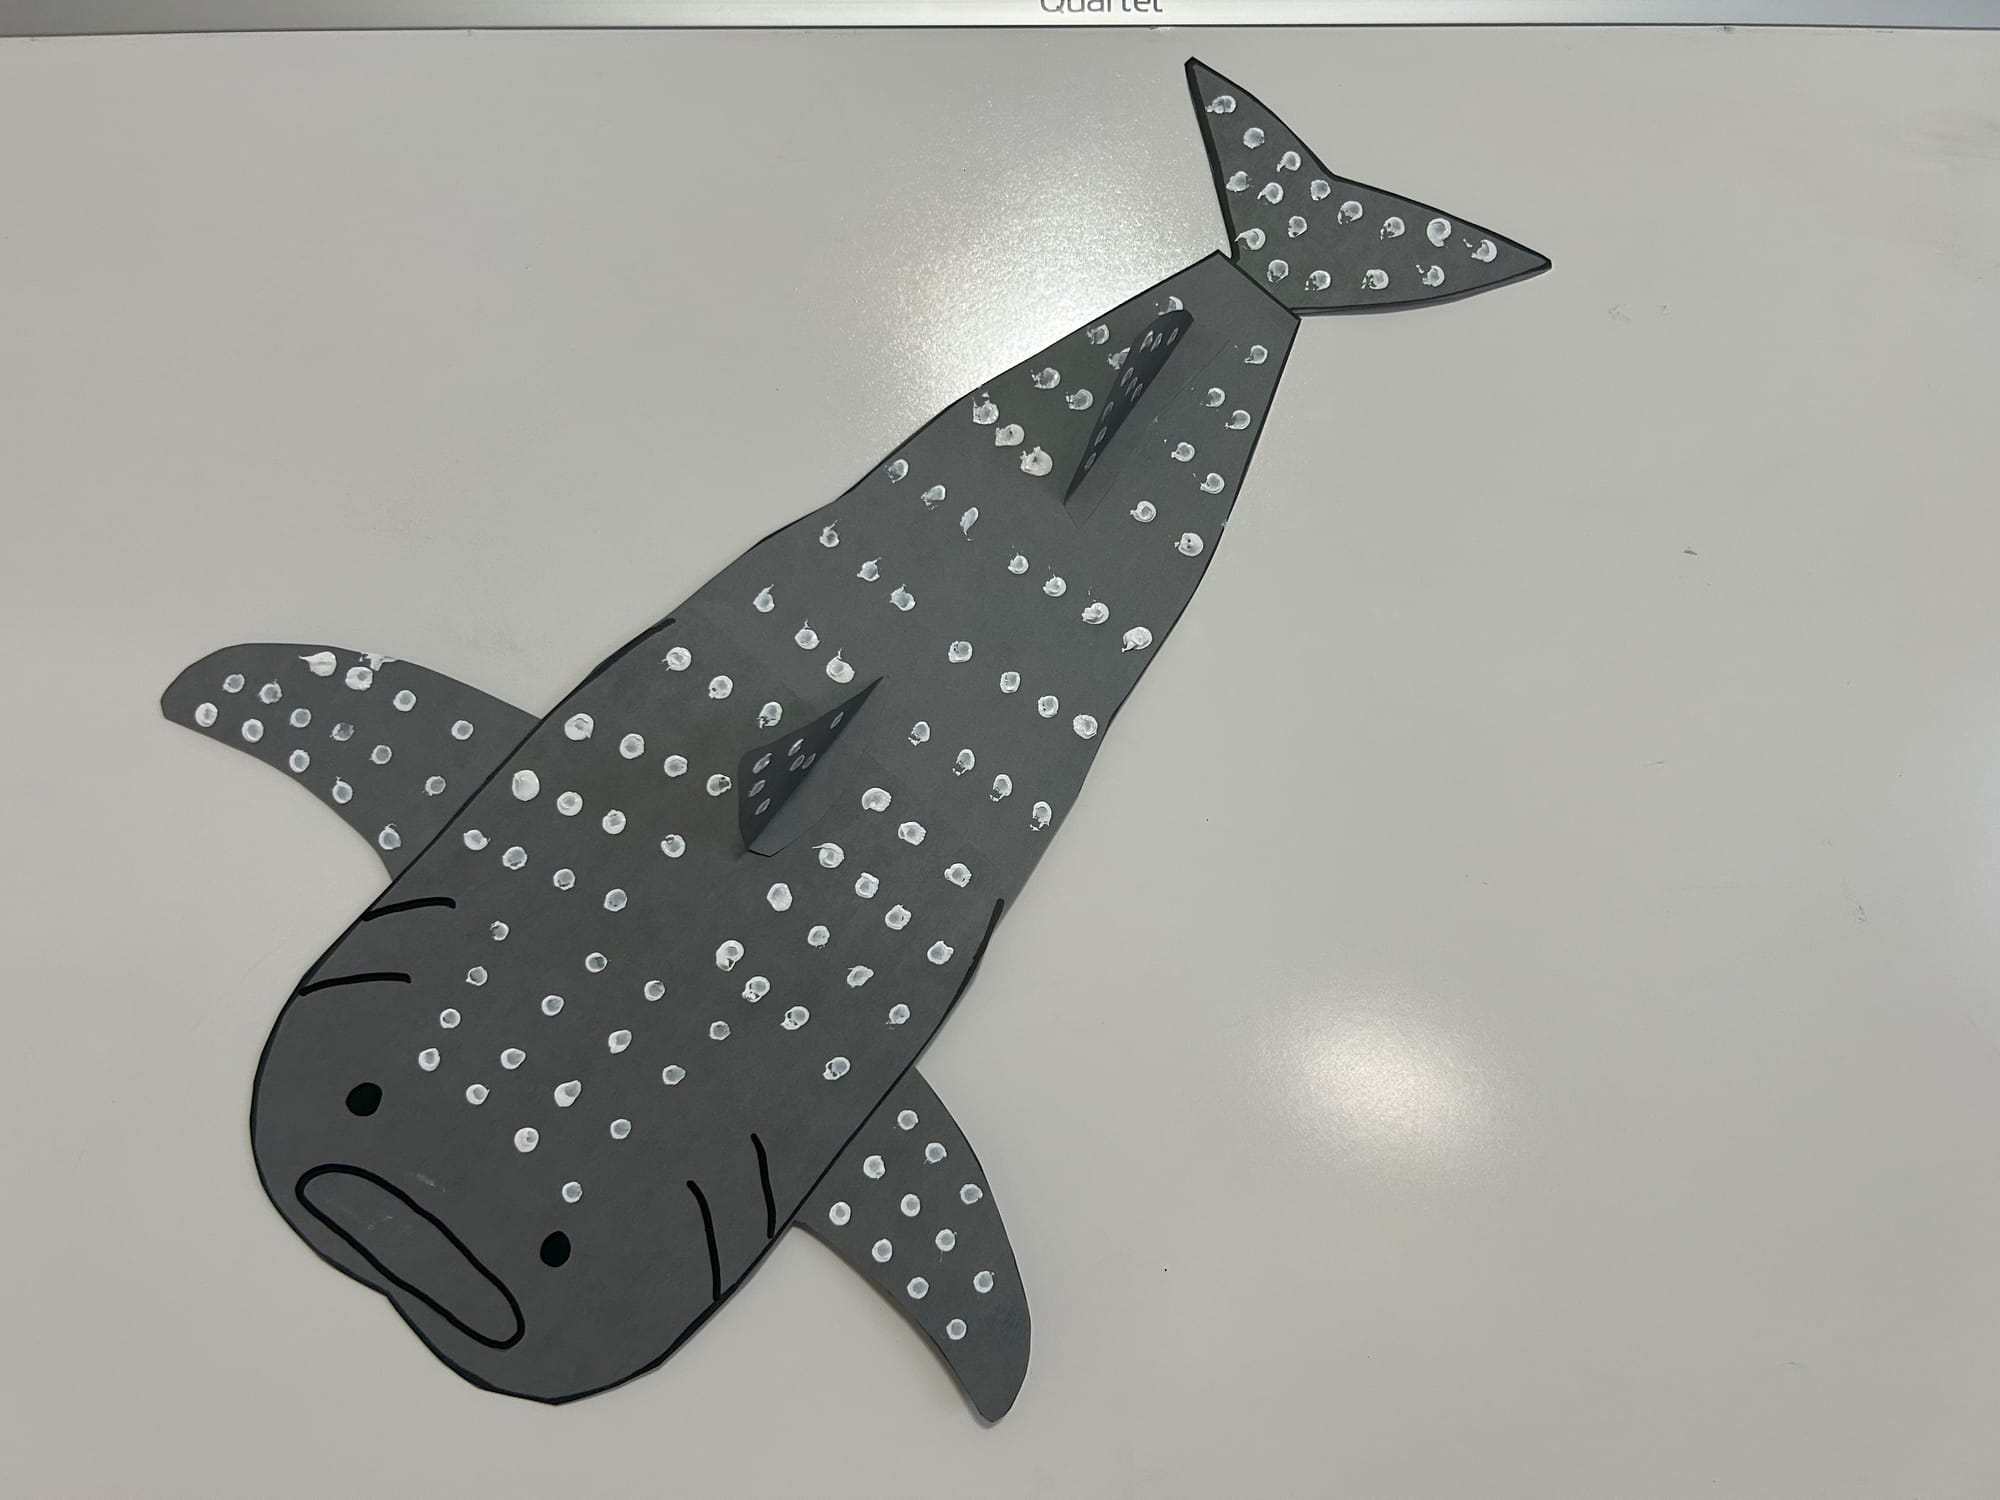
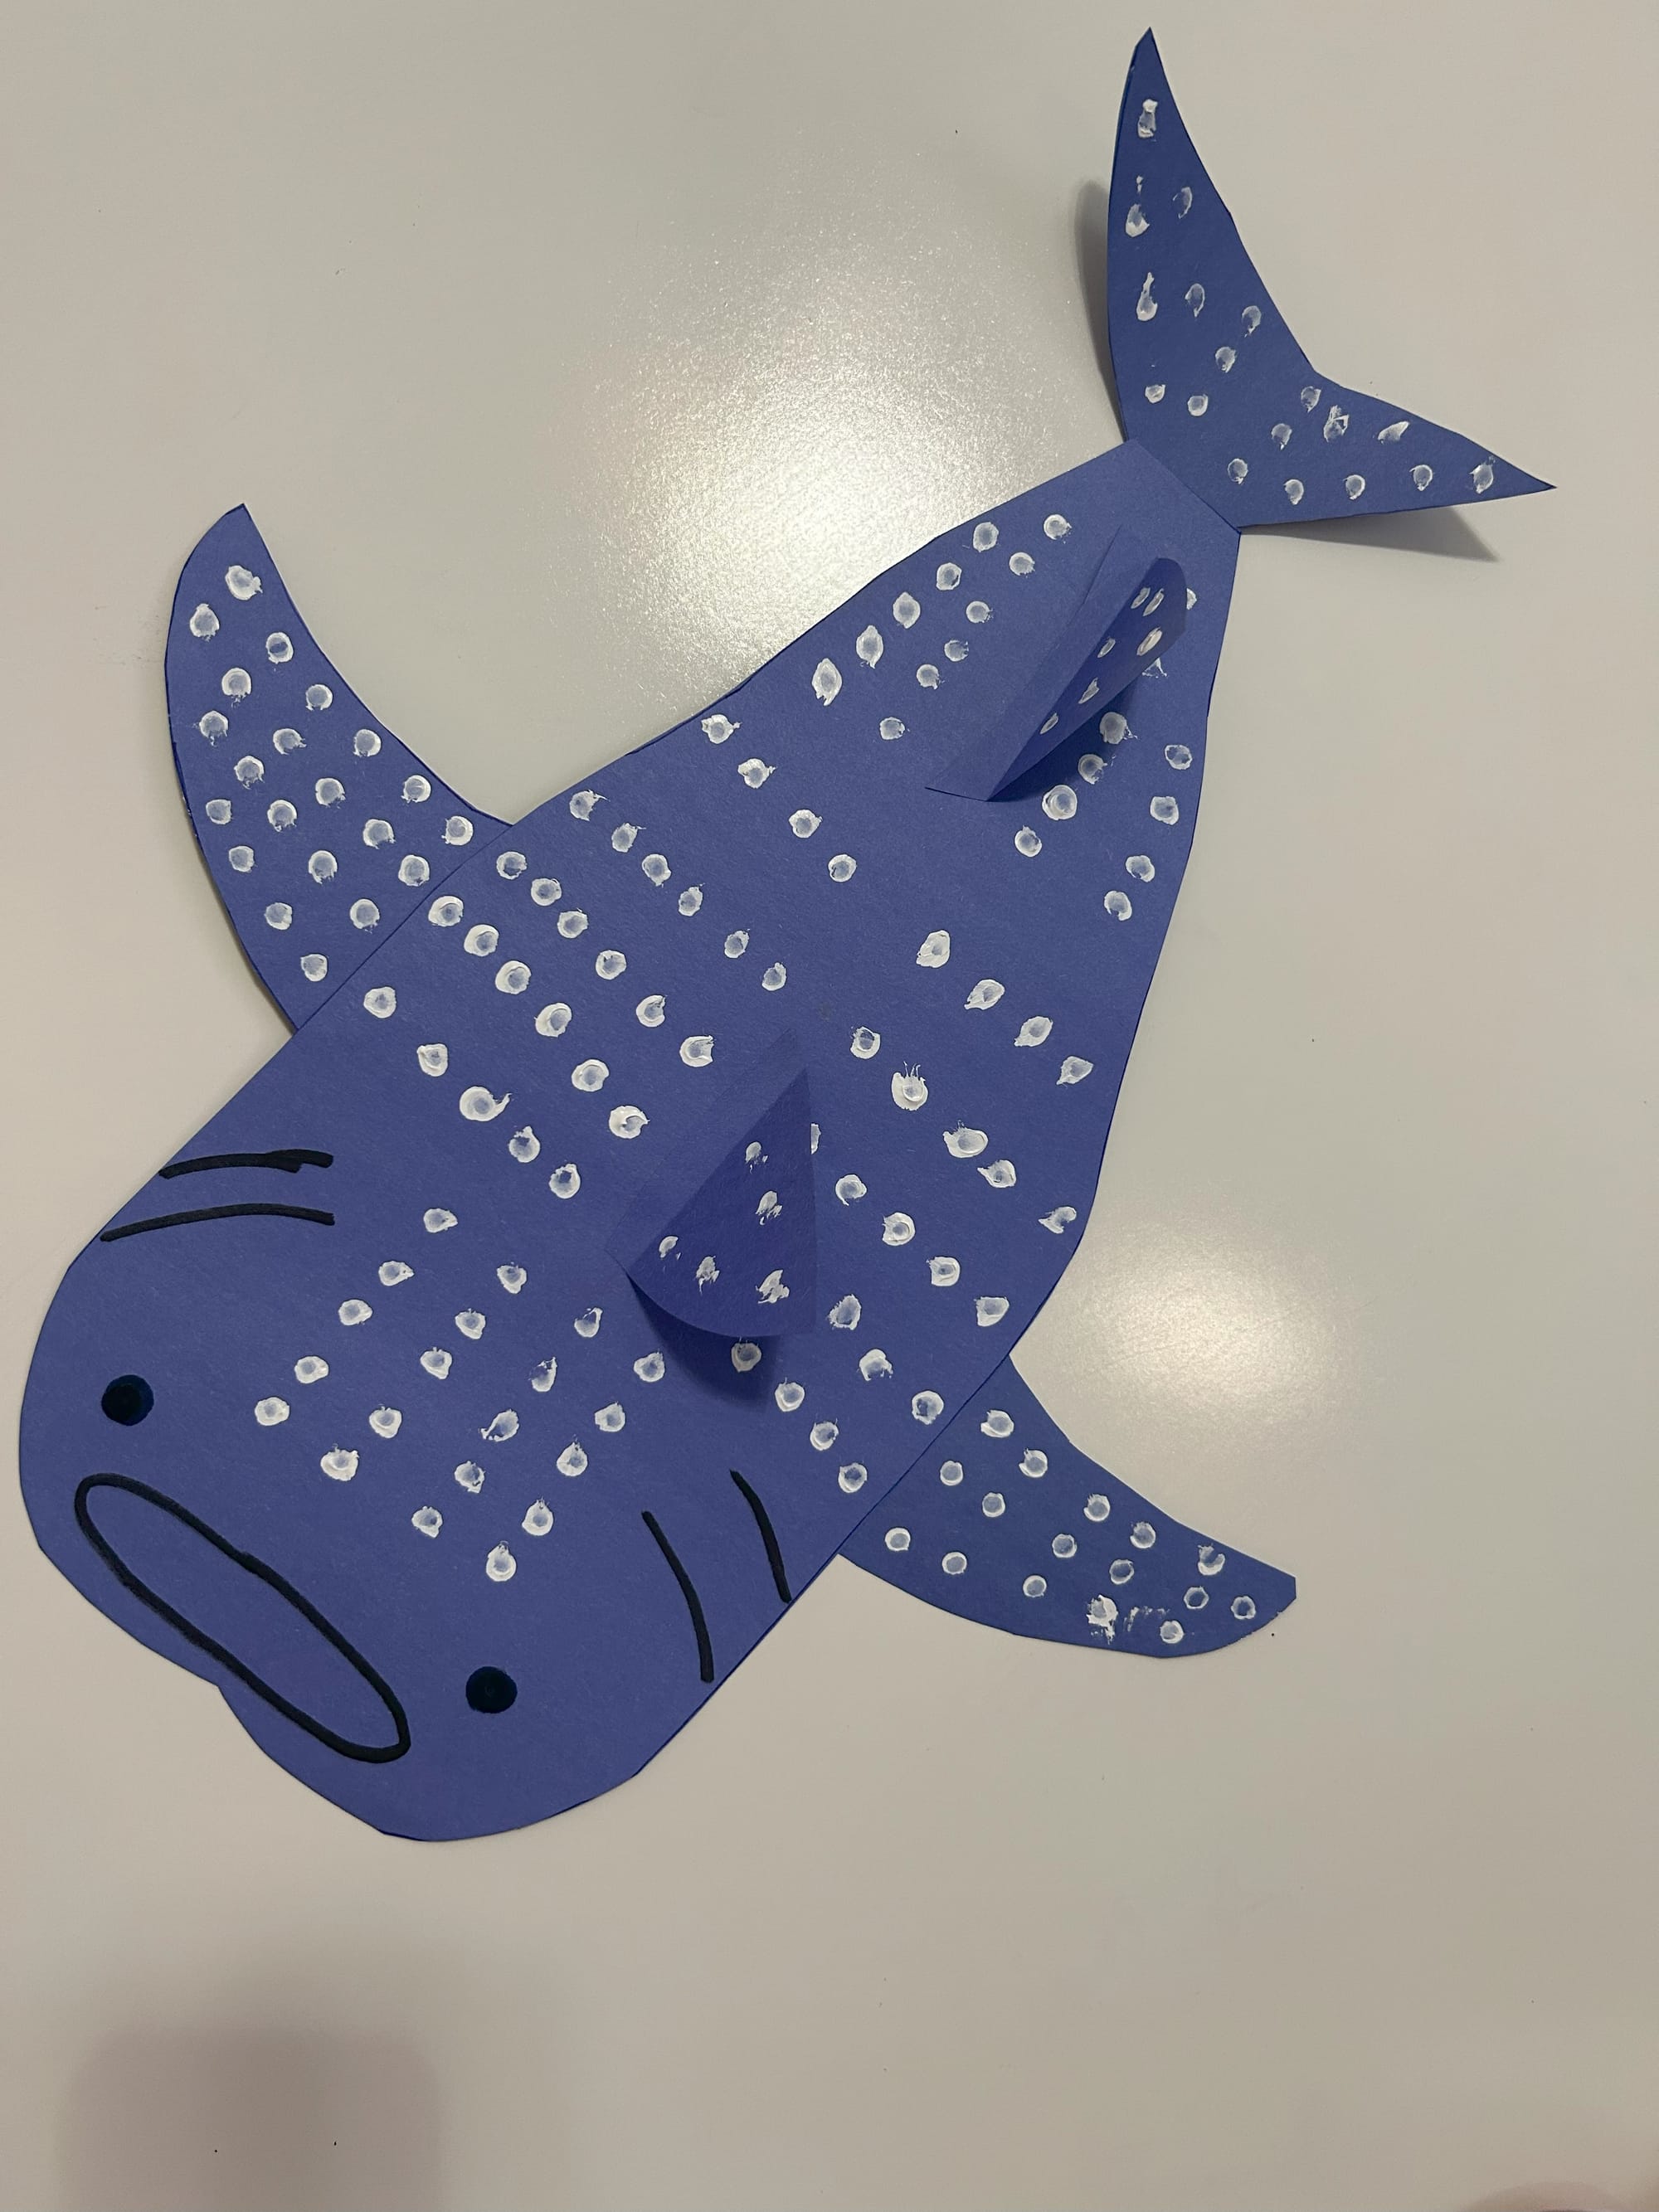
To begin, print and cut out the templates of the whale's body. You can use gray or blue paper.
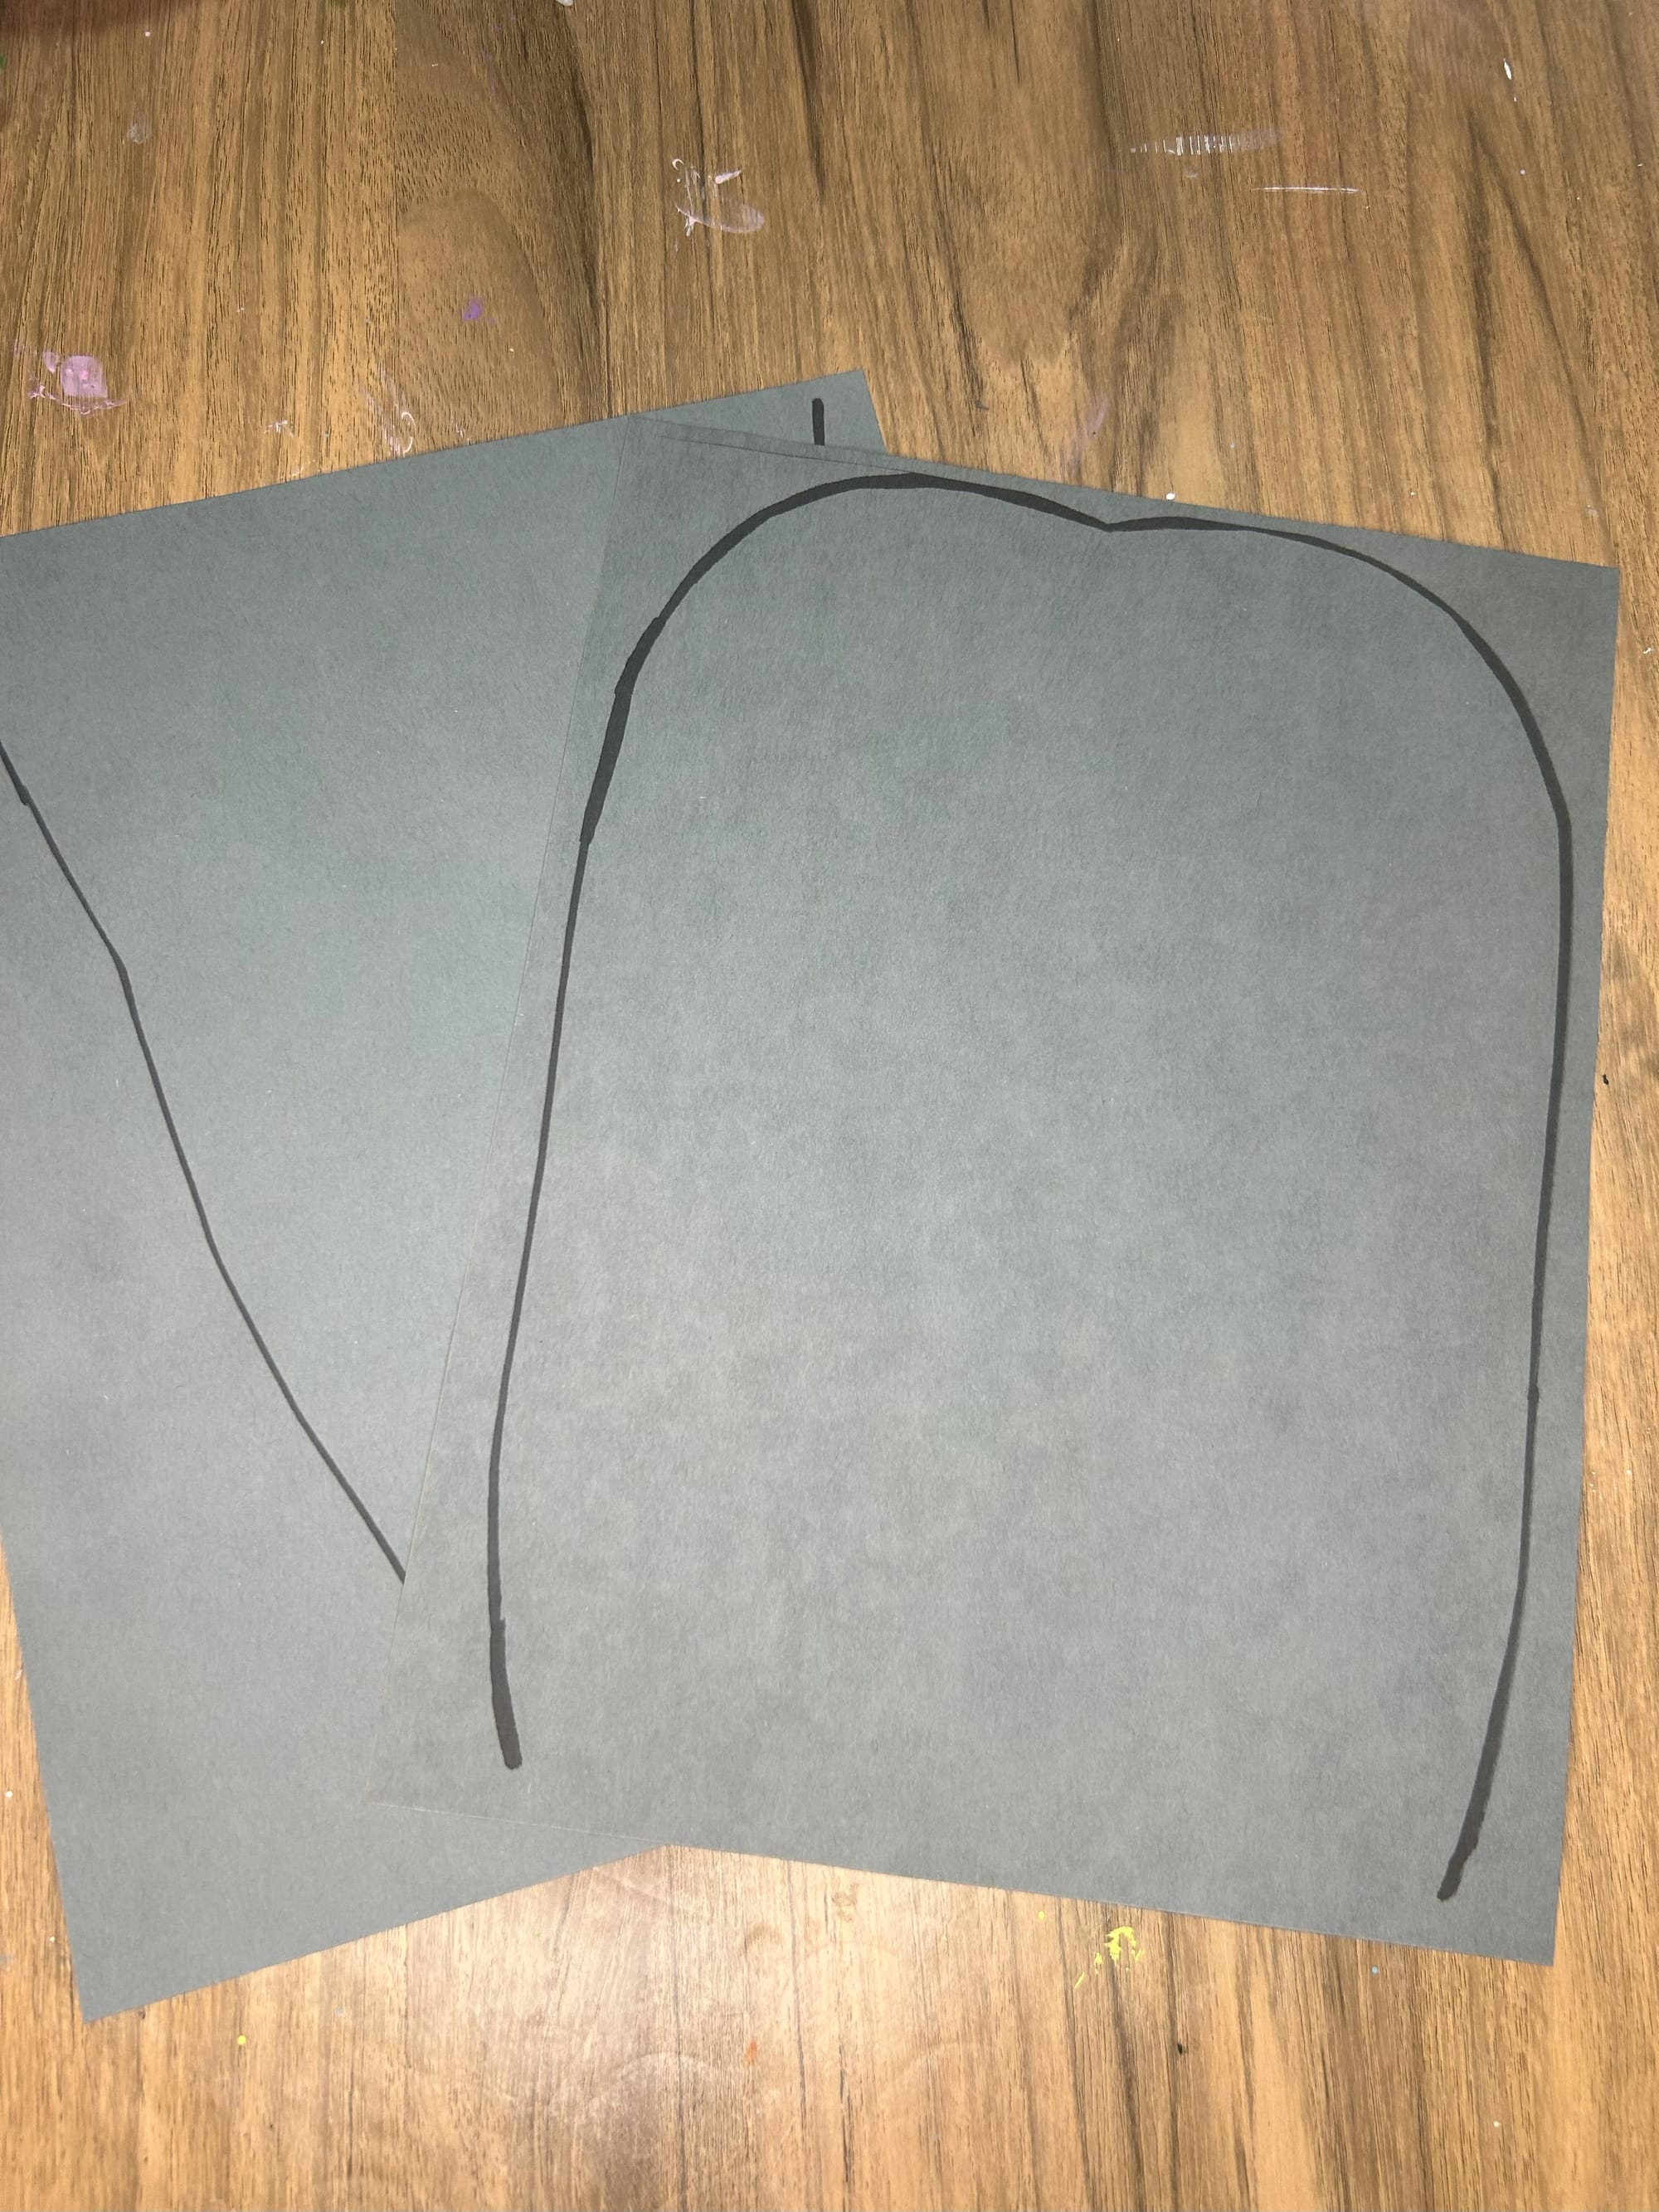
Print and cut out the pieces of the whale's body.
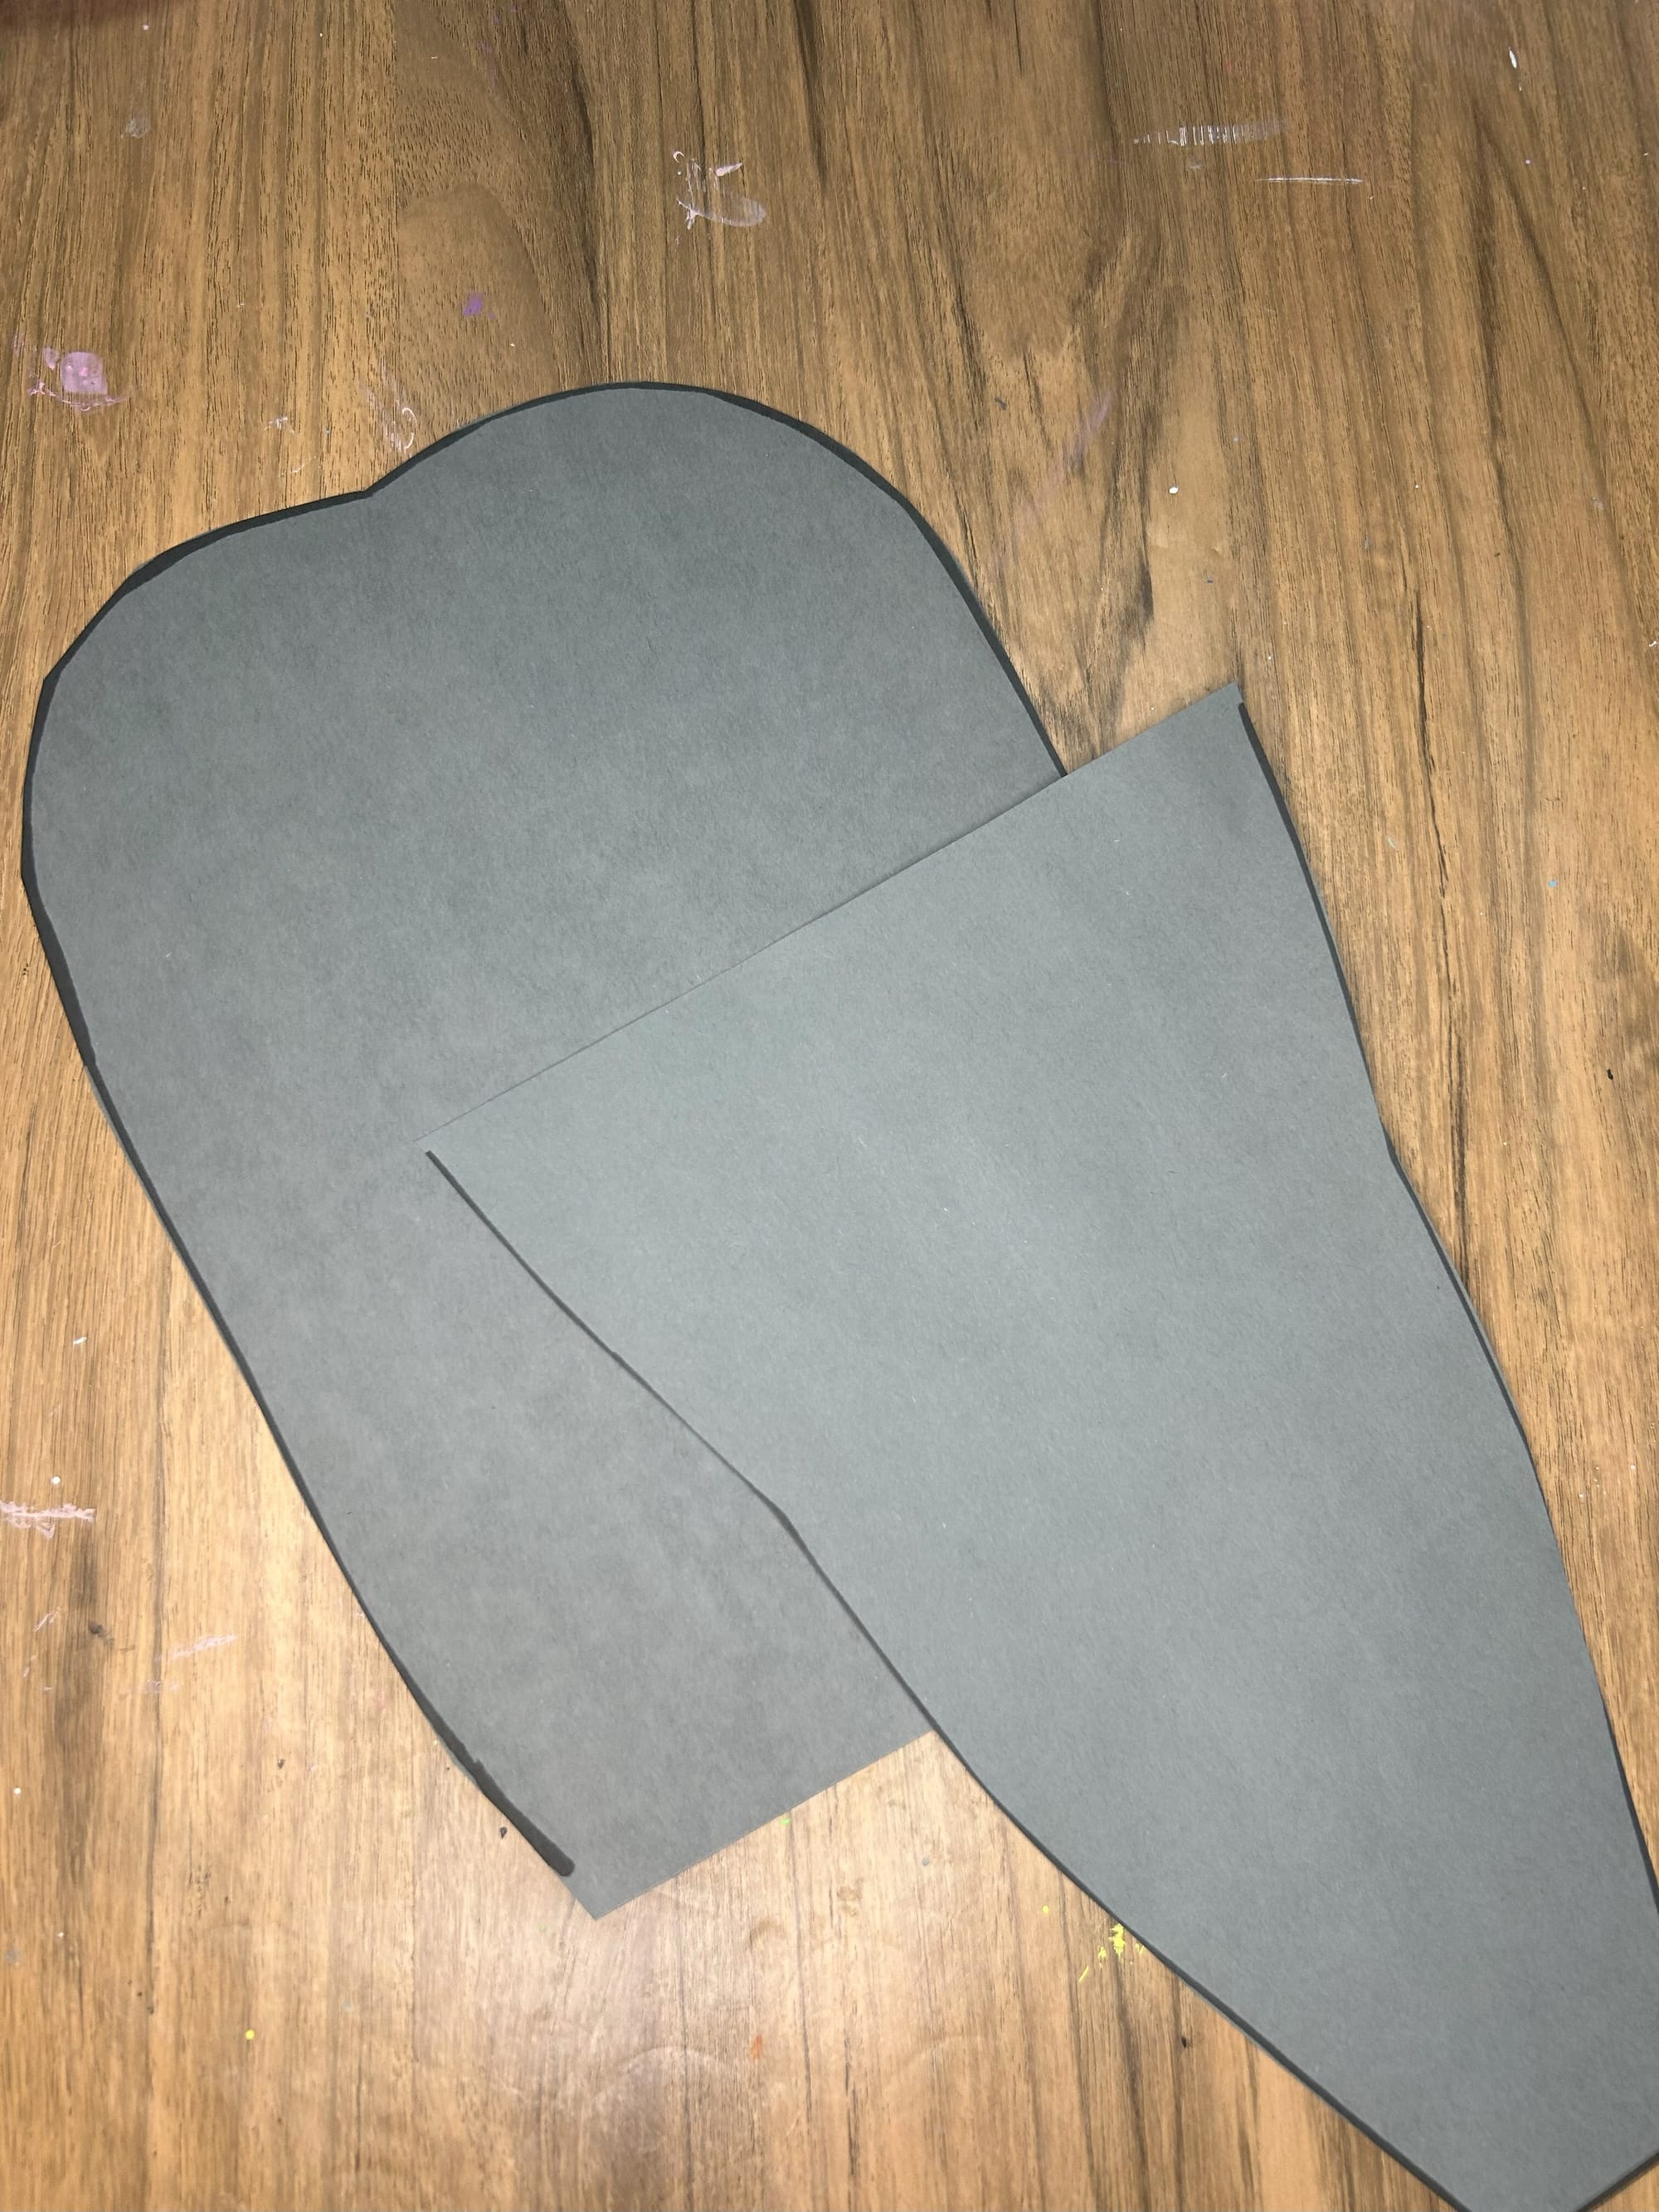
To represent the whale shark's body size, I created the body using two pieces of paper. After cutting out, connect the two pieces in the center with glue.
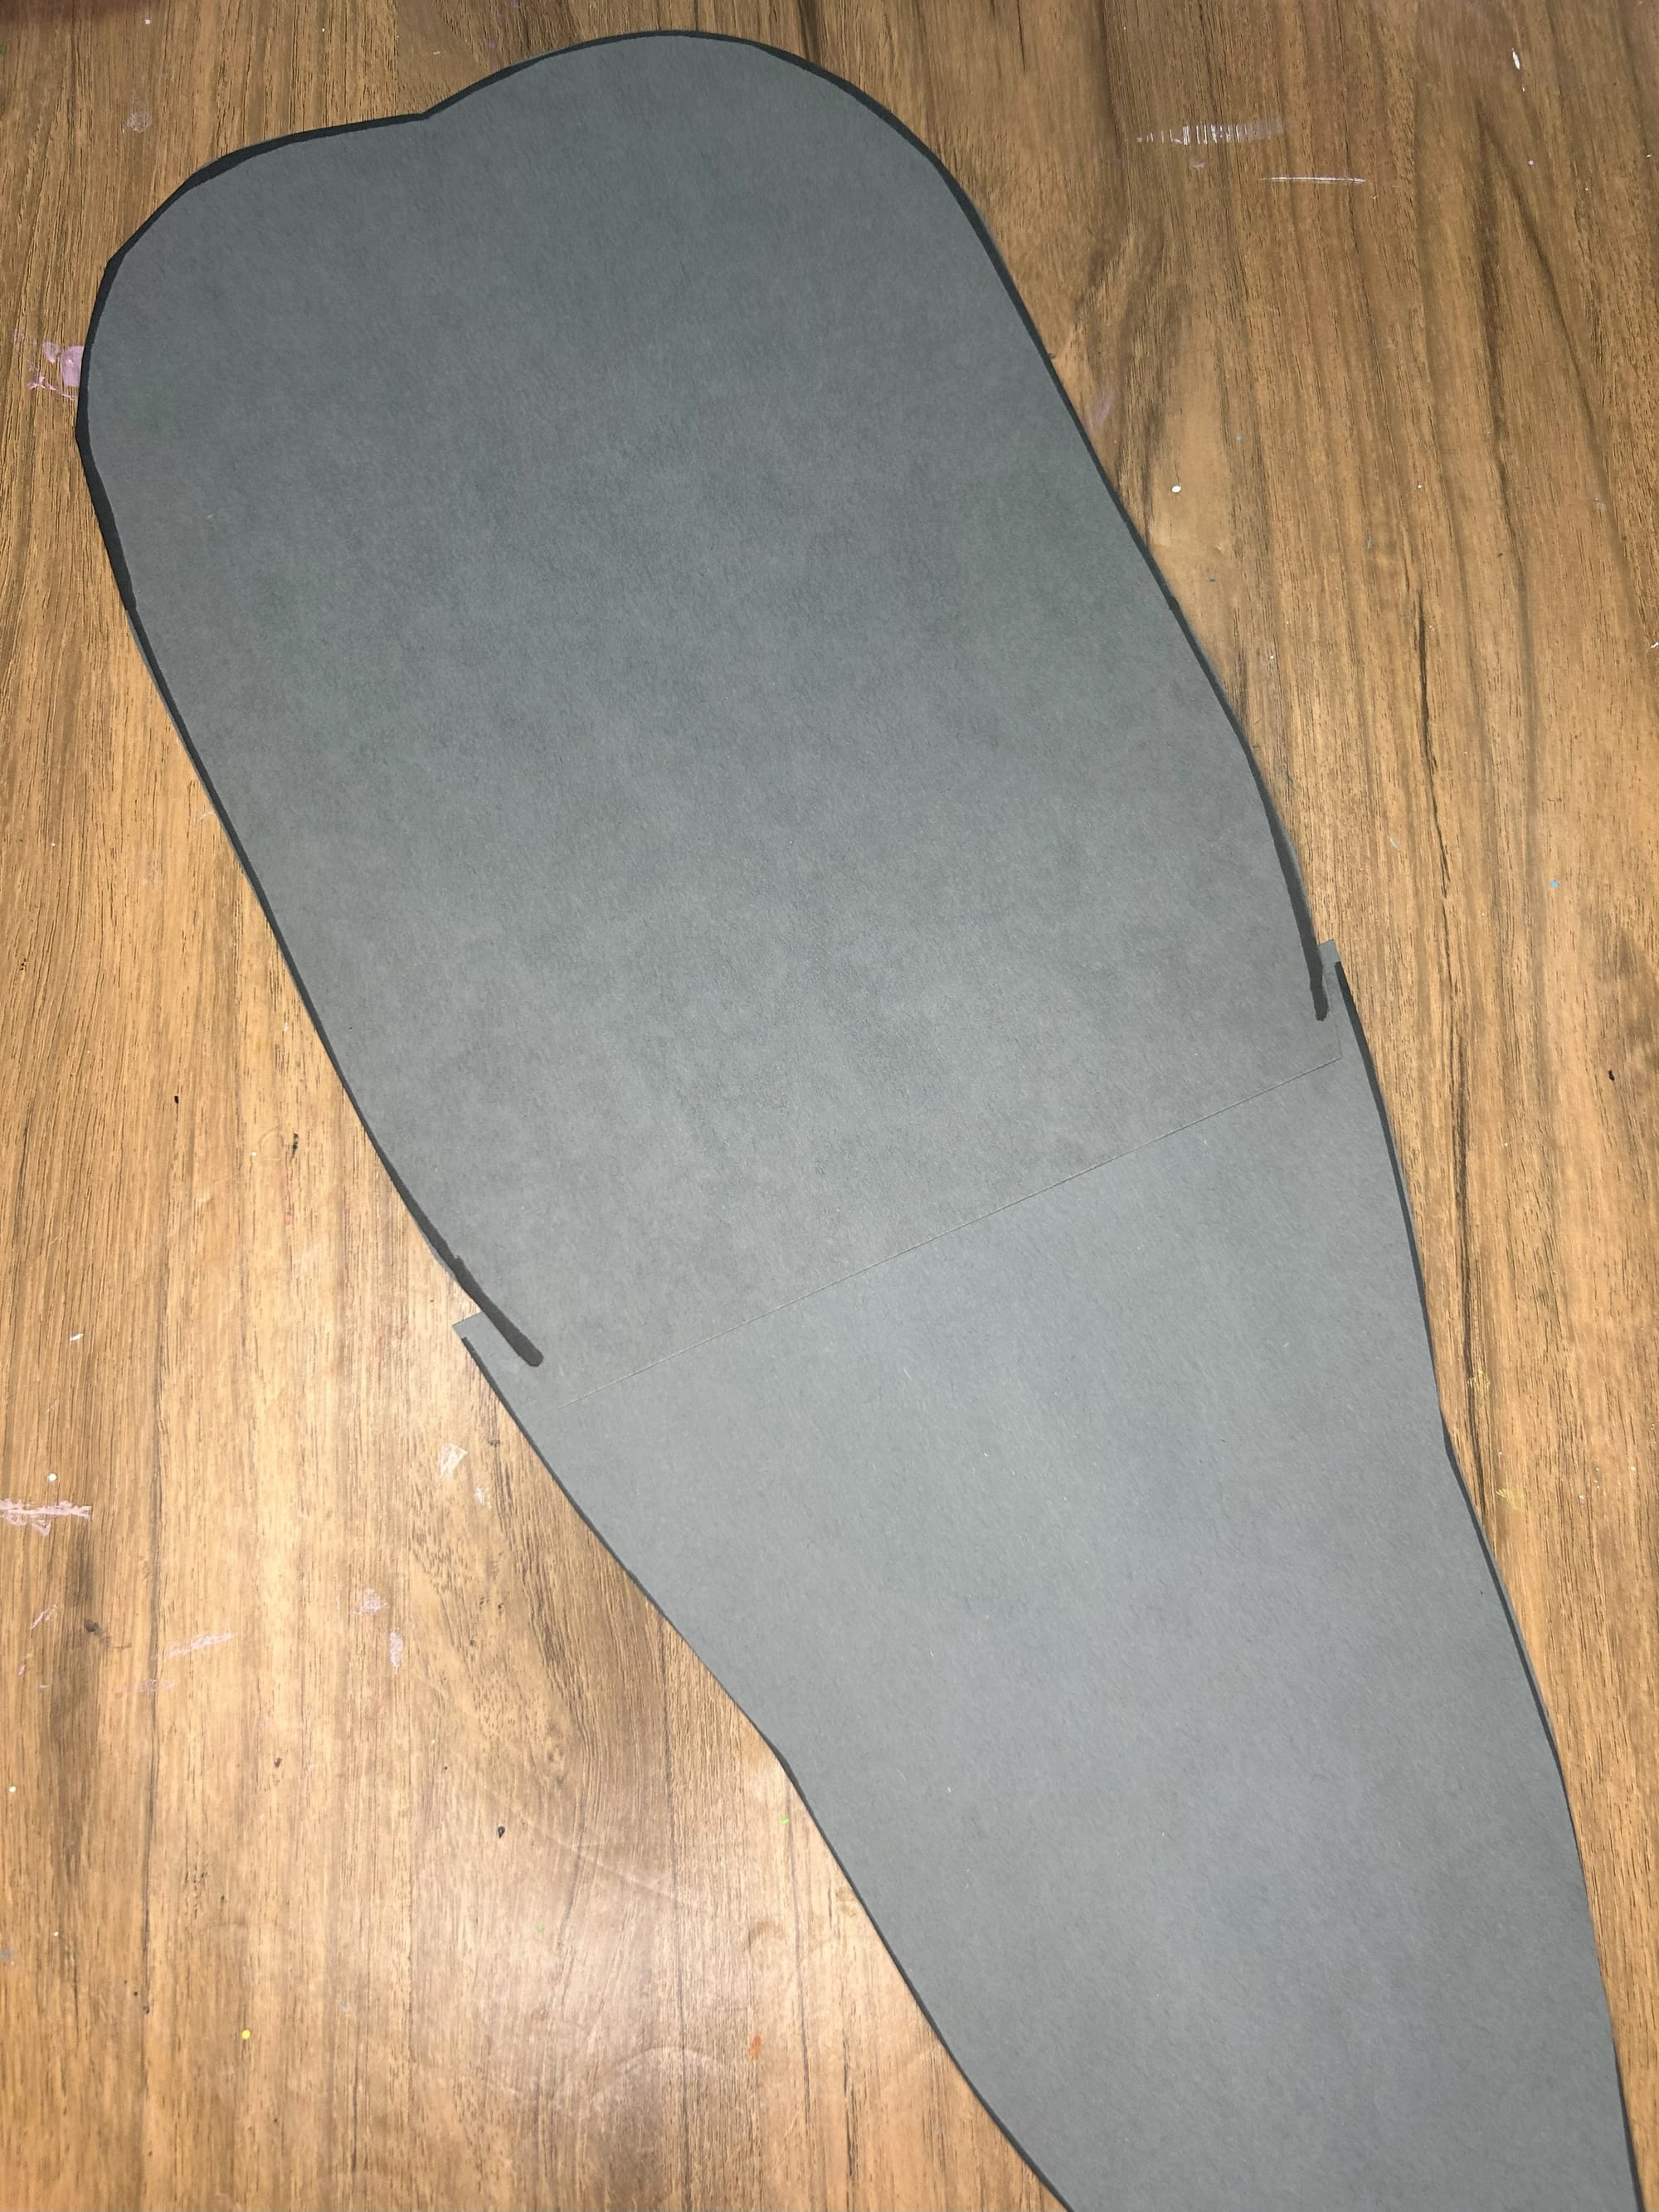
Next, use scissors to even out the whale shark's body.
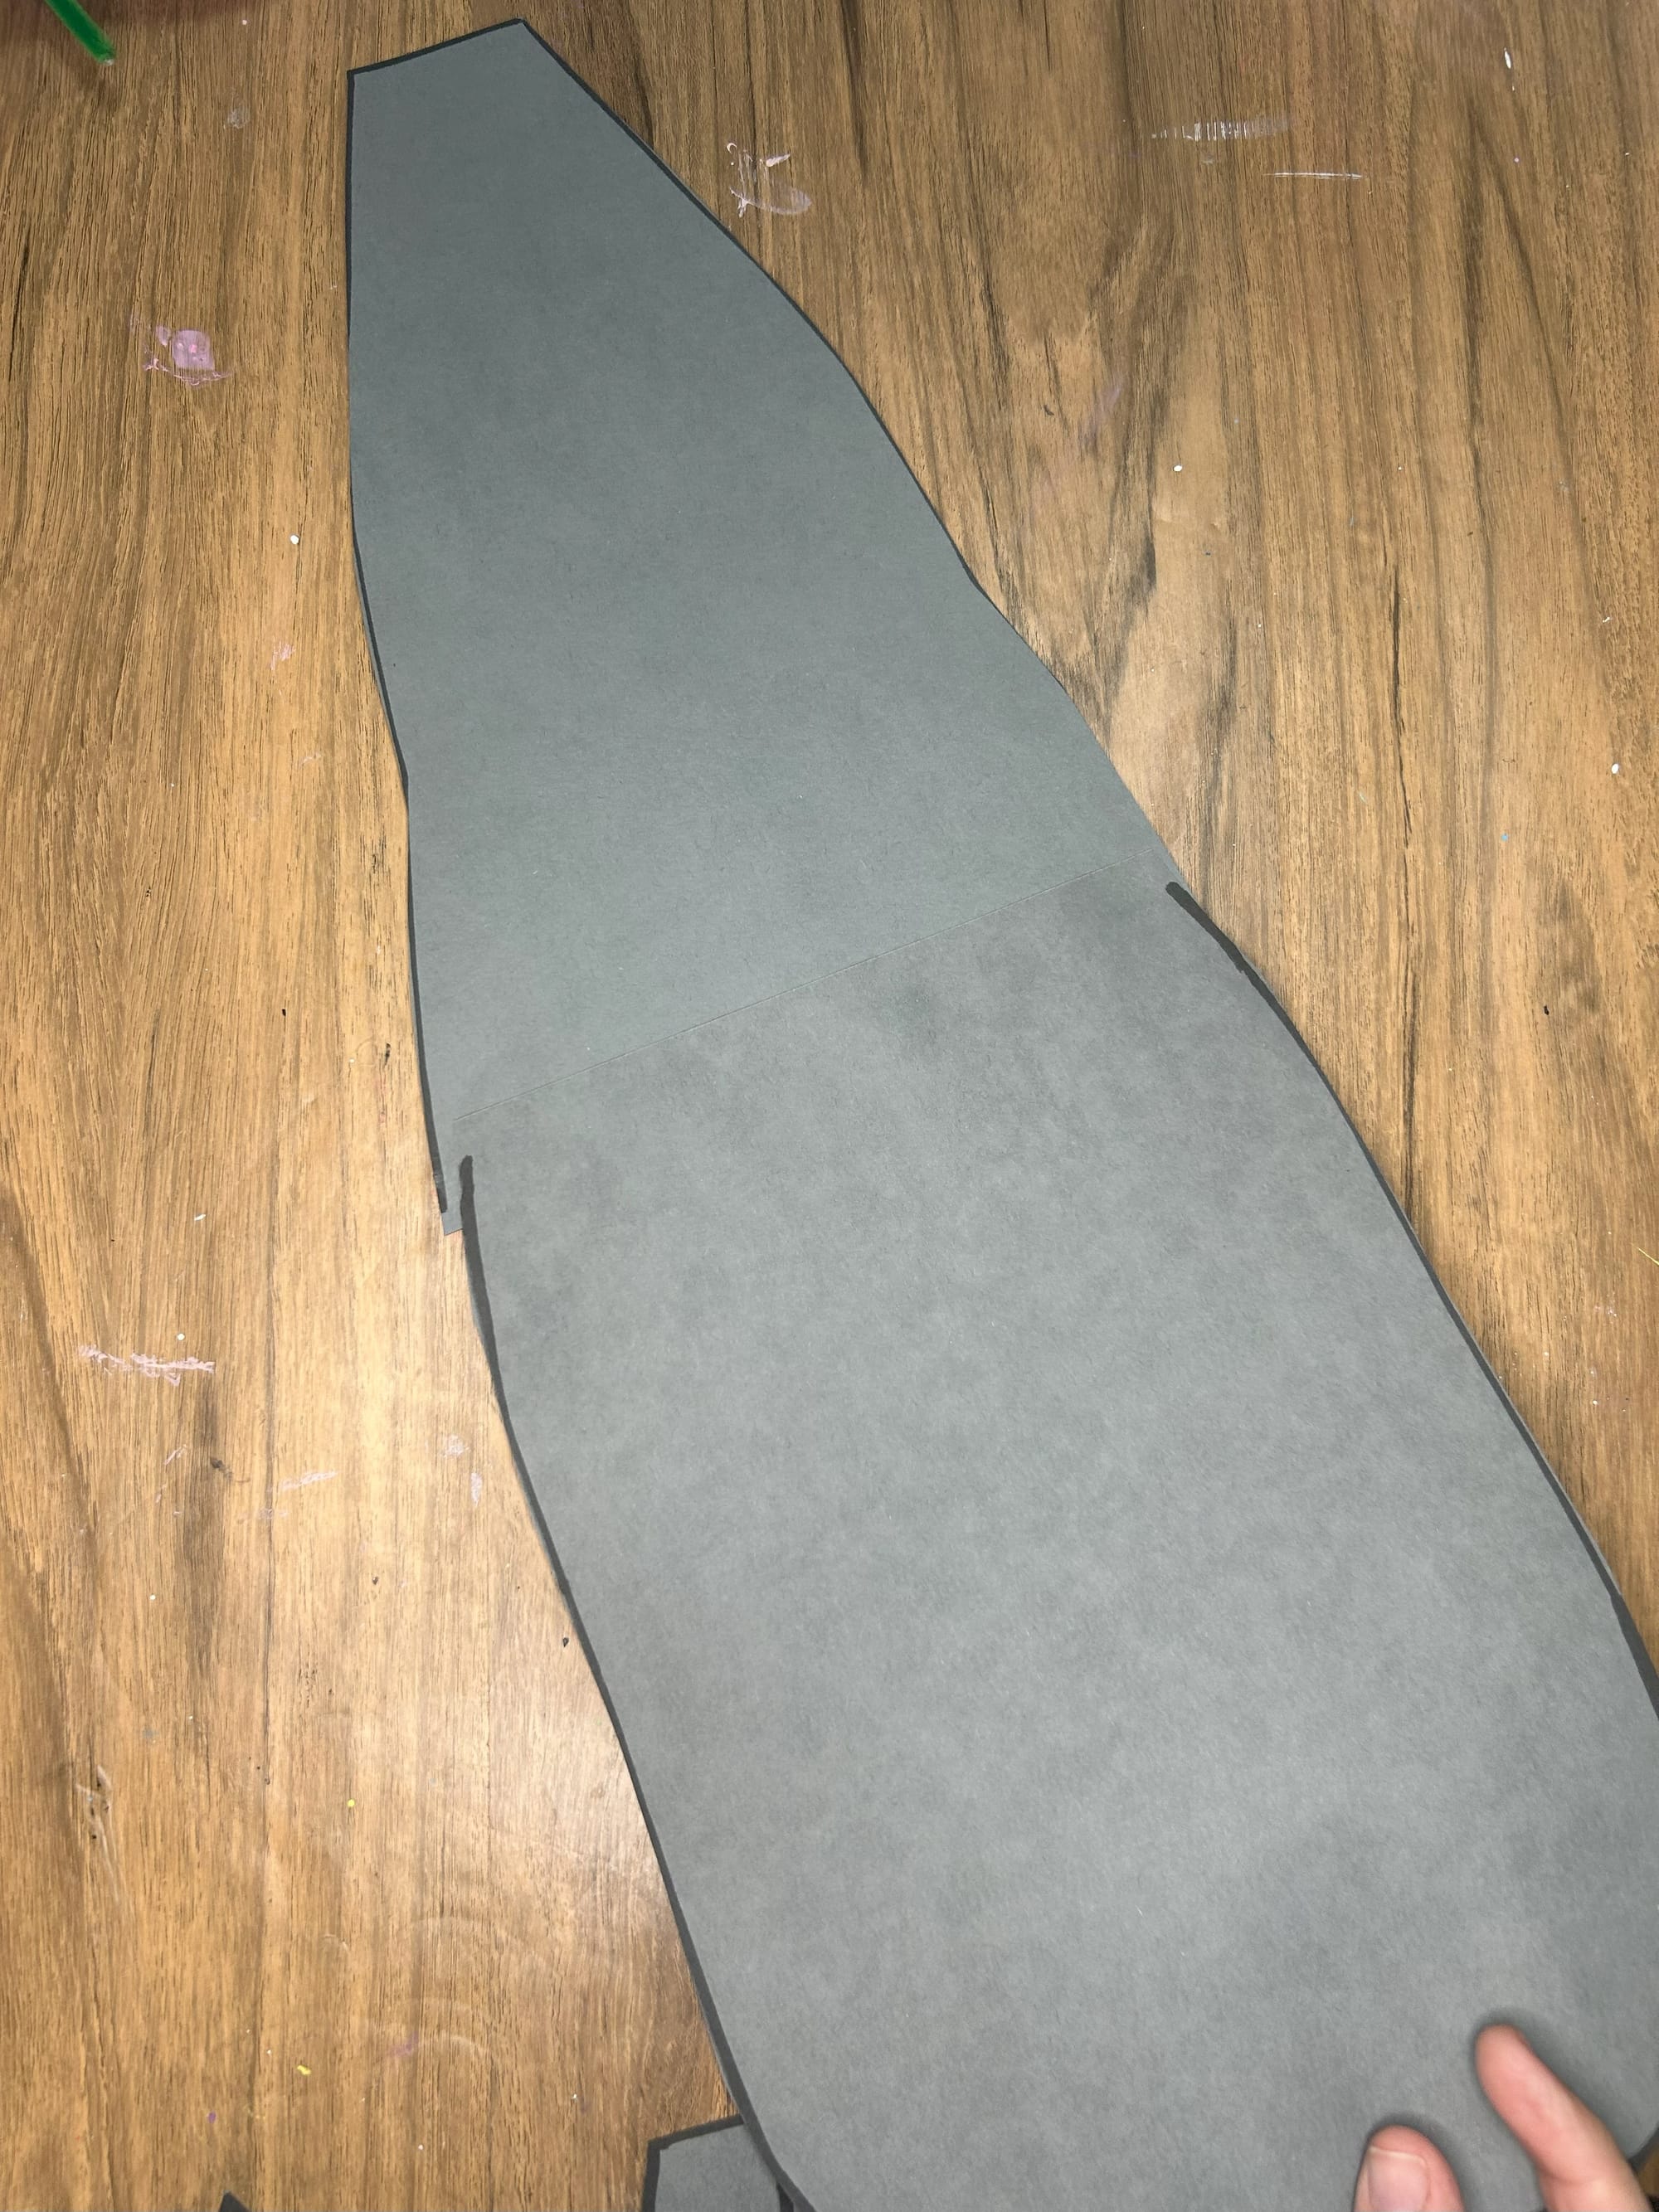
Use scissors to even out the body where the two pieces joined together.
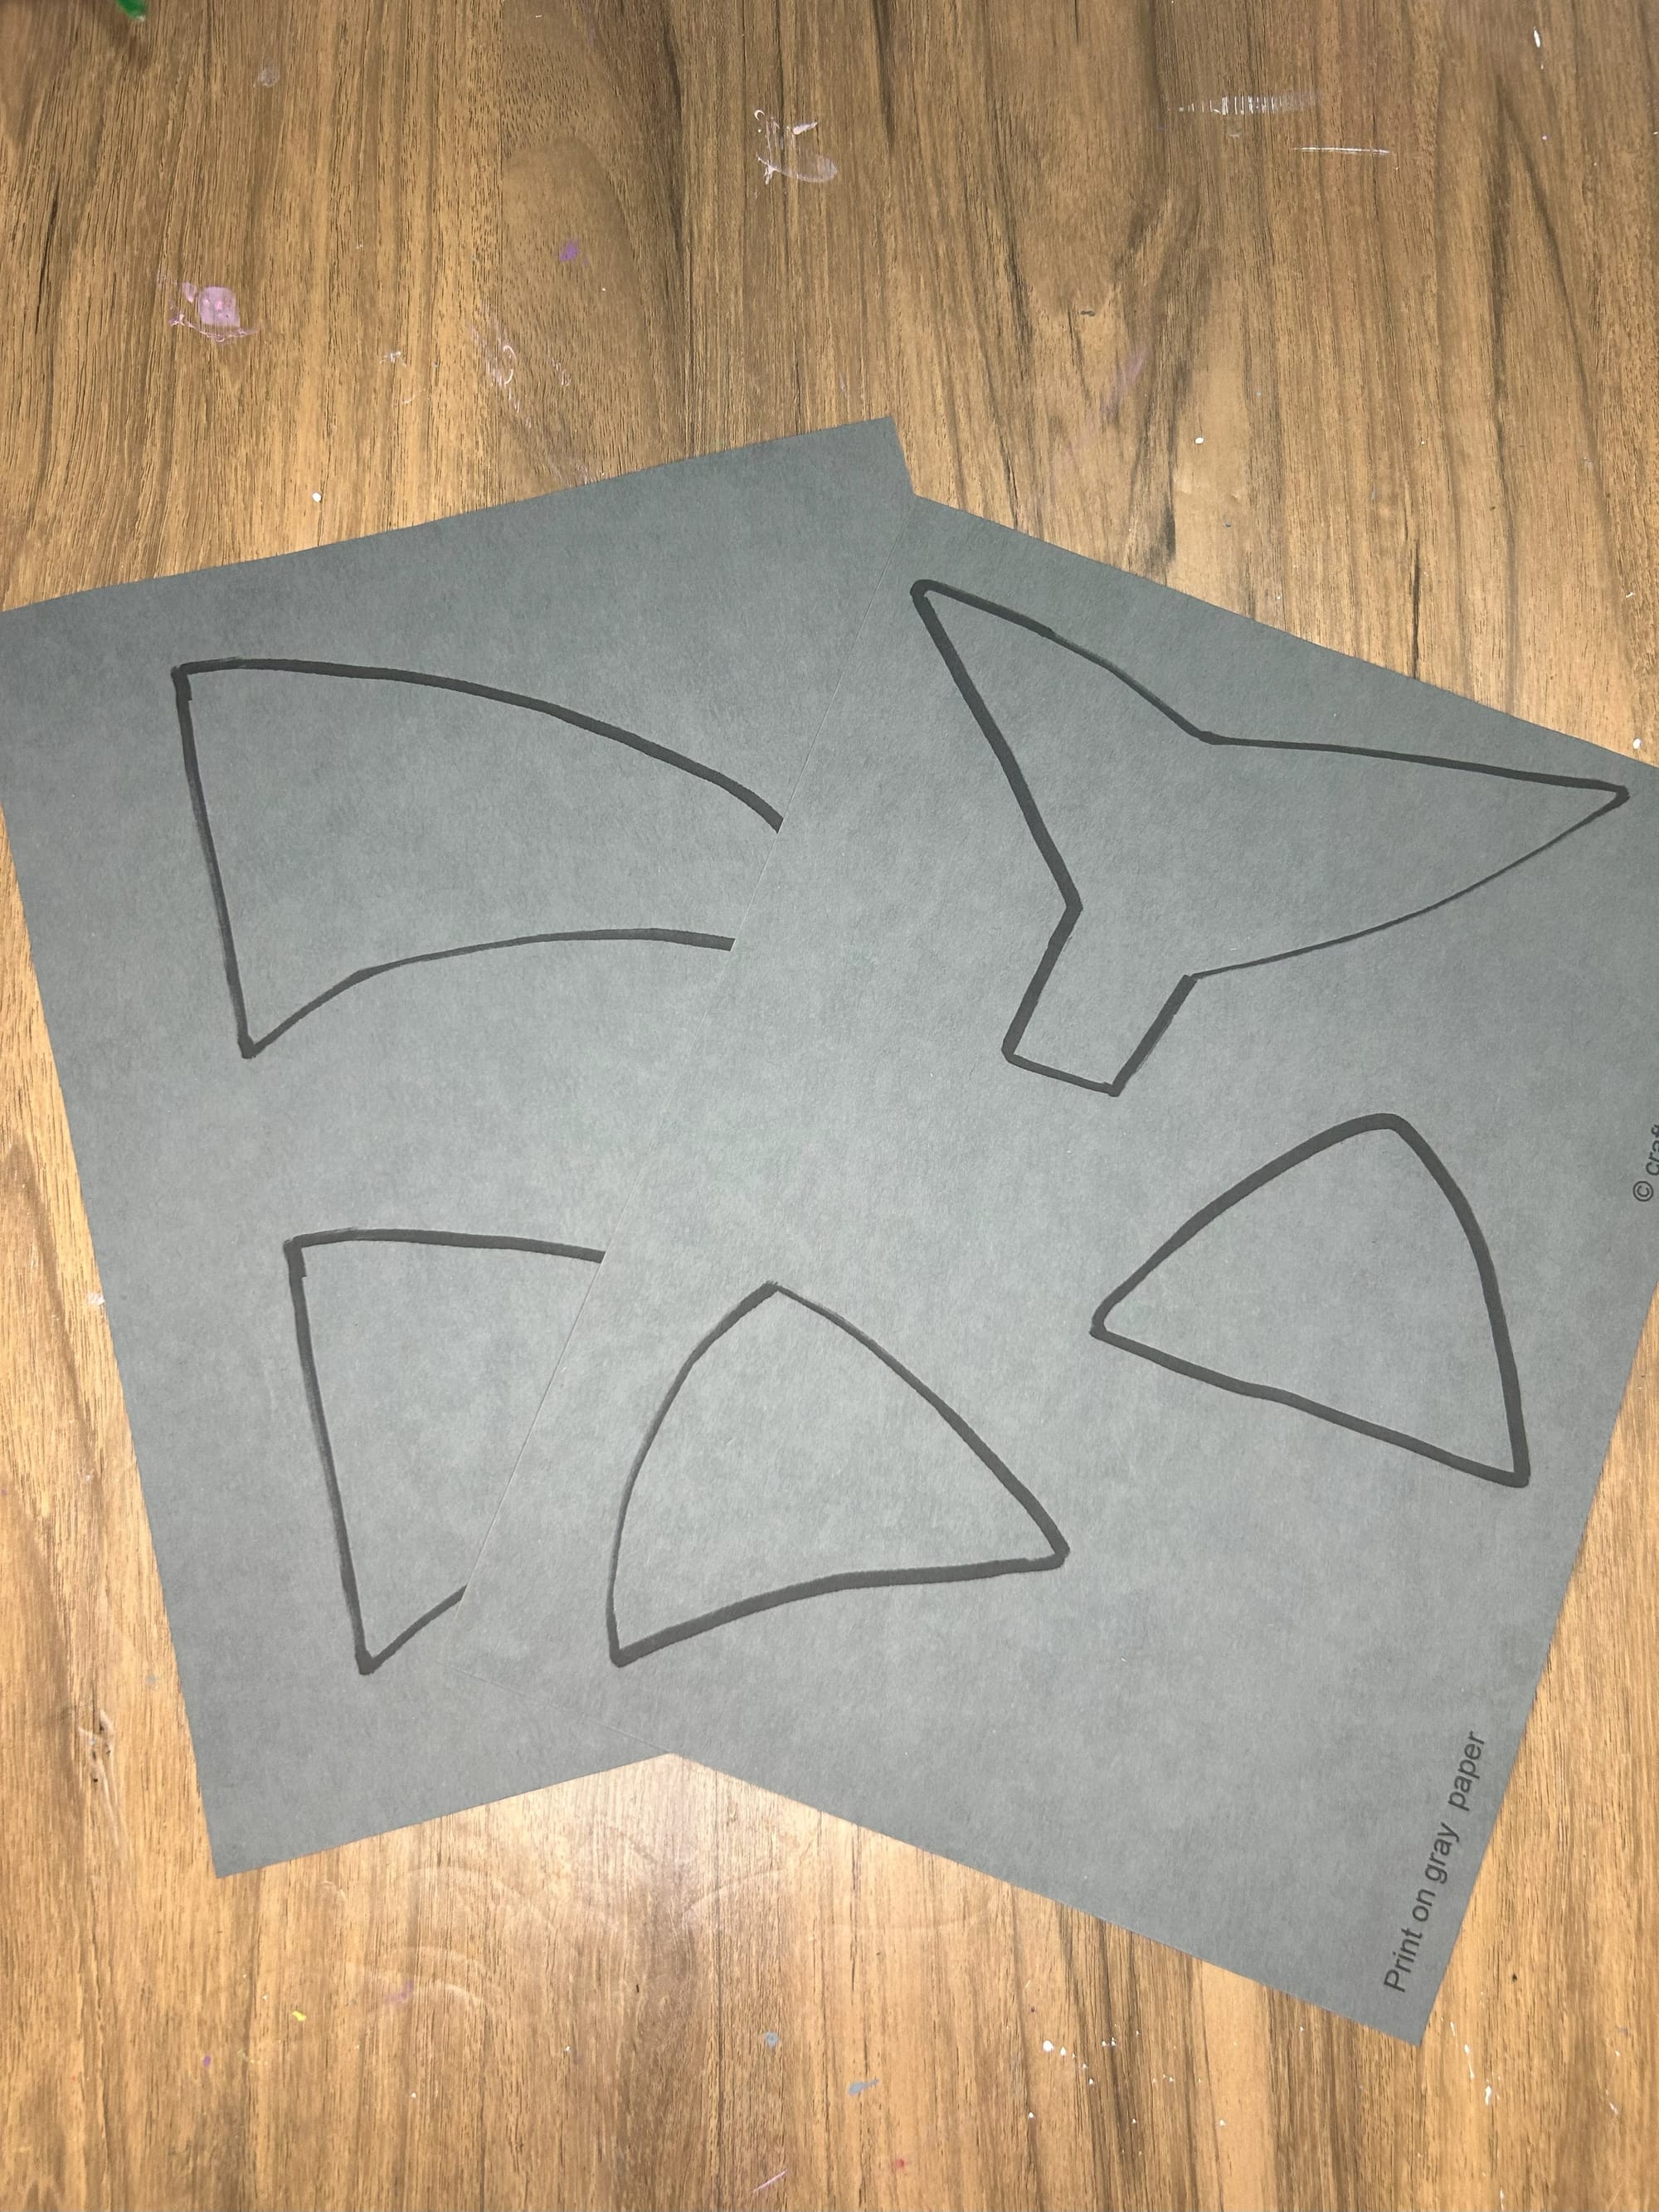
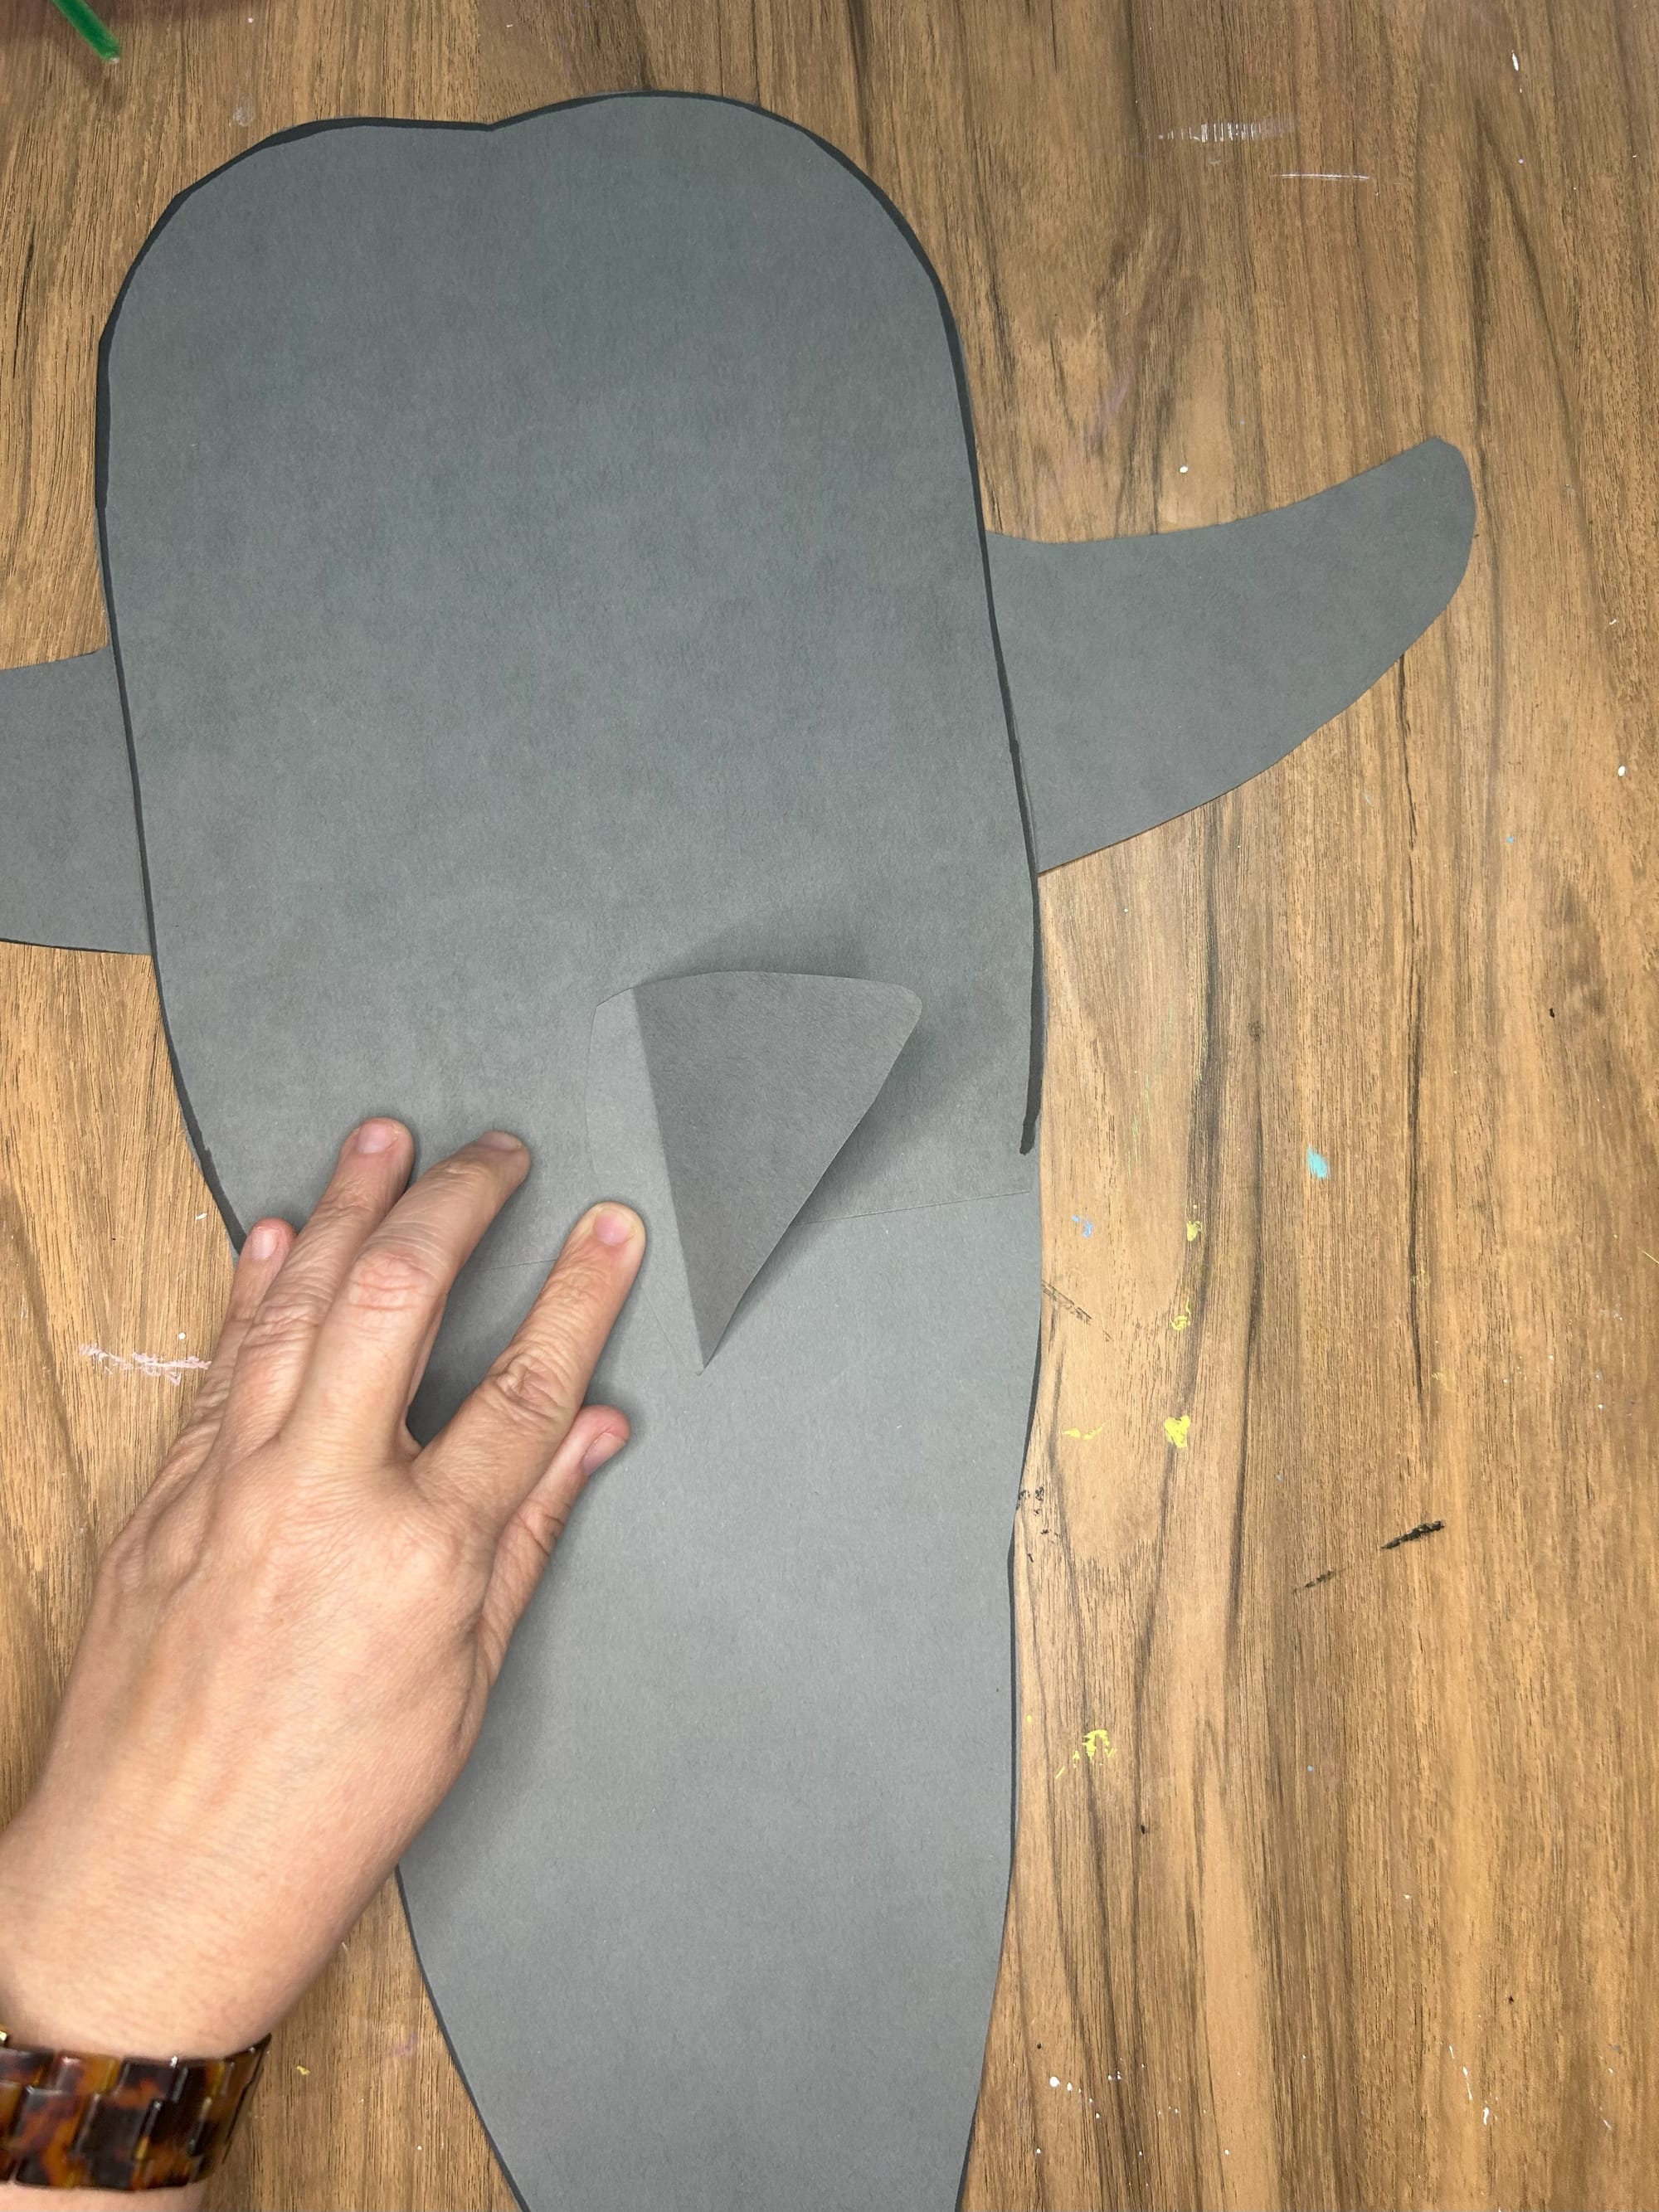
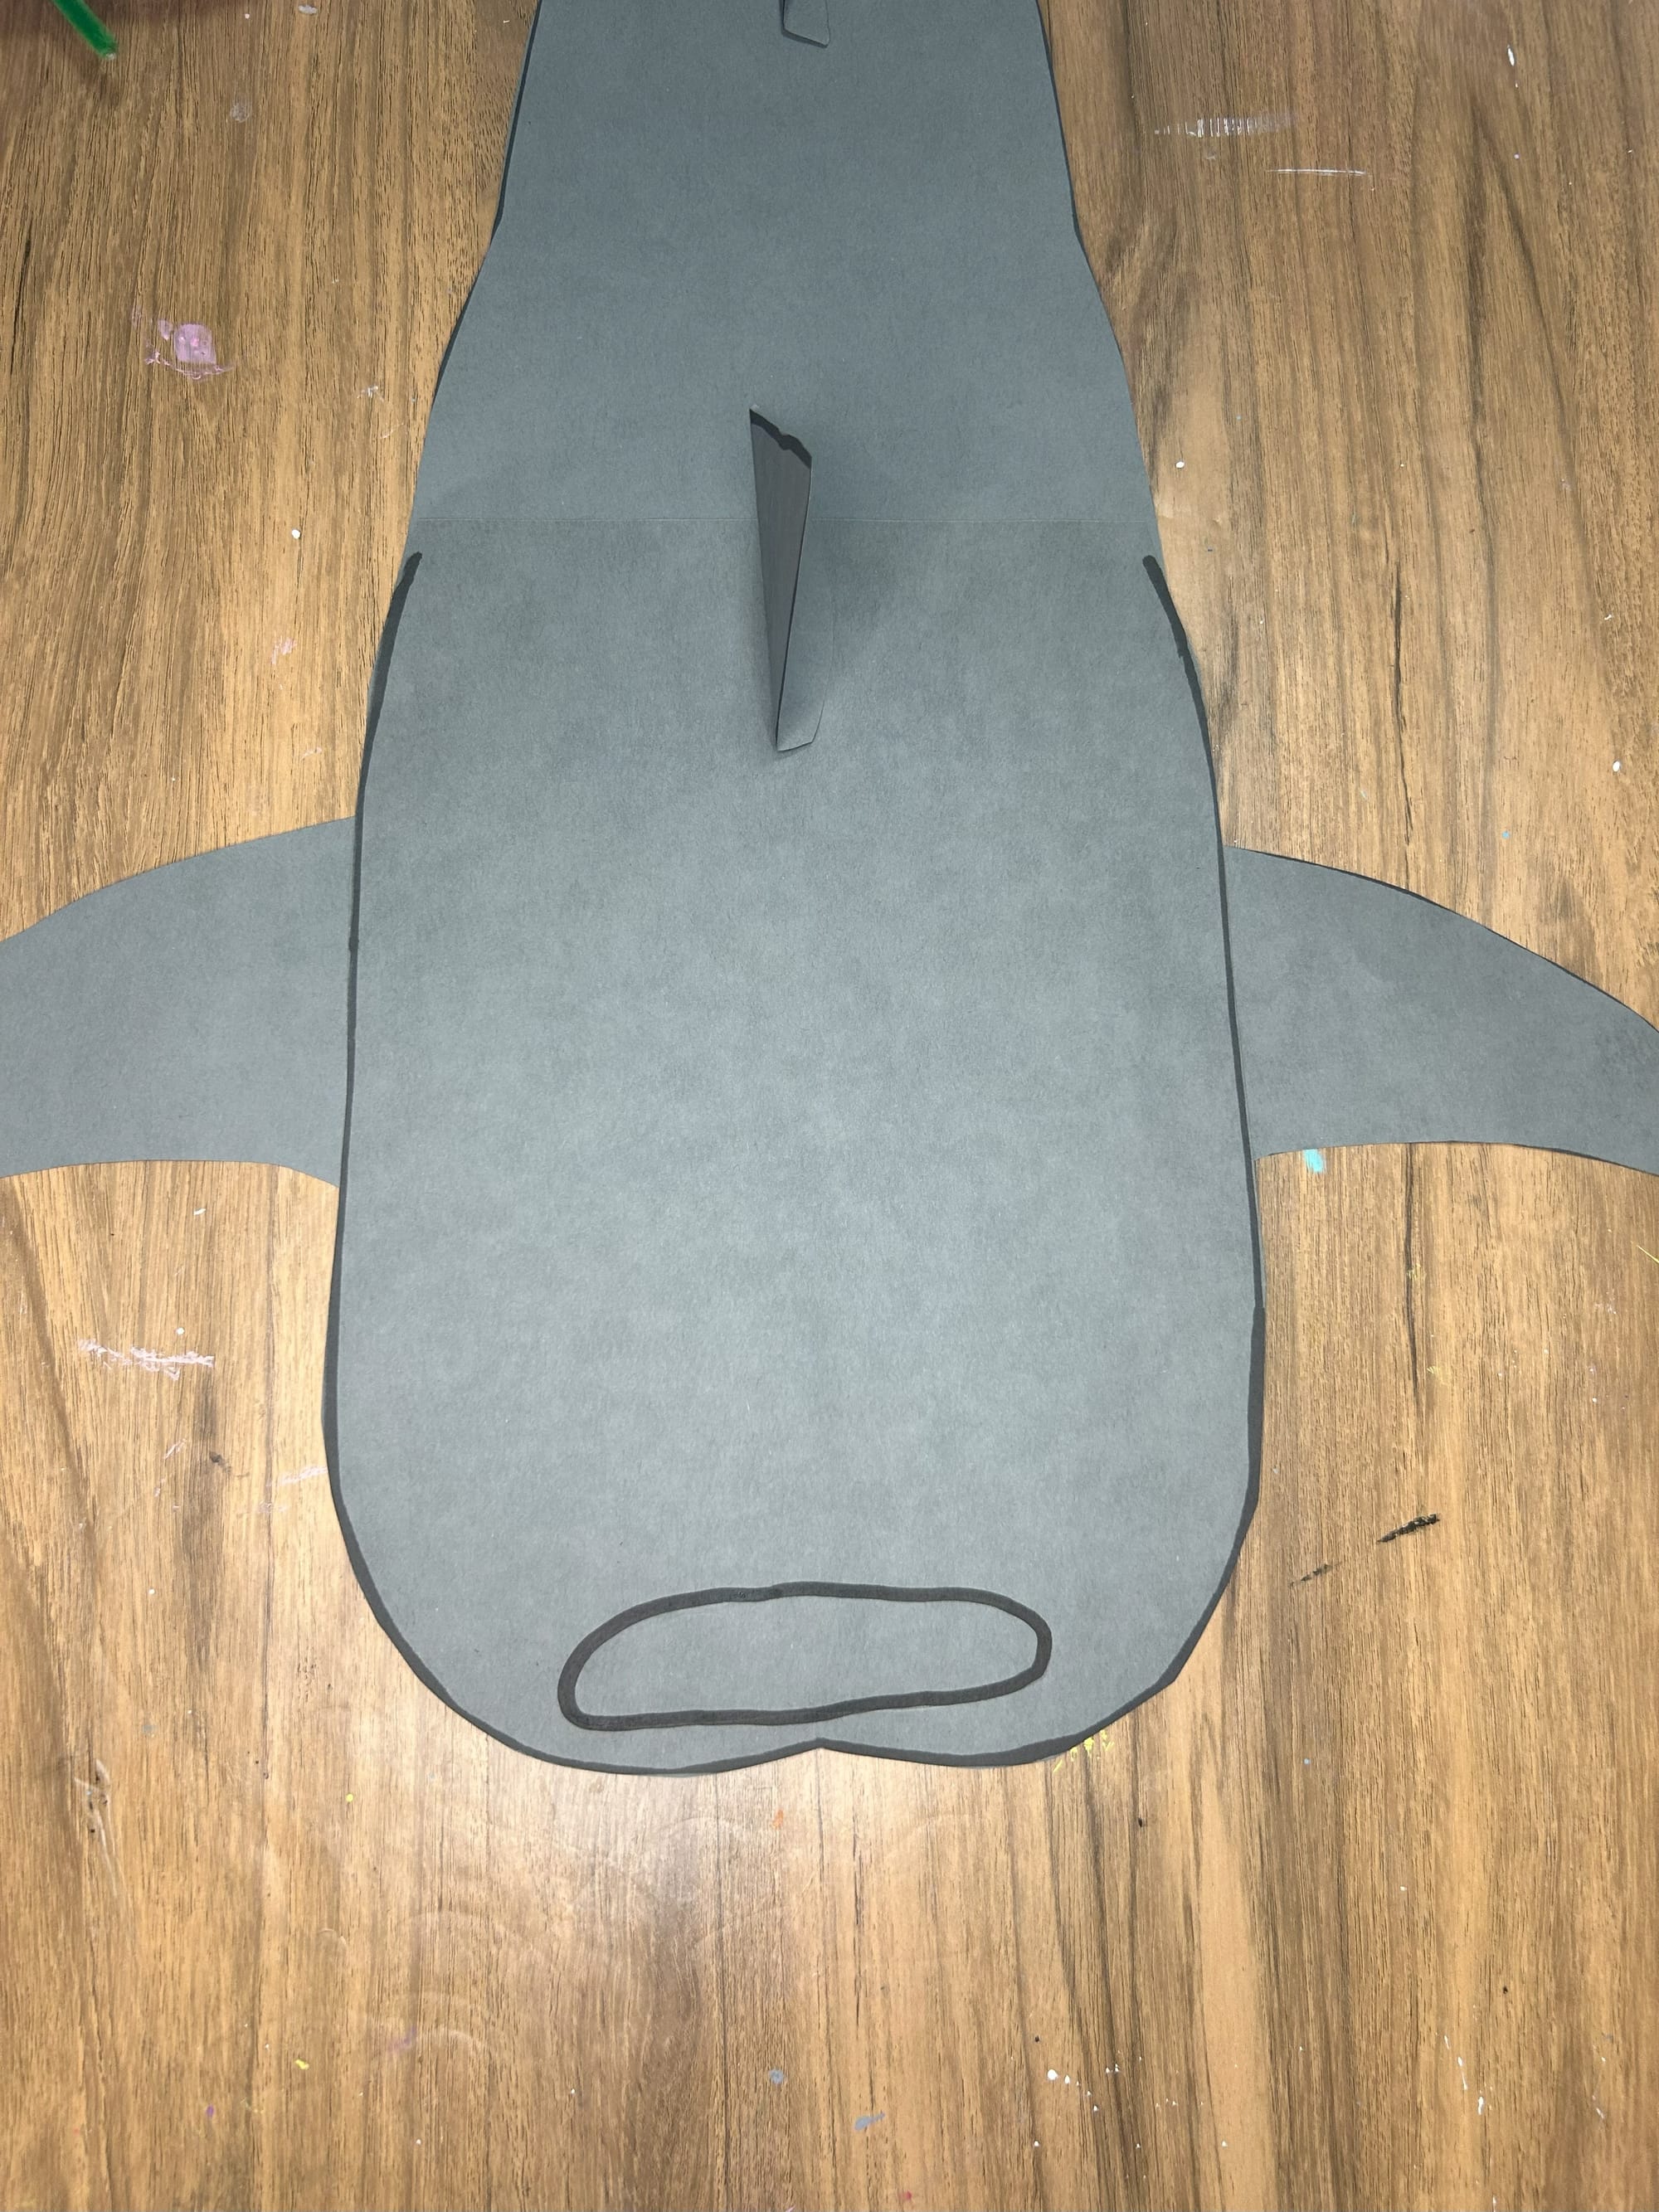
Step 2: Cut and Attach the Fins and Flippers
Now, print and cut out the fins and flippers for the whale shark. You will glue the tail fin to the back end of the whale shark.
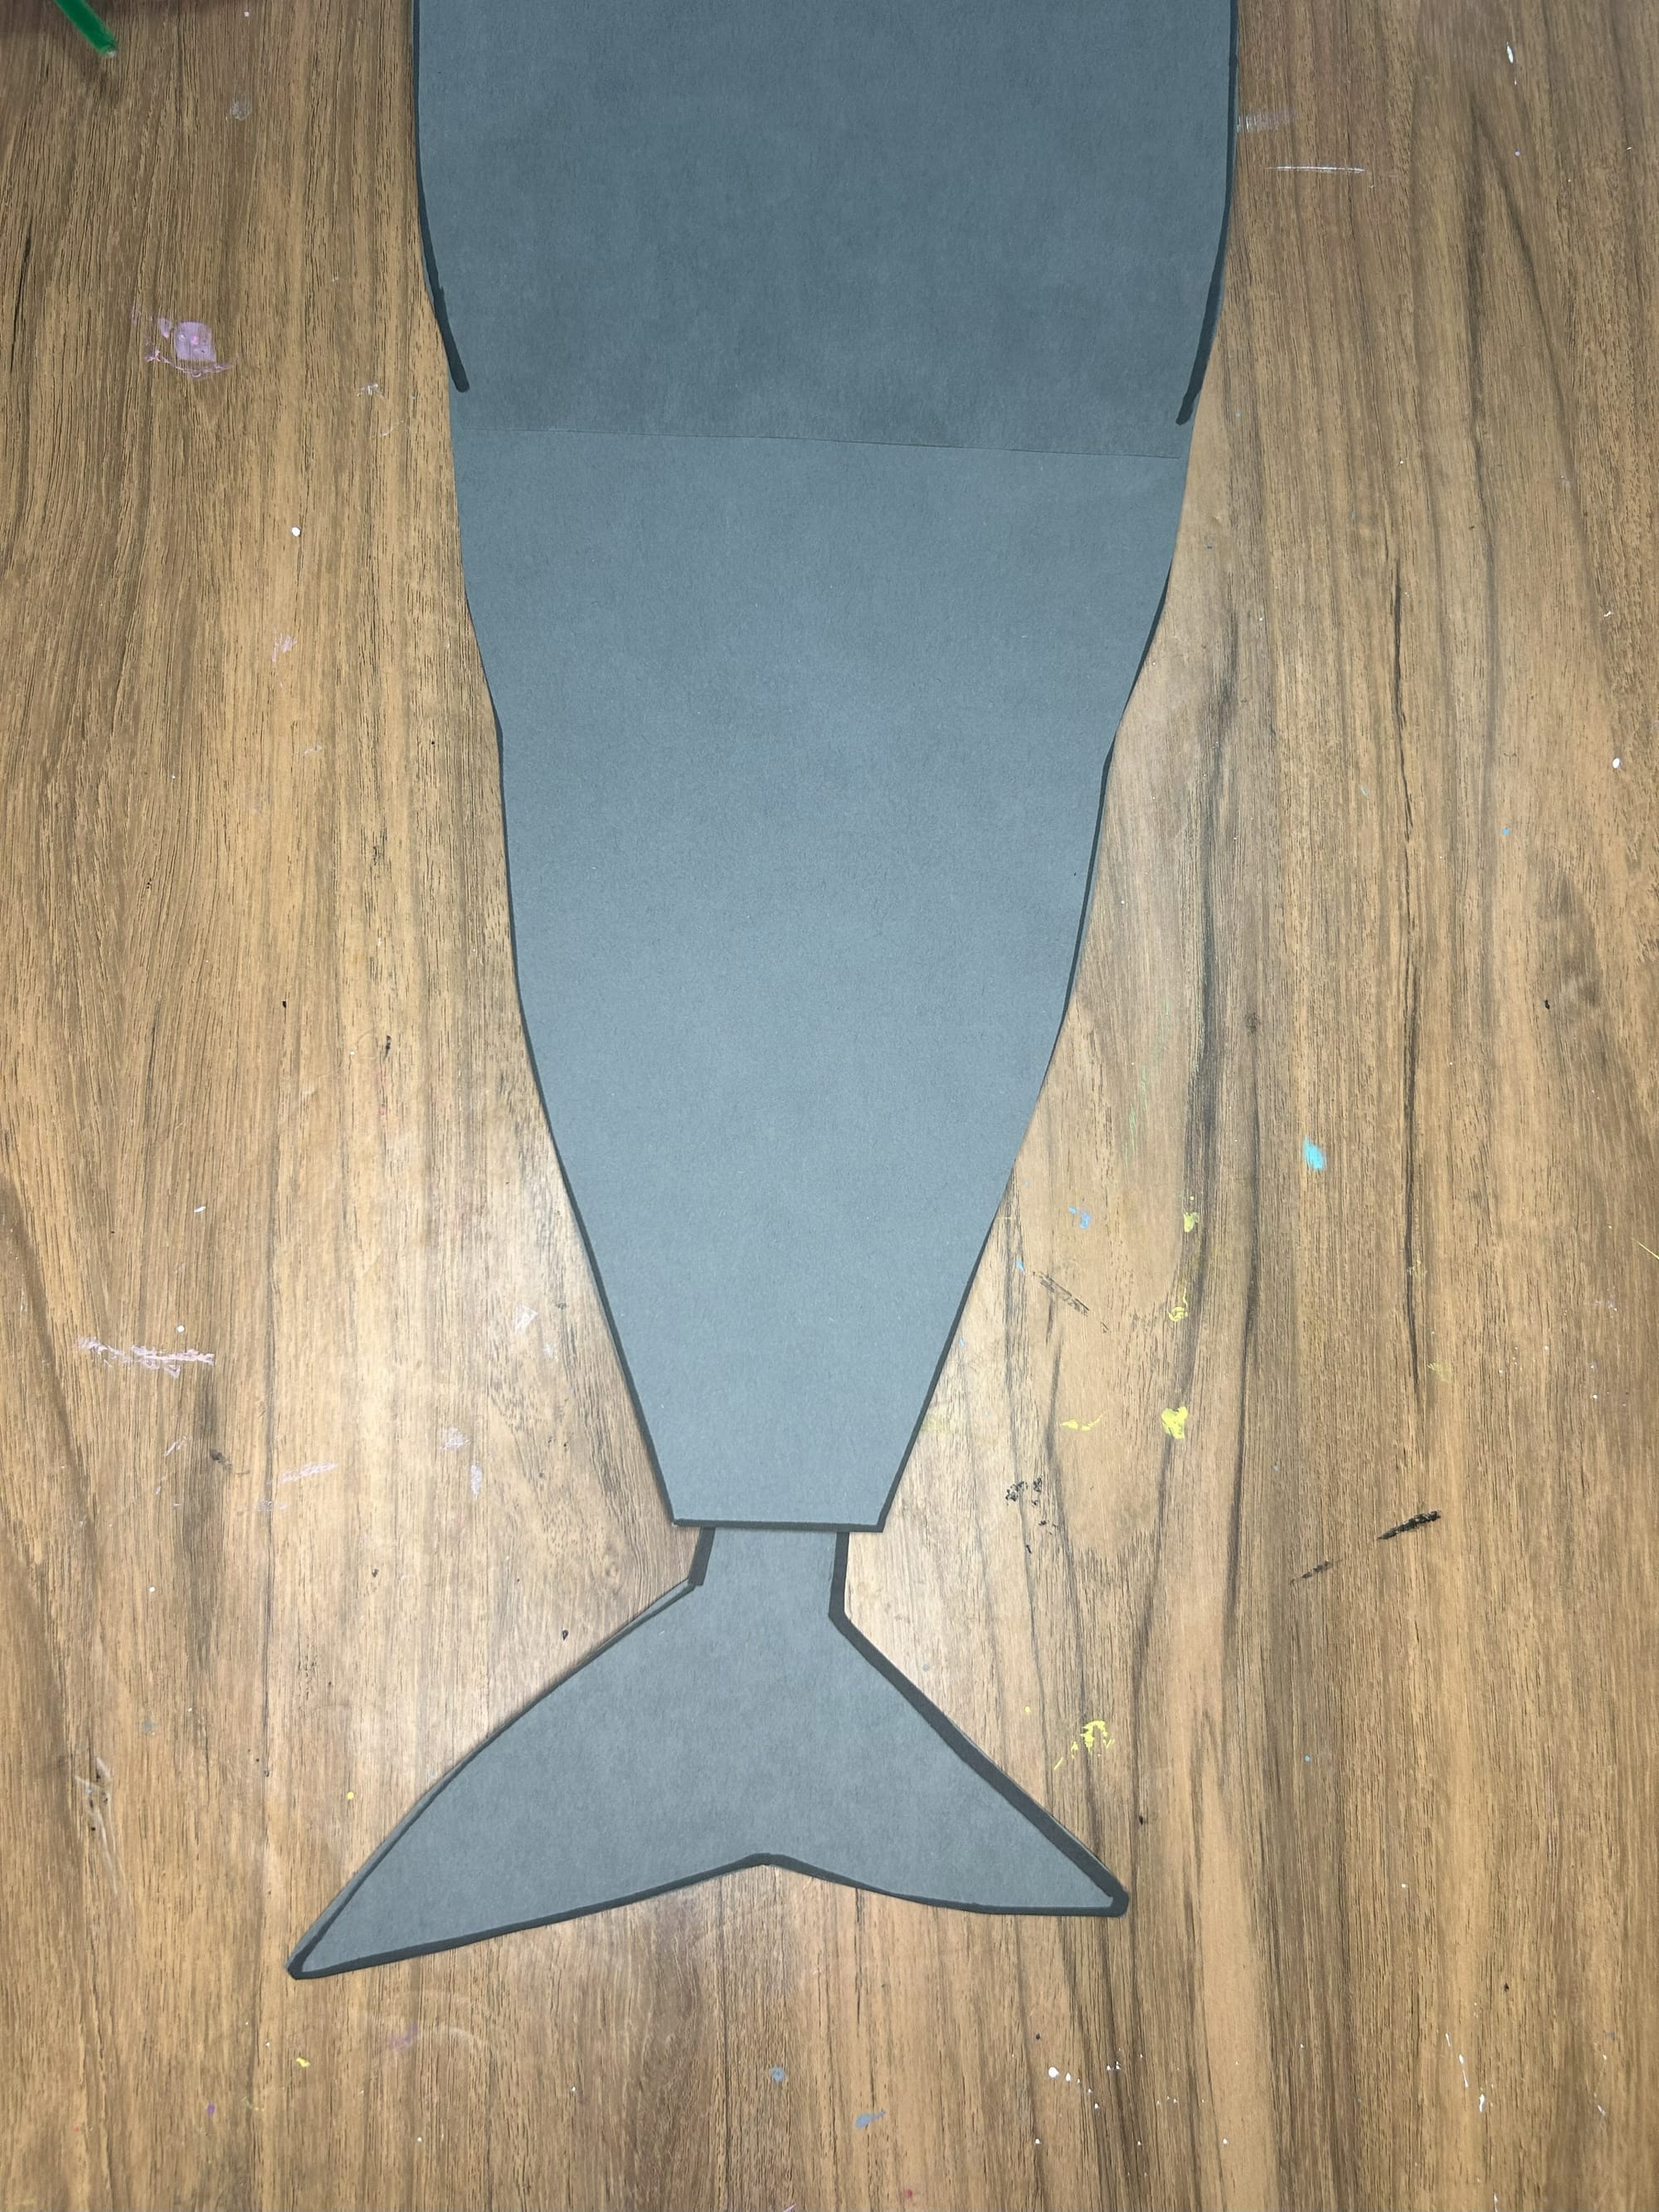
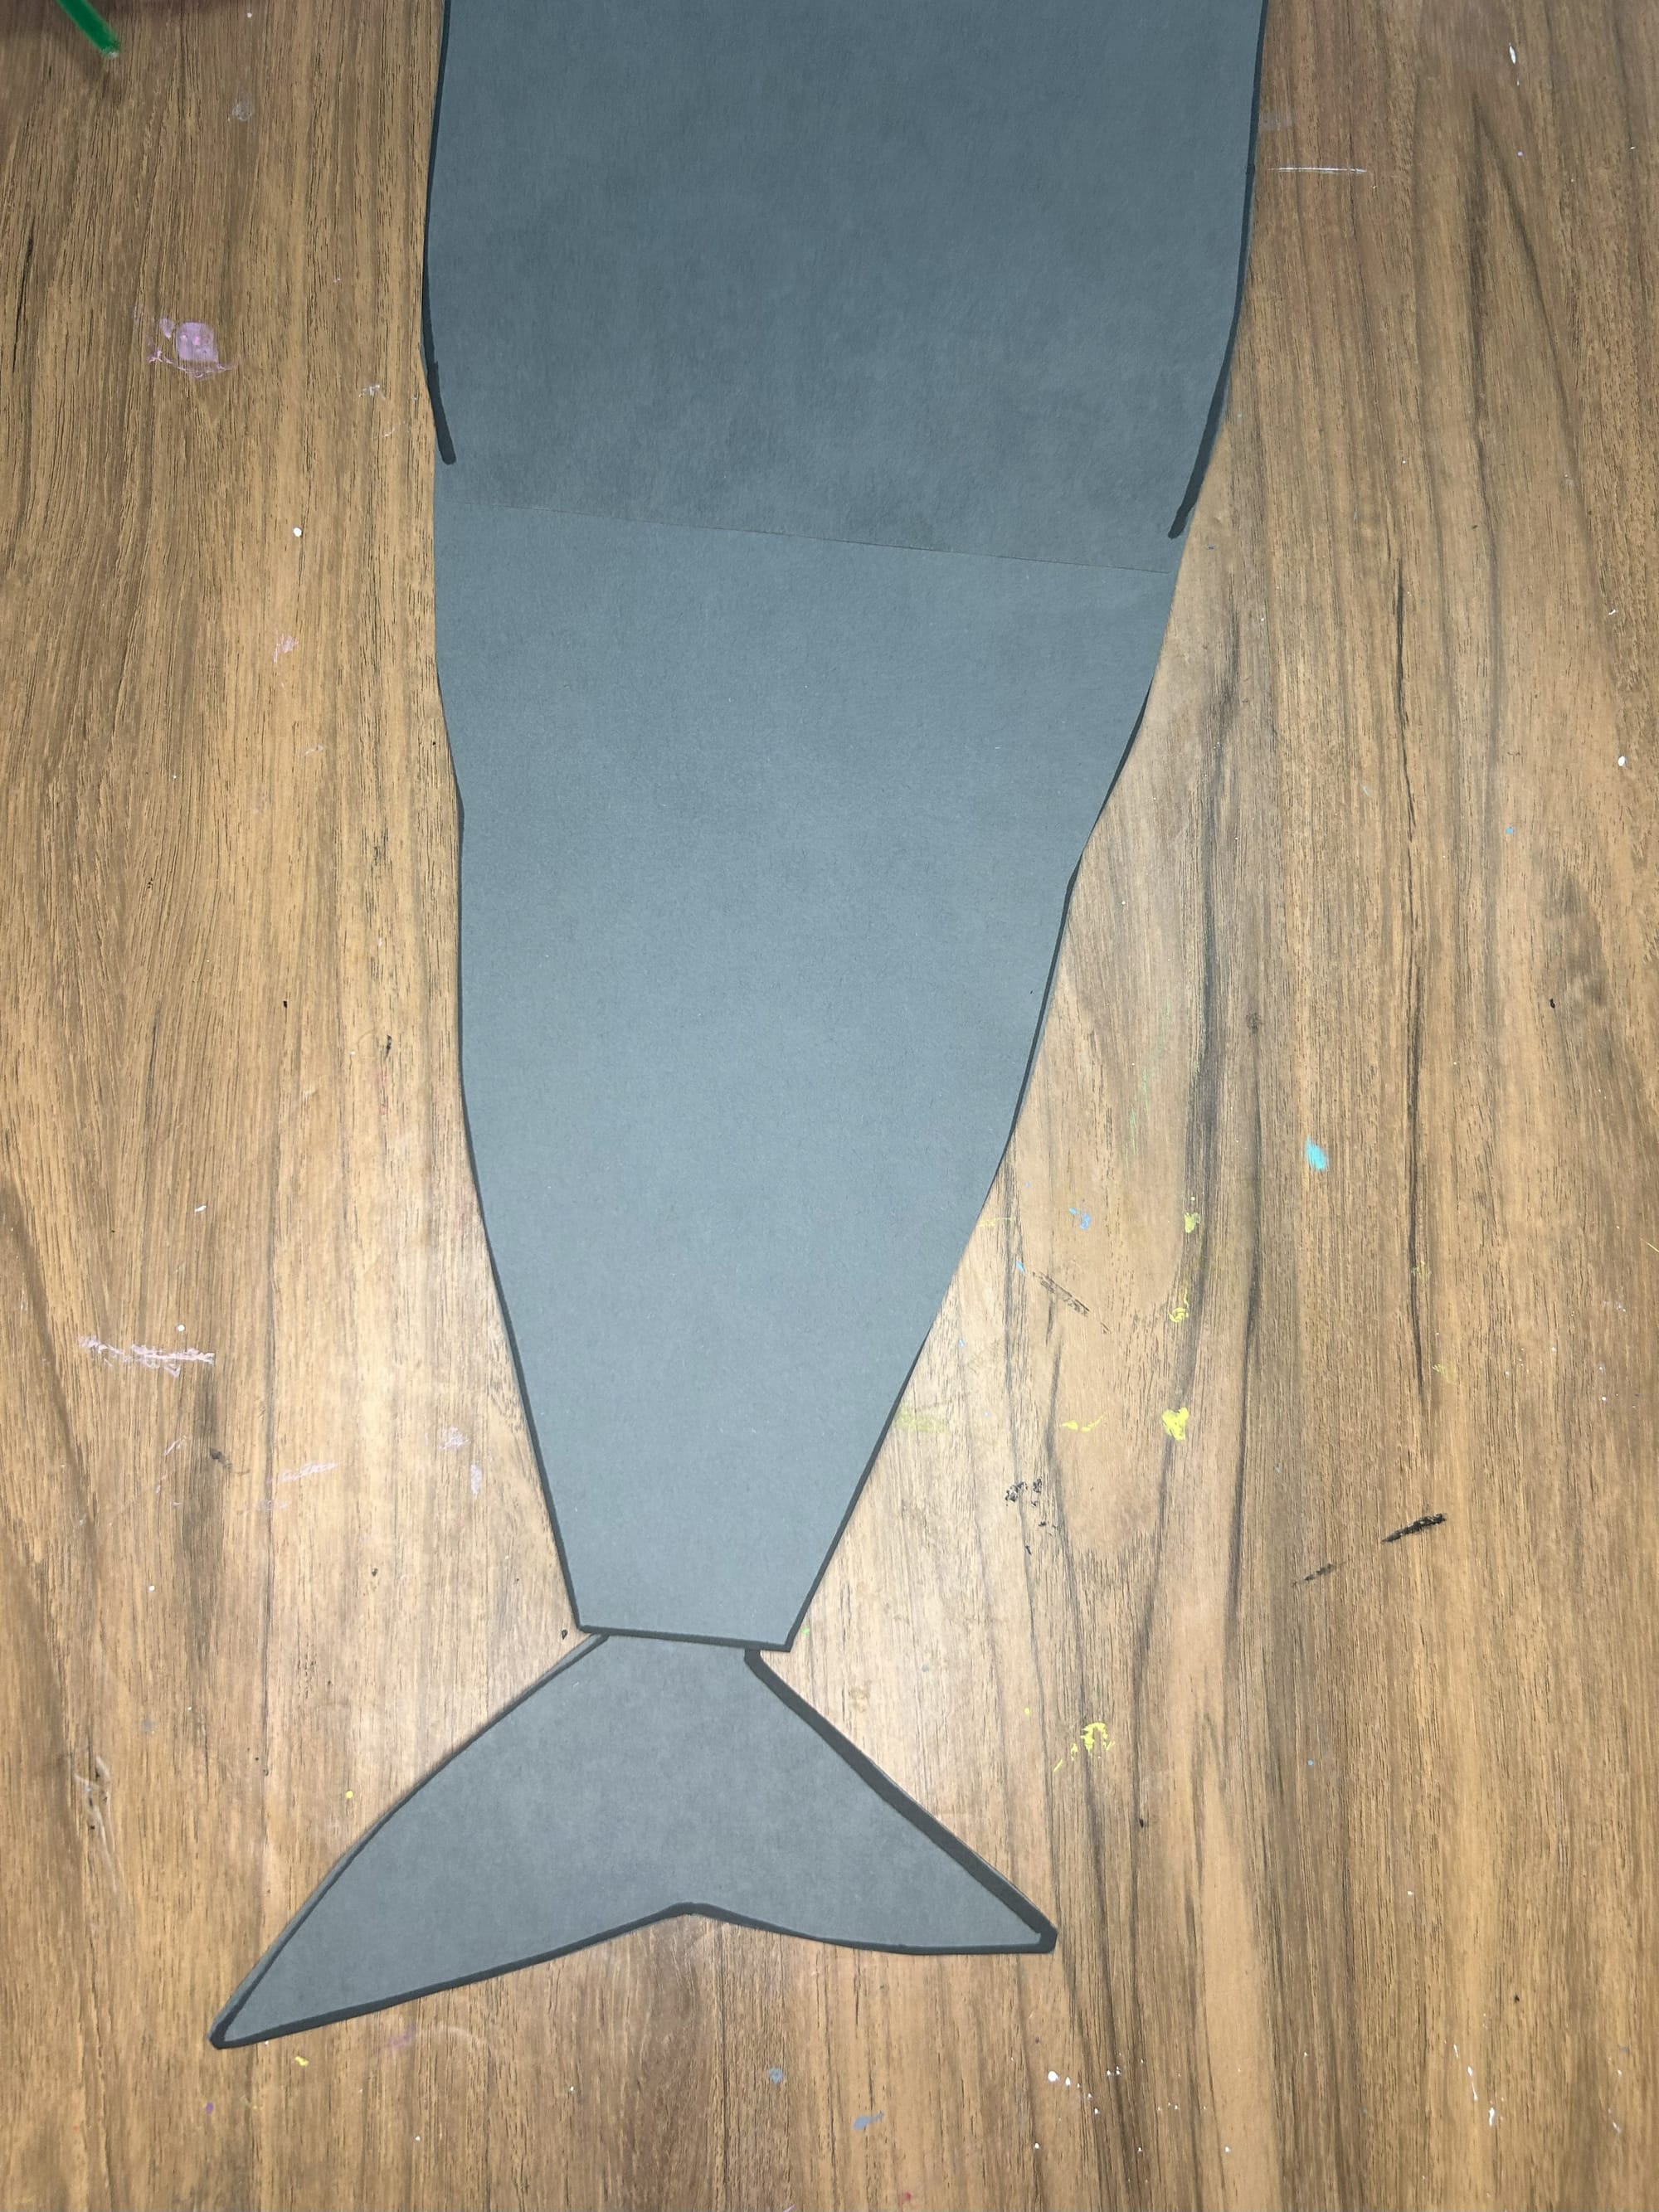
Glue the tail onto the back.
Add the pectoral fins to the side of the body towards the front of the body.
Glue the dorsal fins to the middle and back of the body. To do this, fold the fins a small amount to create a flap. Add some glue to the flap to glue the fin upright onto the whale shark’s back.
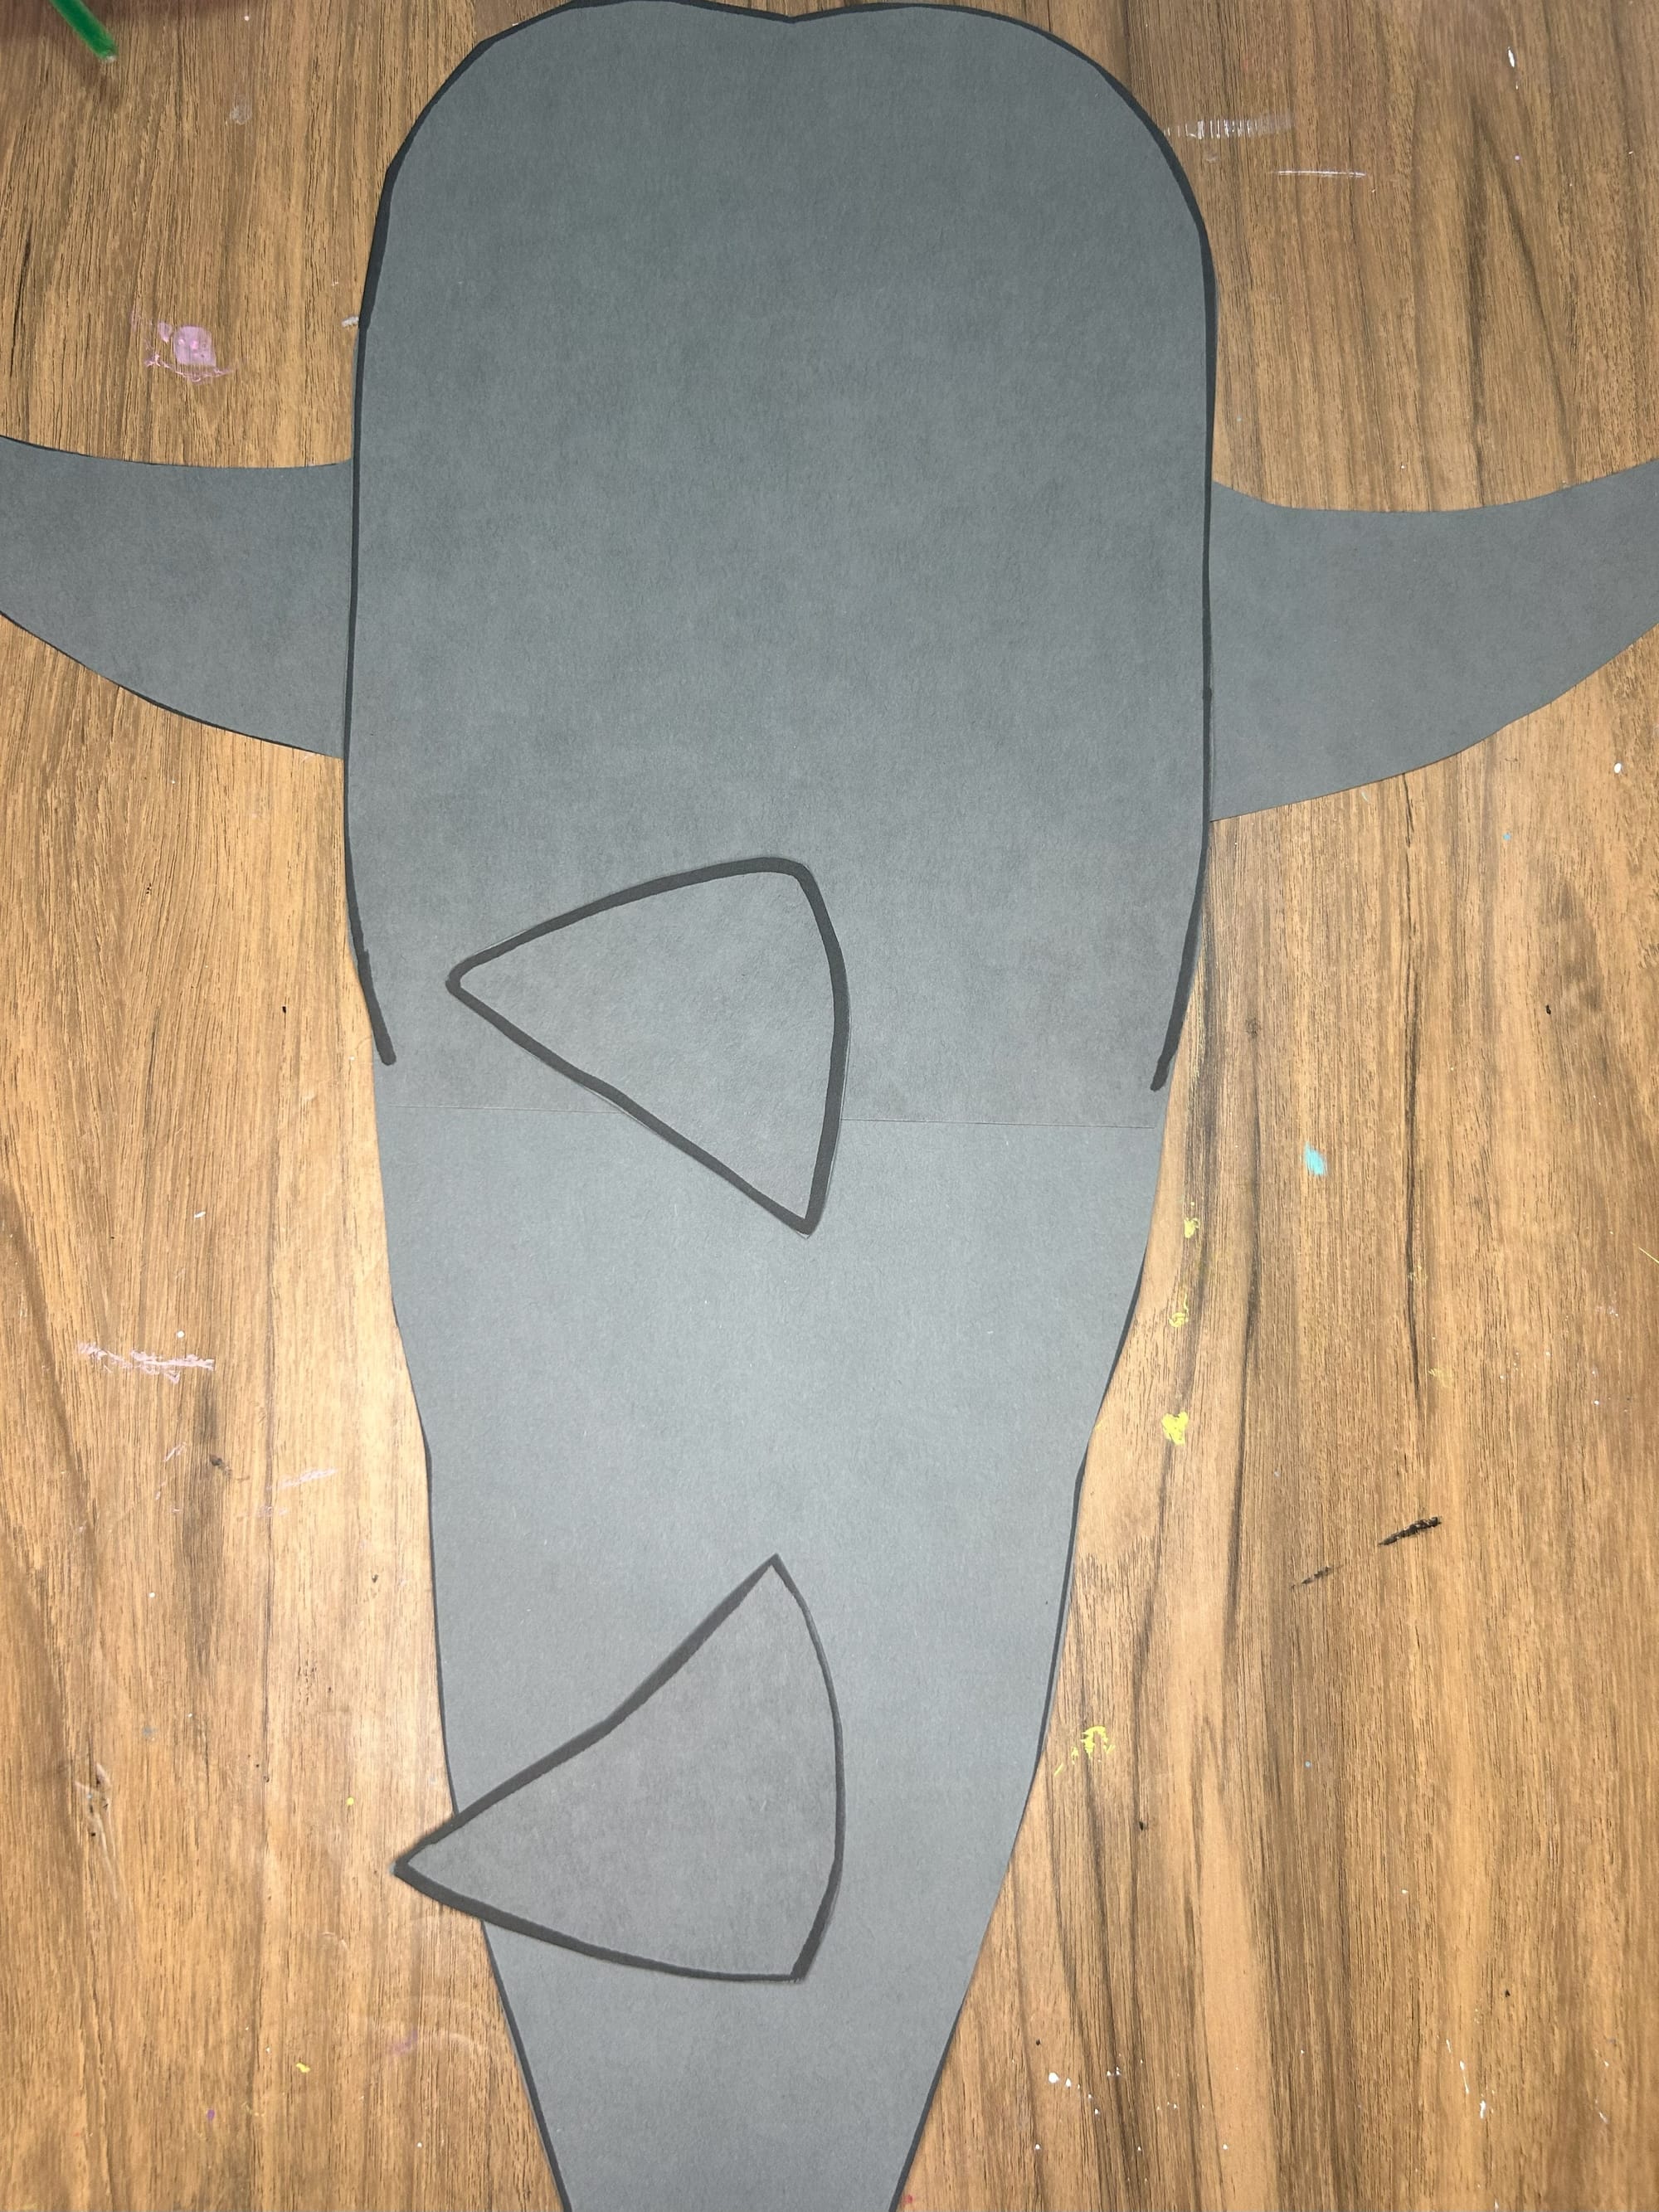
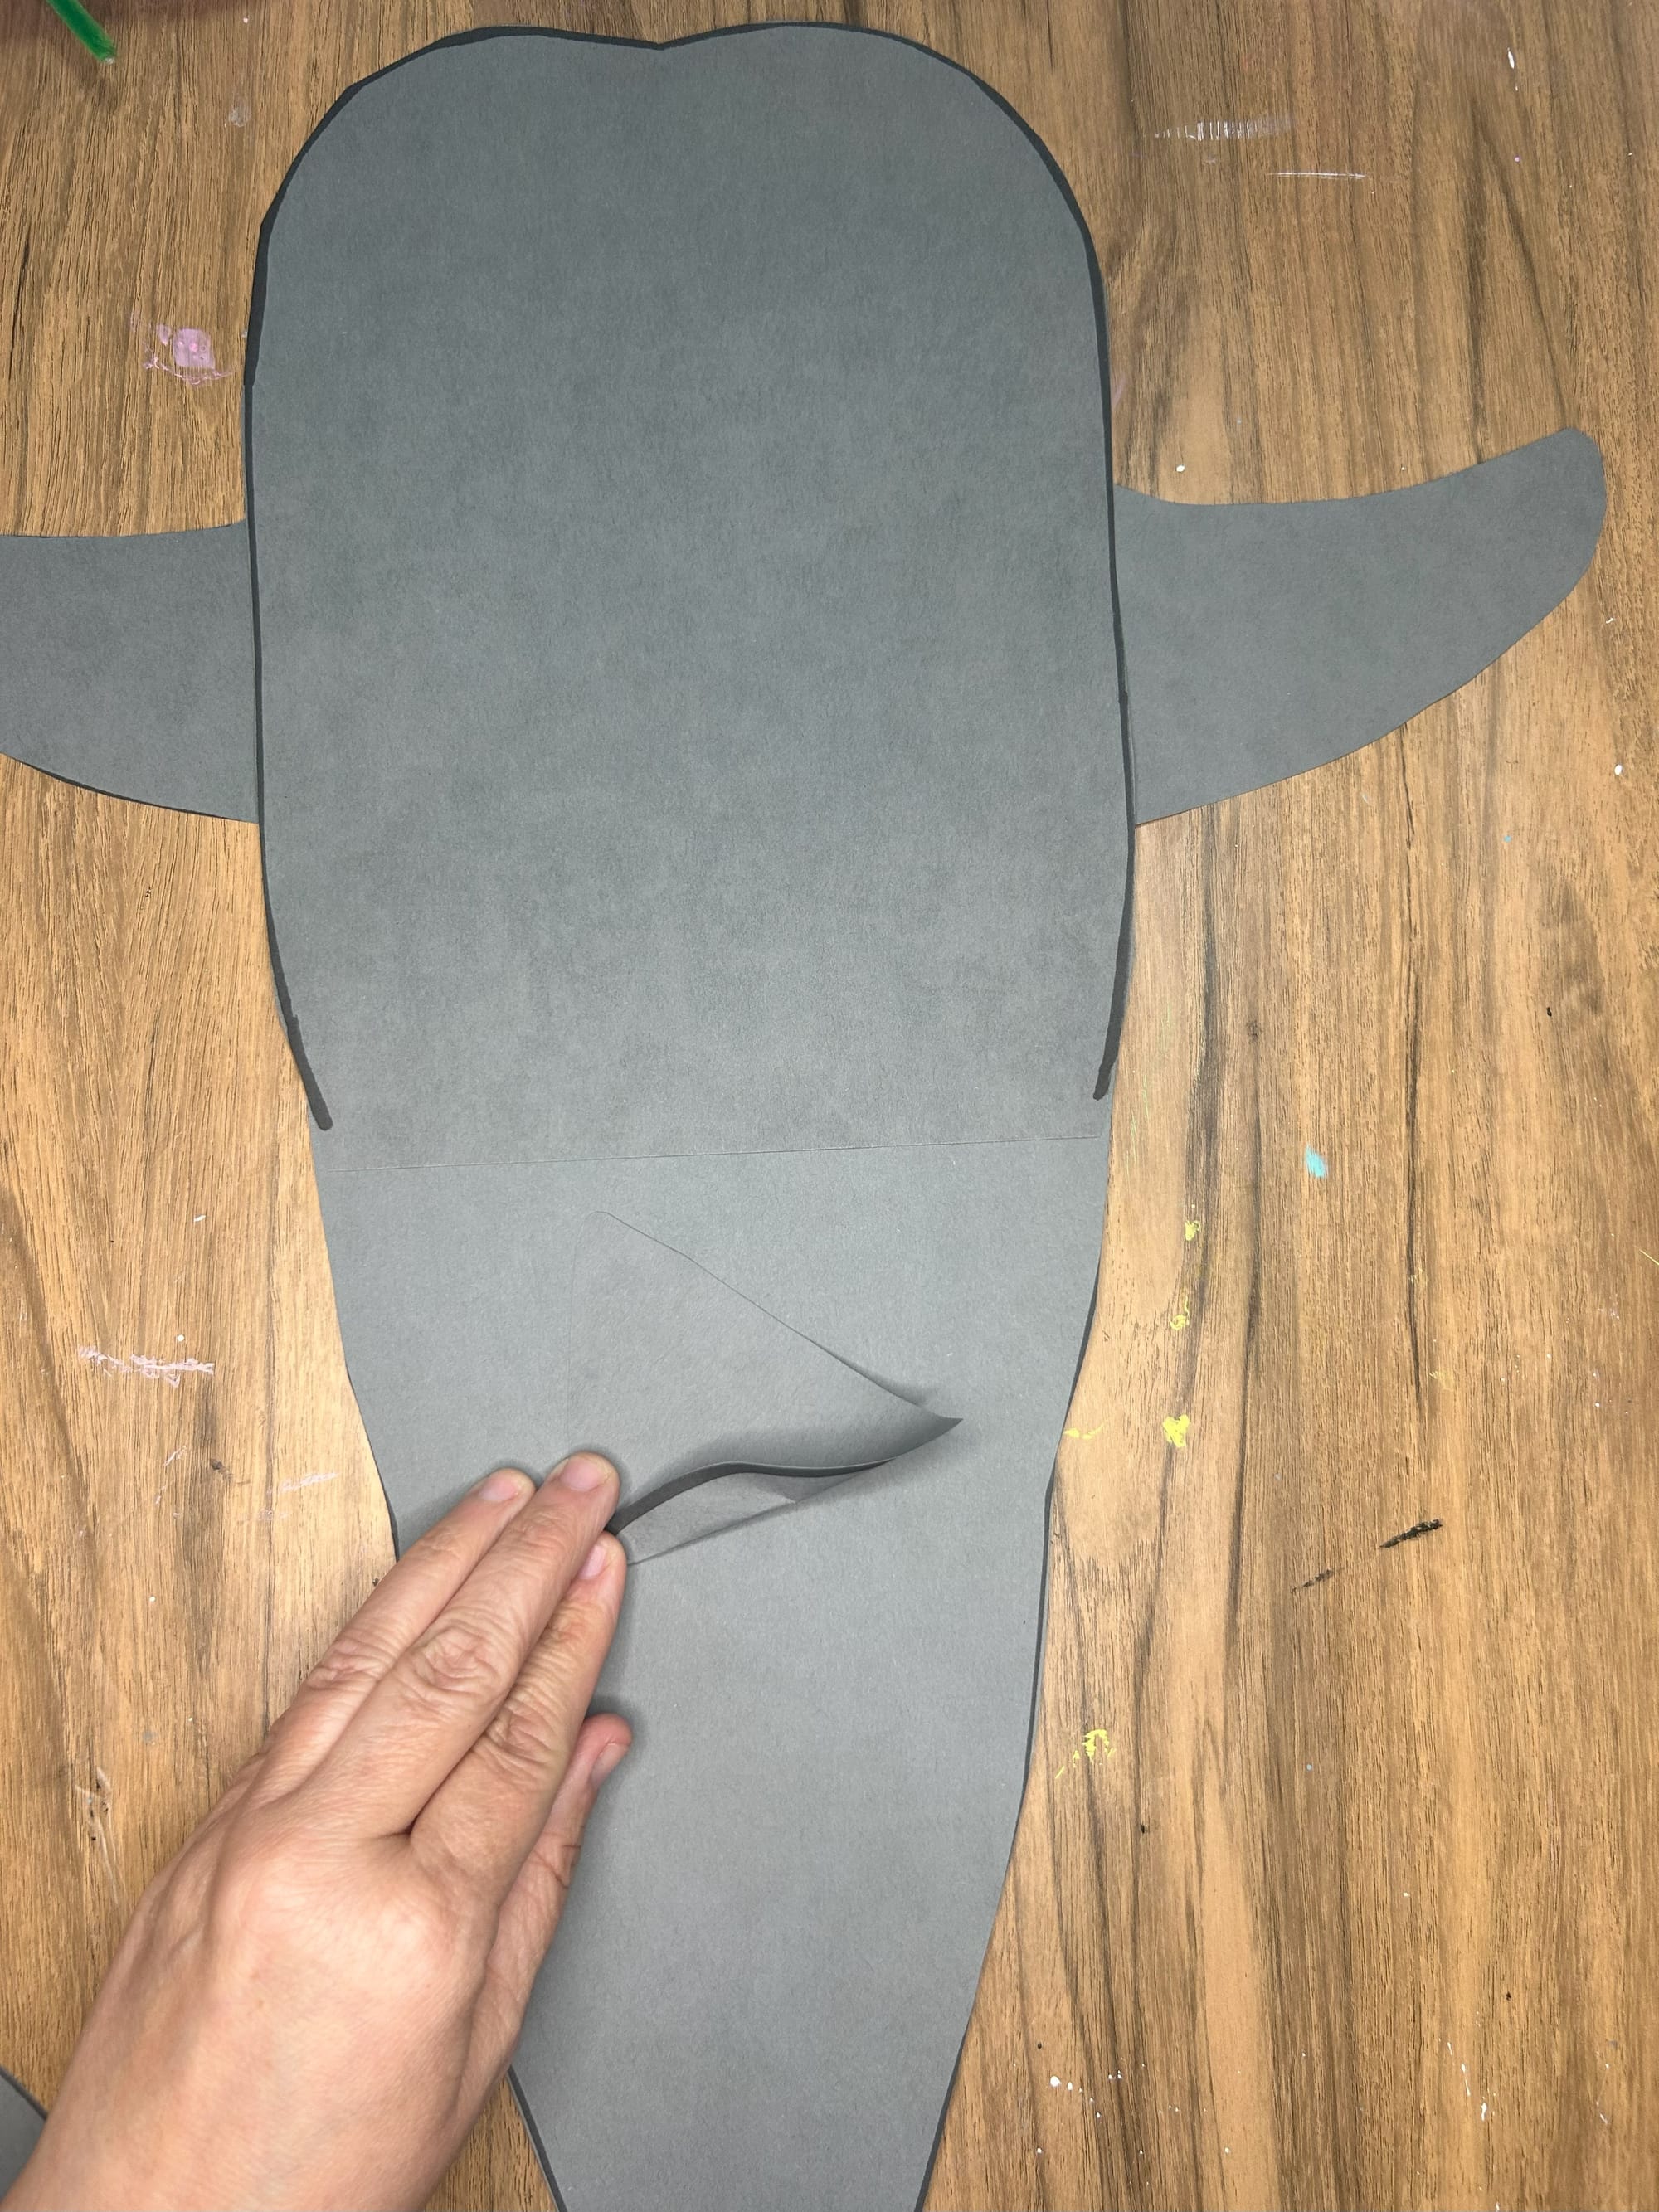
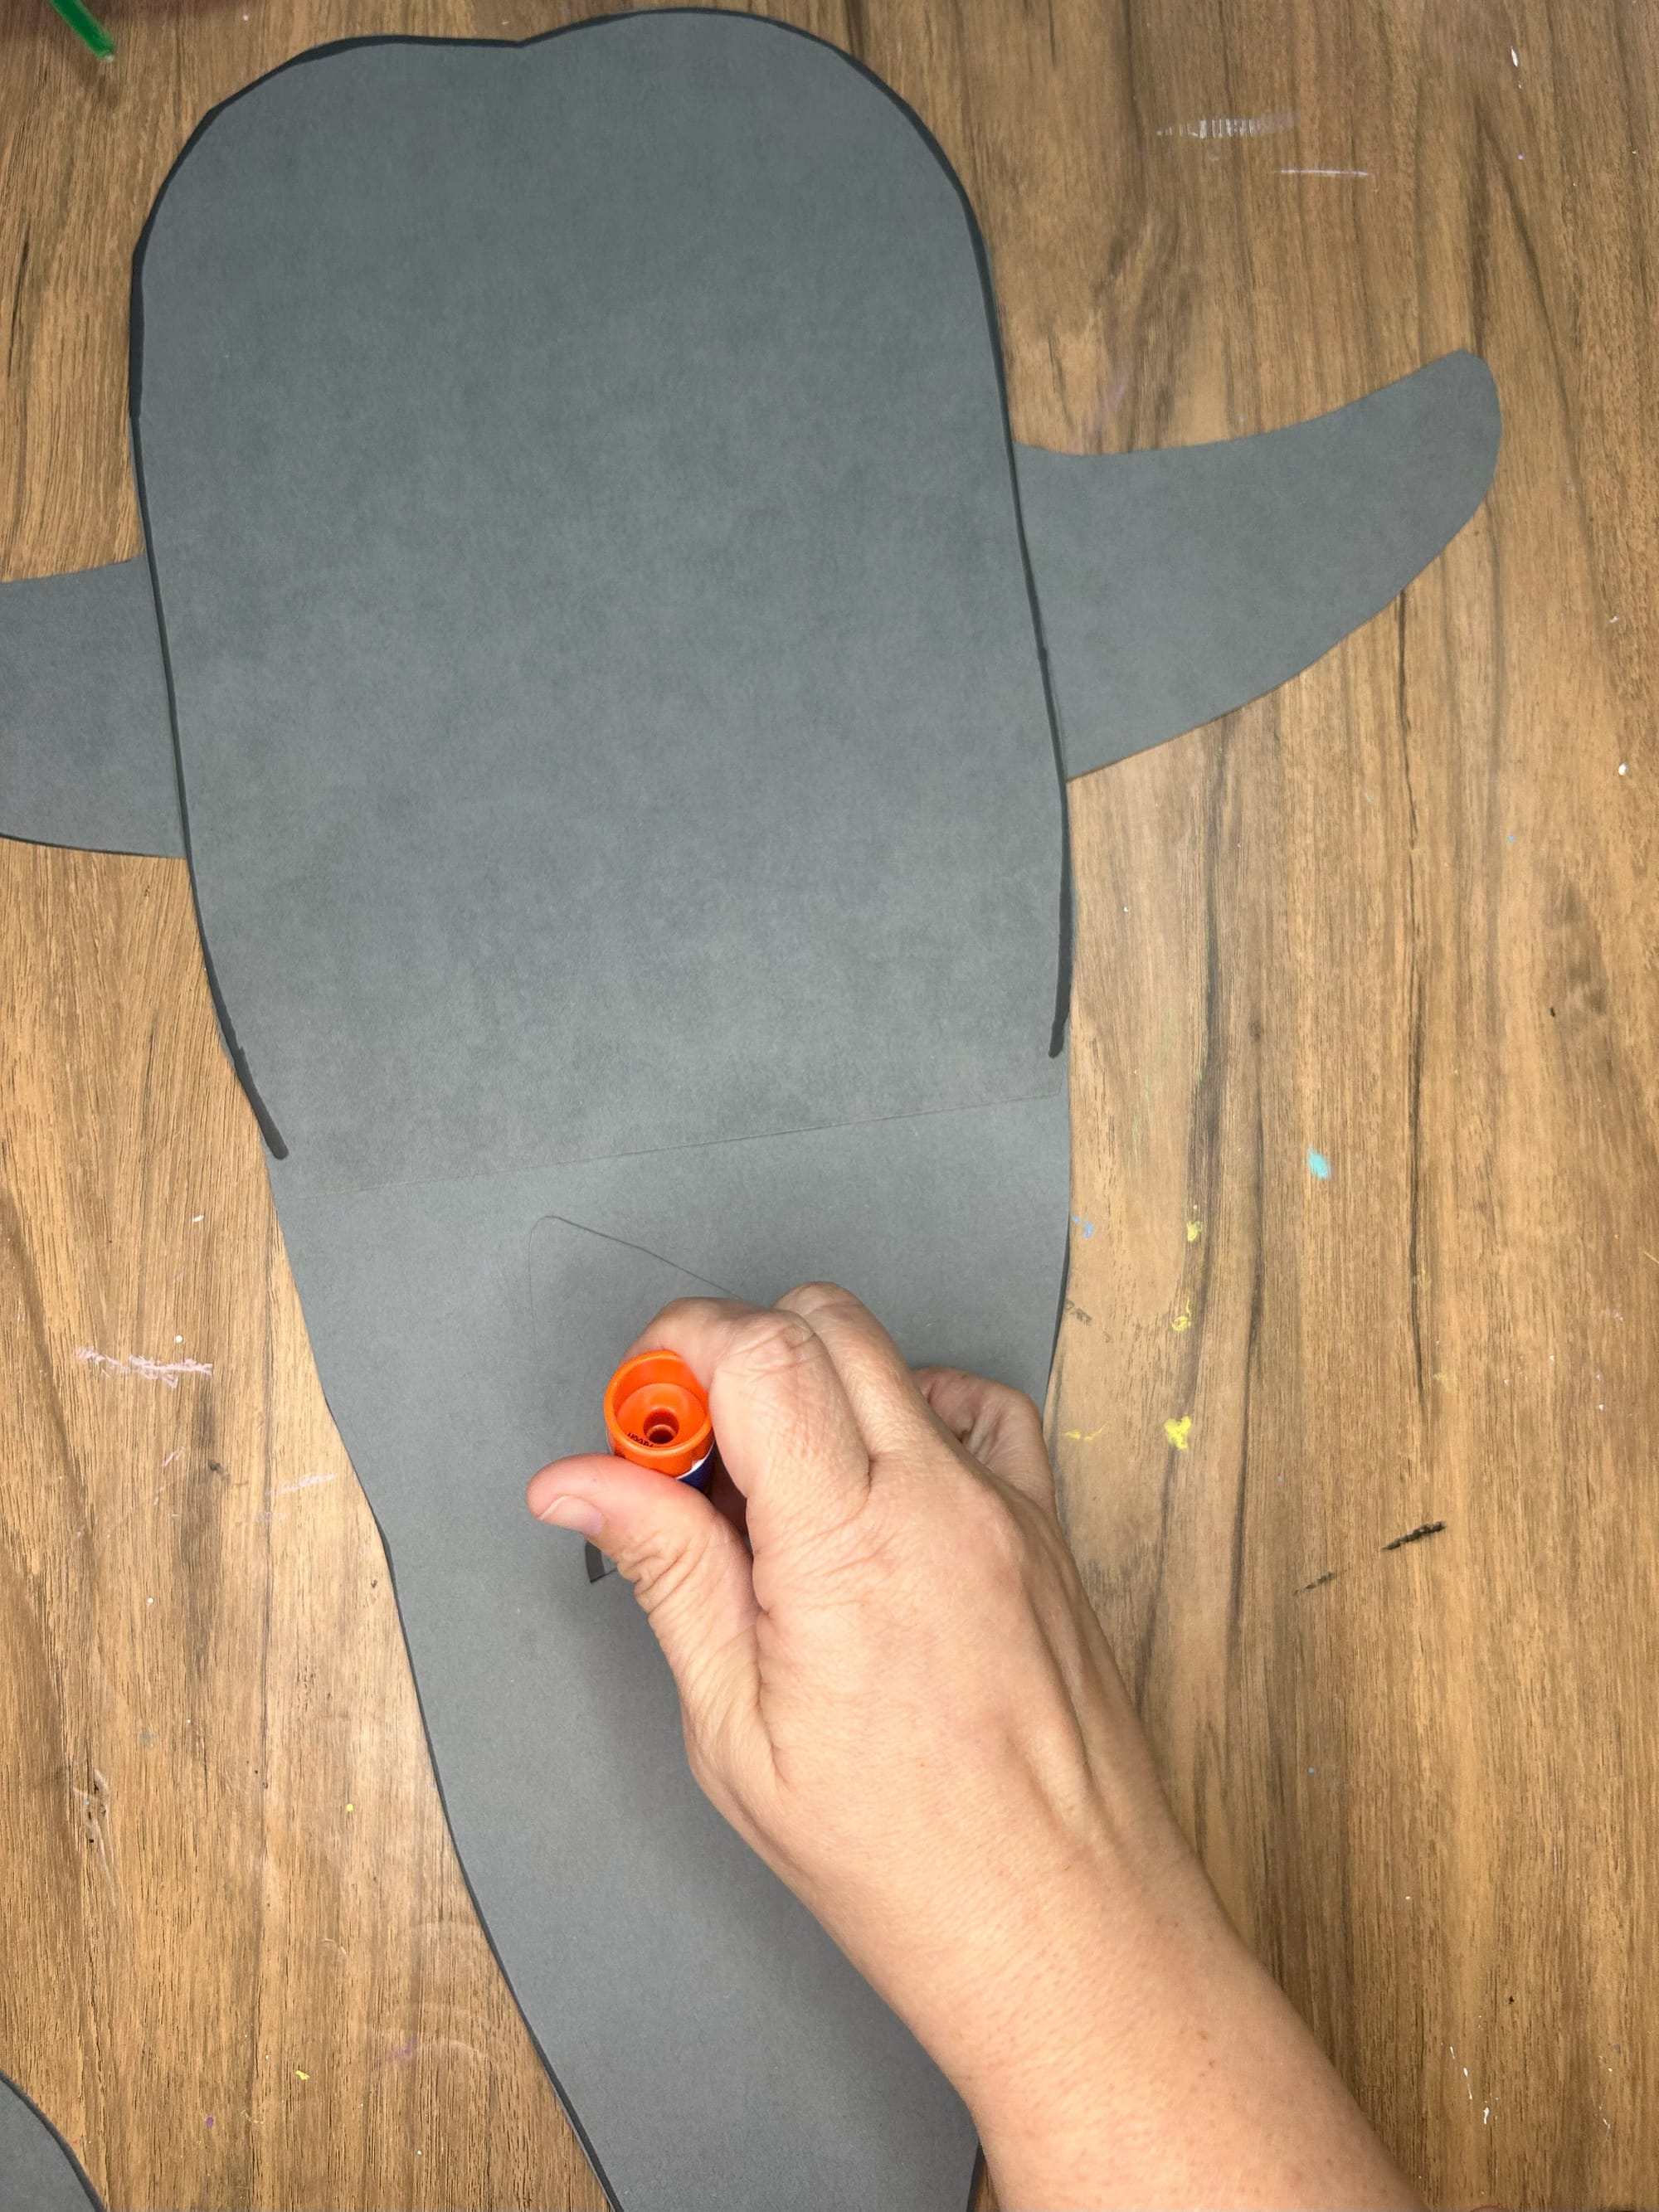
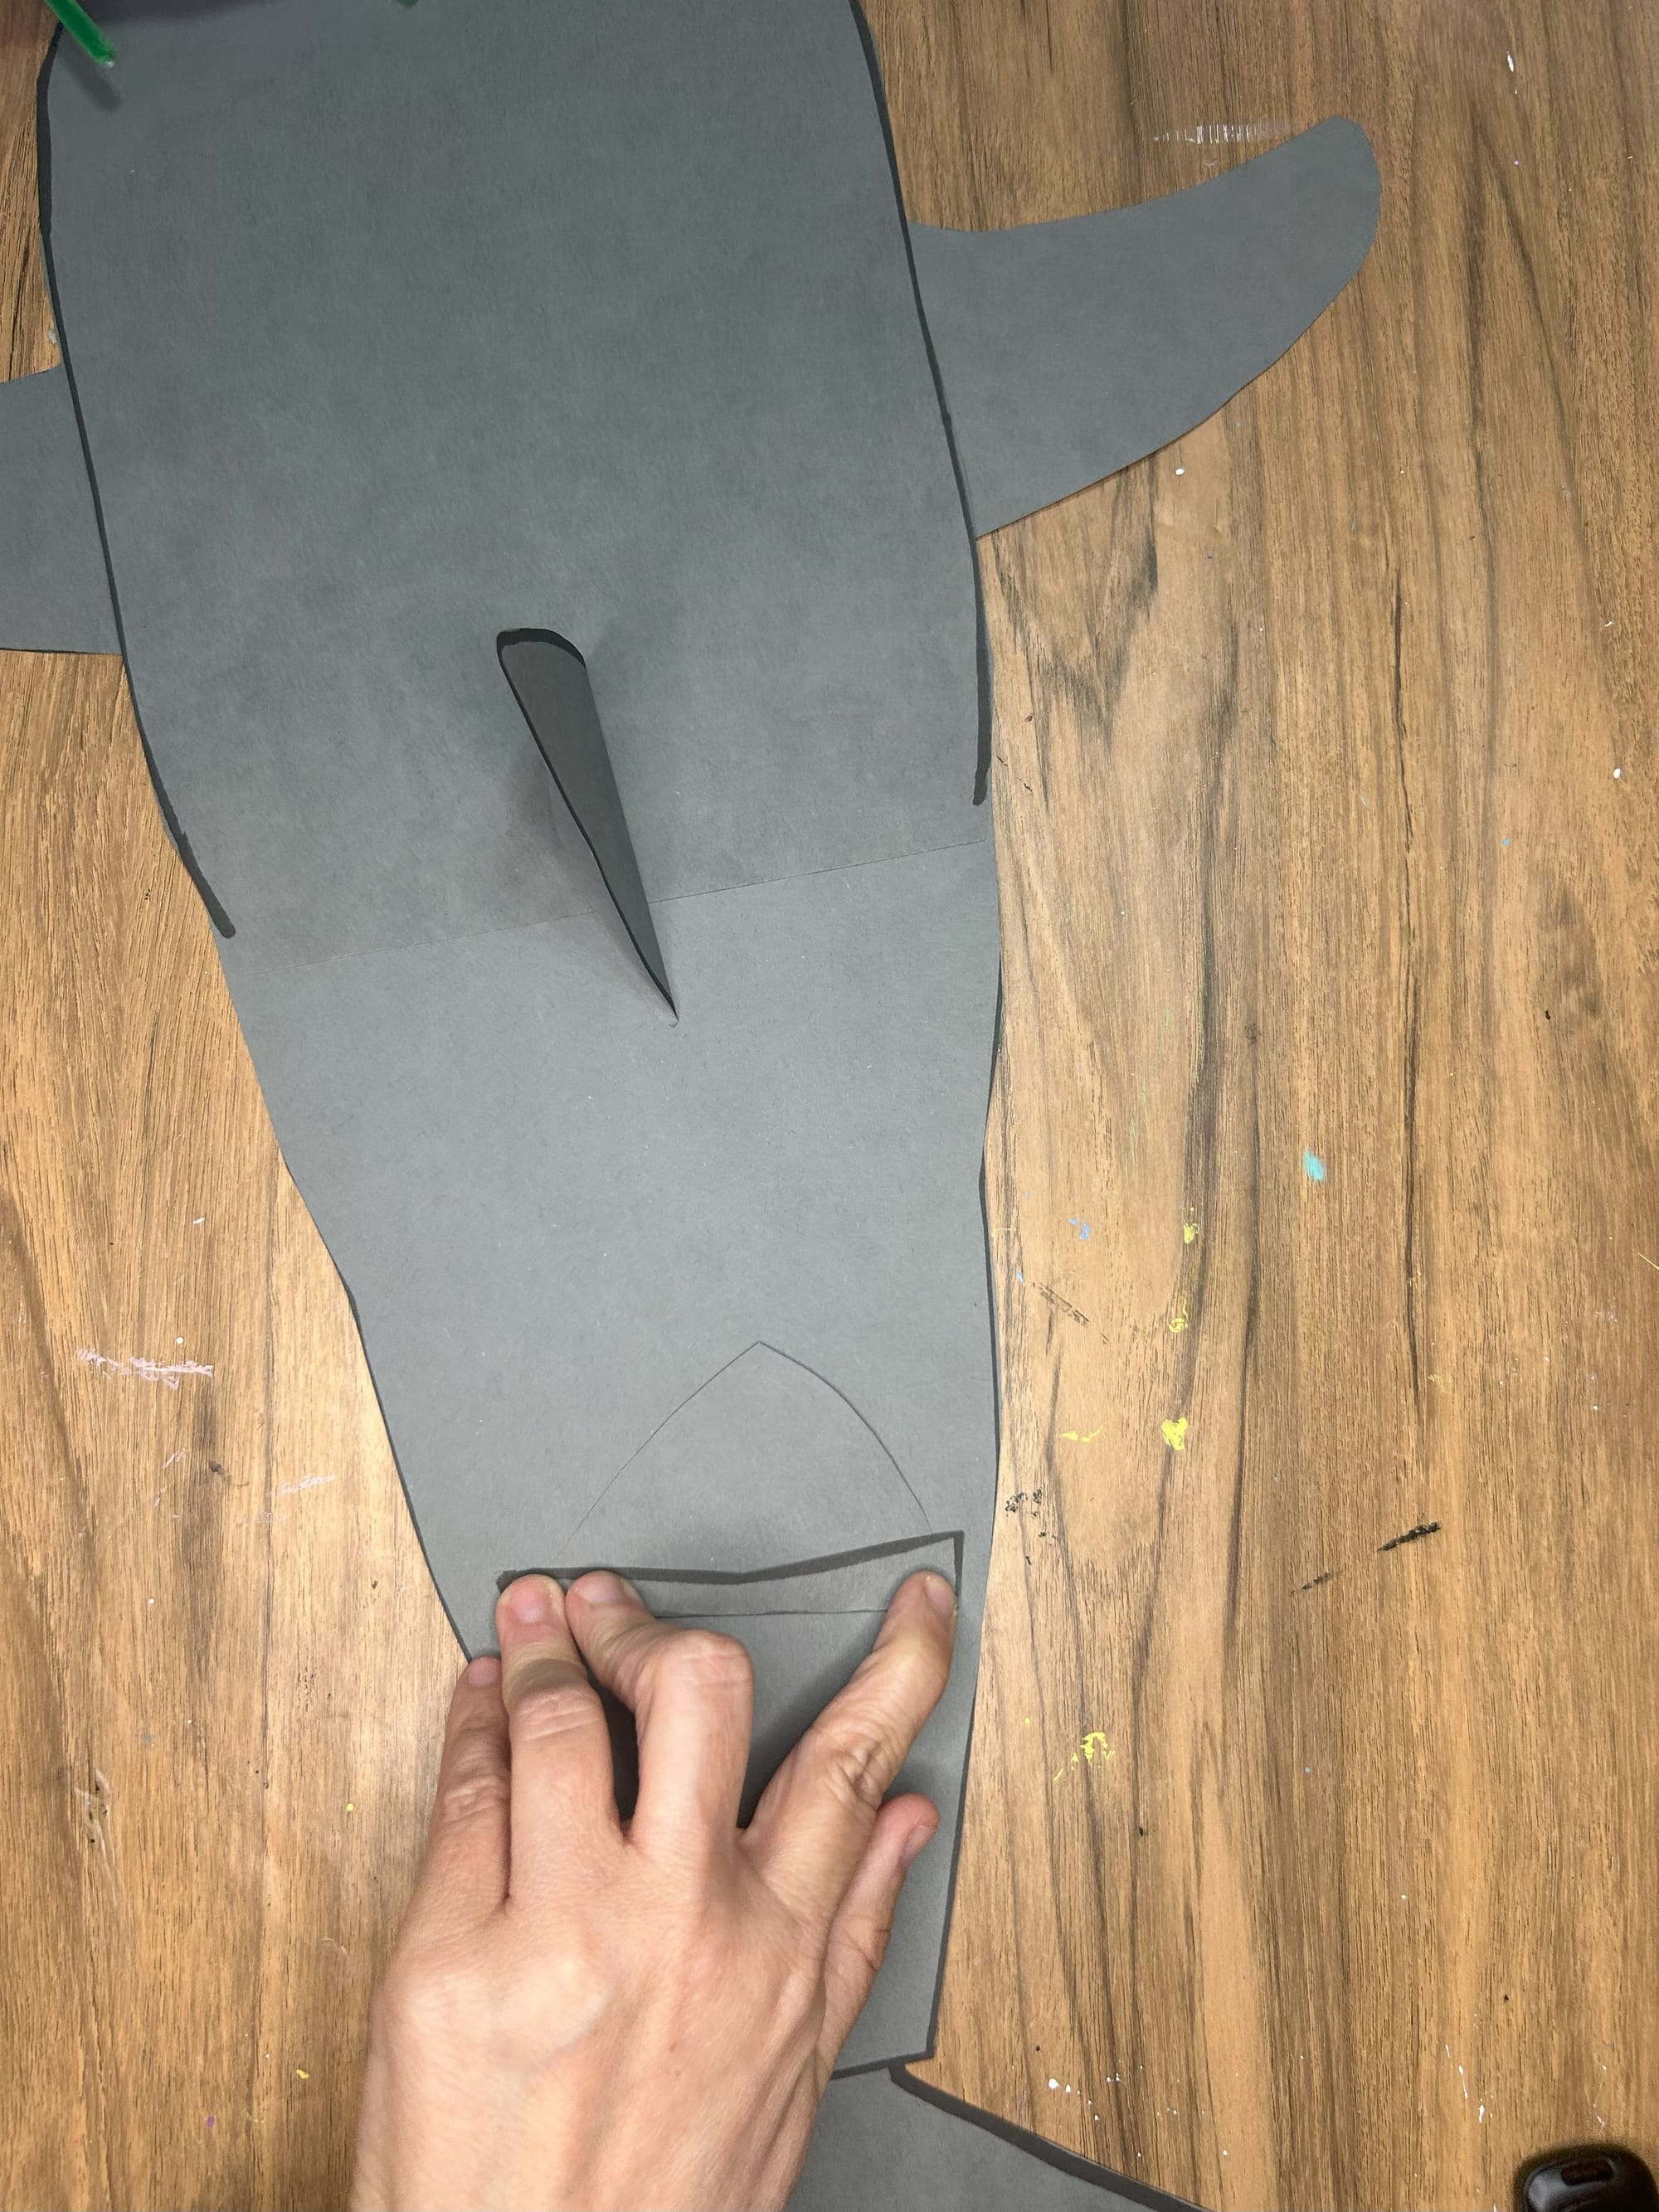
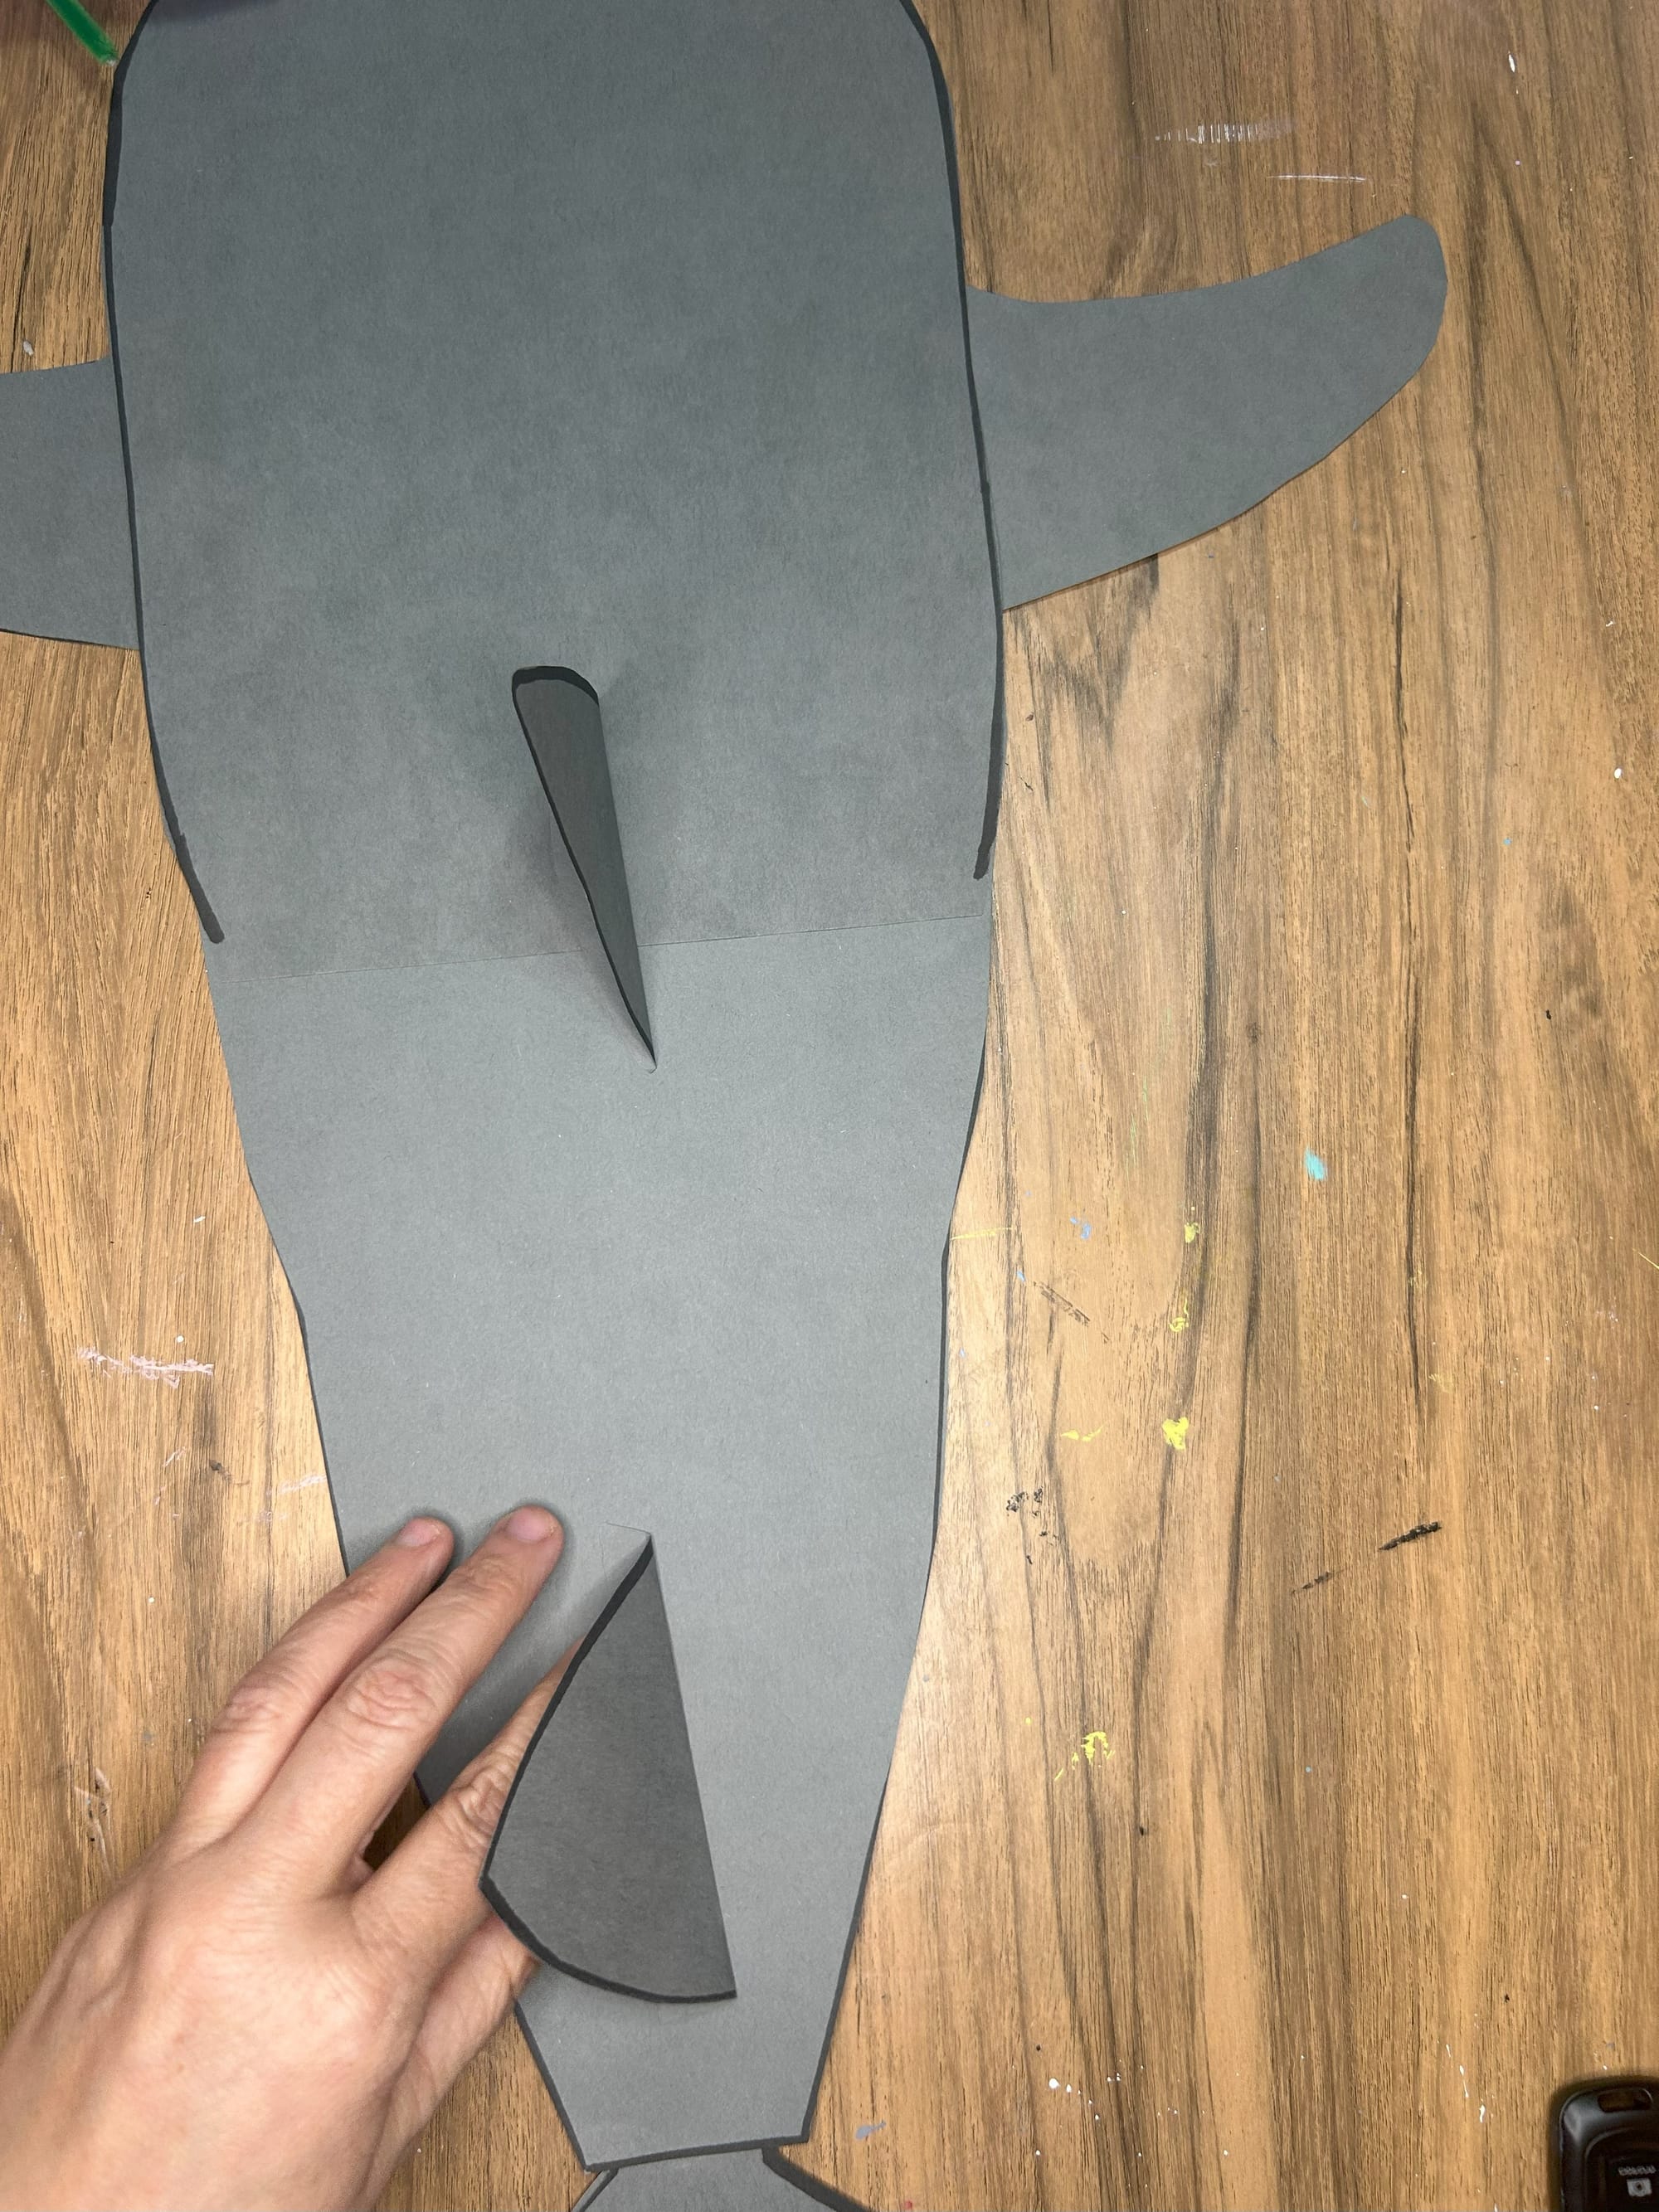
Fold and glue the fin pieces to make them stand upright
Step 3: Add Details to the Whale Shark
Use makers to add details. You will add a circle for the mouth and then add the eyes.
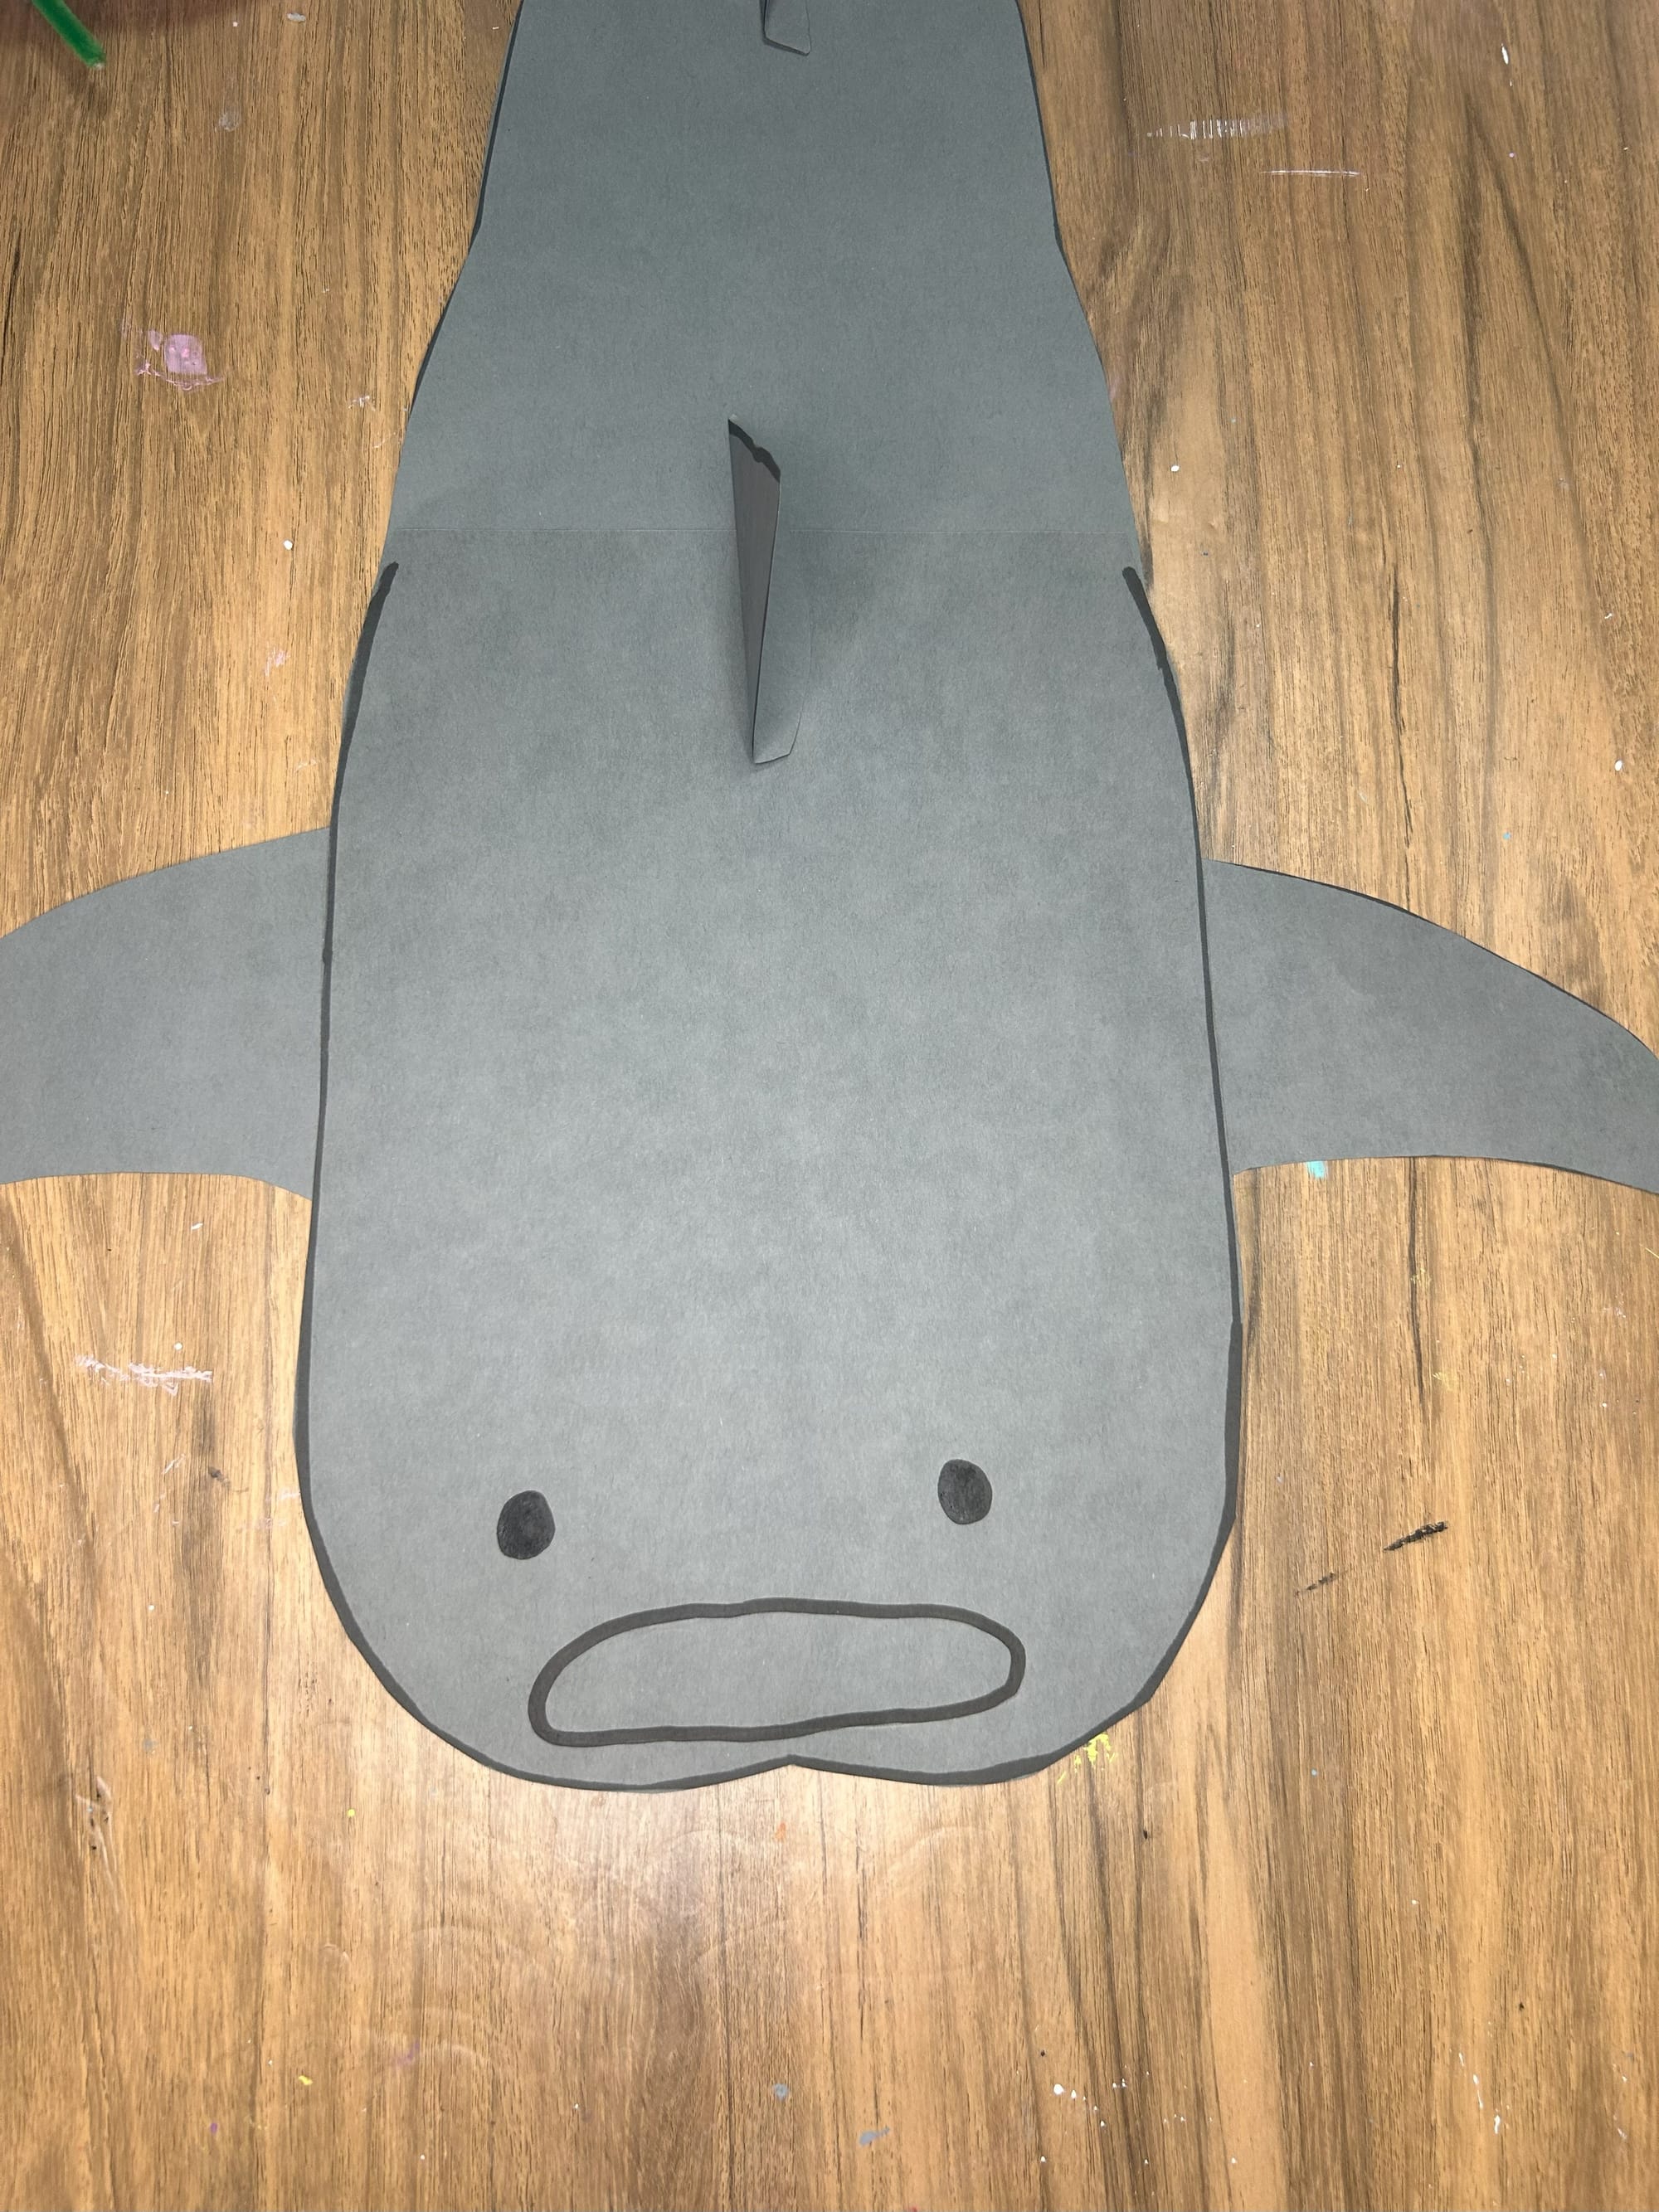
Add the features of the face.
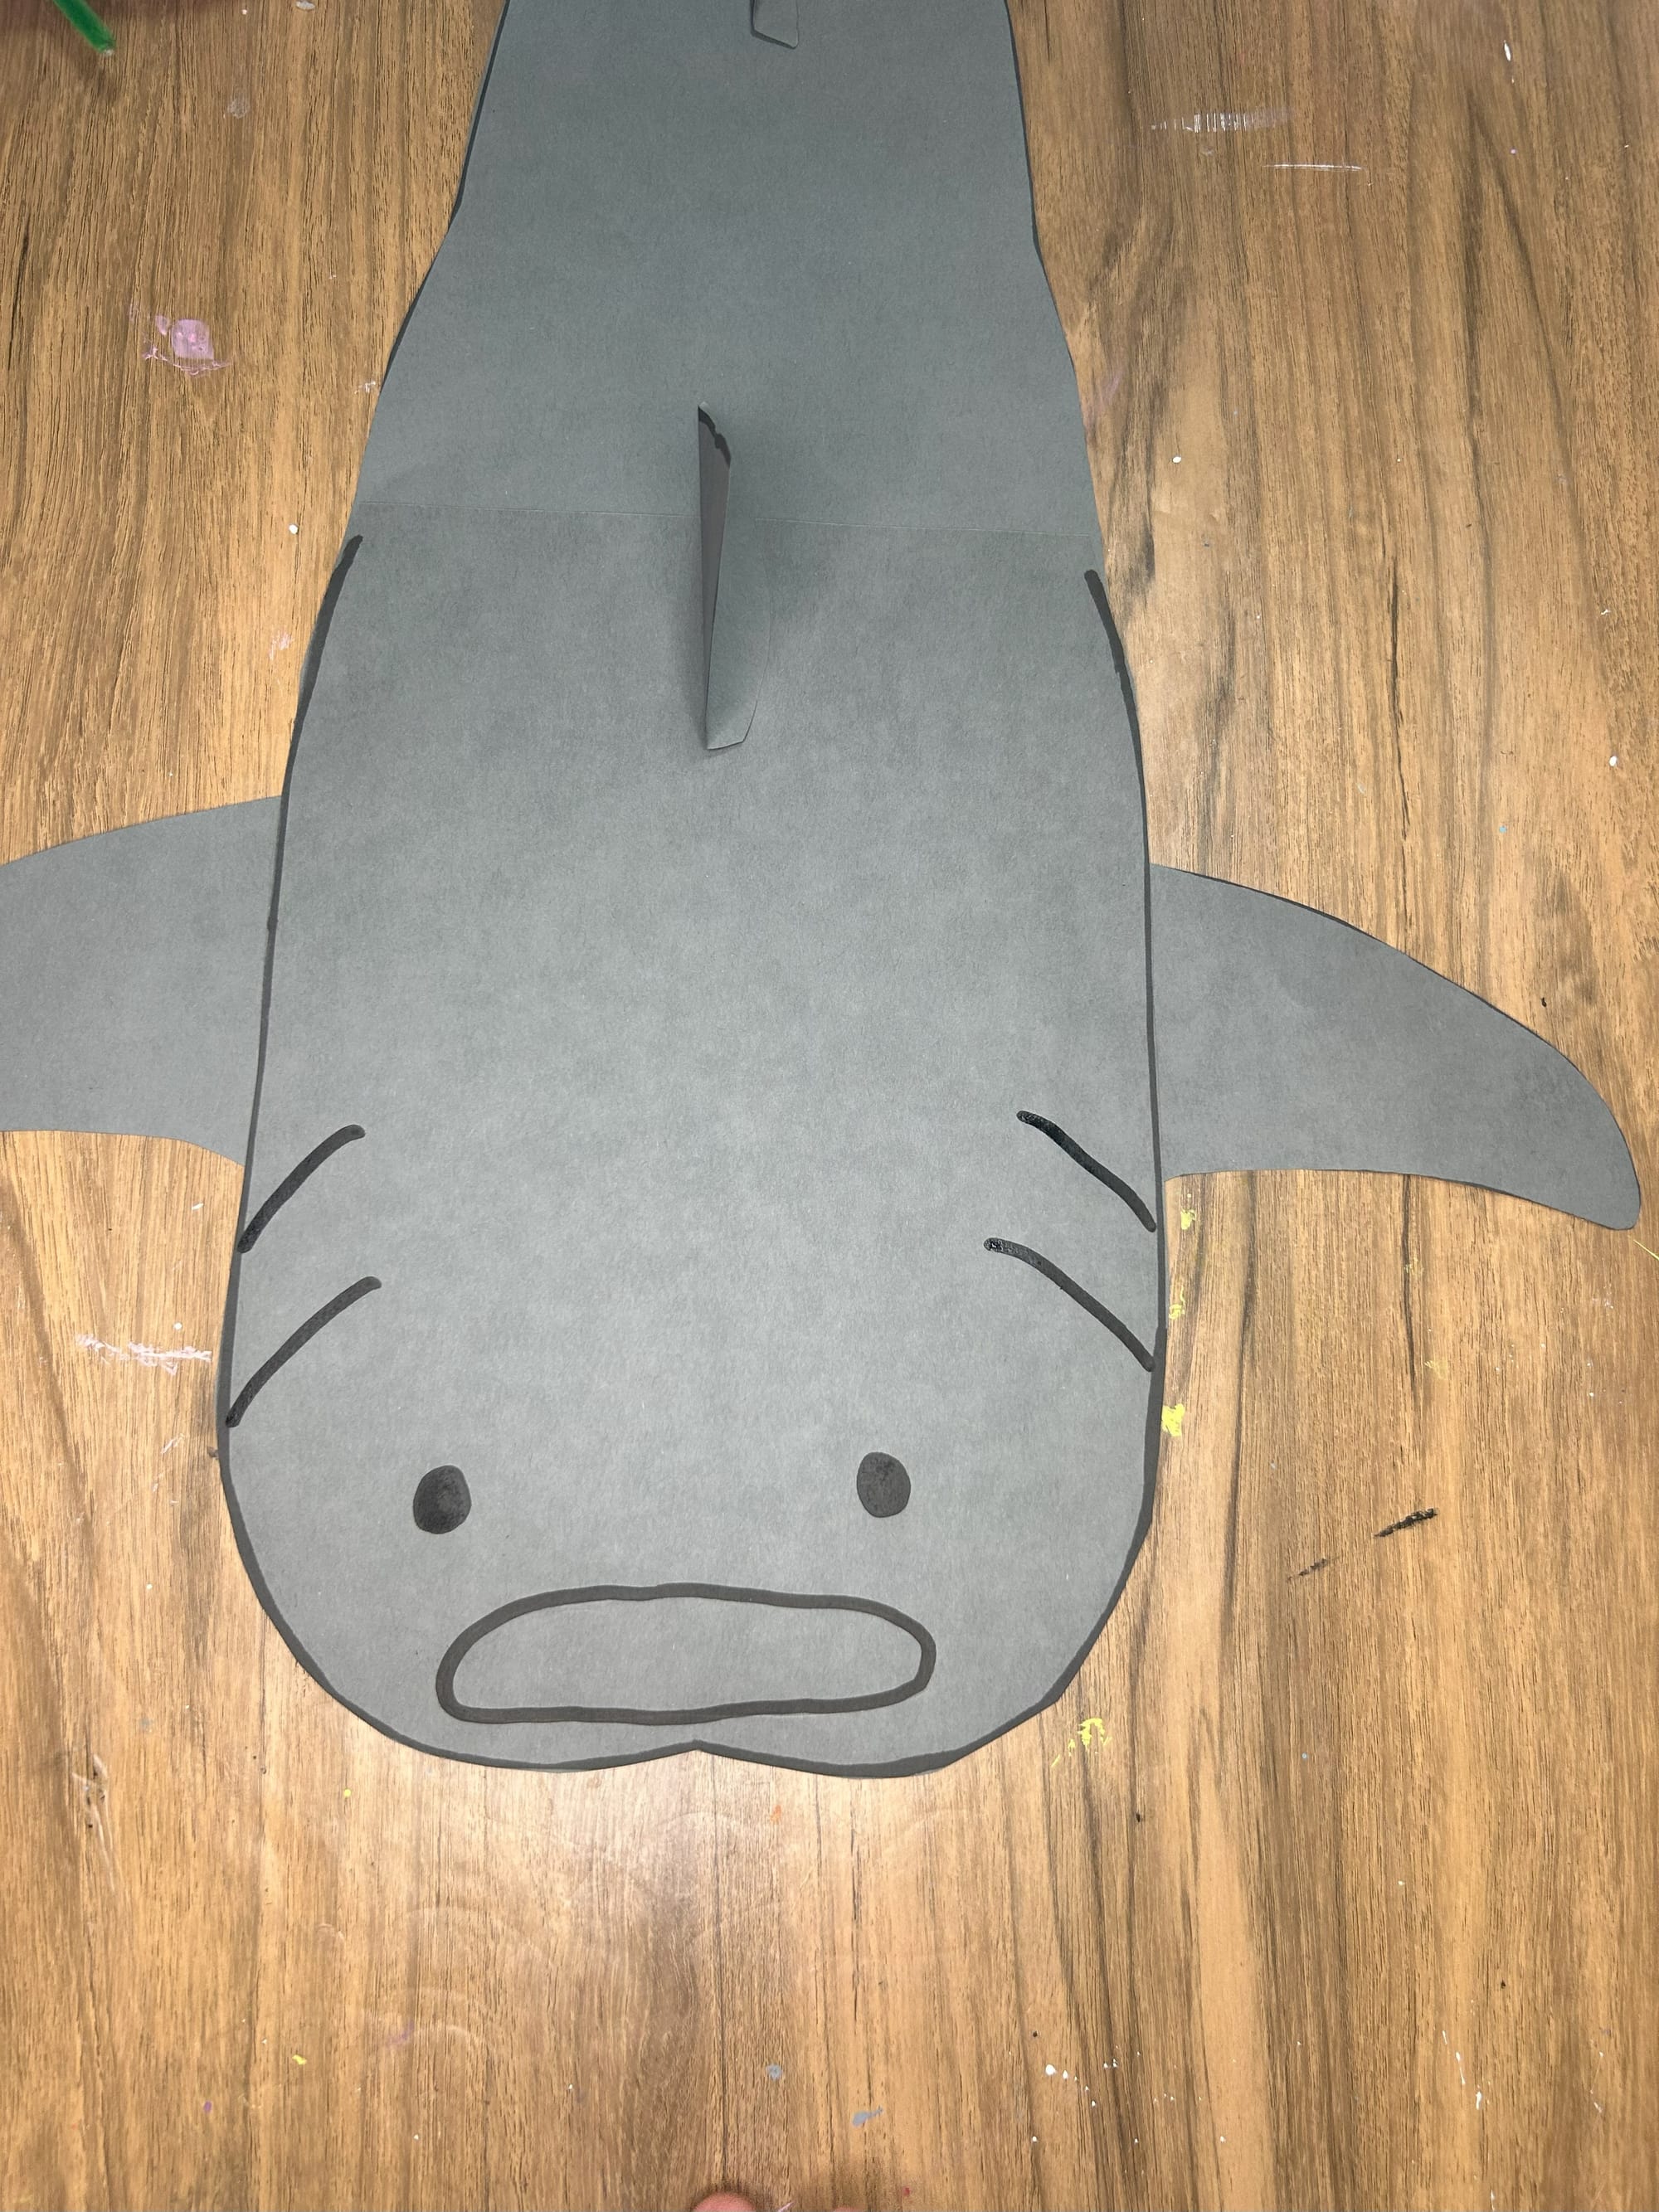
Step 4: Add Details to the Body of the Whale Shark
Then, use the markers to add the gills on the side of the whale shark.
Using paint and a q tip add dots onto the whale shark's body. Add them in straight lines along the body, fins and tail.
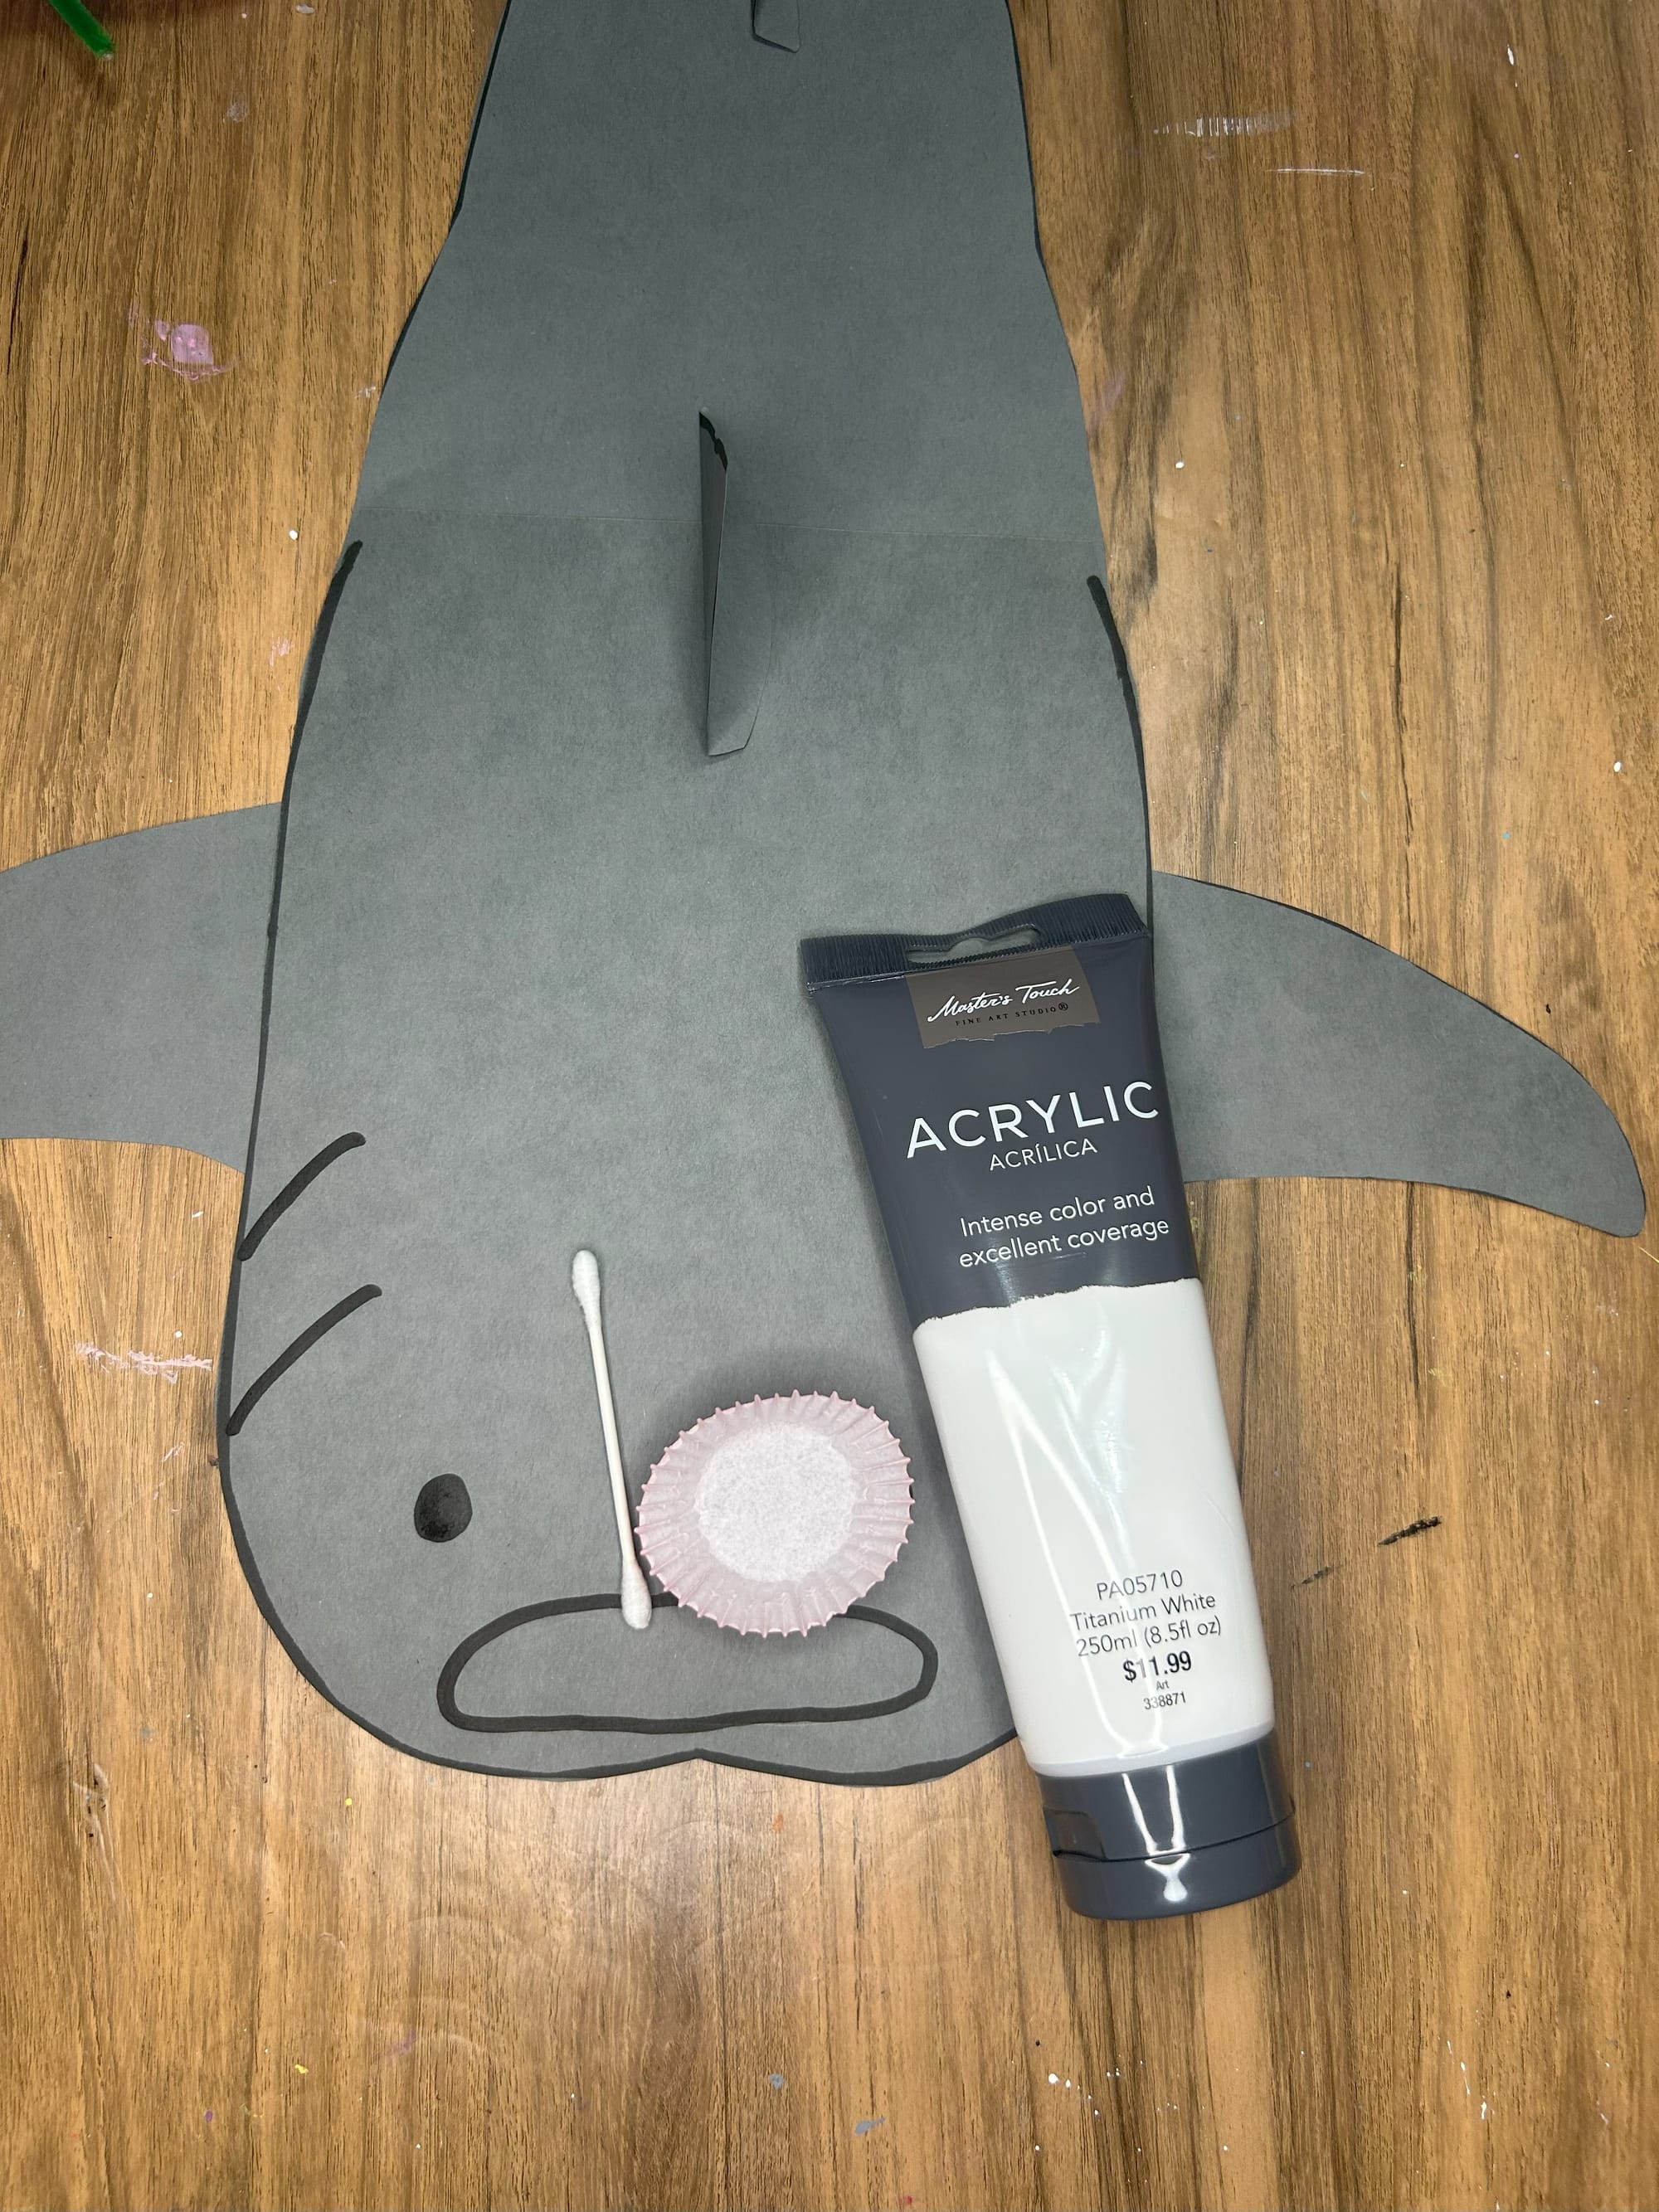
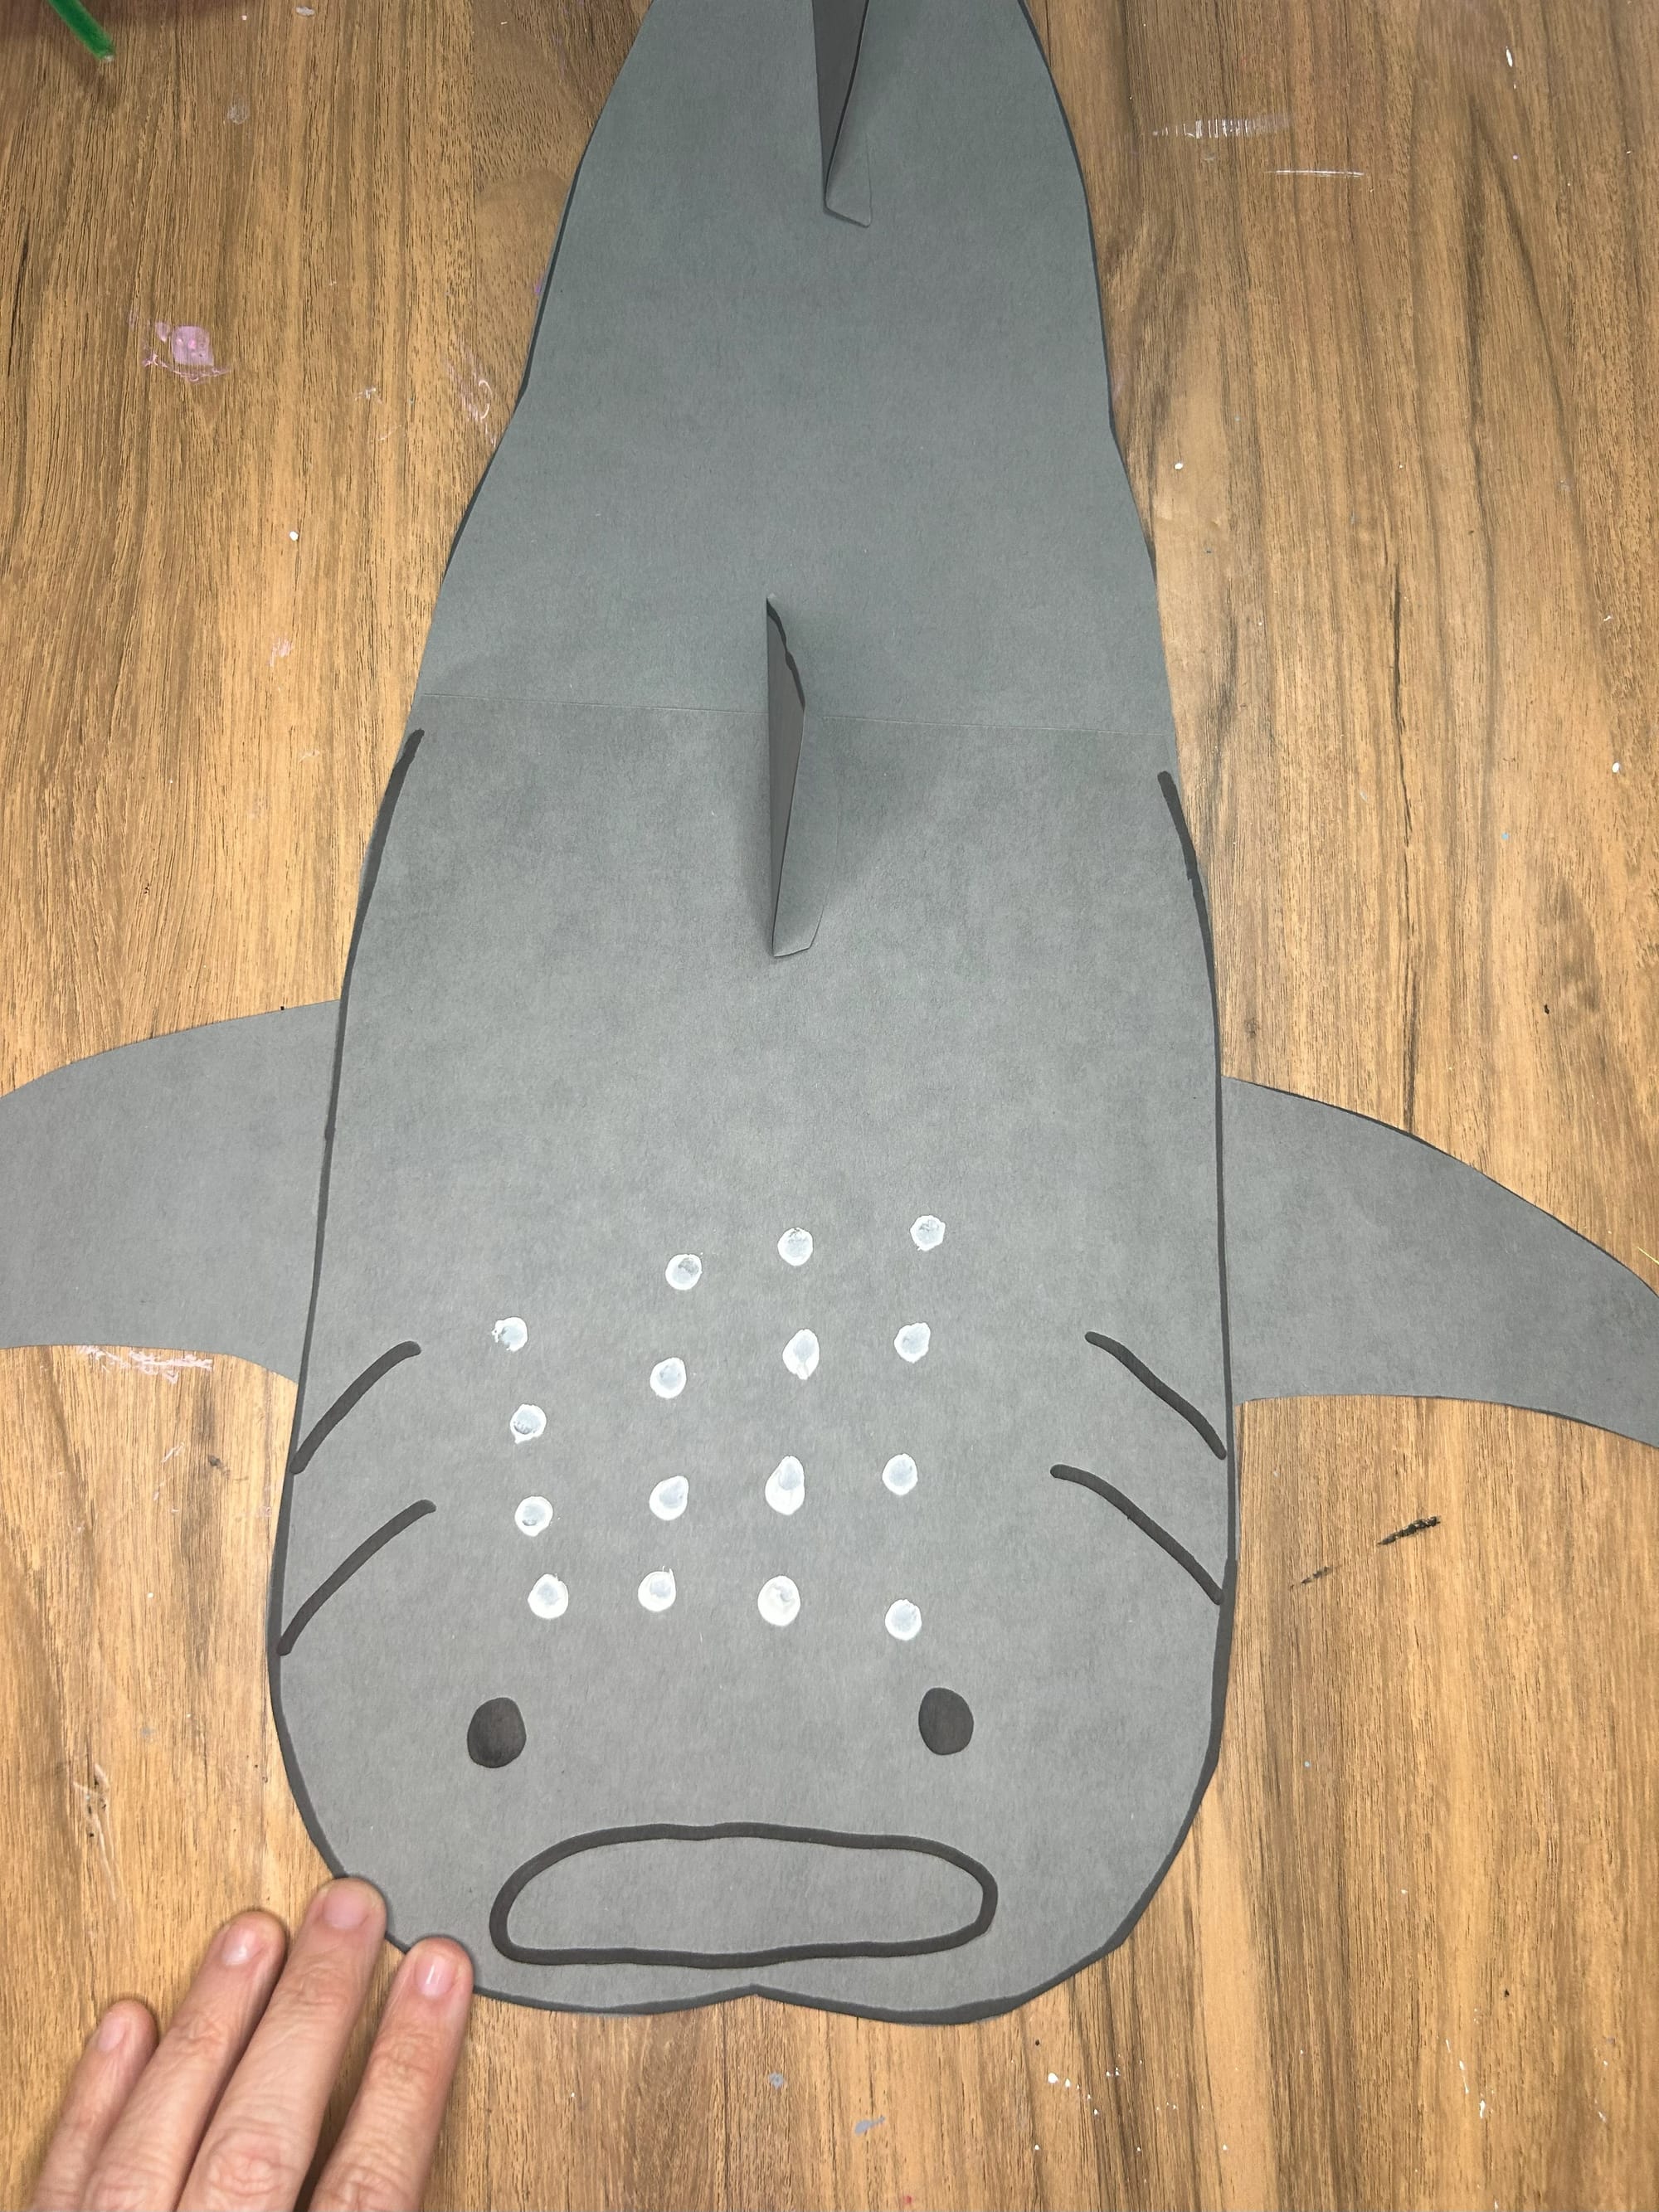
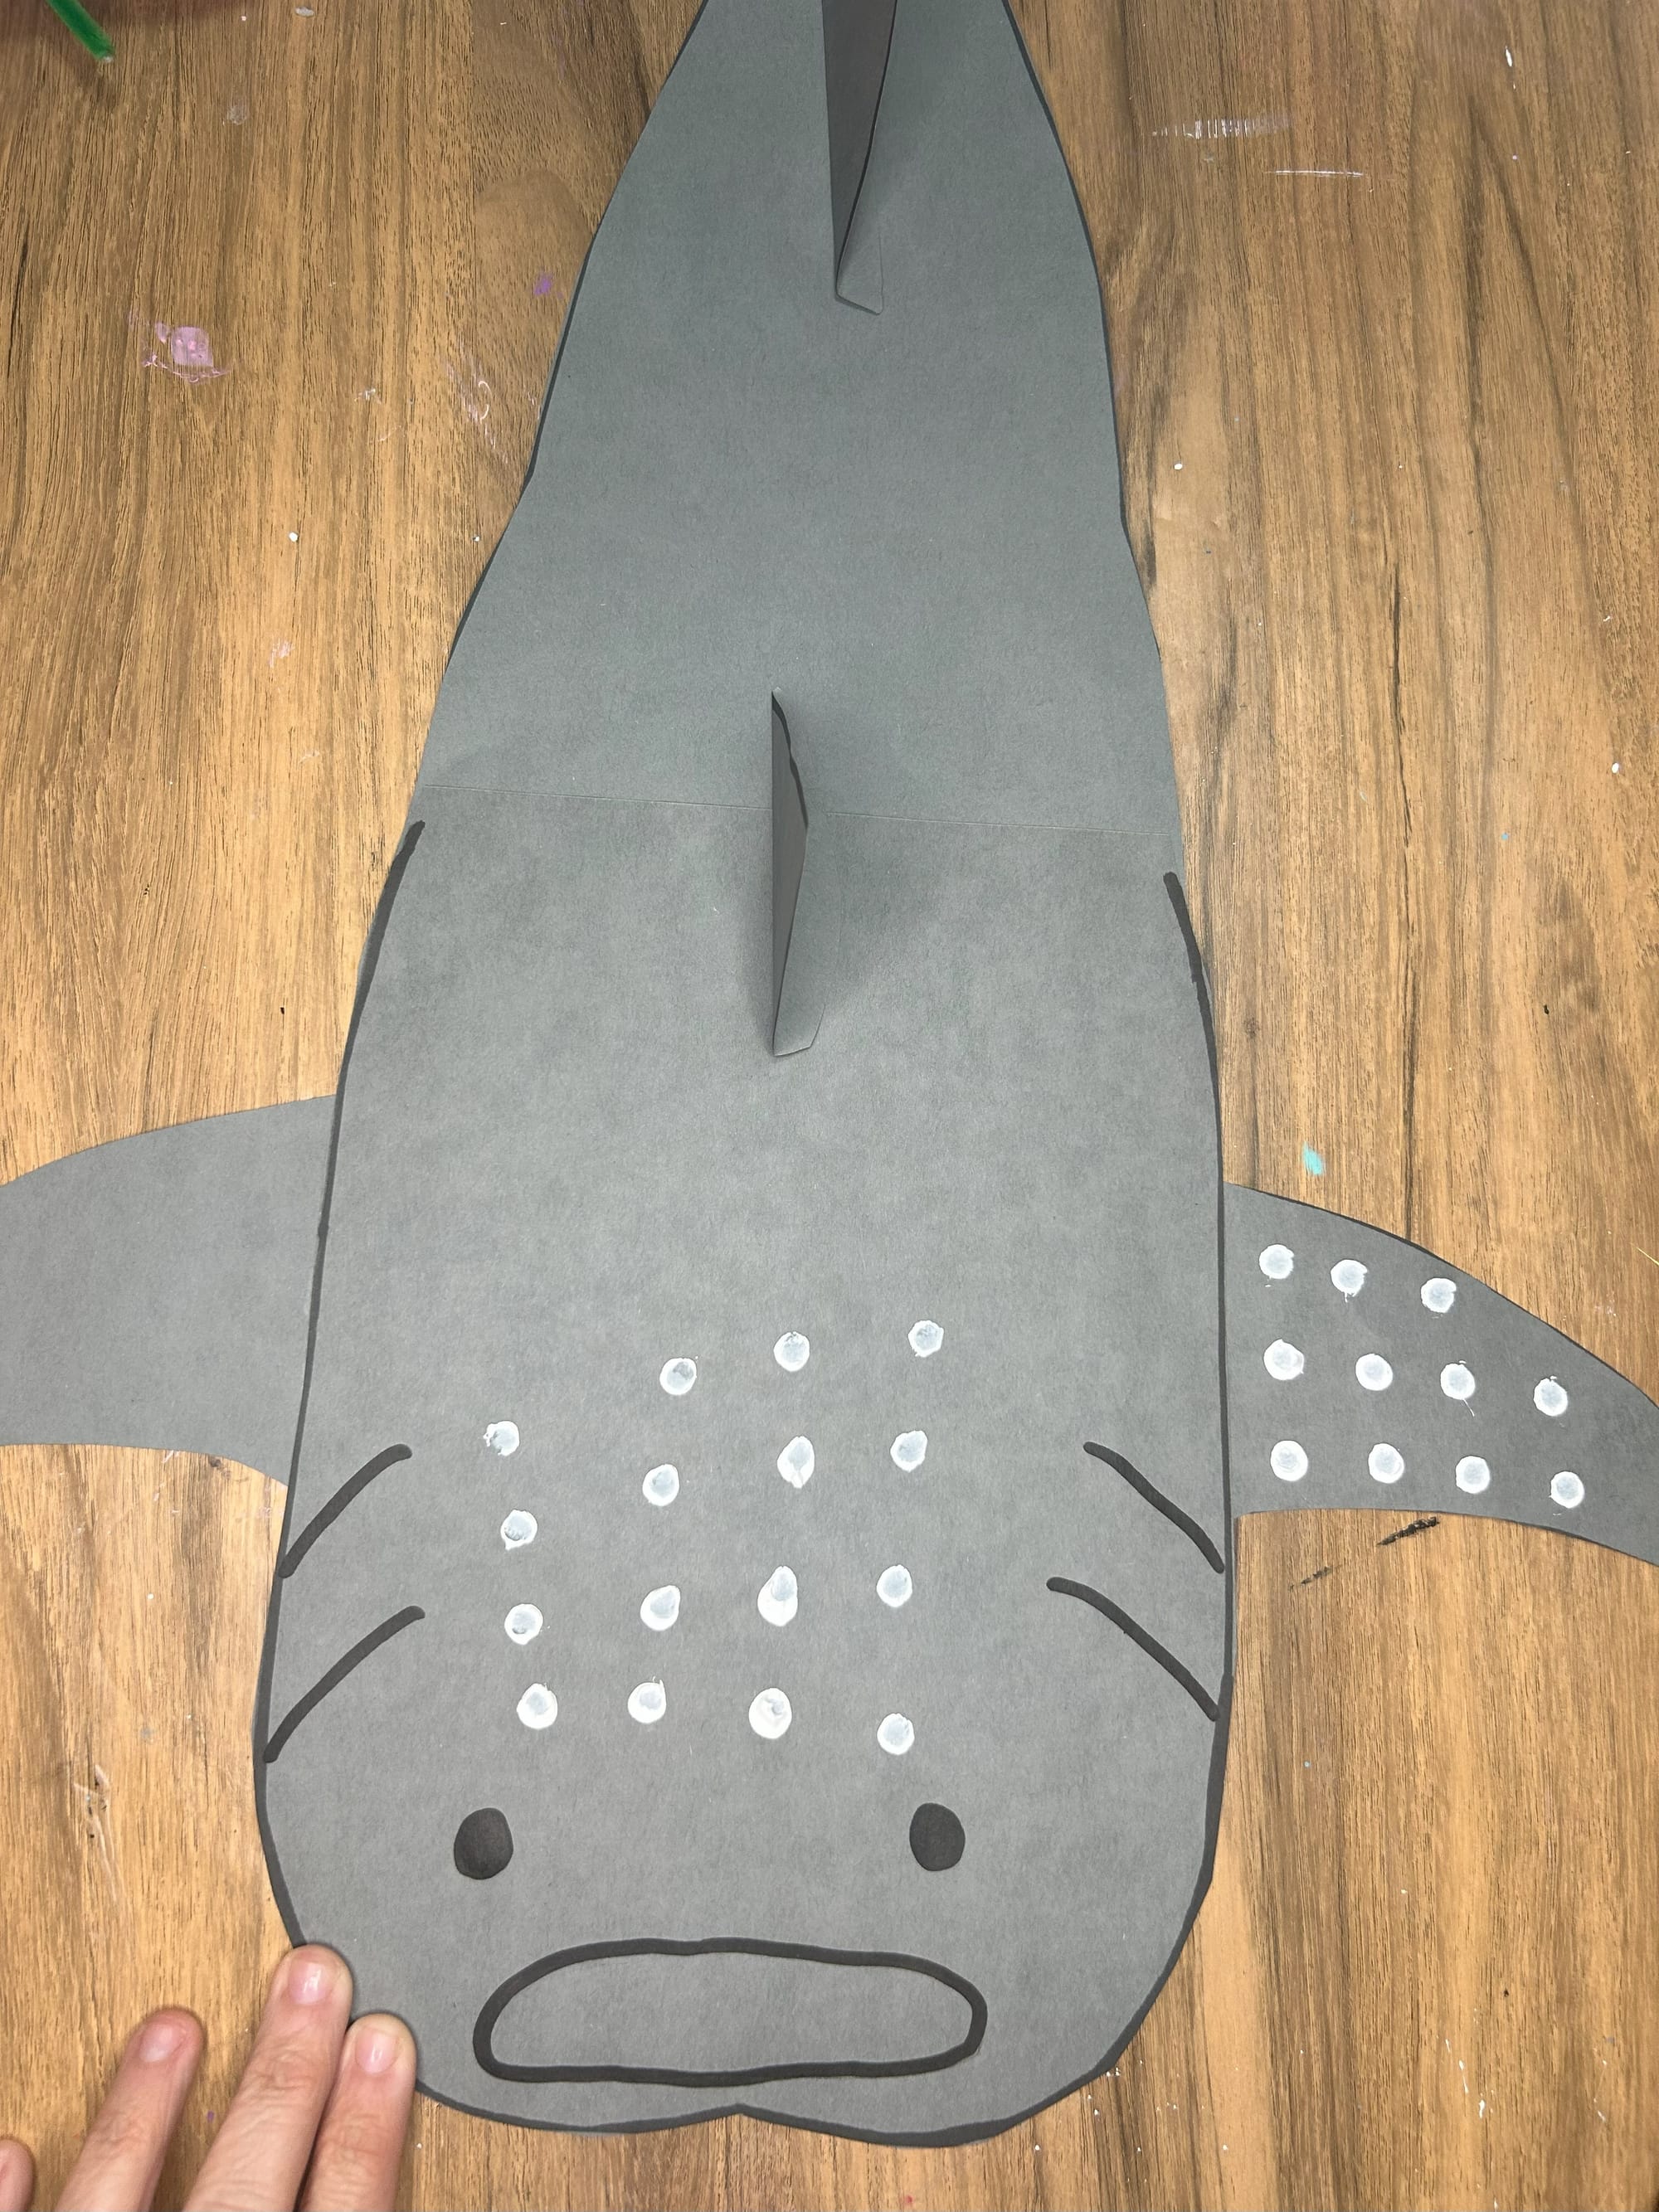
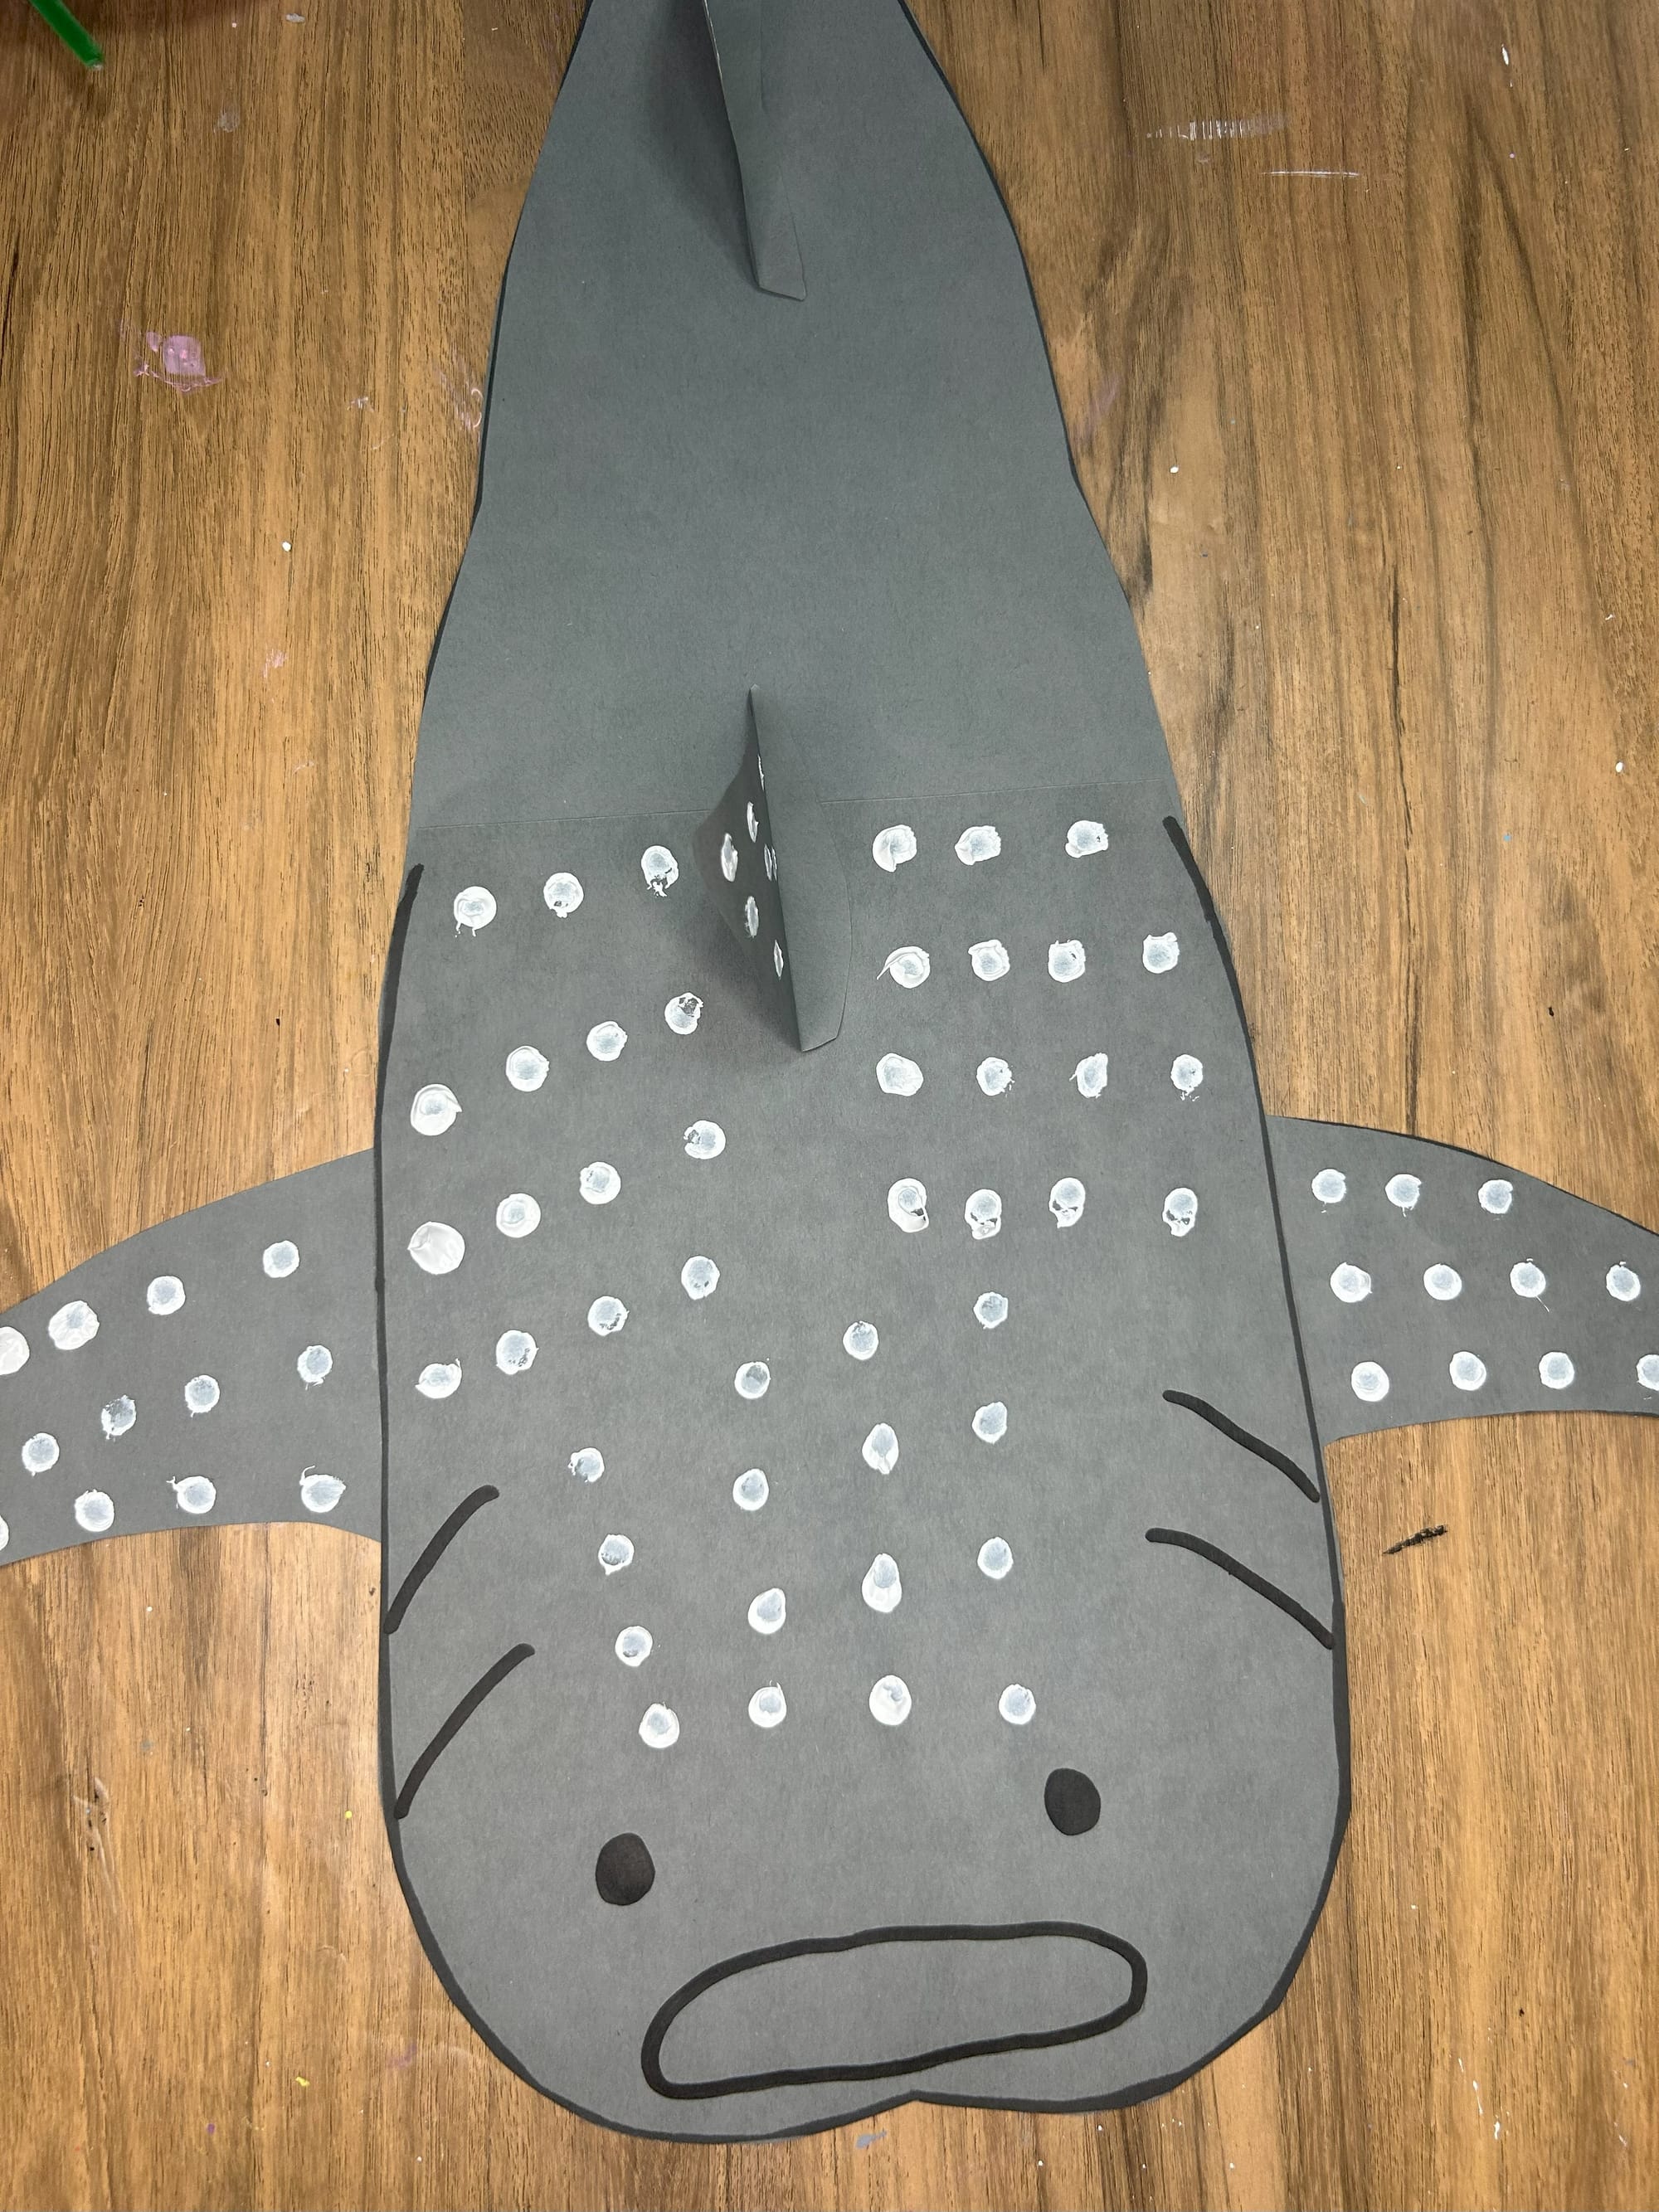
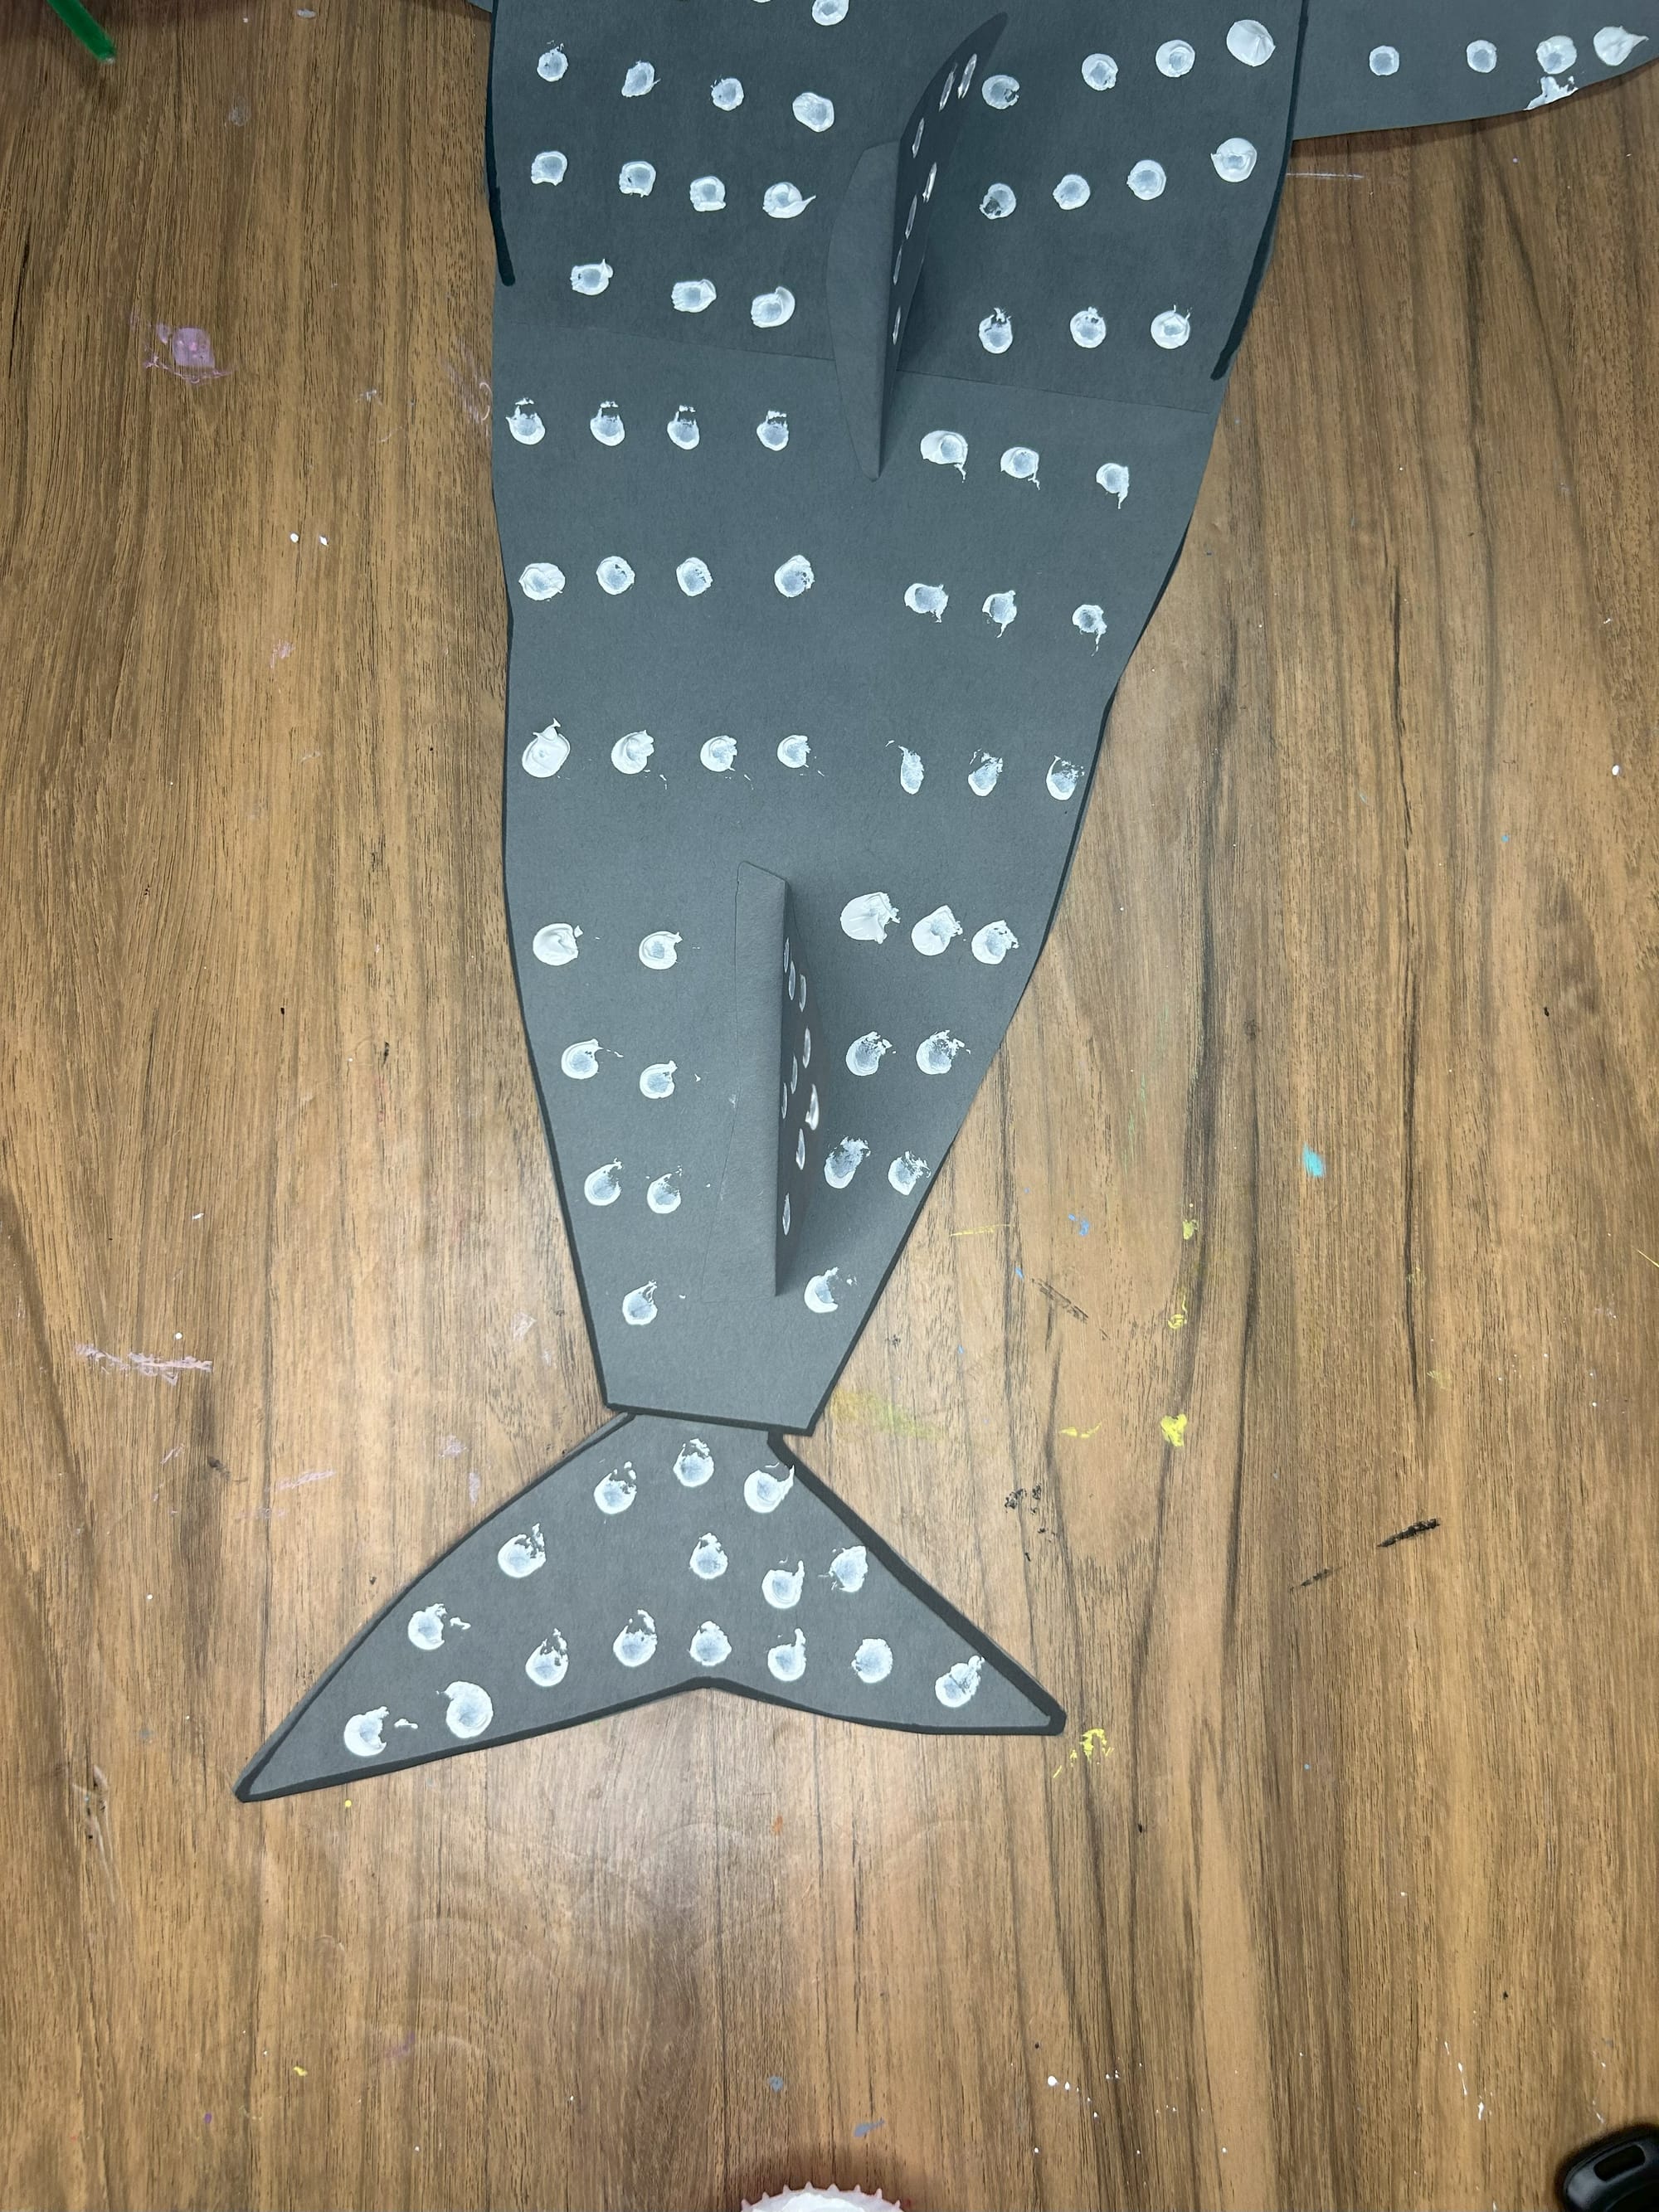
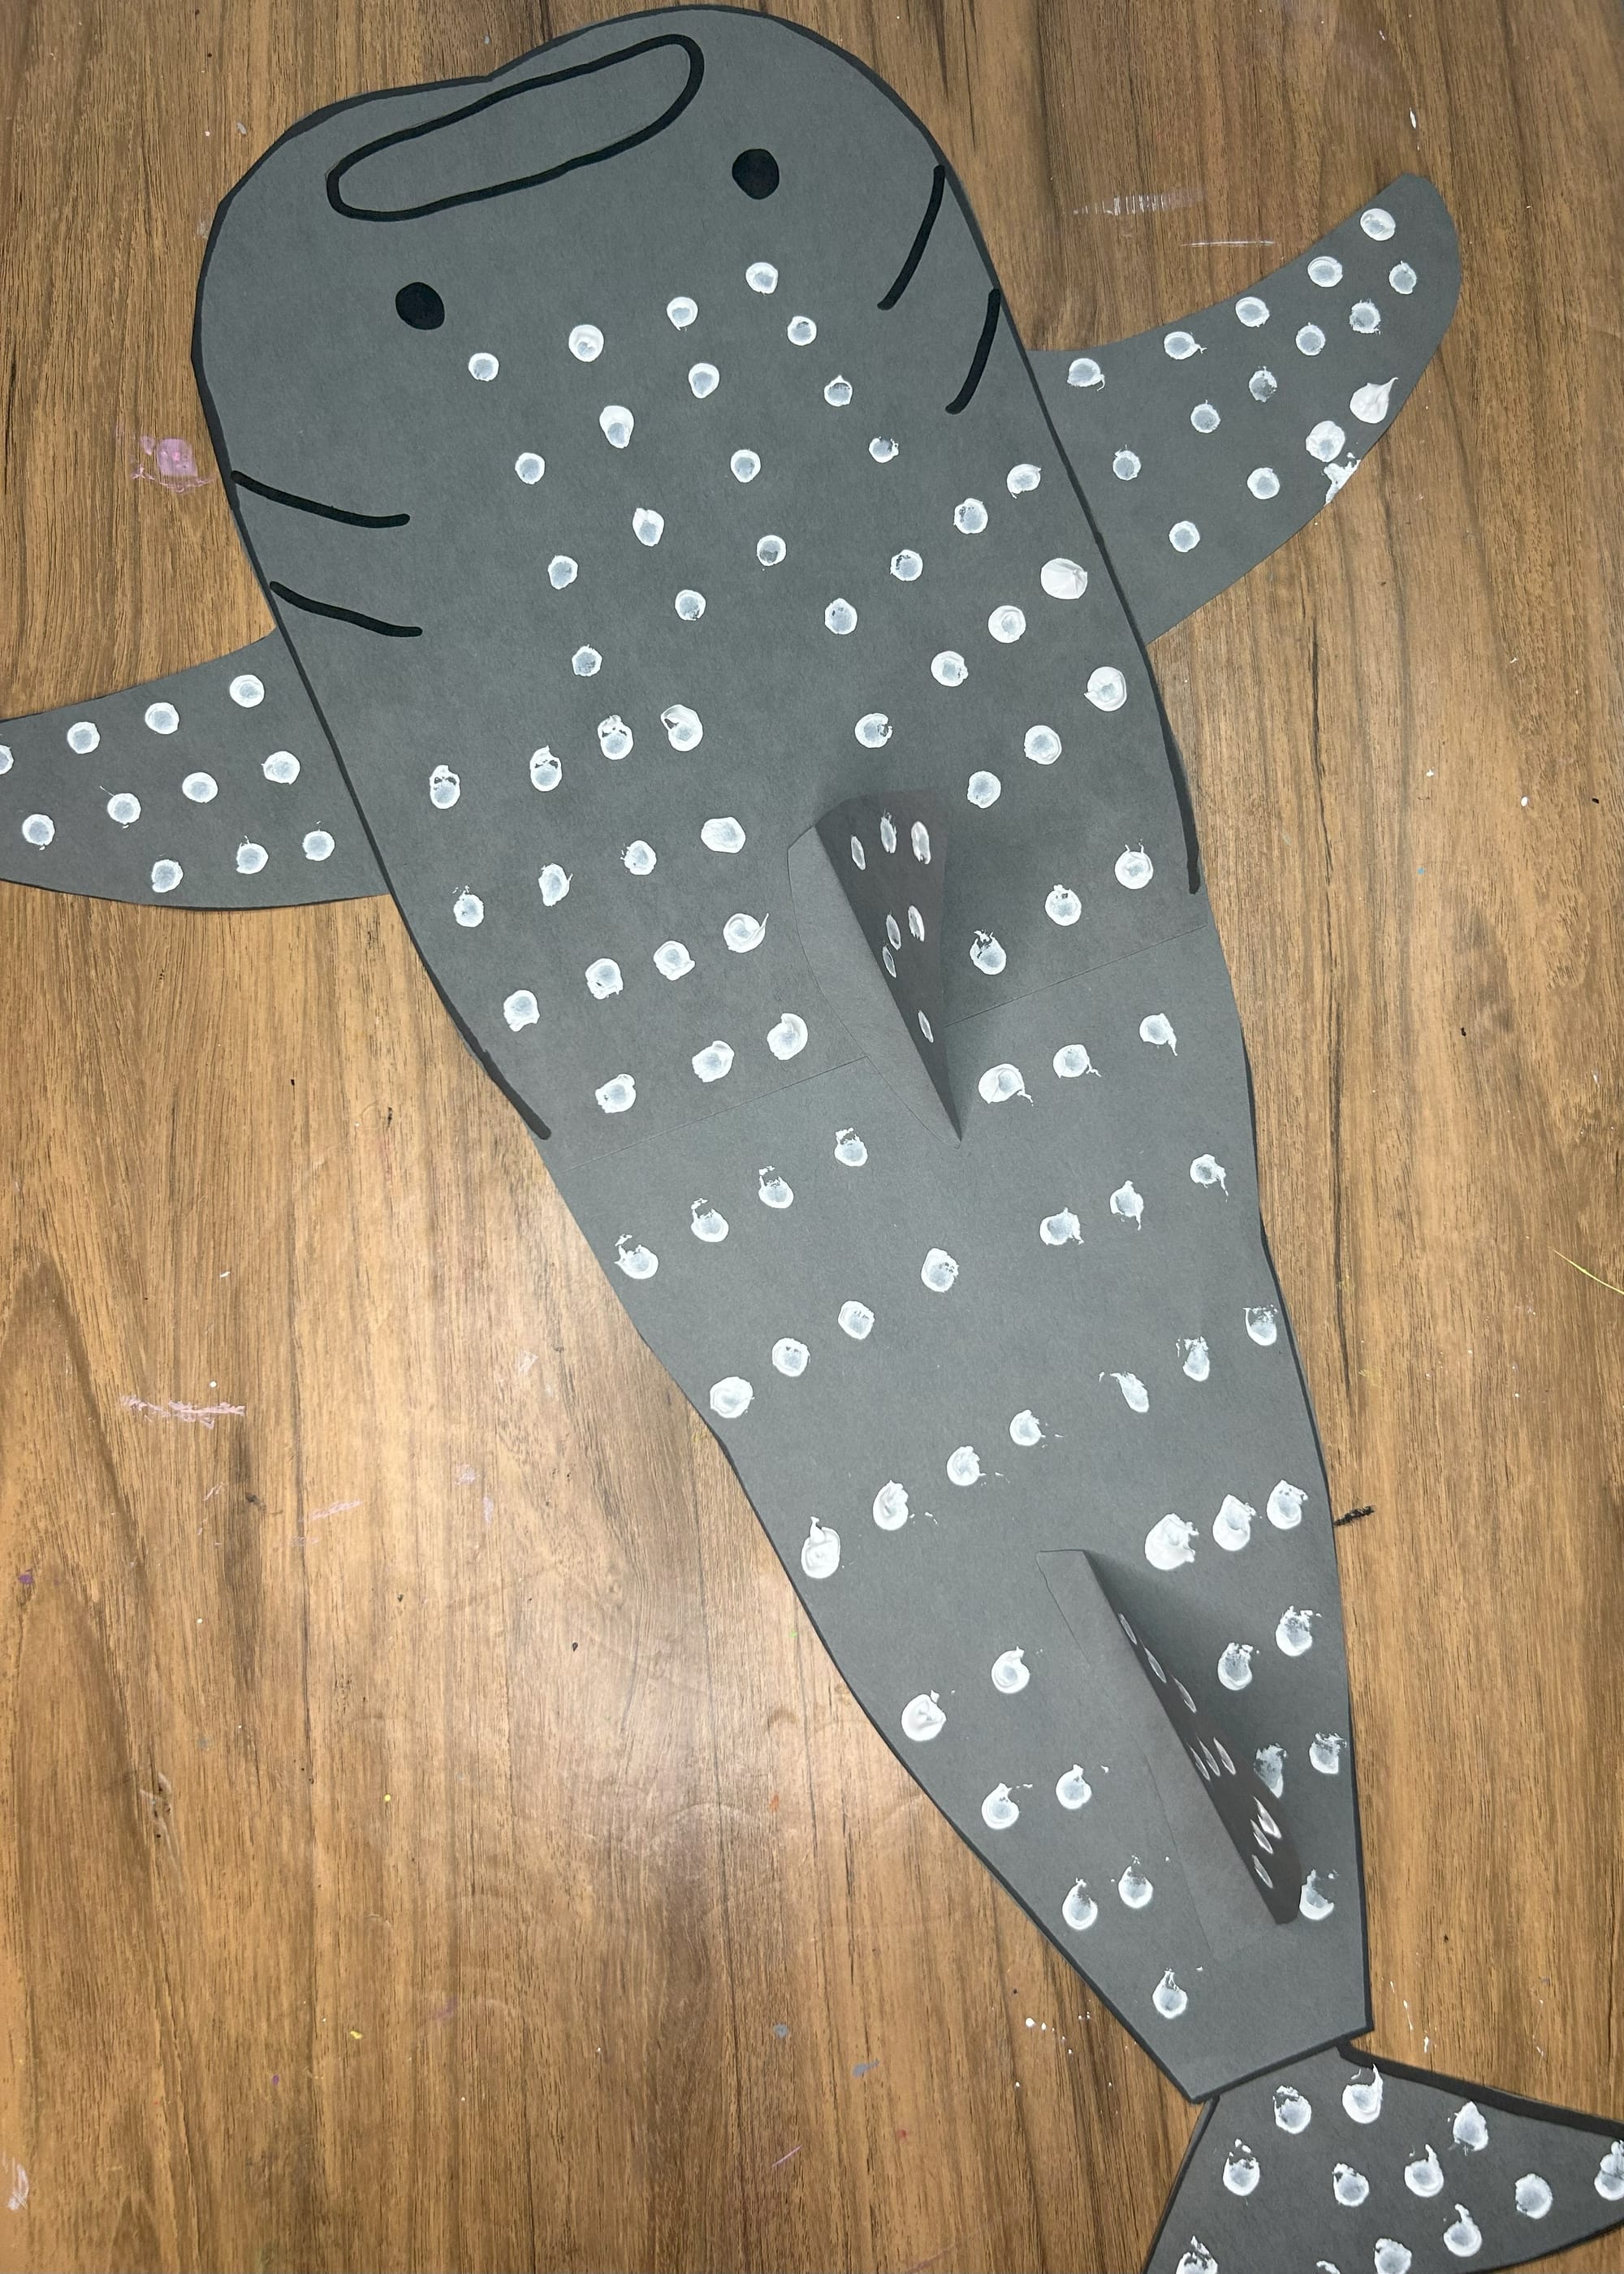
Add spots along the whale shark with paint and a q tip.
Tips & Variations
Use these ideas to adapt the craft for different ages and learning goals:
- ✂️ Pre-cut shapes for younger children
- 🧴 Use glue sticks for faster drying
- 🎨 Encourage creative colors and patterns
- 📄 Choose cardstock for sturdier crafts
- 🏫 Prep materials ahead of time for classrooms
- 🌈 Patterned Whale Shark: Add dots, waves, or shapes using markers or paint
- ✏️ Name Craft: Write the child’s name across the whale shark body
- 🌊 Ocean Scene: Glue the whale shark onto blue paper and add bubbles or seaweed
Looking for other Ocean themed crafts? Try some other crafts on my page!
Learning Extensions
This activity is perfect for practicing:
- ✋ Fine motor skill development
- 🐟 Ocean animal recognition
- 🎨 Color and pattern exploration
- 🧠 Listening and following directions
- ✂️ Scissor skills
For older kids, challenge them to:
- 📝 Write fun facts about whale sharks
- 🔢 Count or design spot patterns
- 🌍 Compare whale sharks to other sharks
- 📚 Create a mini ocean animal report
Perfect For
- 🏫 Preschool and kindergarten craft centers
- 🏡 Homeschool ocean units
- 🌊 Summer learning activities
- 🎨 Low-prep classroom crafts
- 📖 Ocean animal and sea life themes
Final Thoughts
This Whale Shark Craft for Kids is a fun and meaningful way to explore ocean animals while supporting creativity and fine motor development. Kids love decorating their own whale sharks, and parents and teachers appreciate how easy and adaptable this activity is.
If you try this craft, be sure to save it for later and share your finished whale sharks—I’d love to see how yours turn out! 🐋✨
💬 Leave a comment with your favorite whale shark design idea!
📸 Tag #craftymamabirdnc on Instagram so I can see your whale shark crafts!