Simple Snowman Craft for Kids (Easy Winter Art Activity)
Winter crafts are so fun to create when you are stuck inside with all of the cold weather. Make this cheerful snowman to brighten up a long winter day.
This simple snowman craft is a fun and easy winter art activity that kids will love. Made with basic supplies and minimal prep, this snowman craft is perfect for preschool, kindergarten, elementary classrooms, homeschool, or winter crafting at home.
Why You’ll Love This Snowman Craft
- ☃️ Simple and easy winter craft for kids
- ✂️ Uses basic, inexpensive supplies
- 👧👦 Perfect for preschool and early elementary ages
- 🎨 Encourages creativity and fine motor skills
- 🖼️ Makes a cute winter classroom display
Supplies You’ll Need
- White paper or white cardstock
- Construction paper or cardstock
- Scrapbook Paper
- Glue
- Scissors
- Markers or crayons
- Optional: buttons, cotton balls, pom-poms
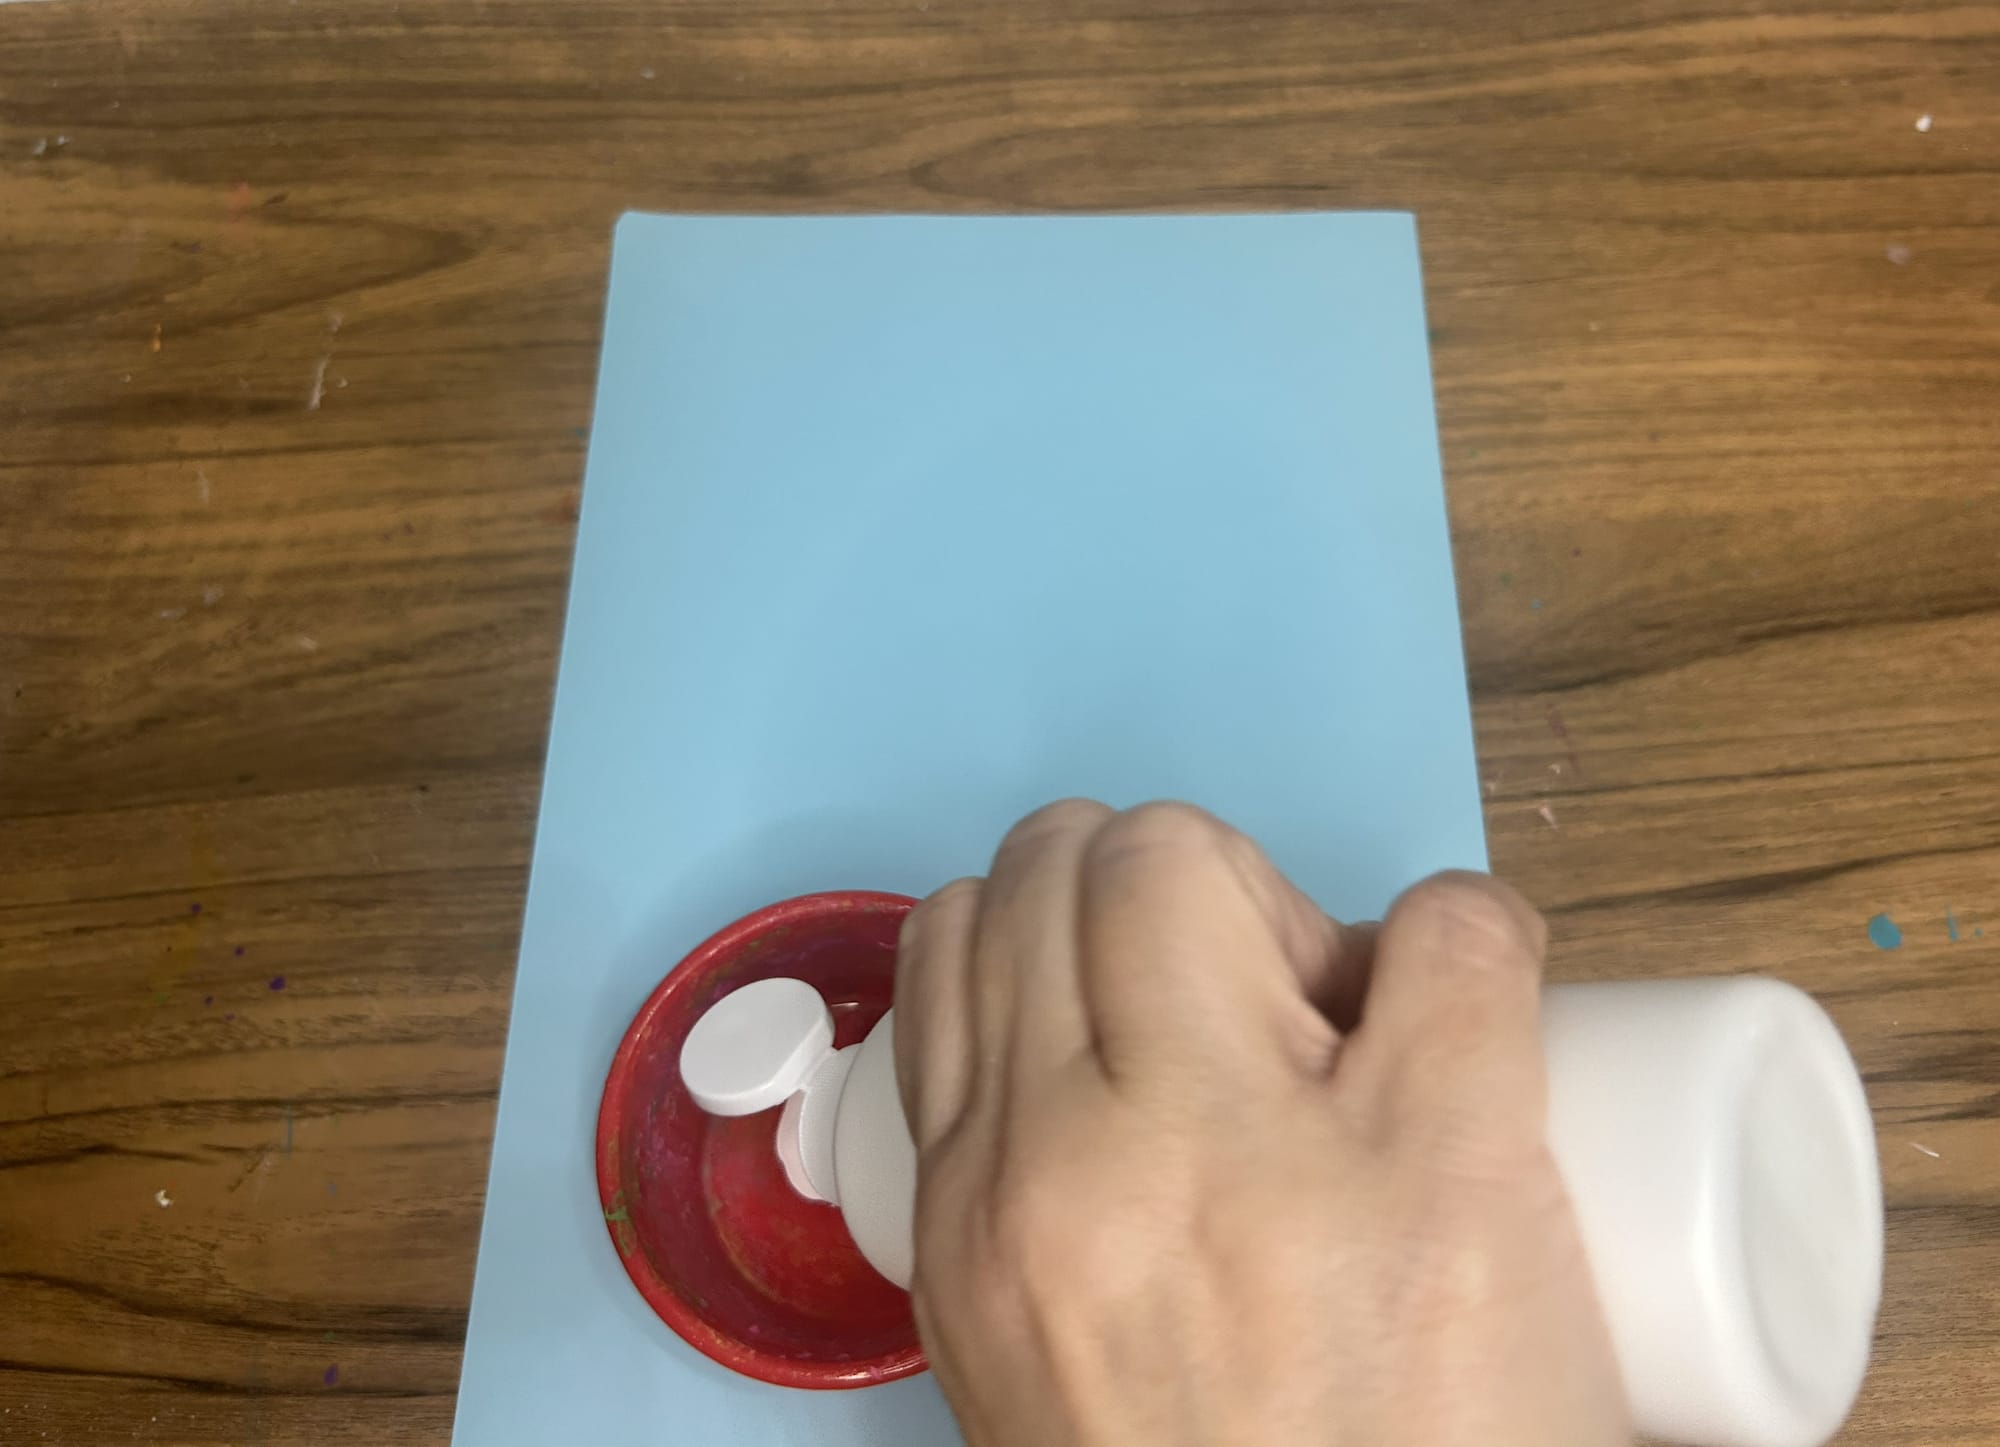
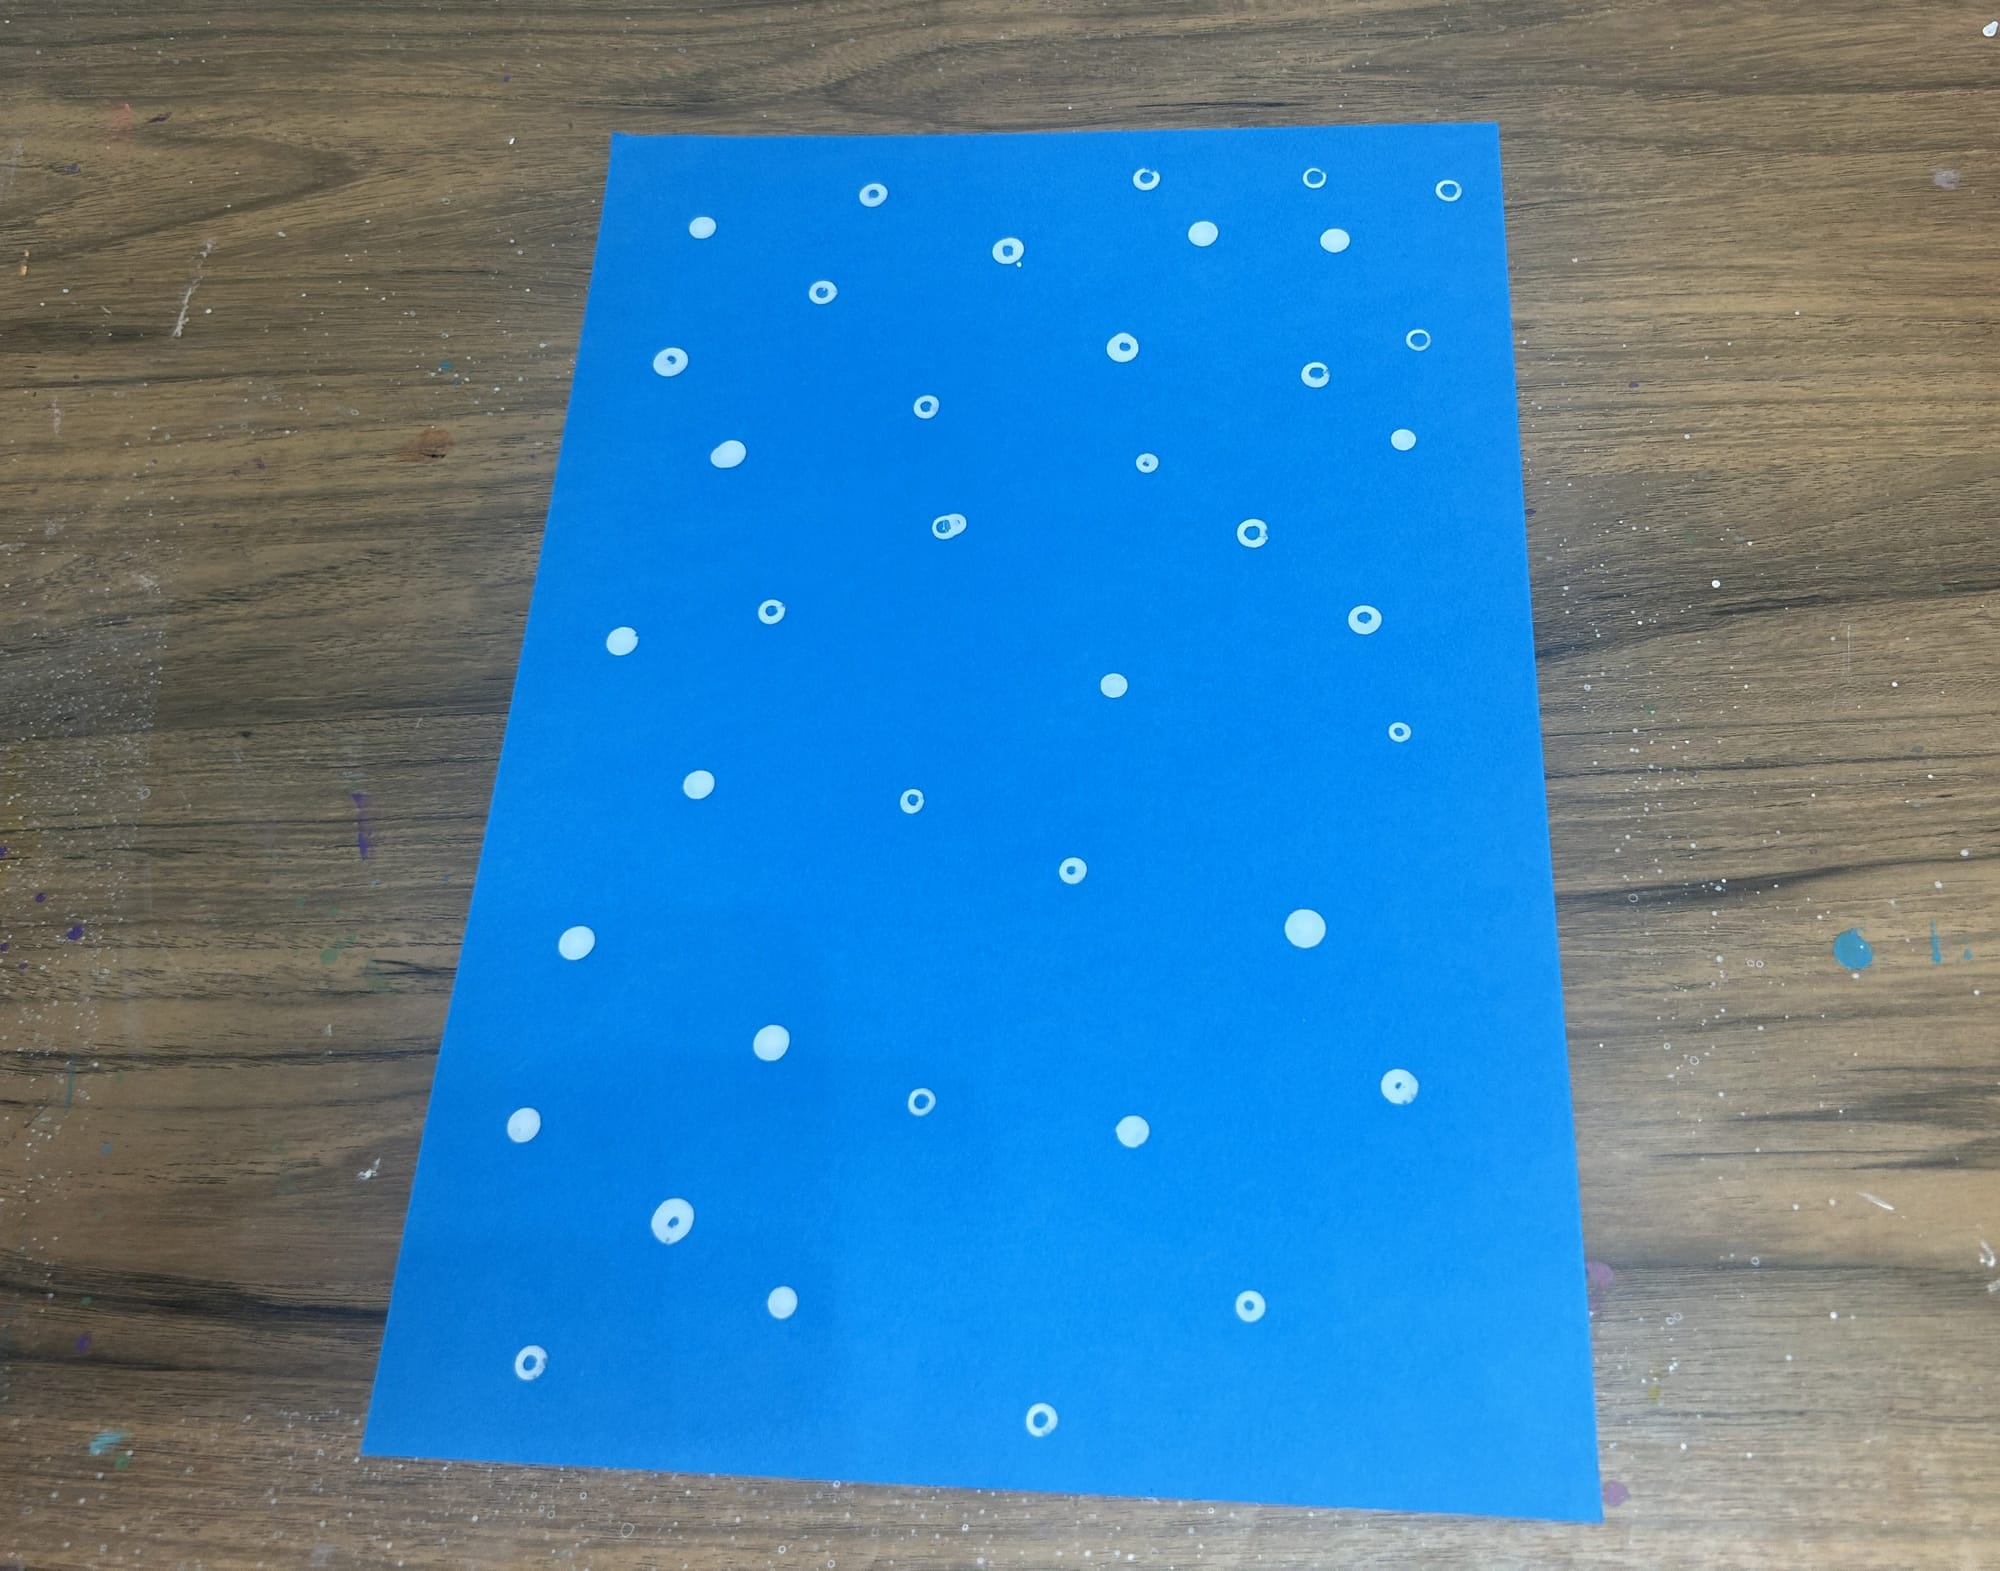
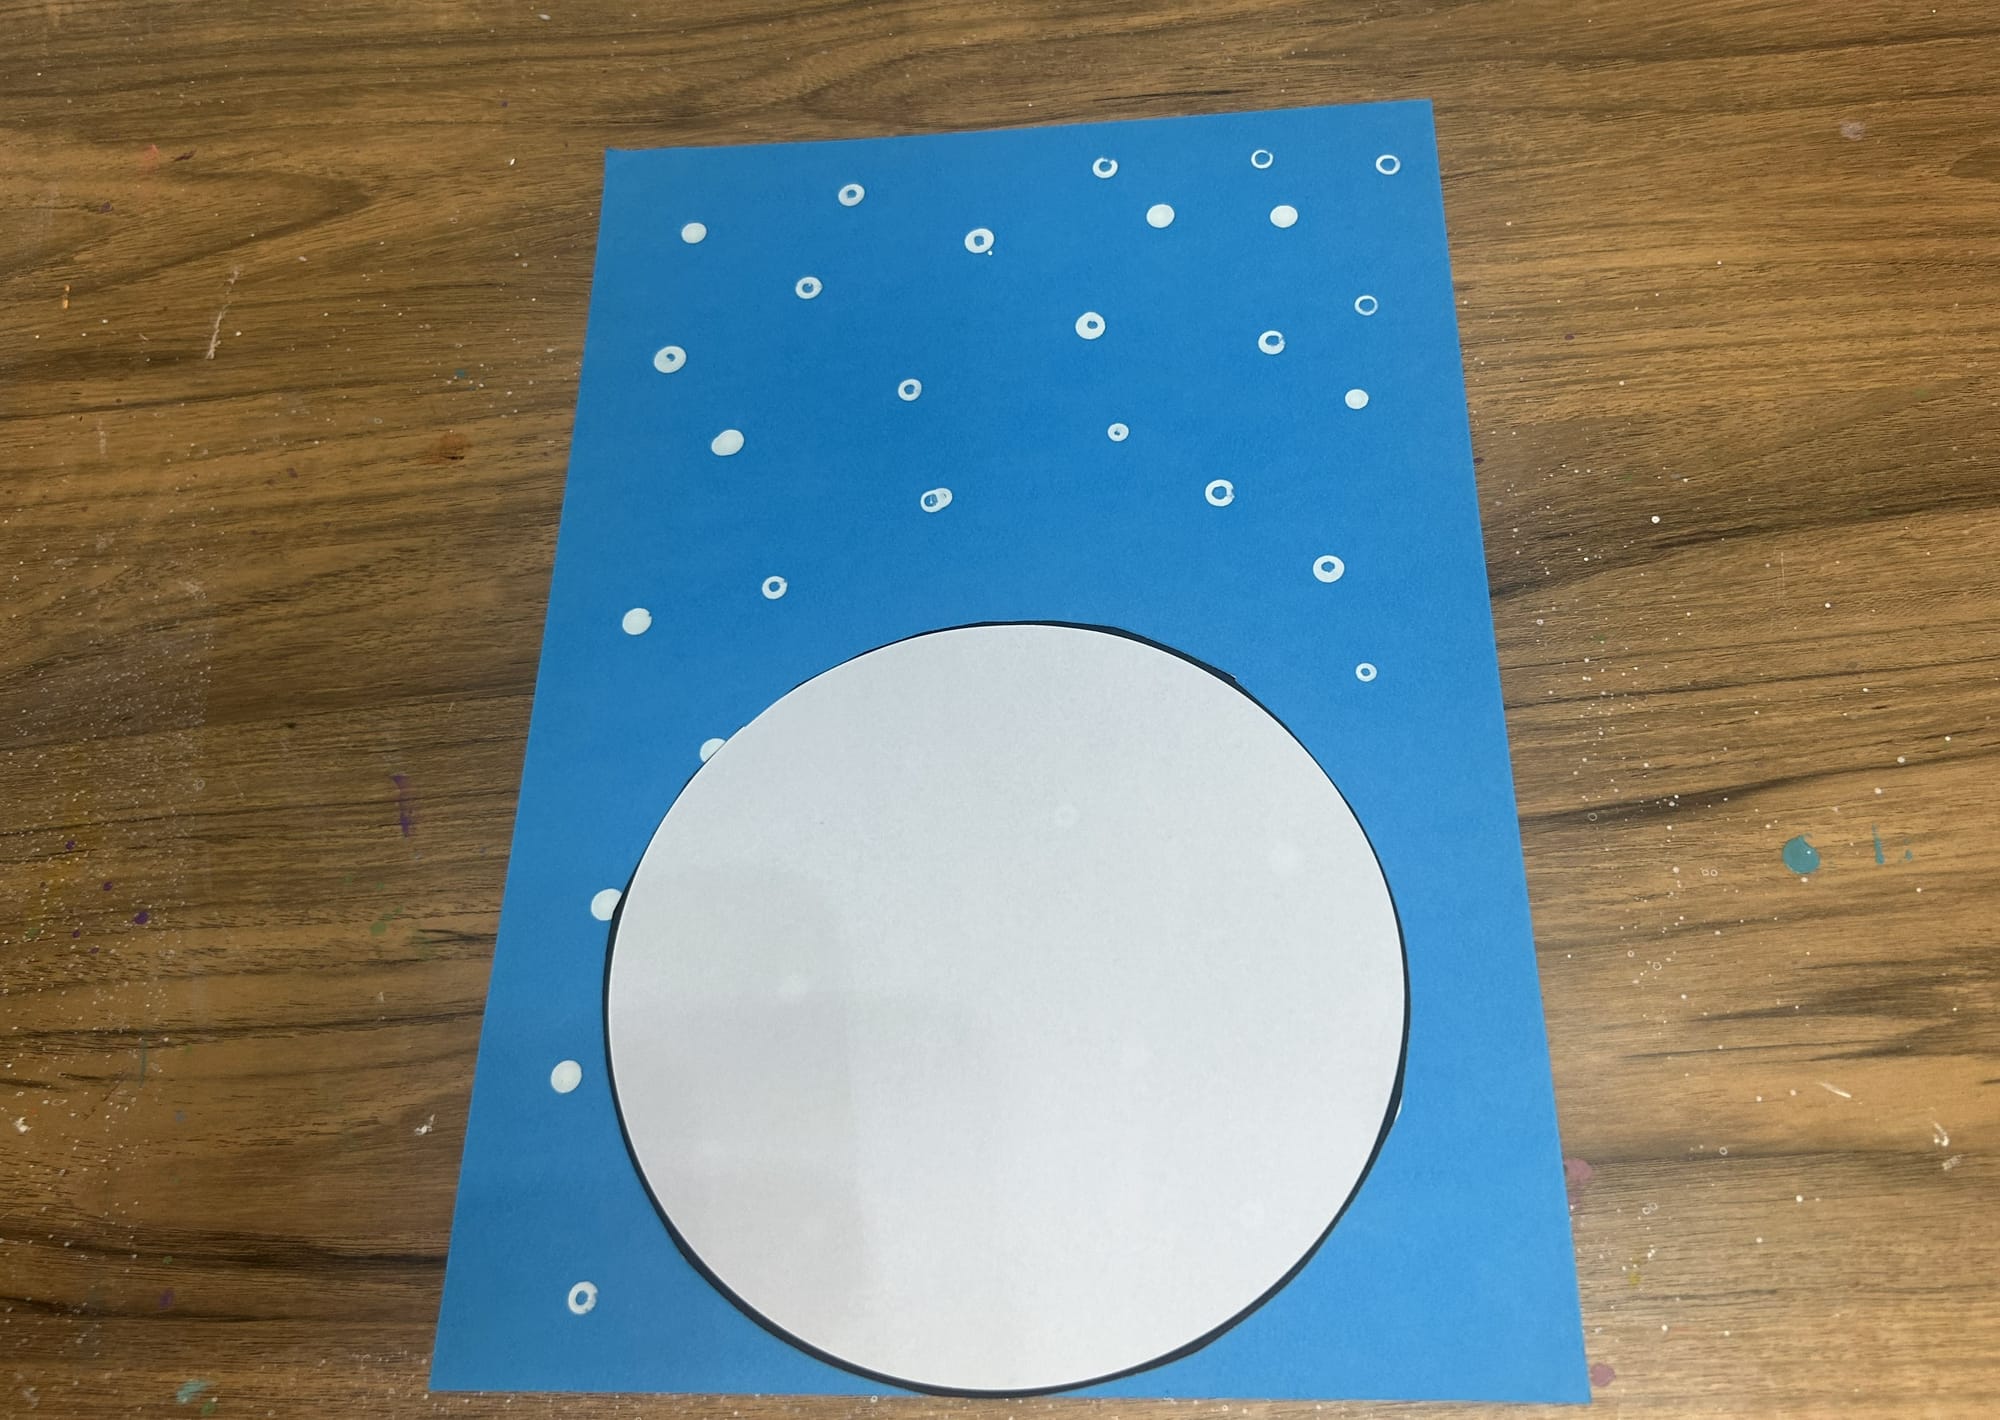
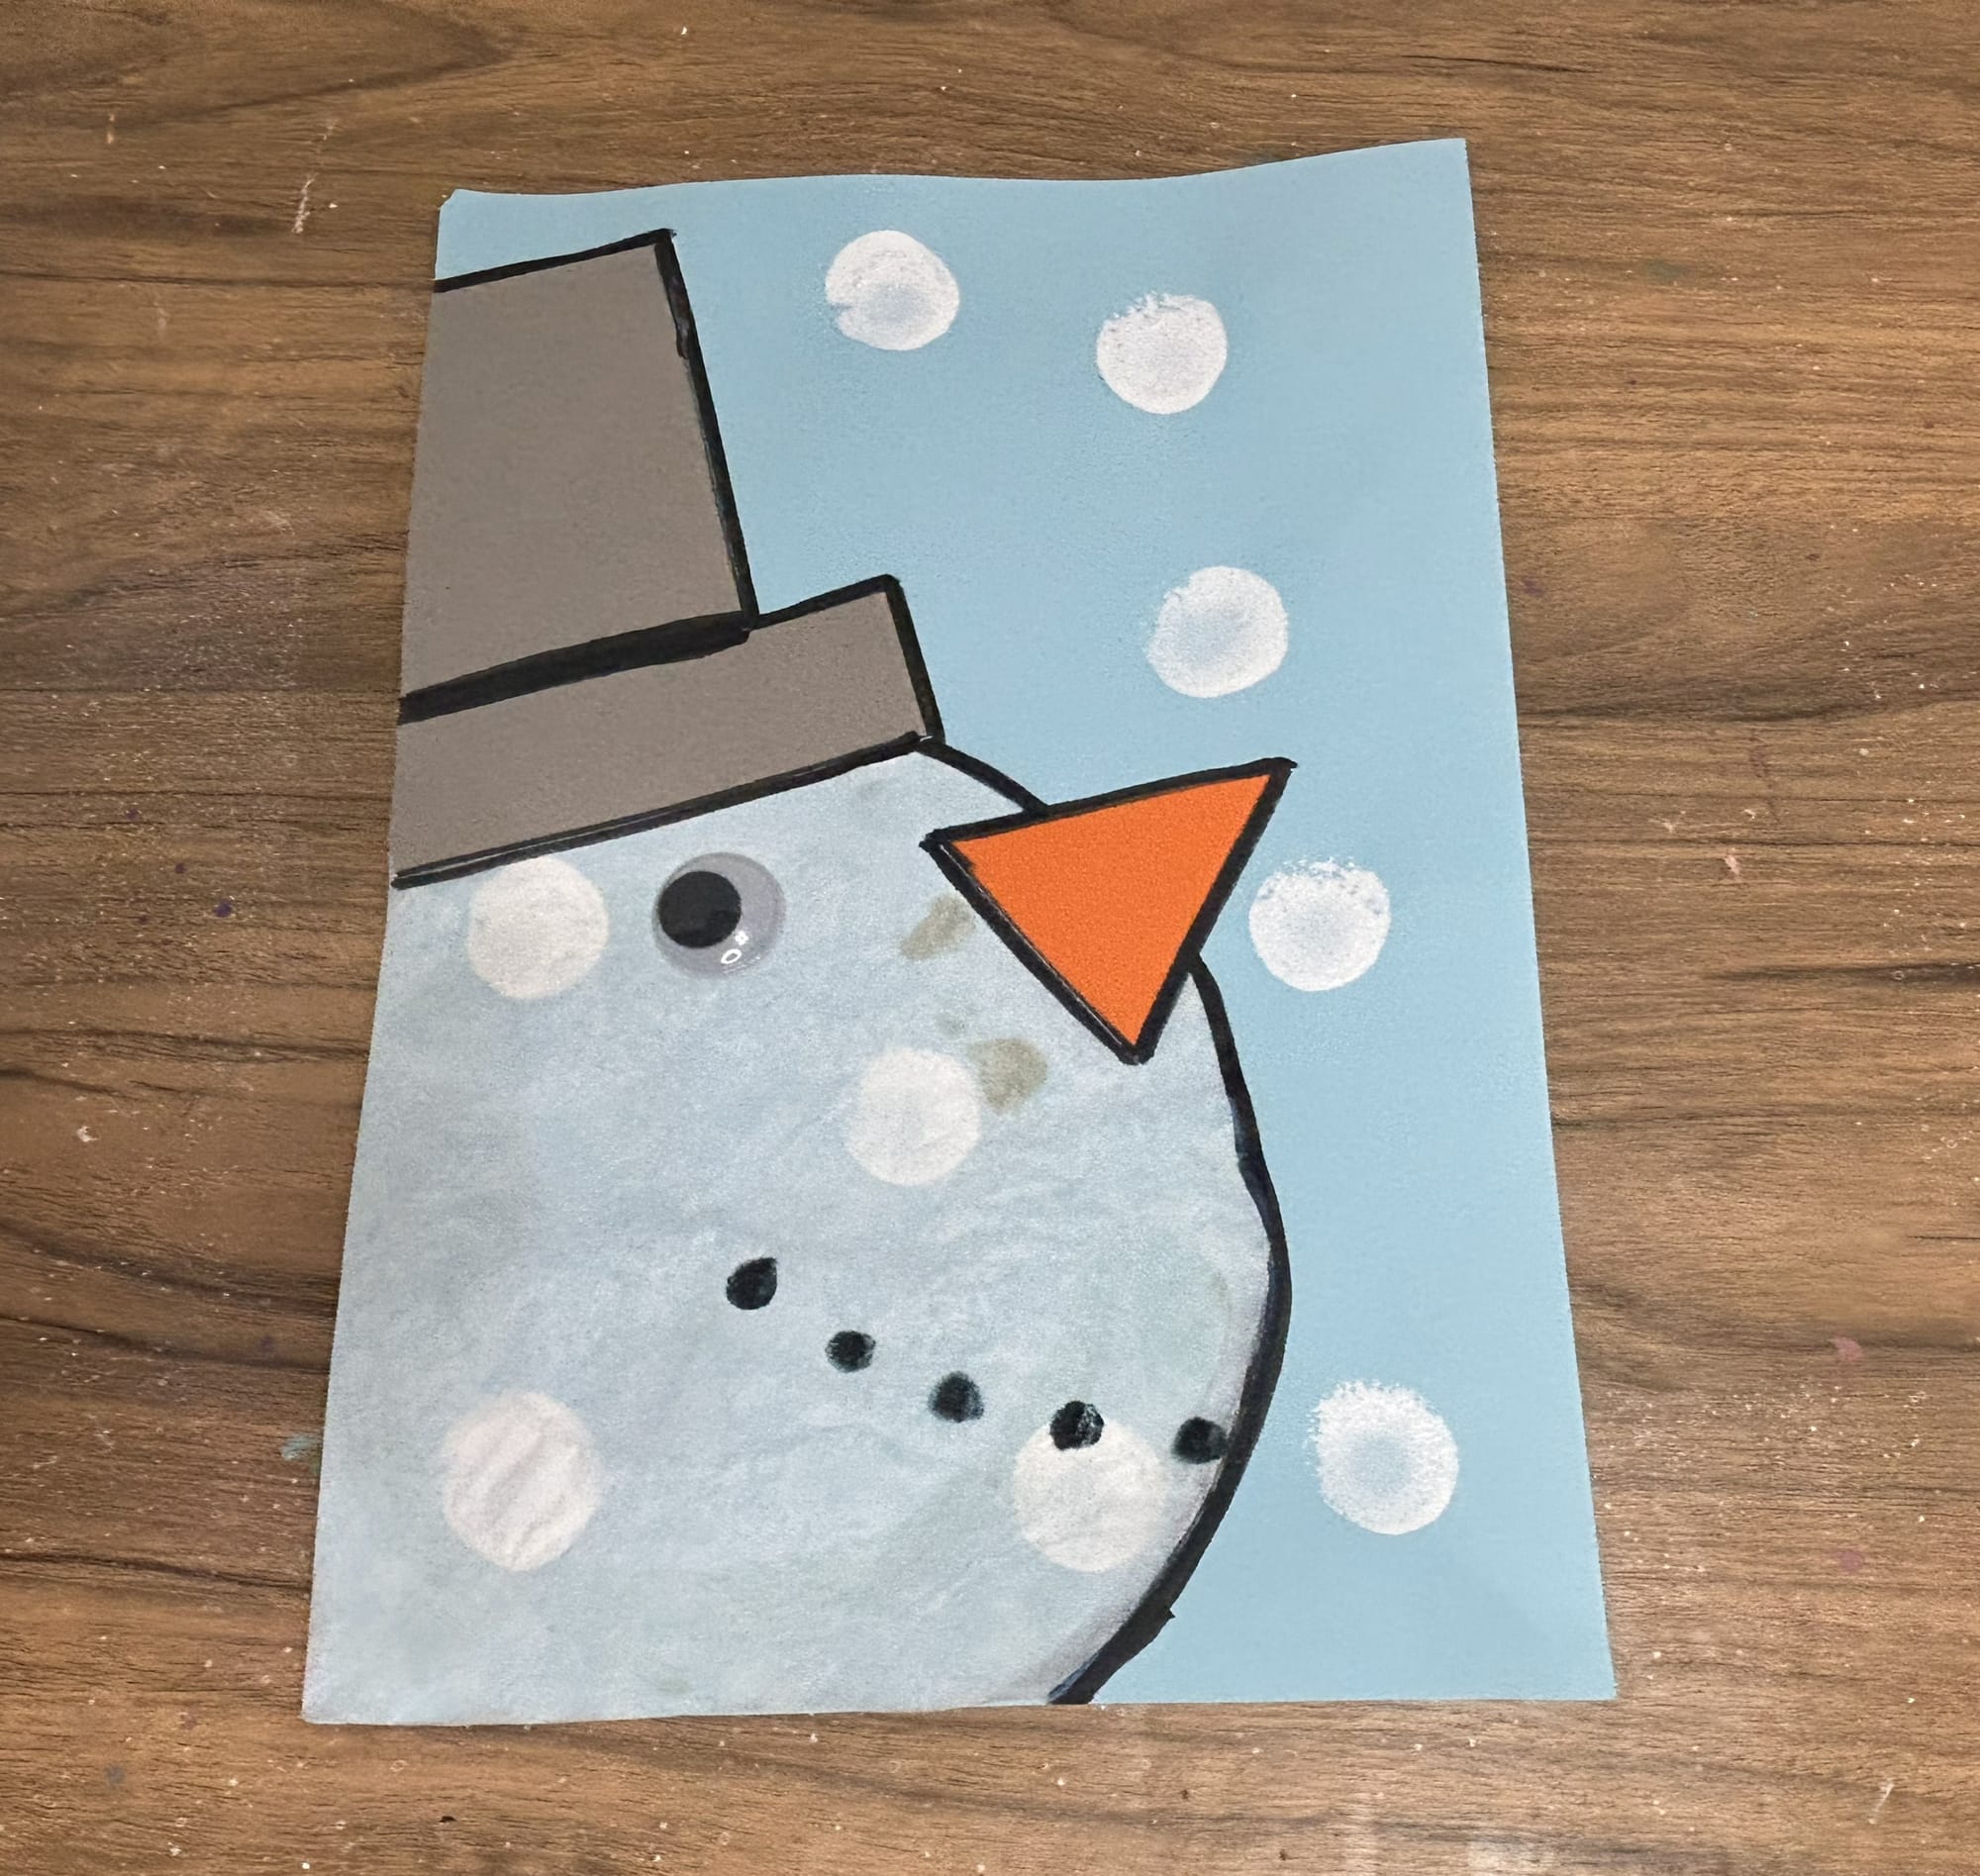
Step 1: Create a Snowy Background
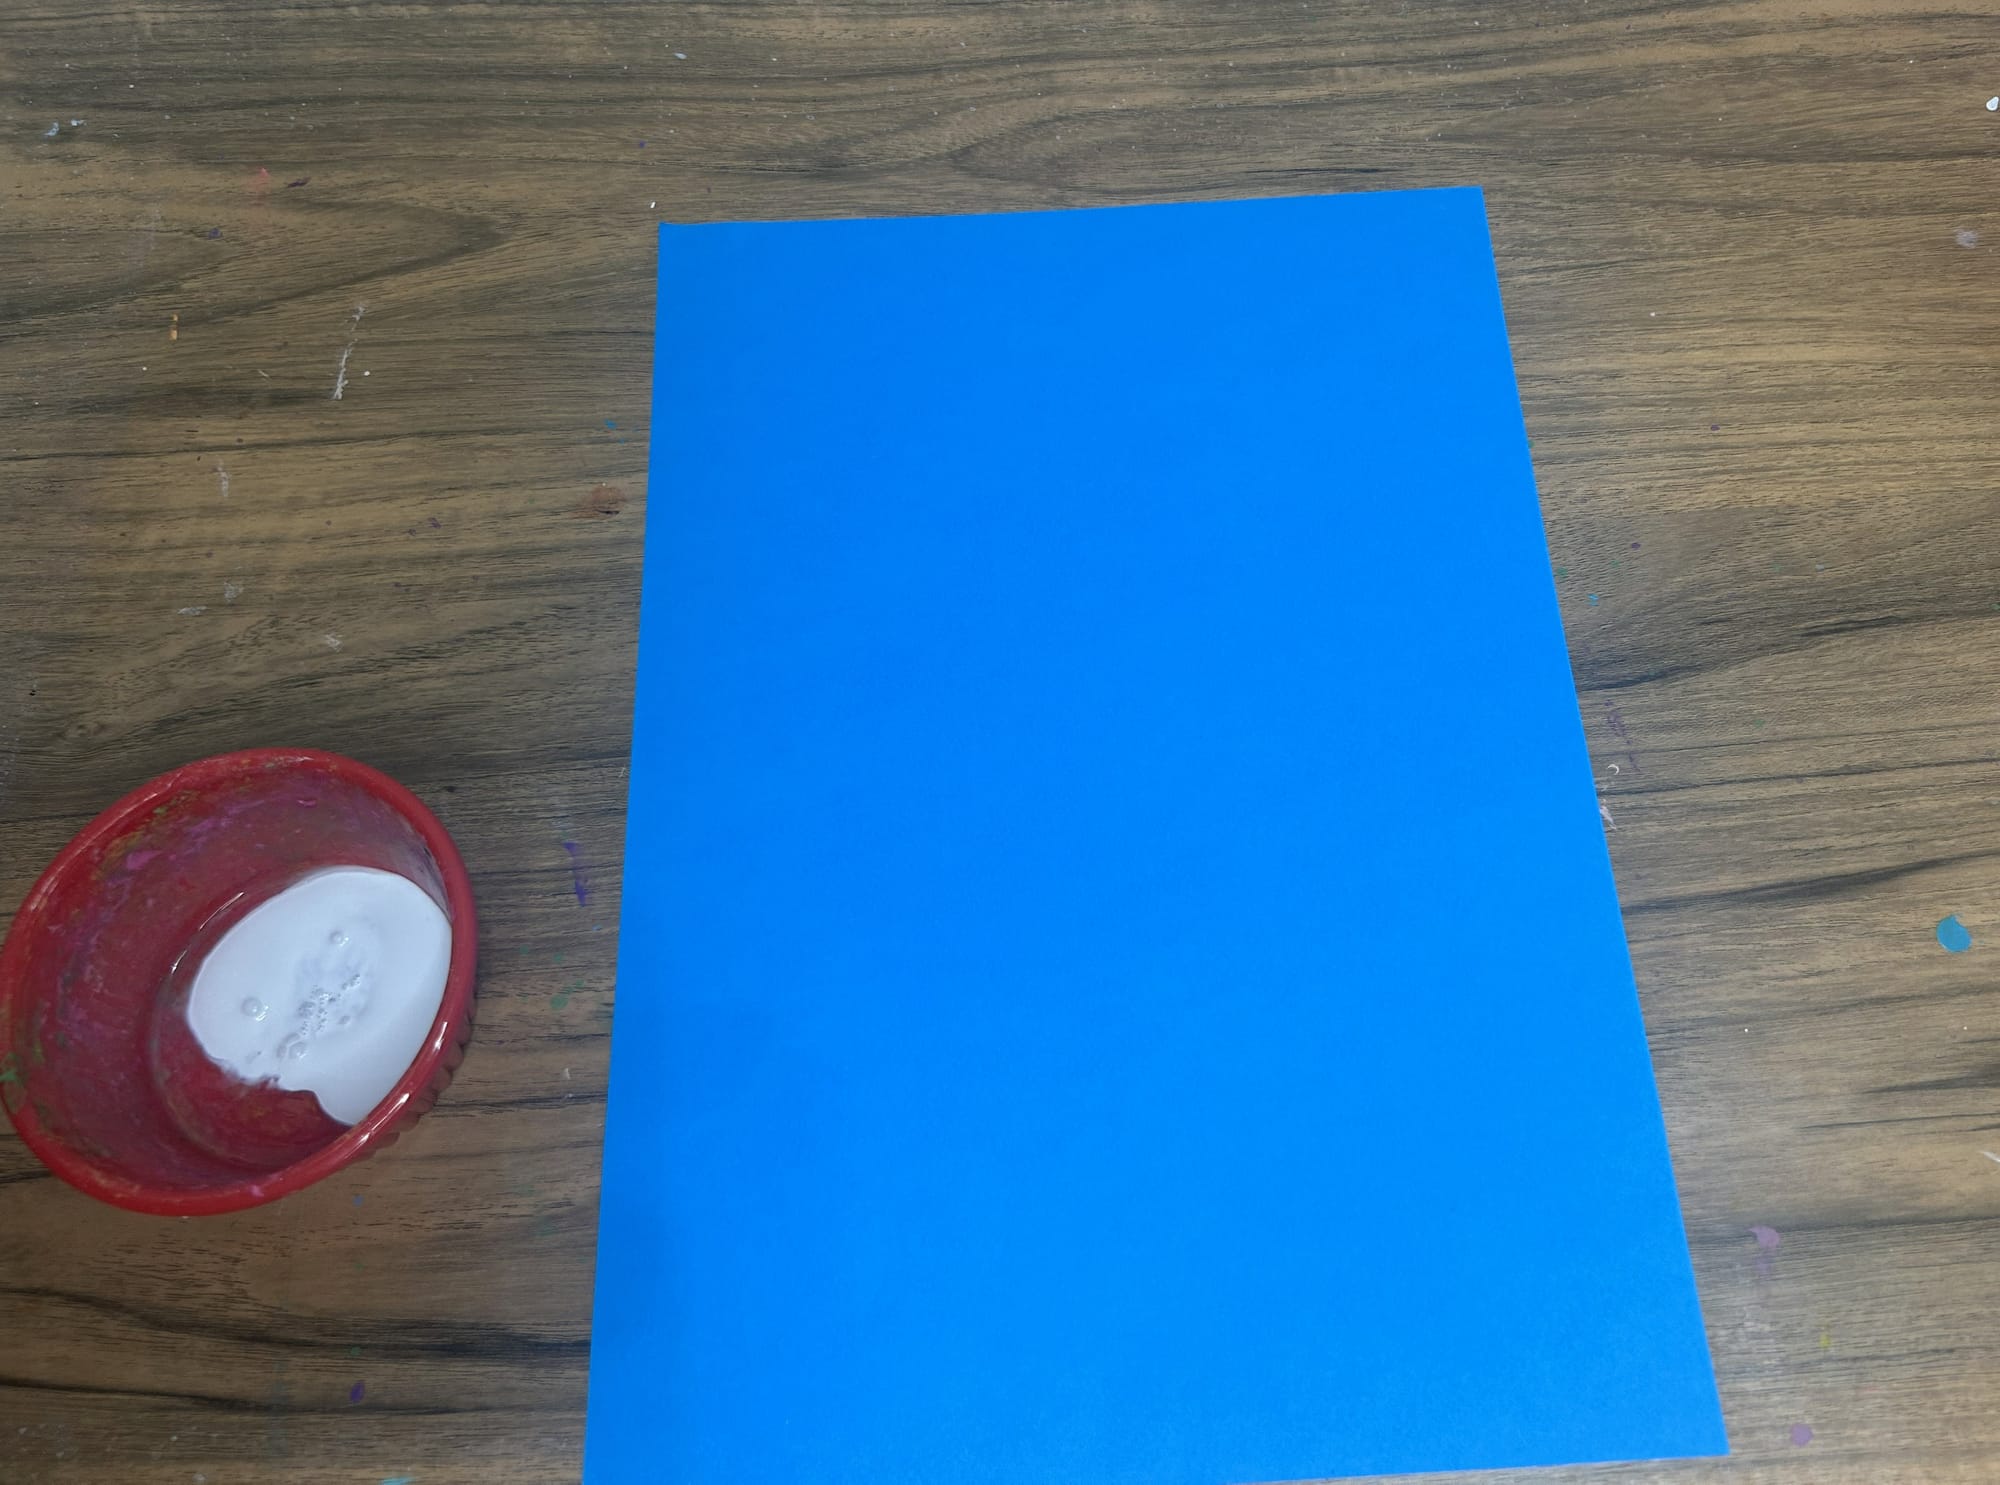
To start grab a piece of paper, you can choose the color you would like. Use some paint to add some snow to the background of the paper before you begin. There are several ways you can create a snowy background.
Splatter painted

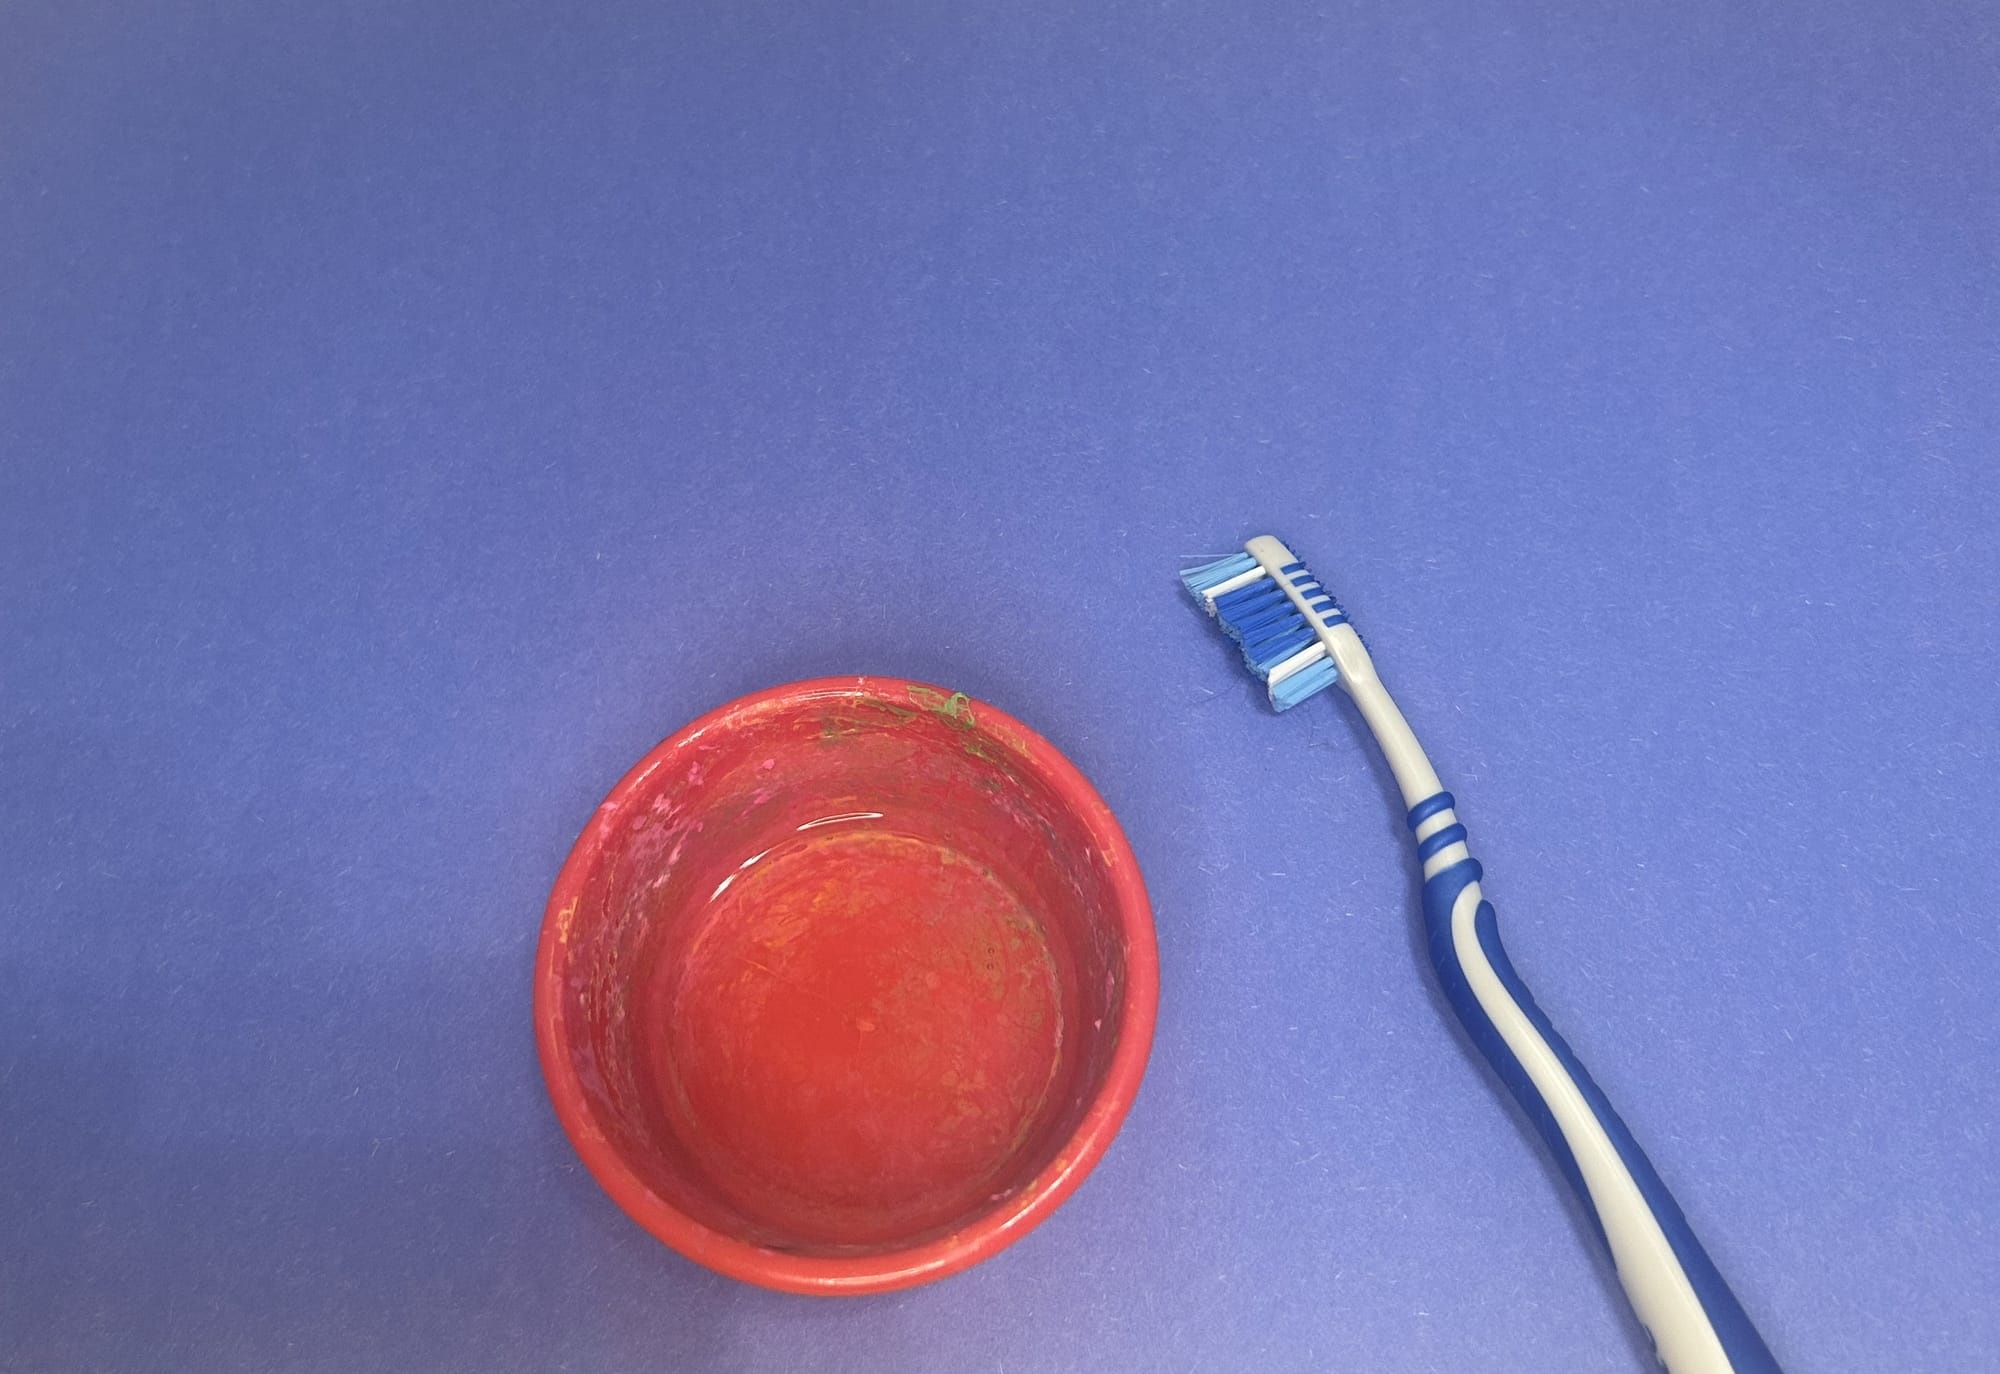
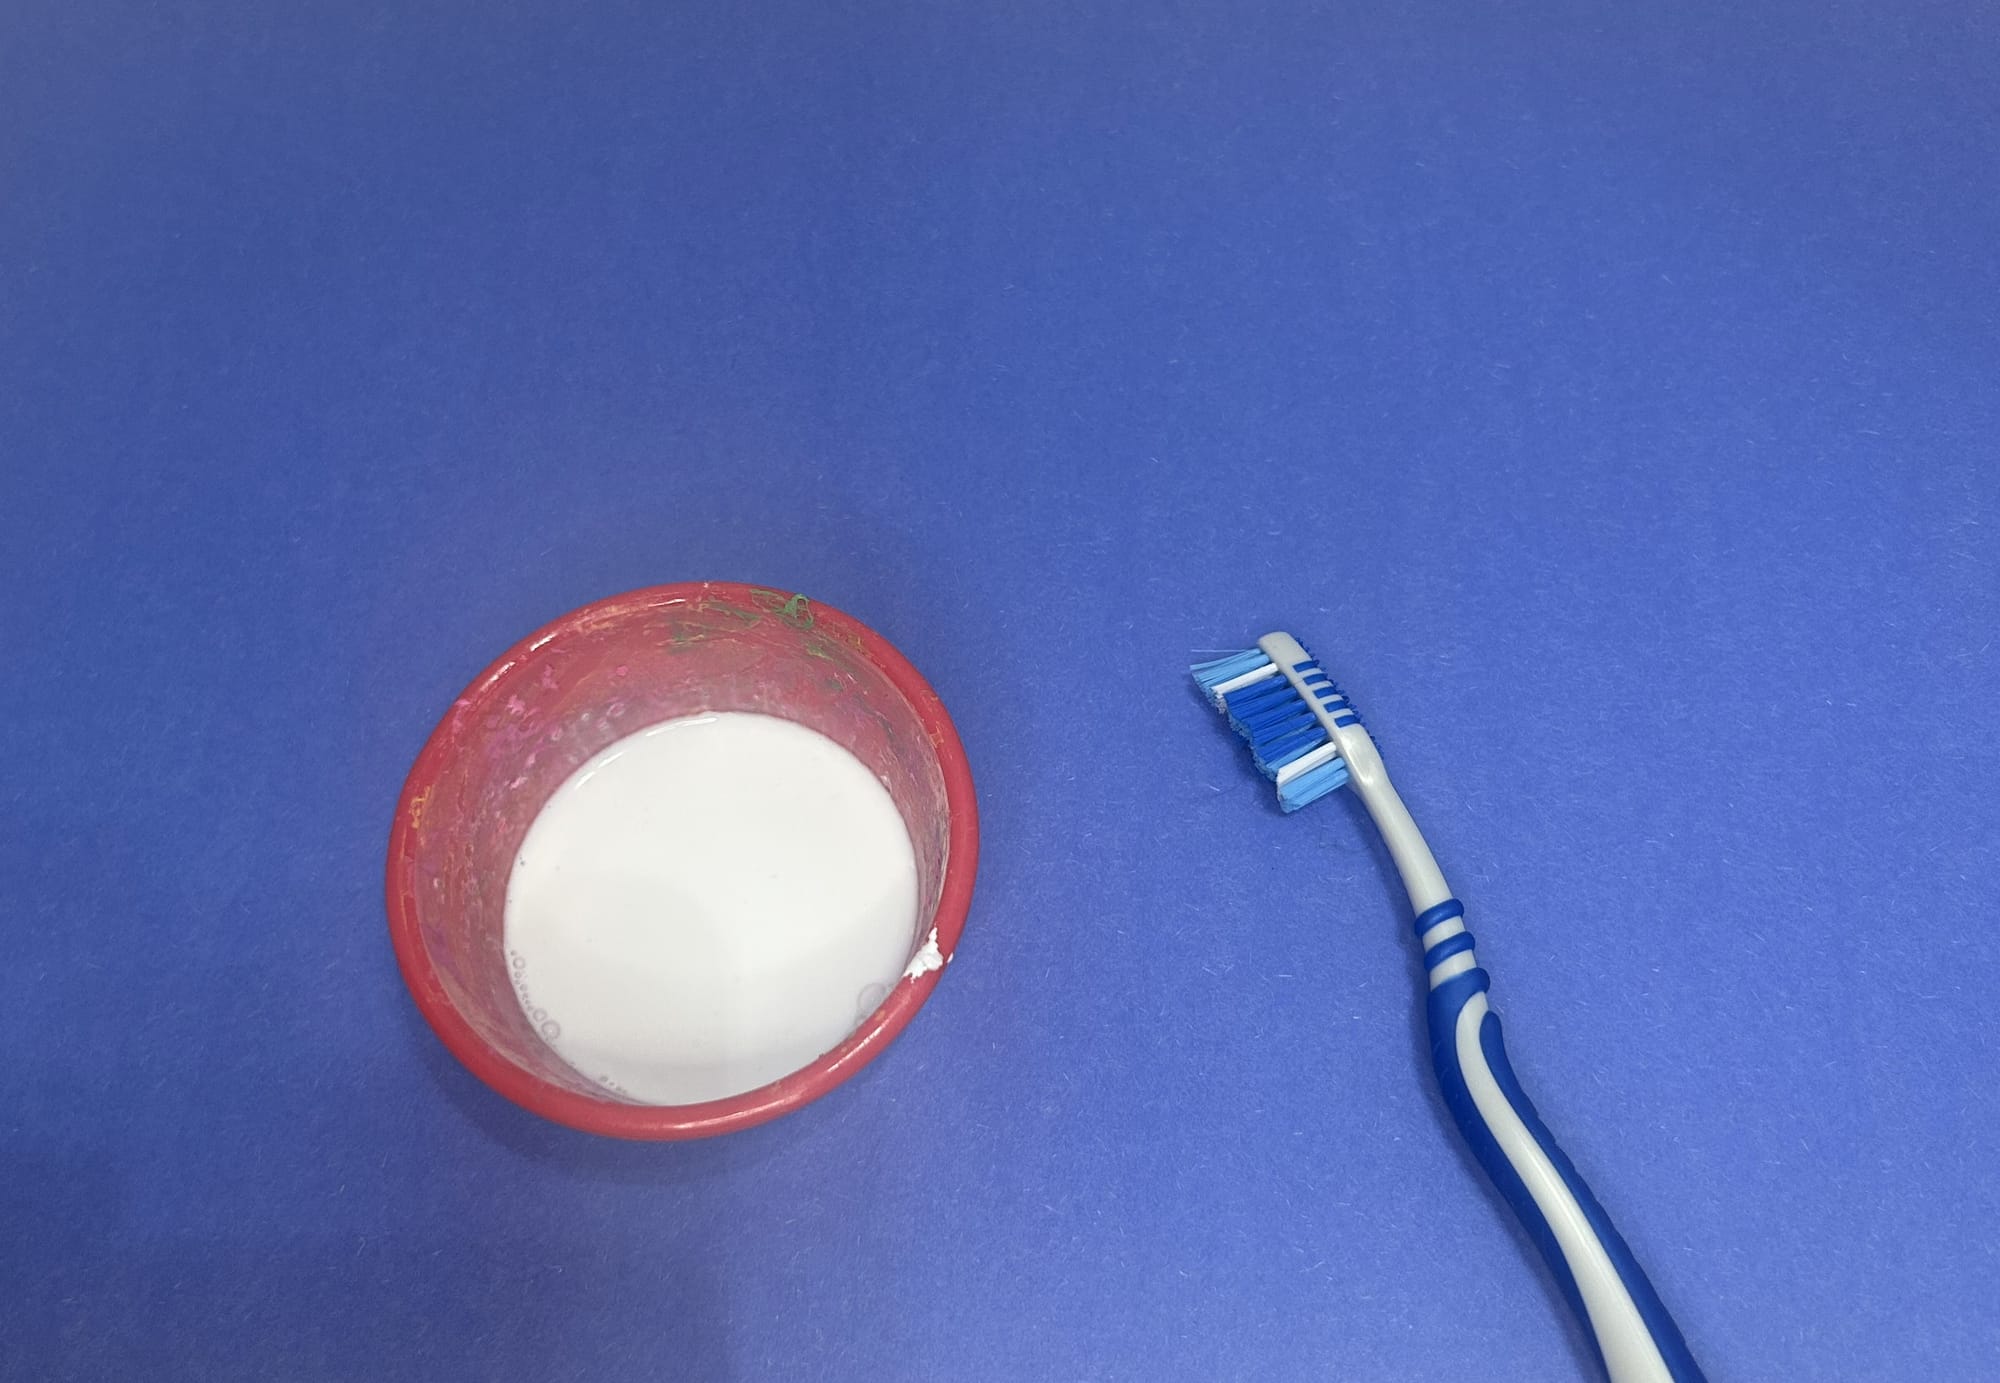
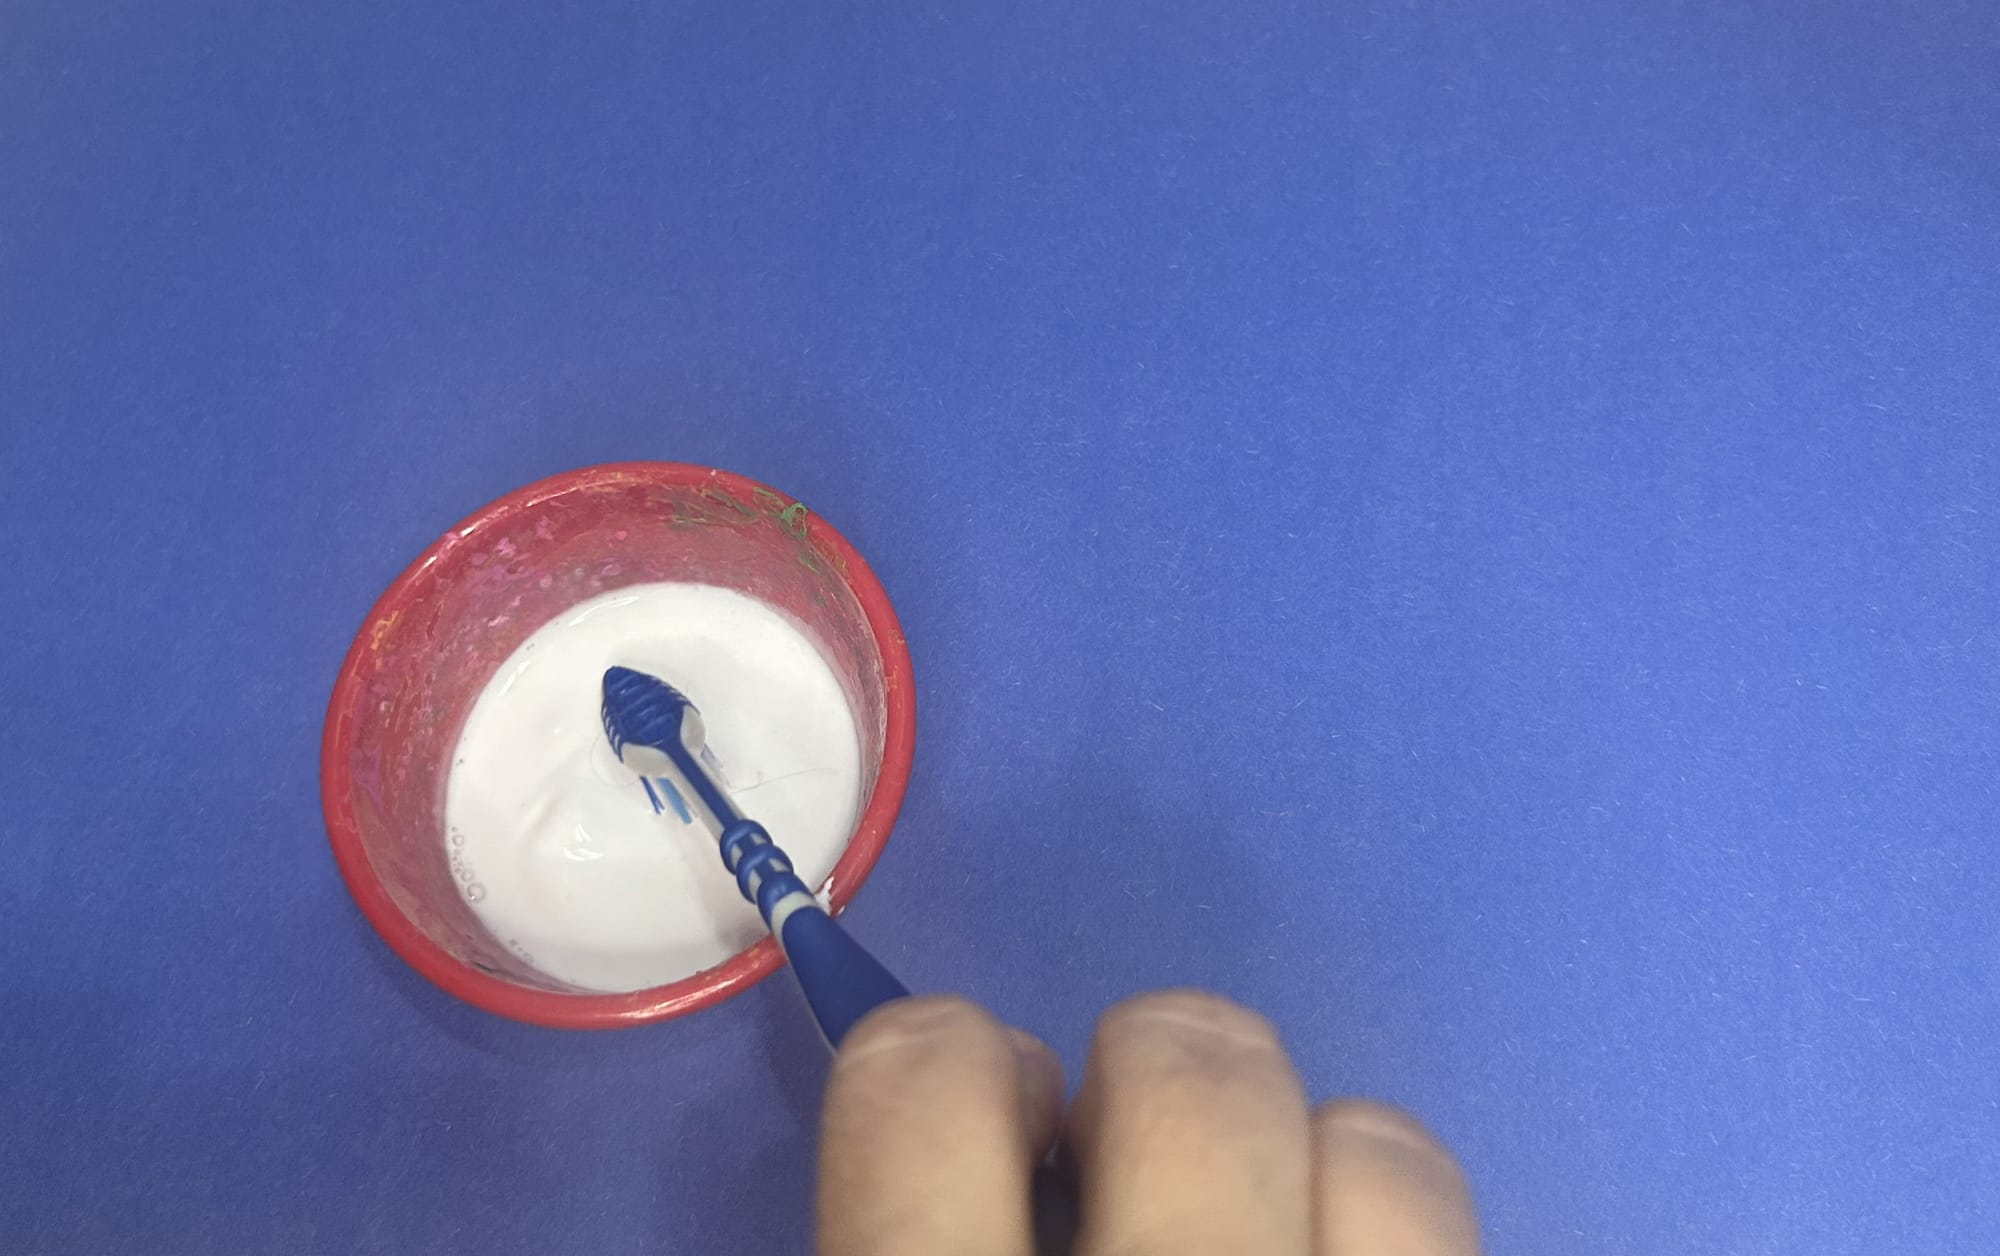
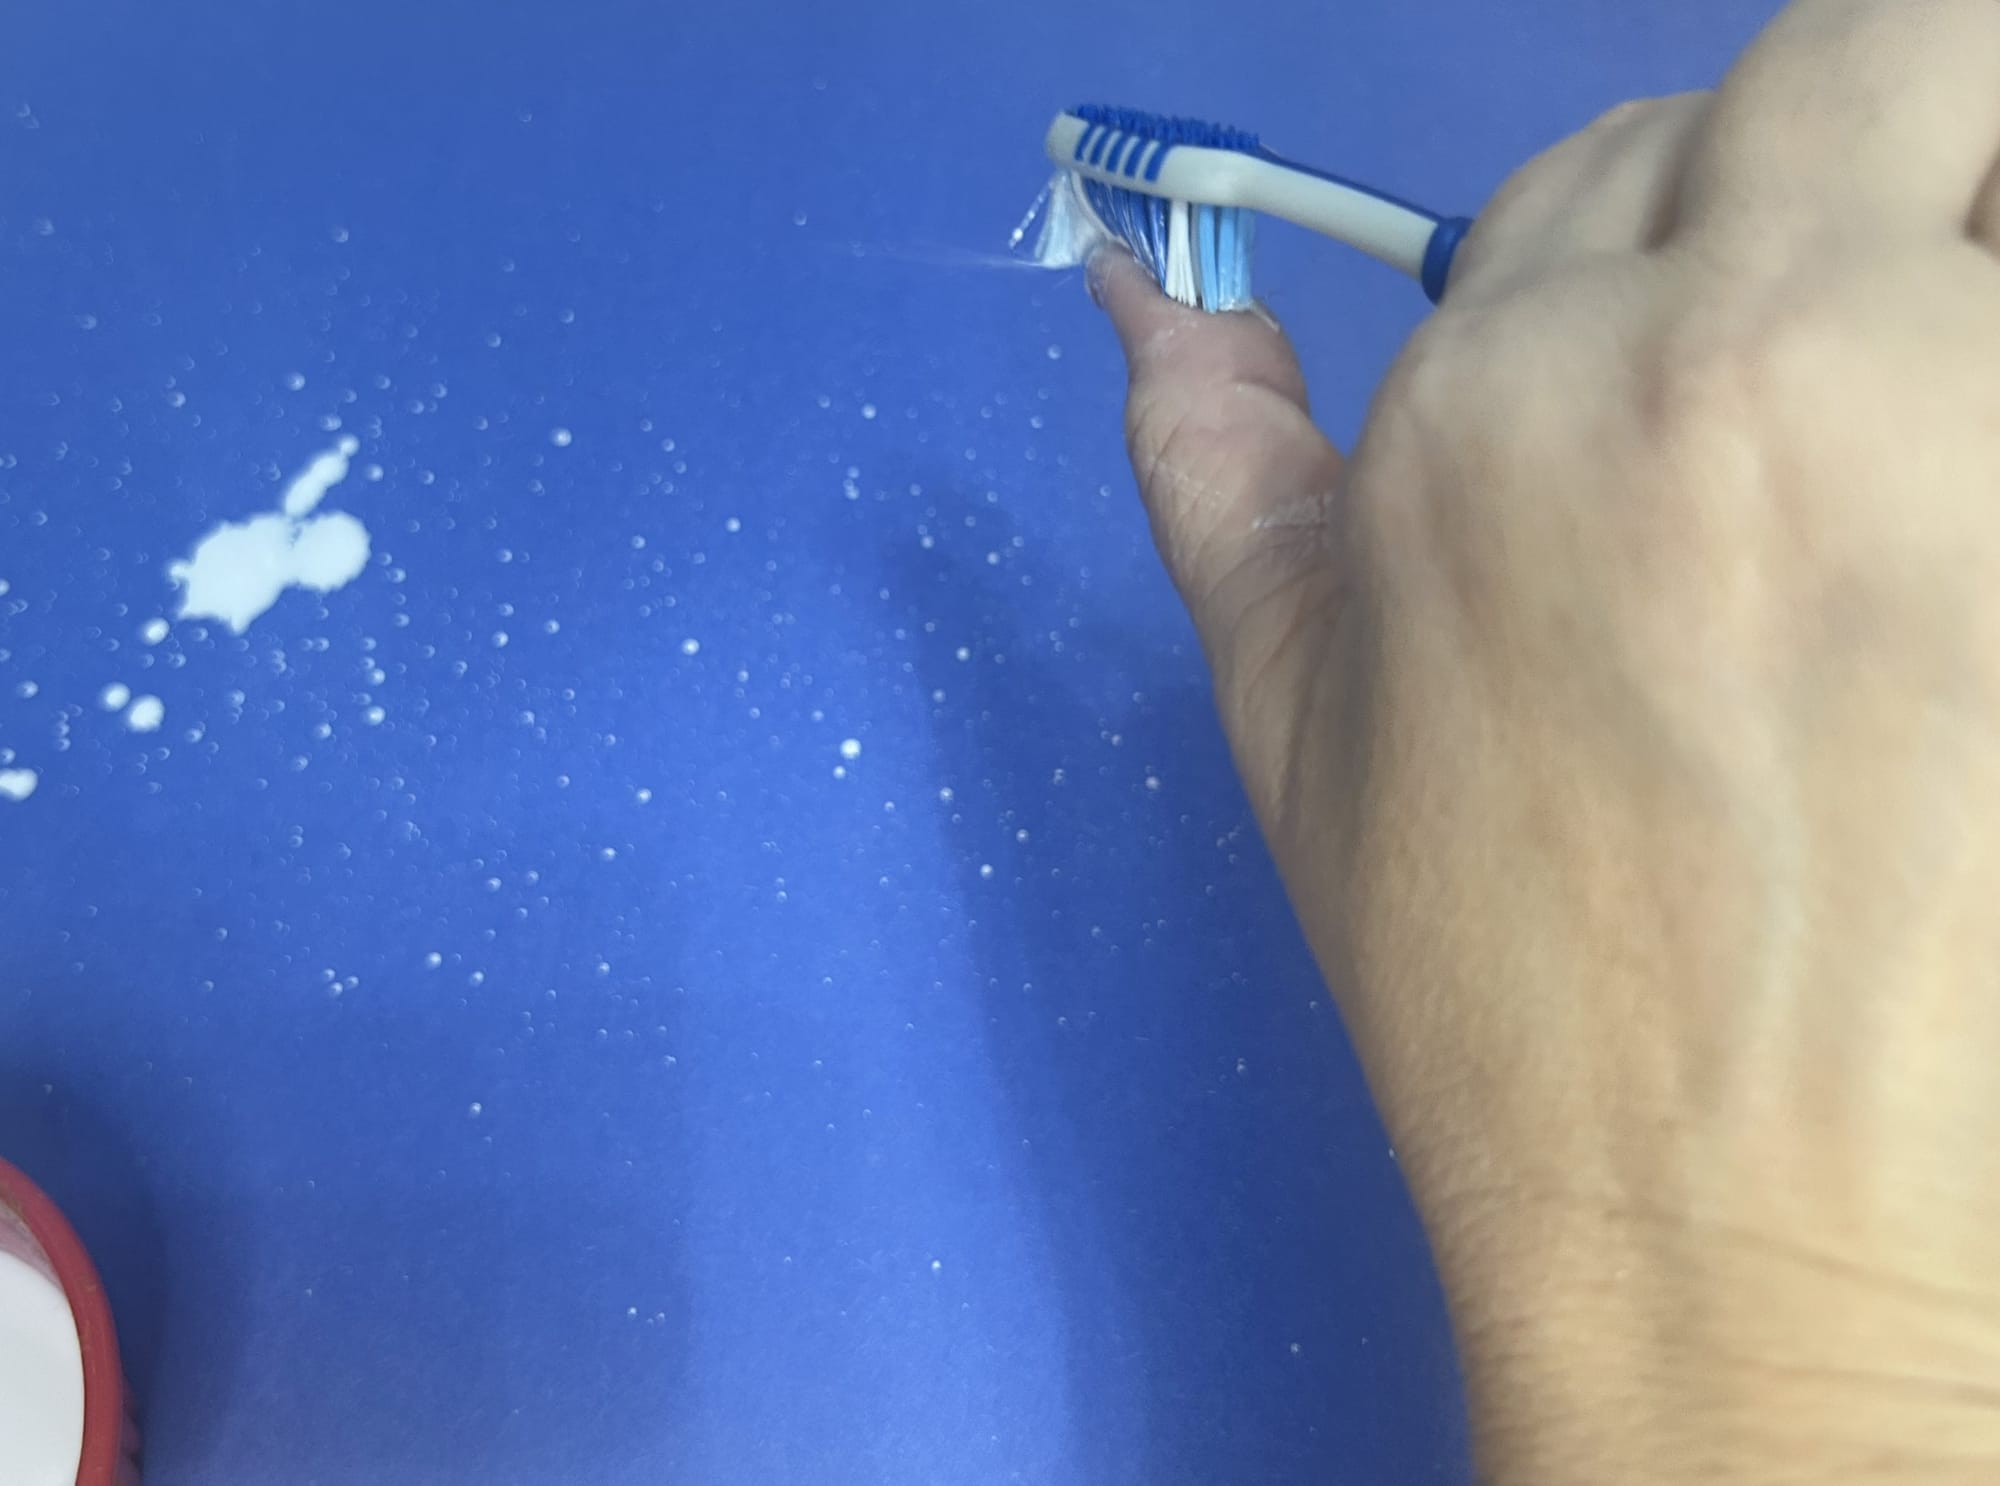
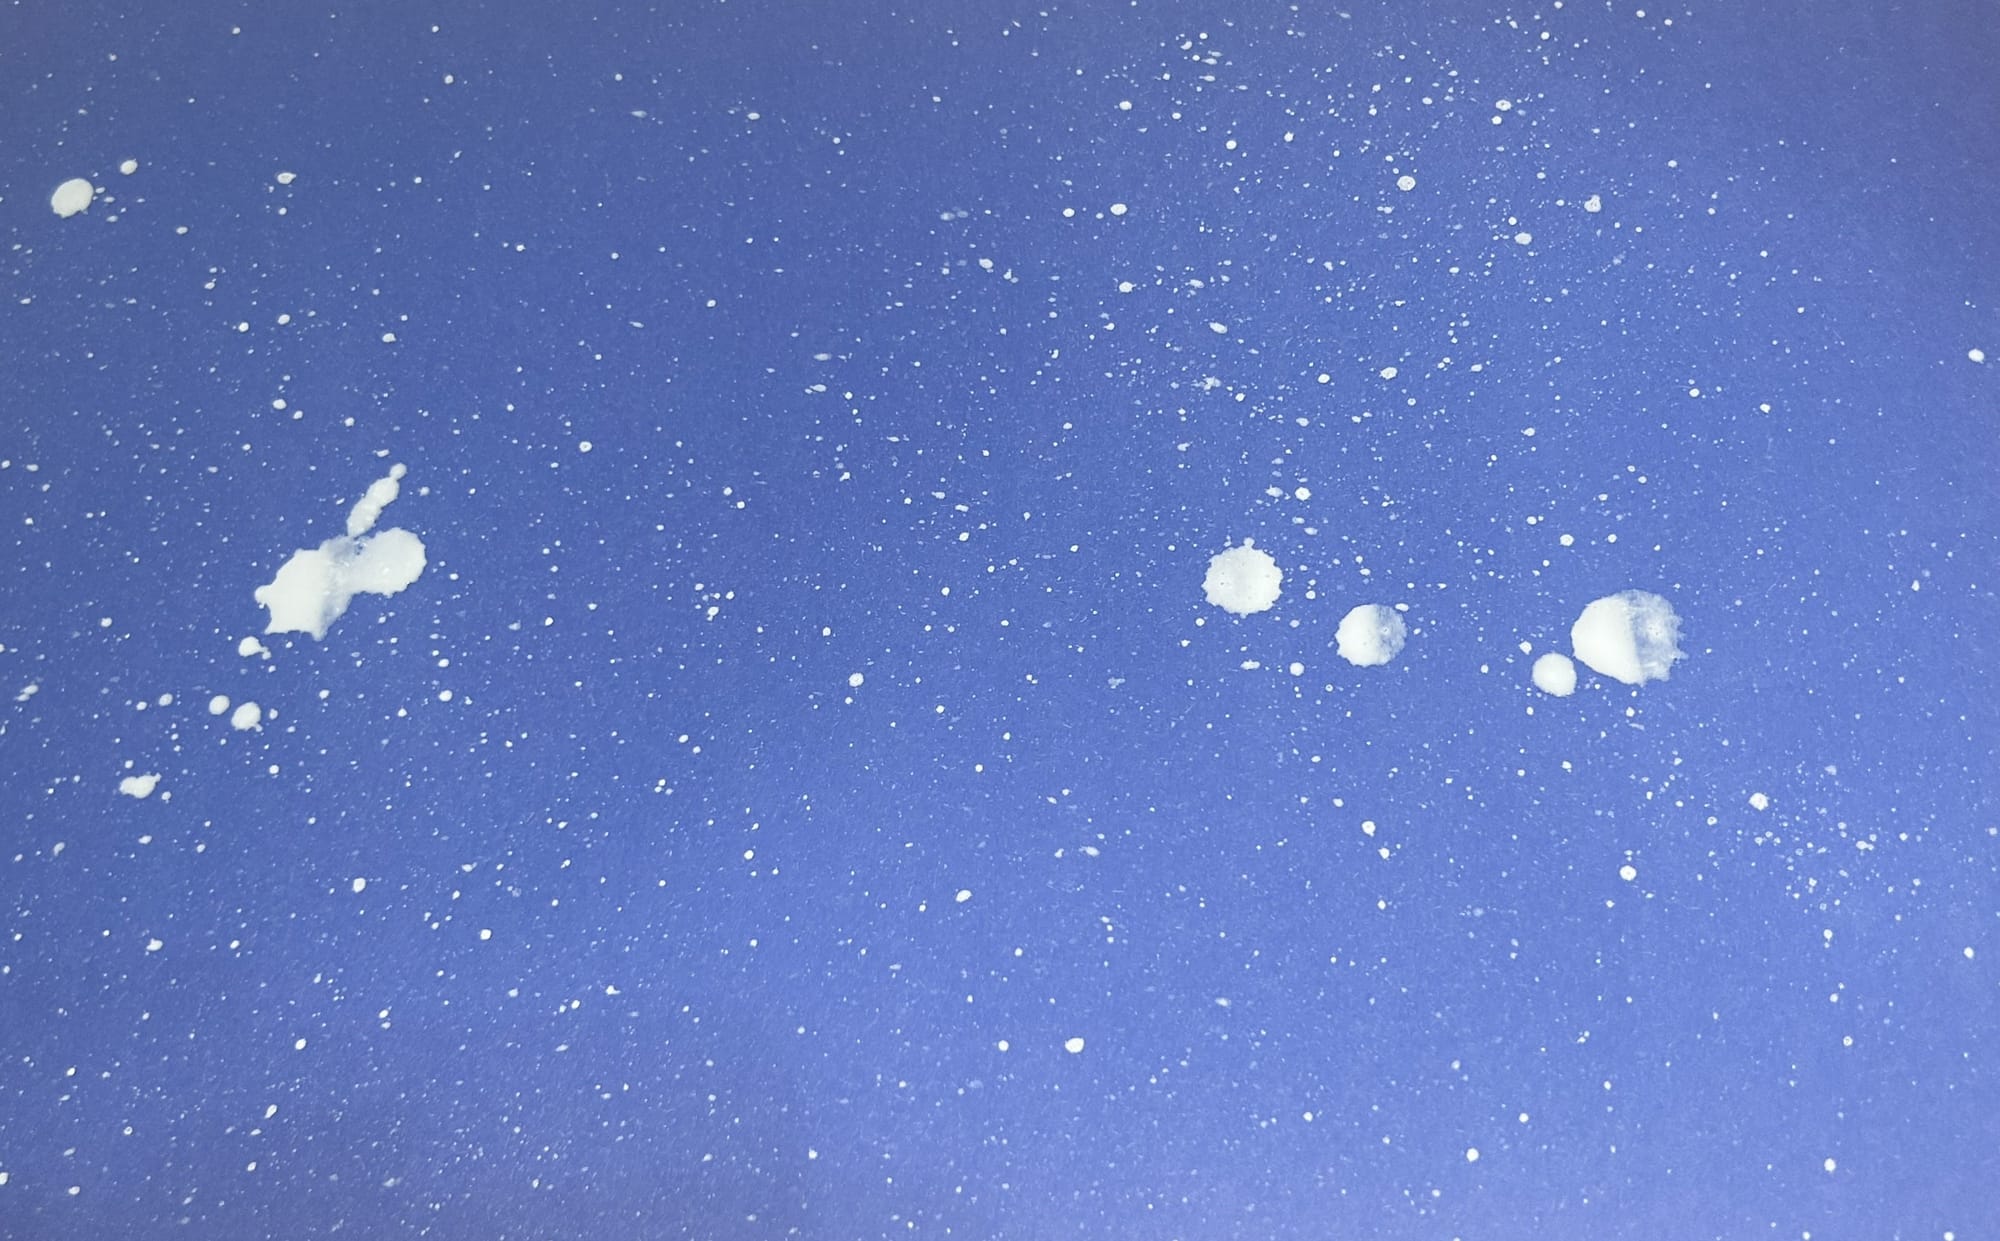
Flick watered down paint onto paper
To create this background, add some water to some white paint. Then dip an old paintbrush in the watered down paint. Use your finger to flick the white paint onto the paper. It is okay if you get some bigger drips on your paper.
Round sponge brush painted
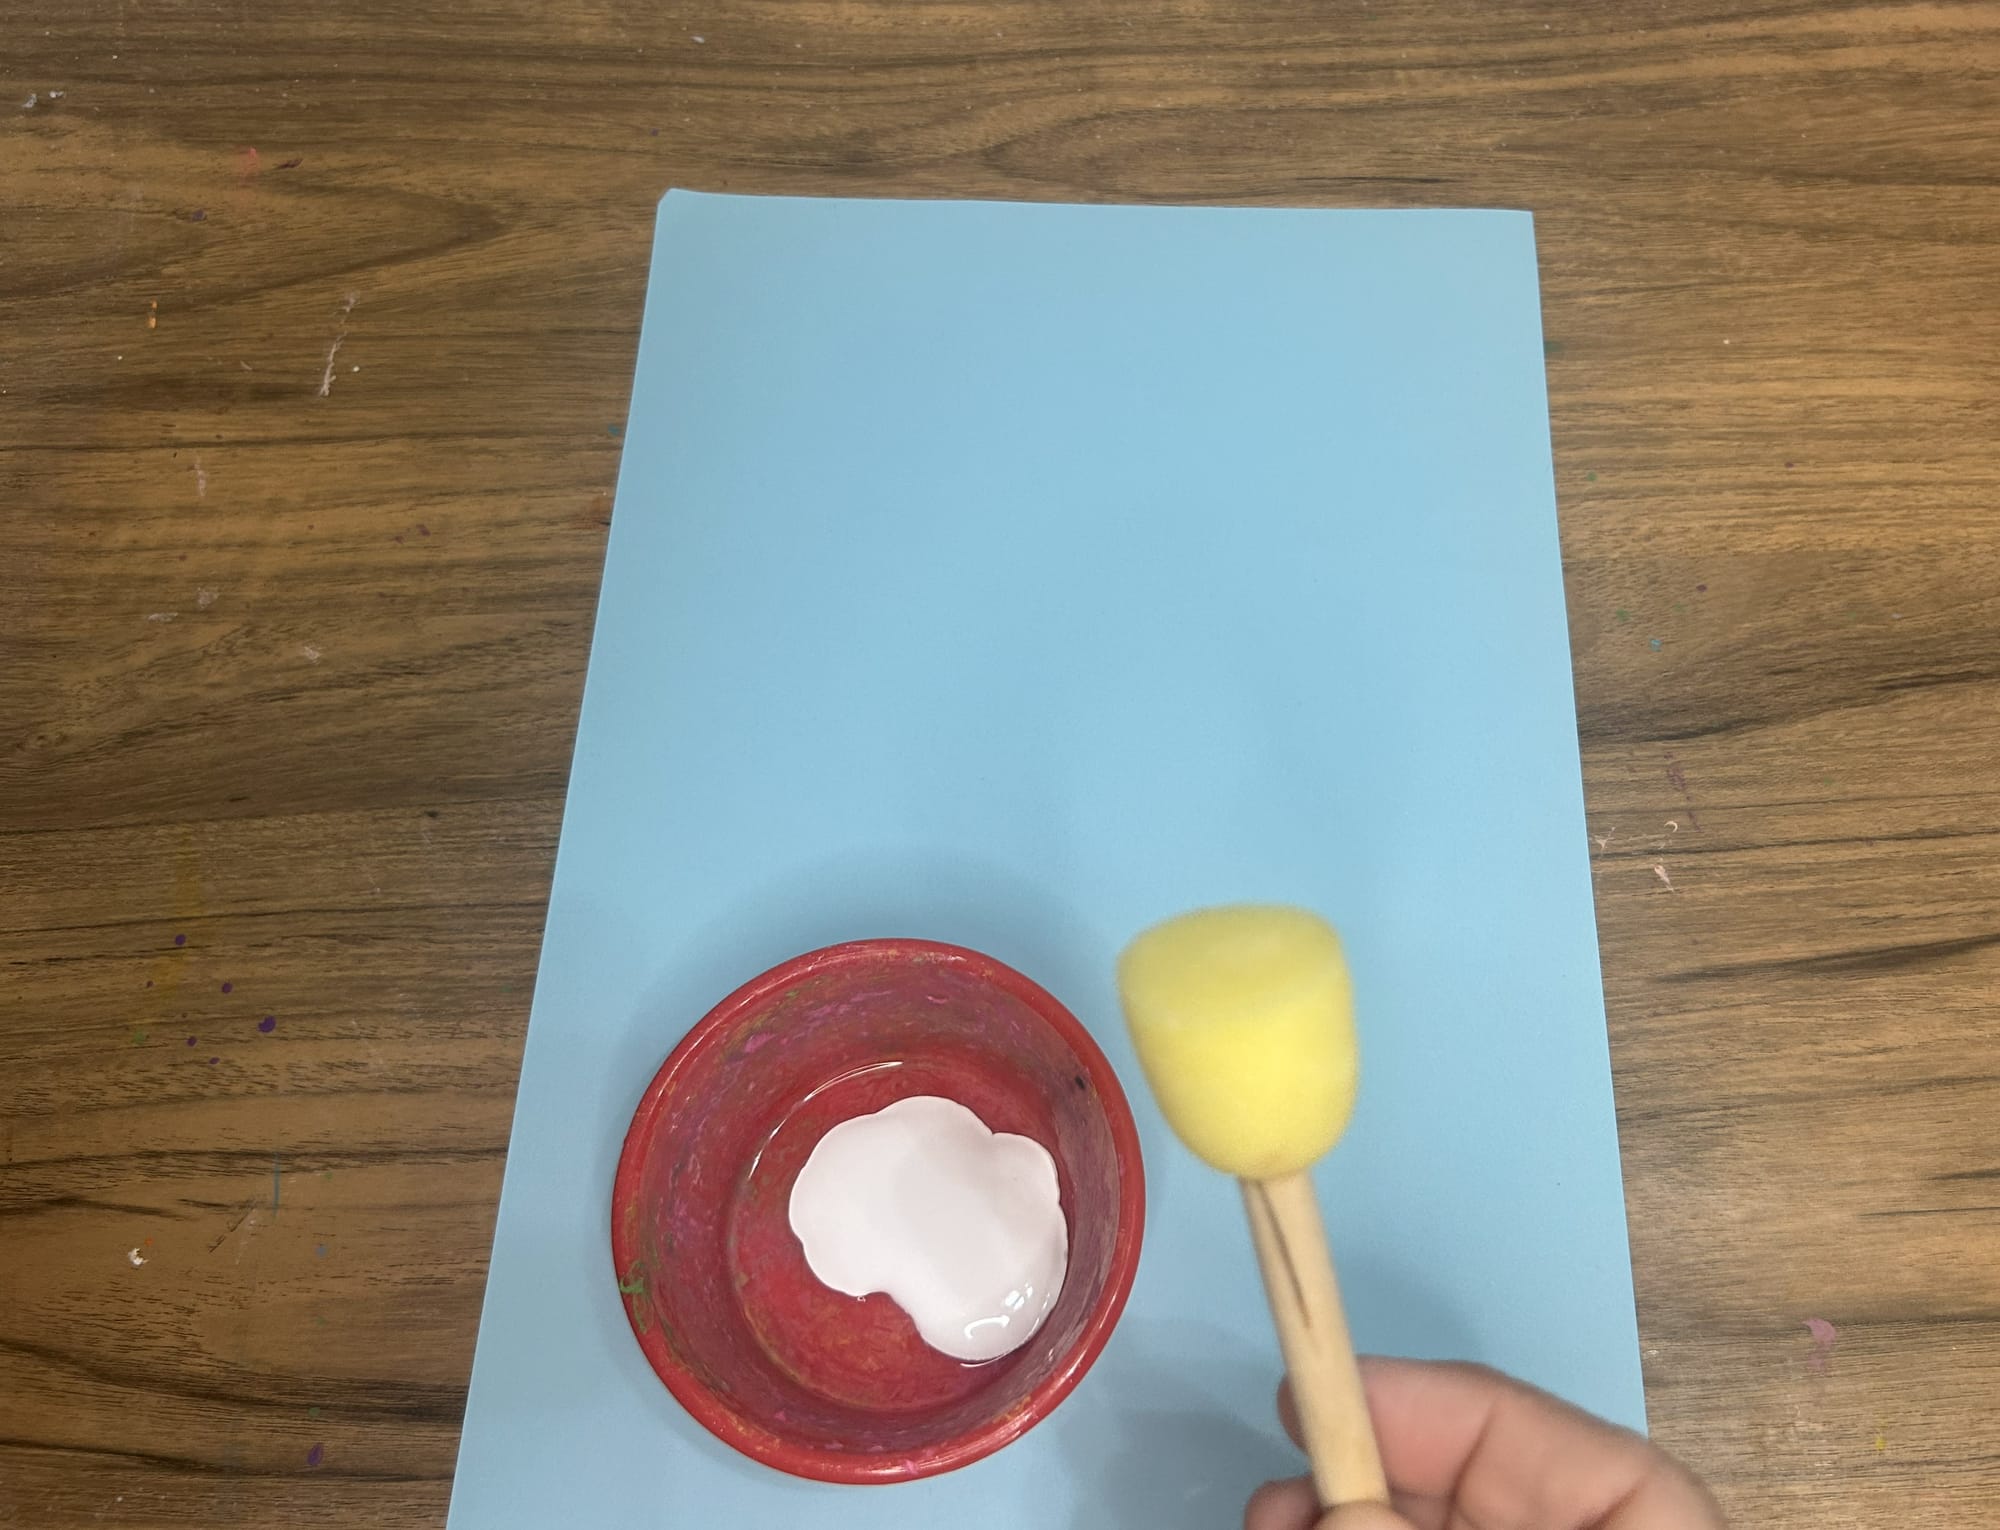
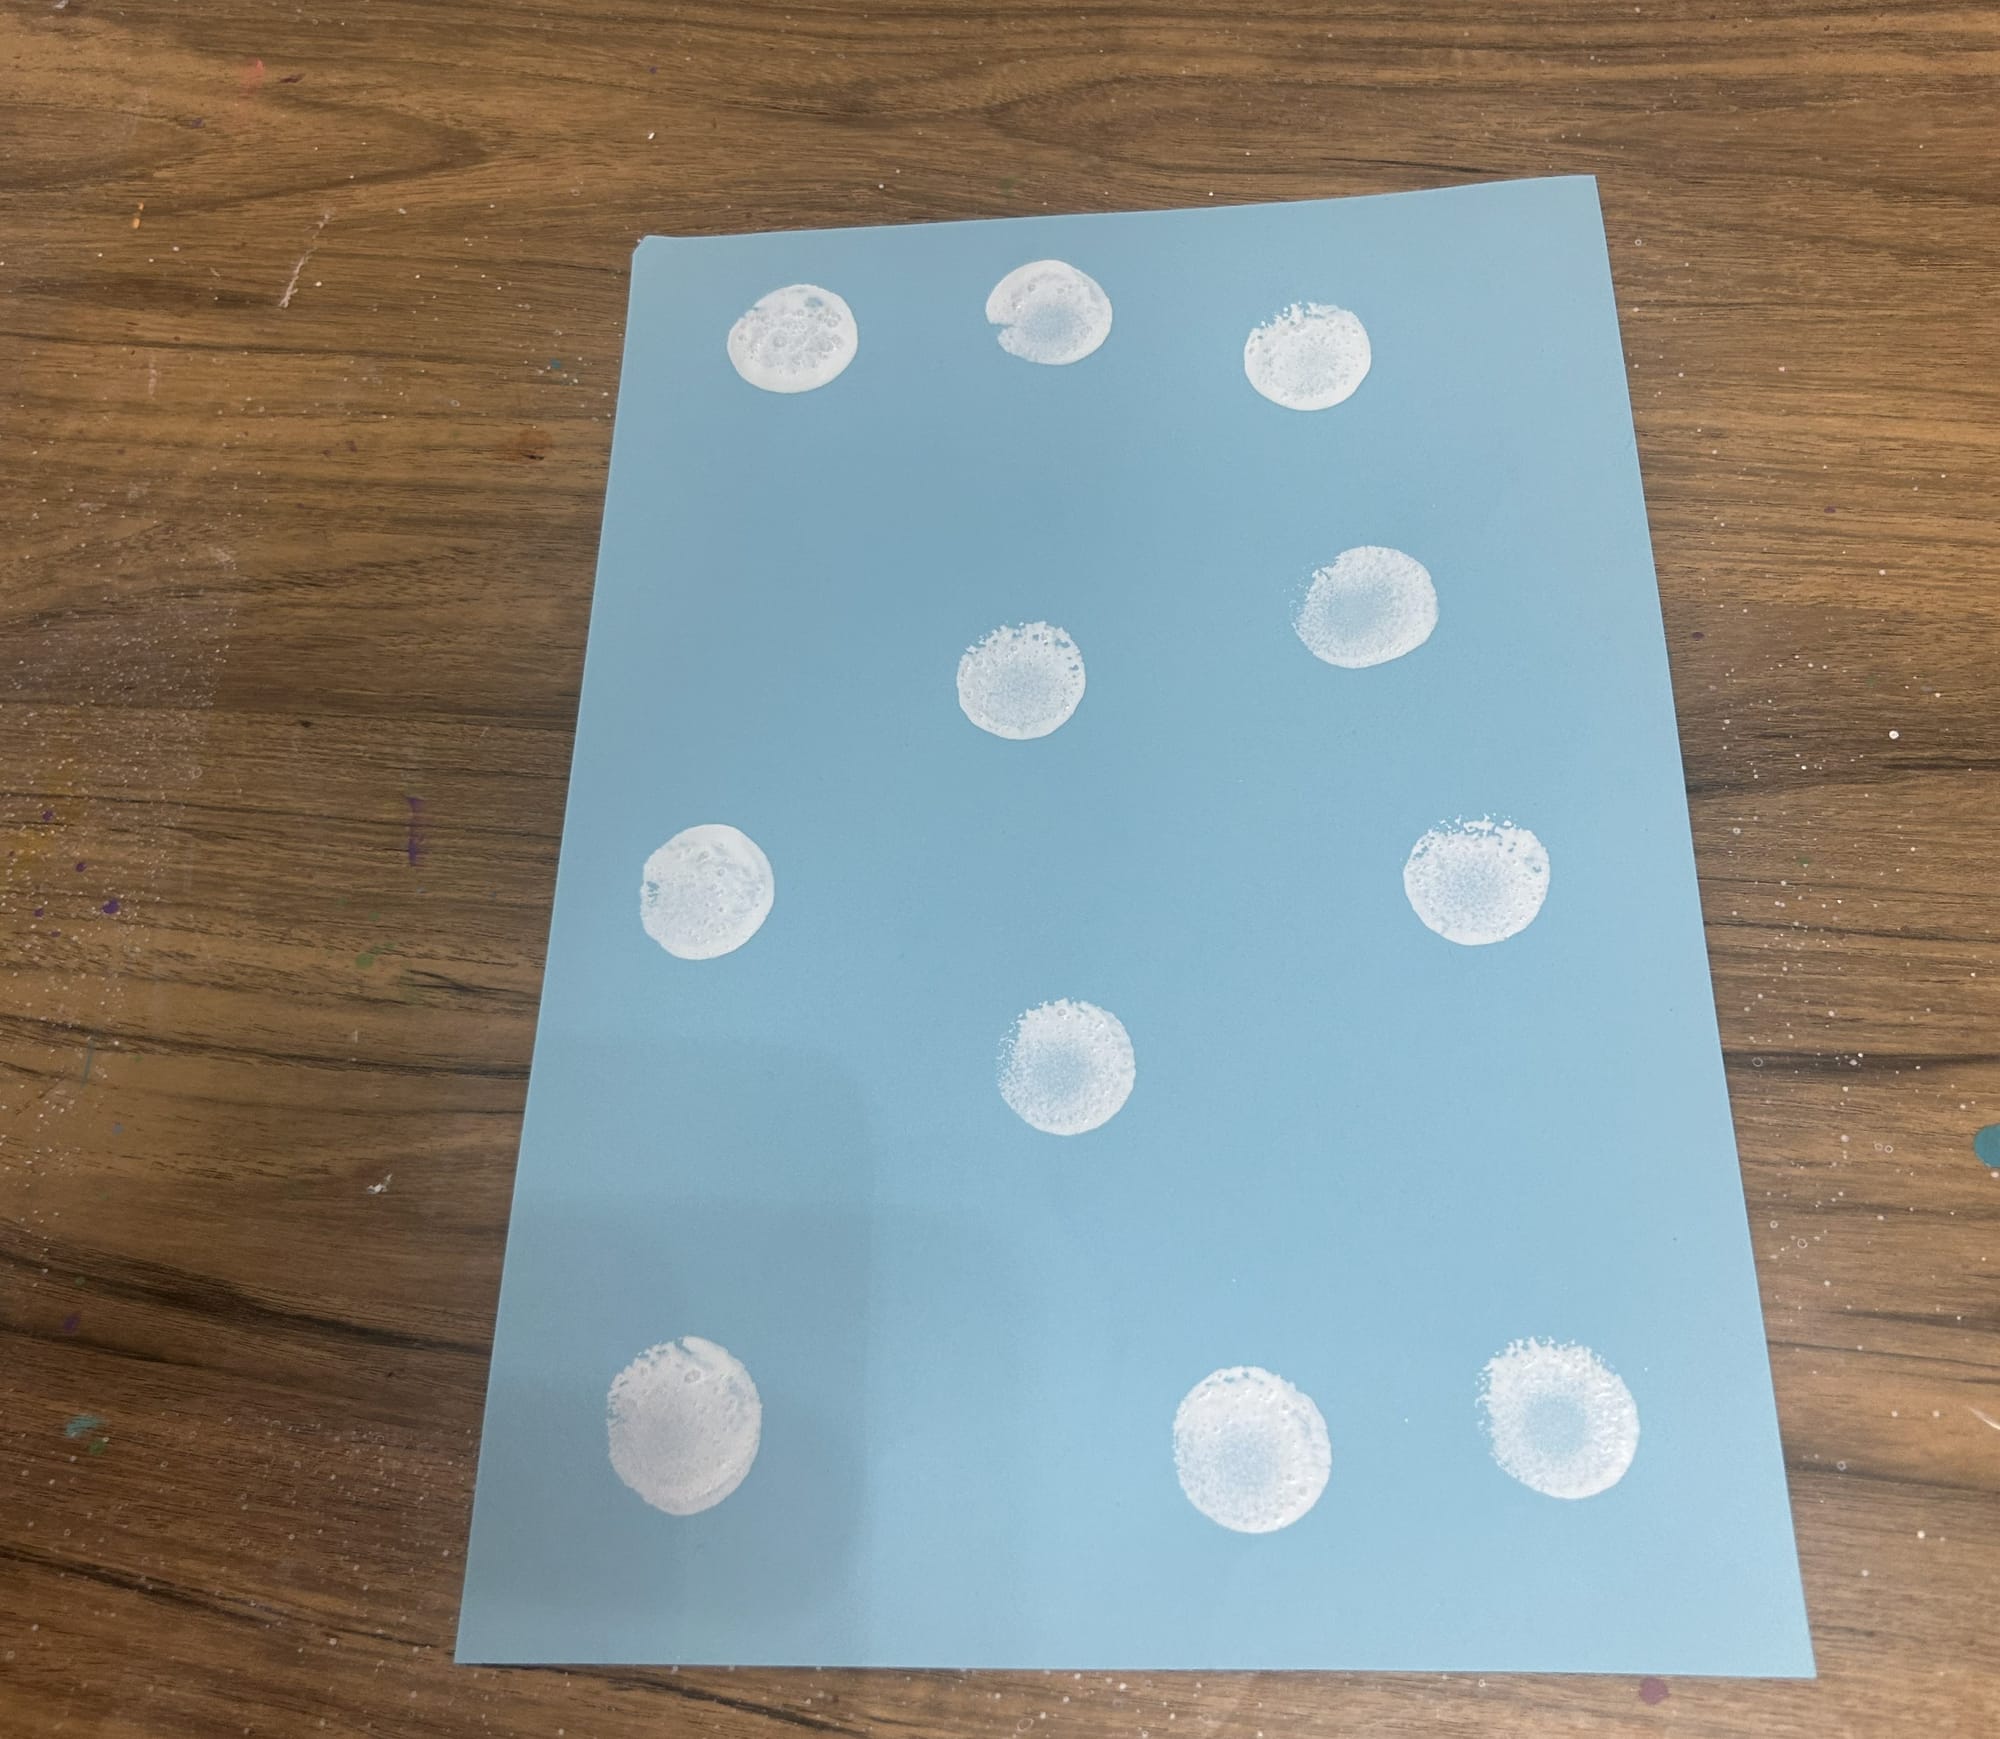
For this technique, use a round sponge brush. These are available in many different sizes at craft stores, the Dollar Tree or purchase on Amazon. Simply dip the round sponge brush into paint and simple stamp onto the paper.
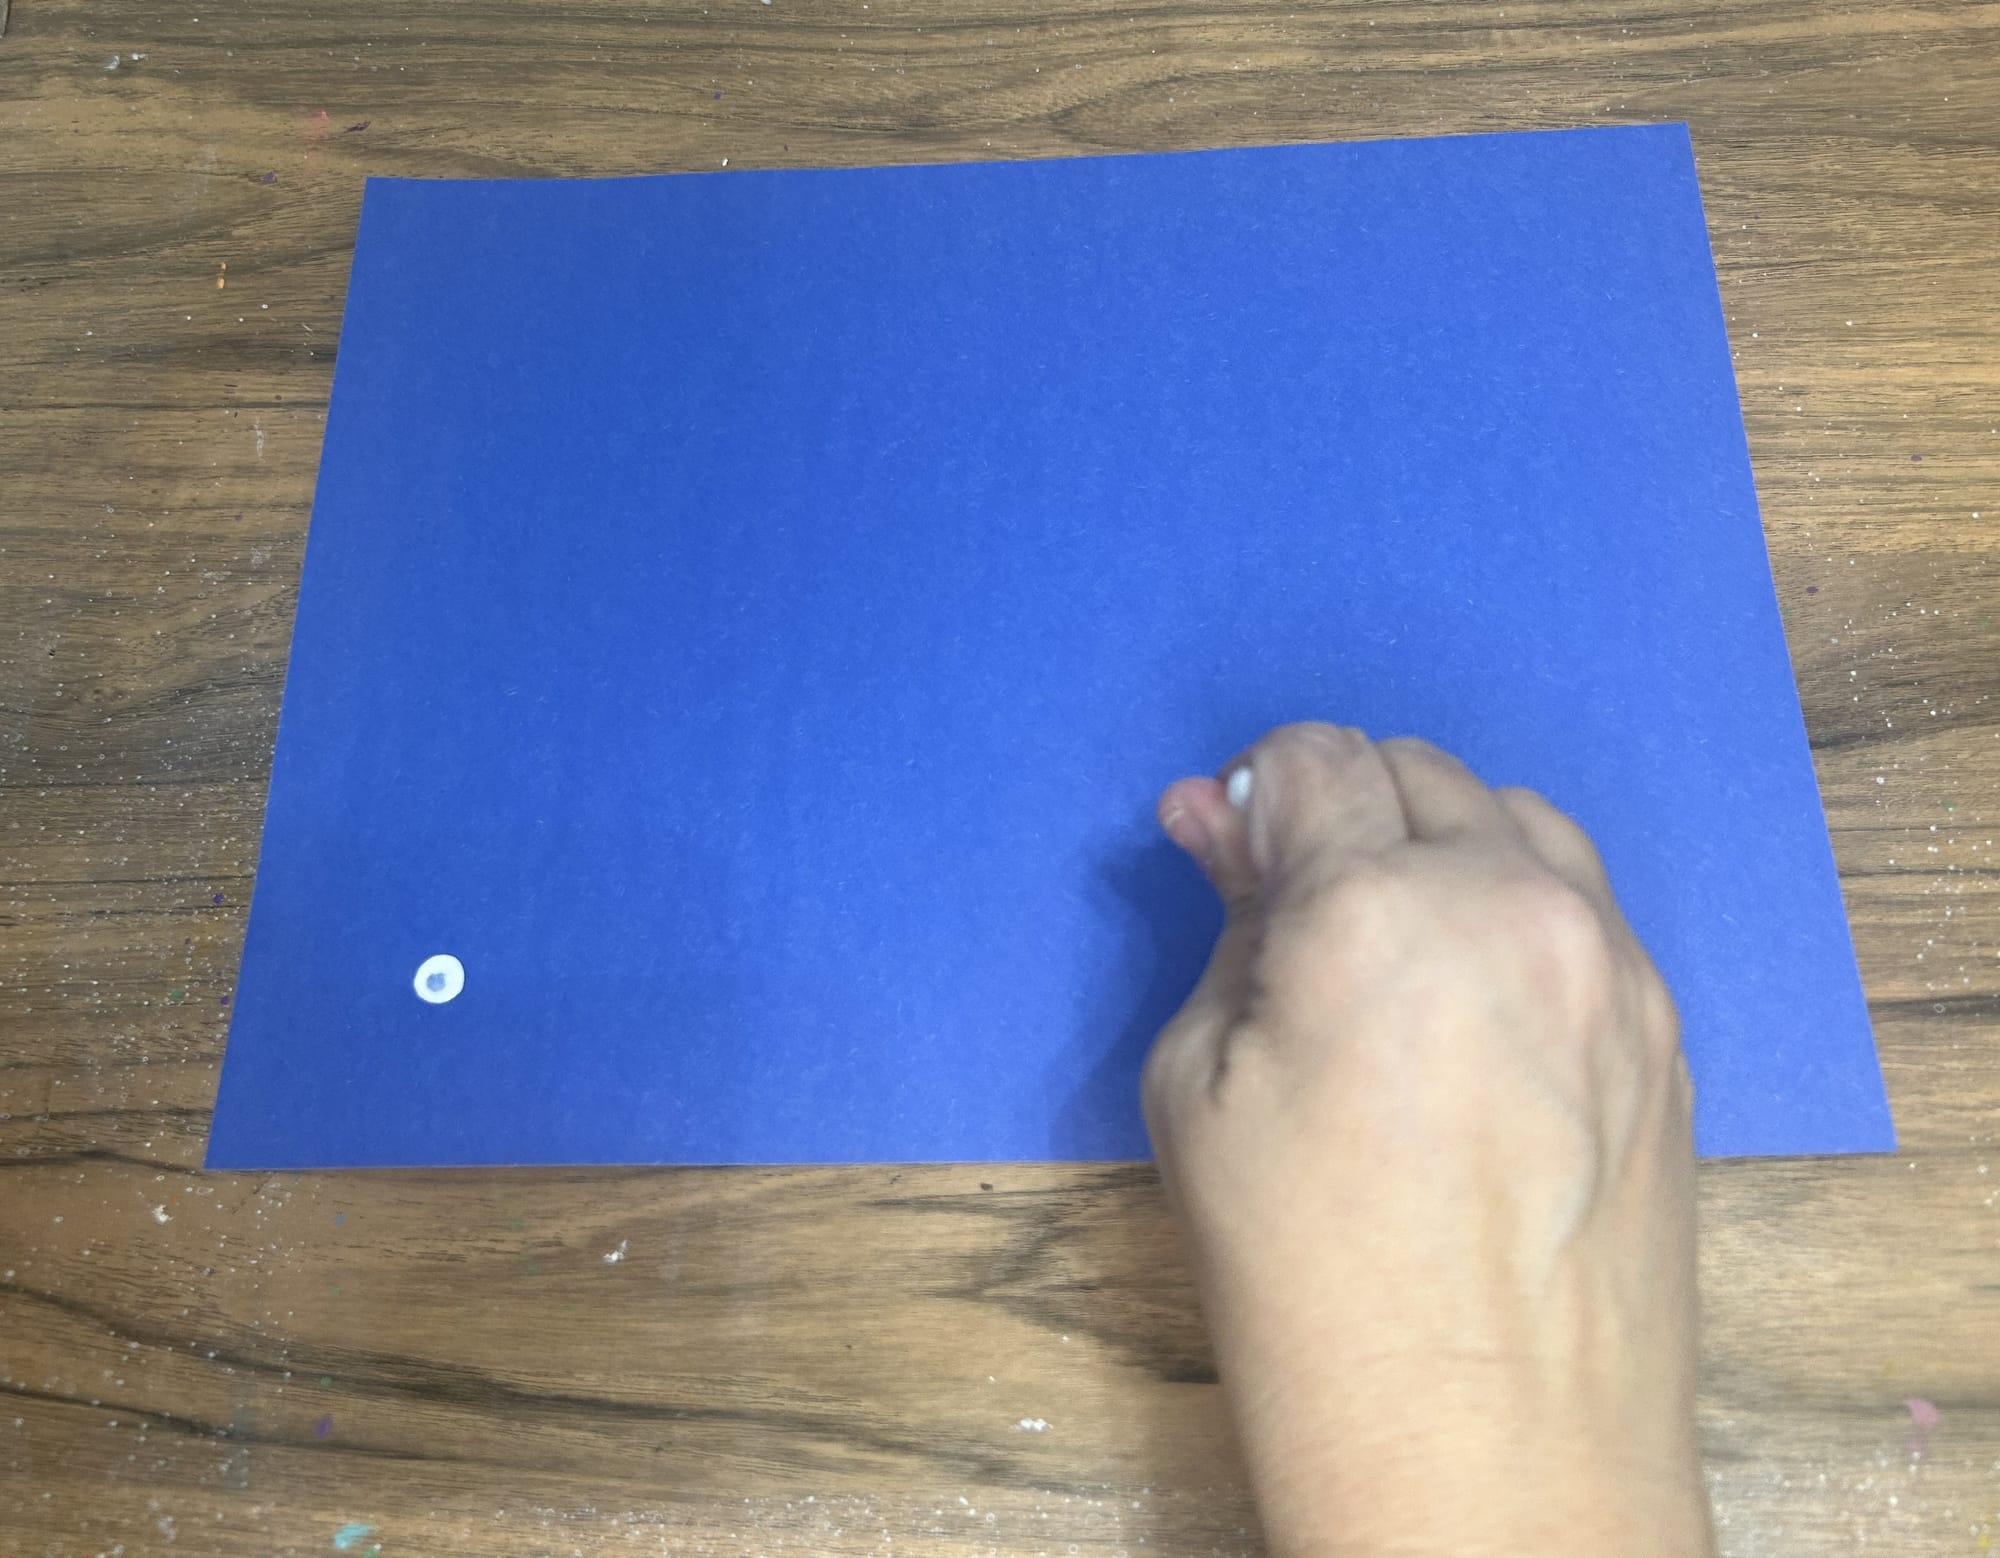
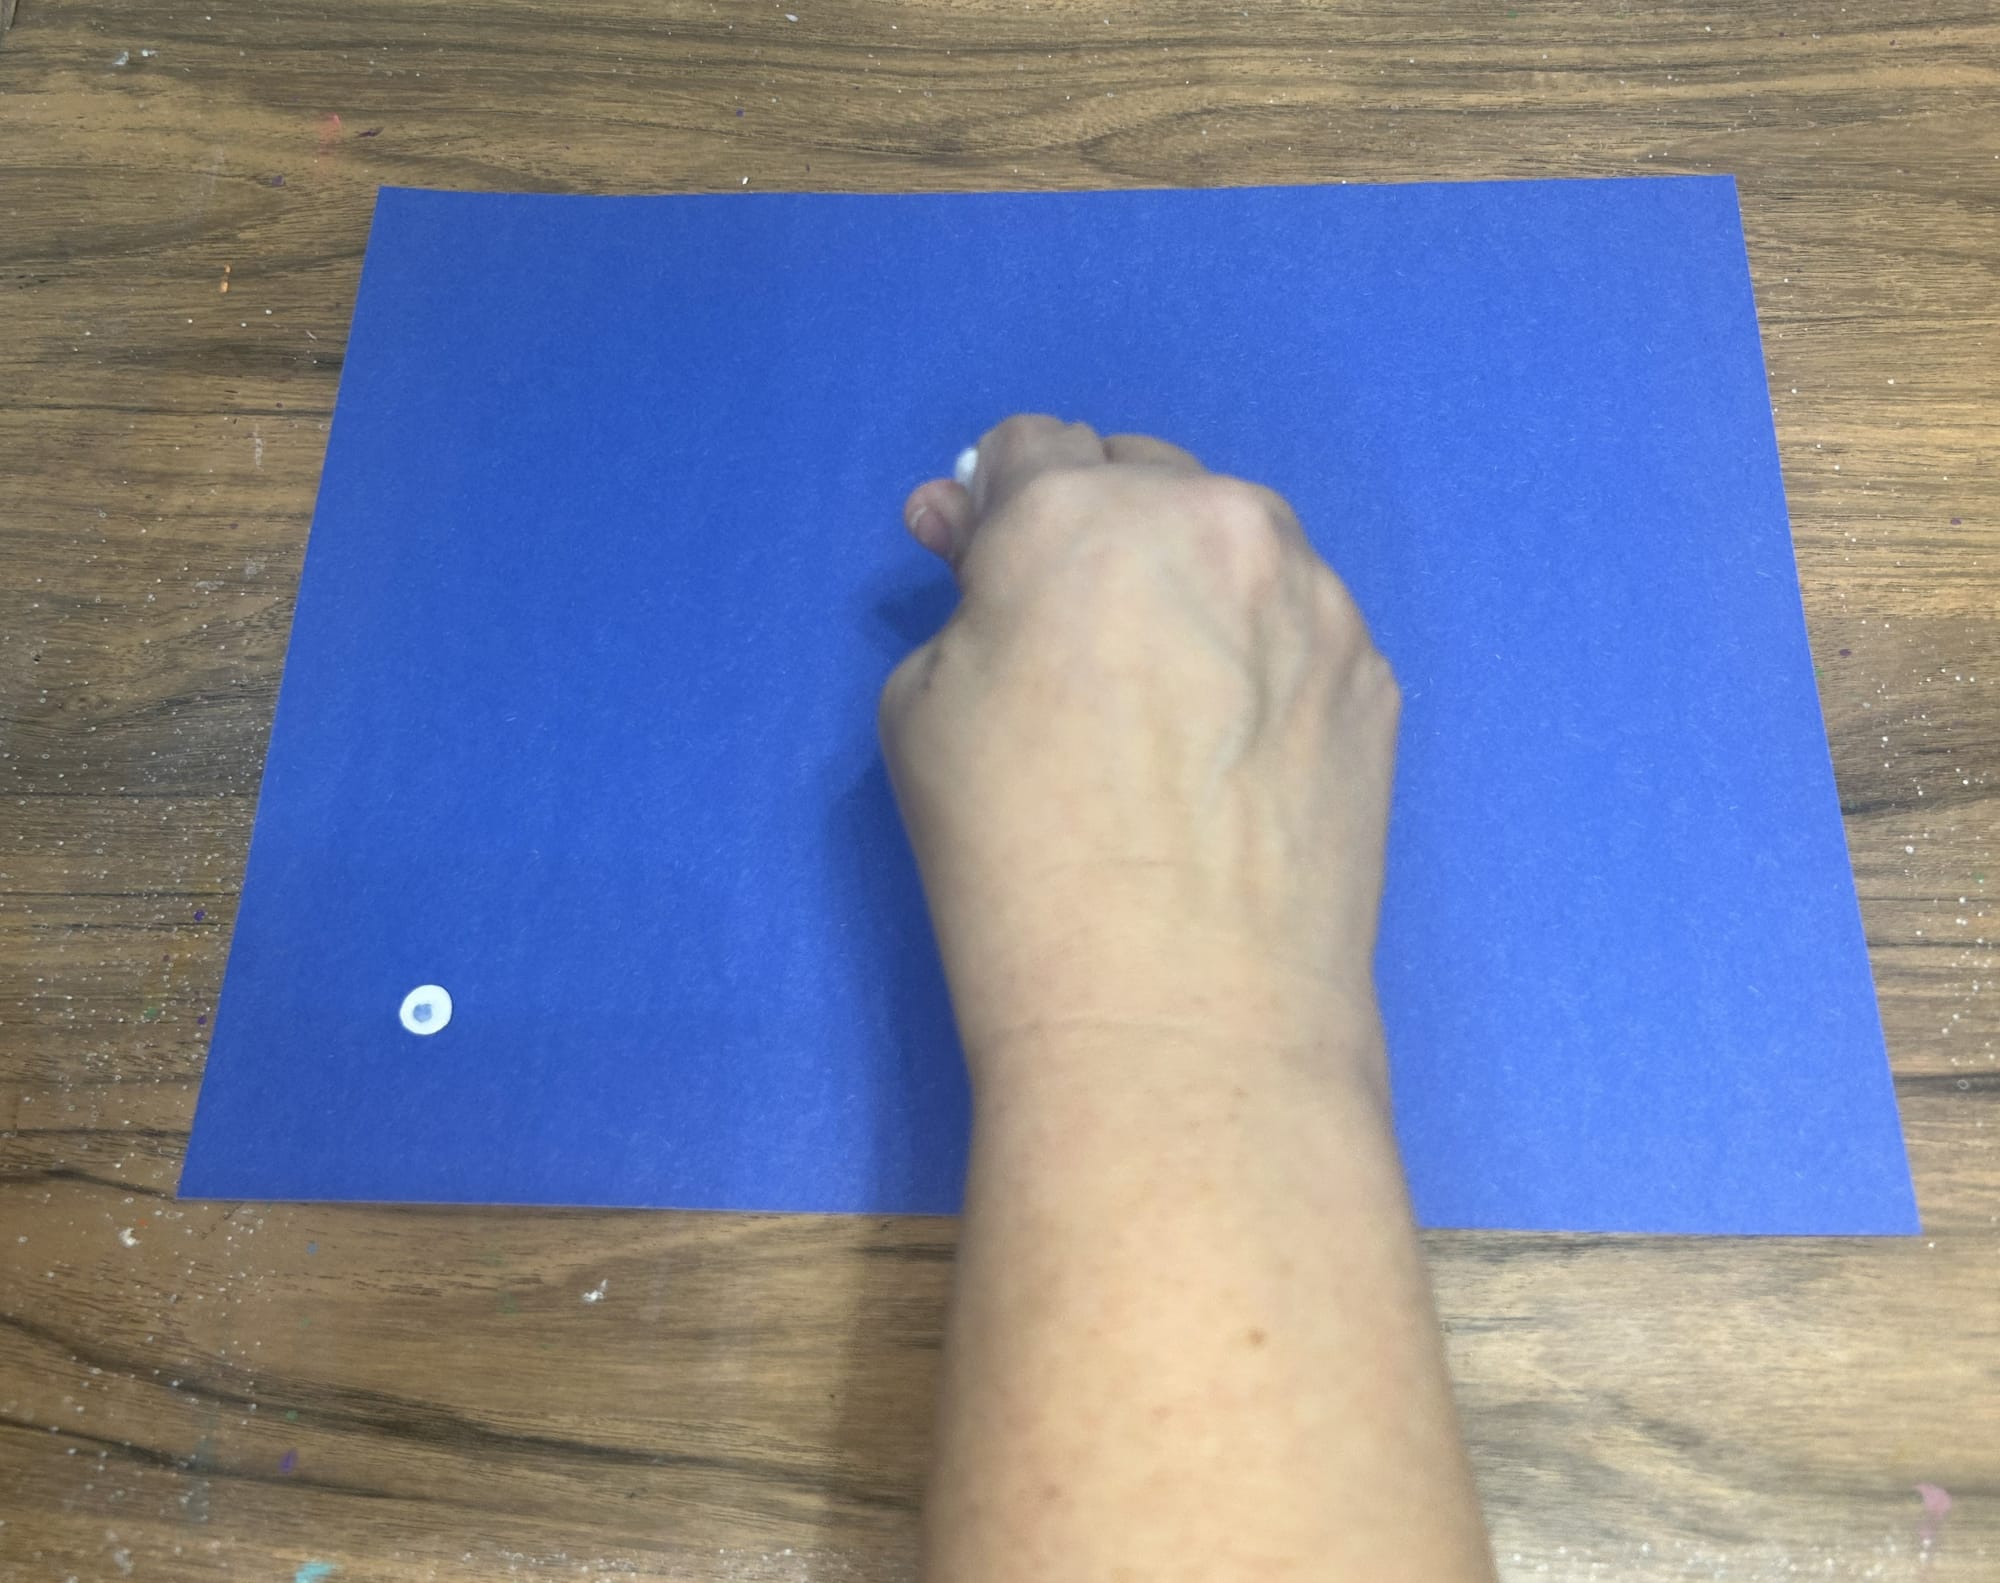
Pencil eraser painted
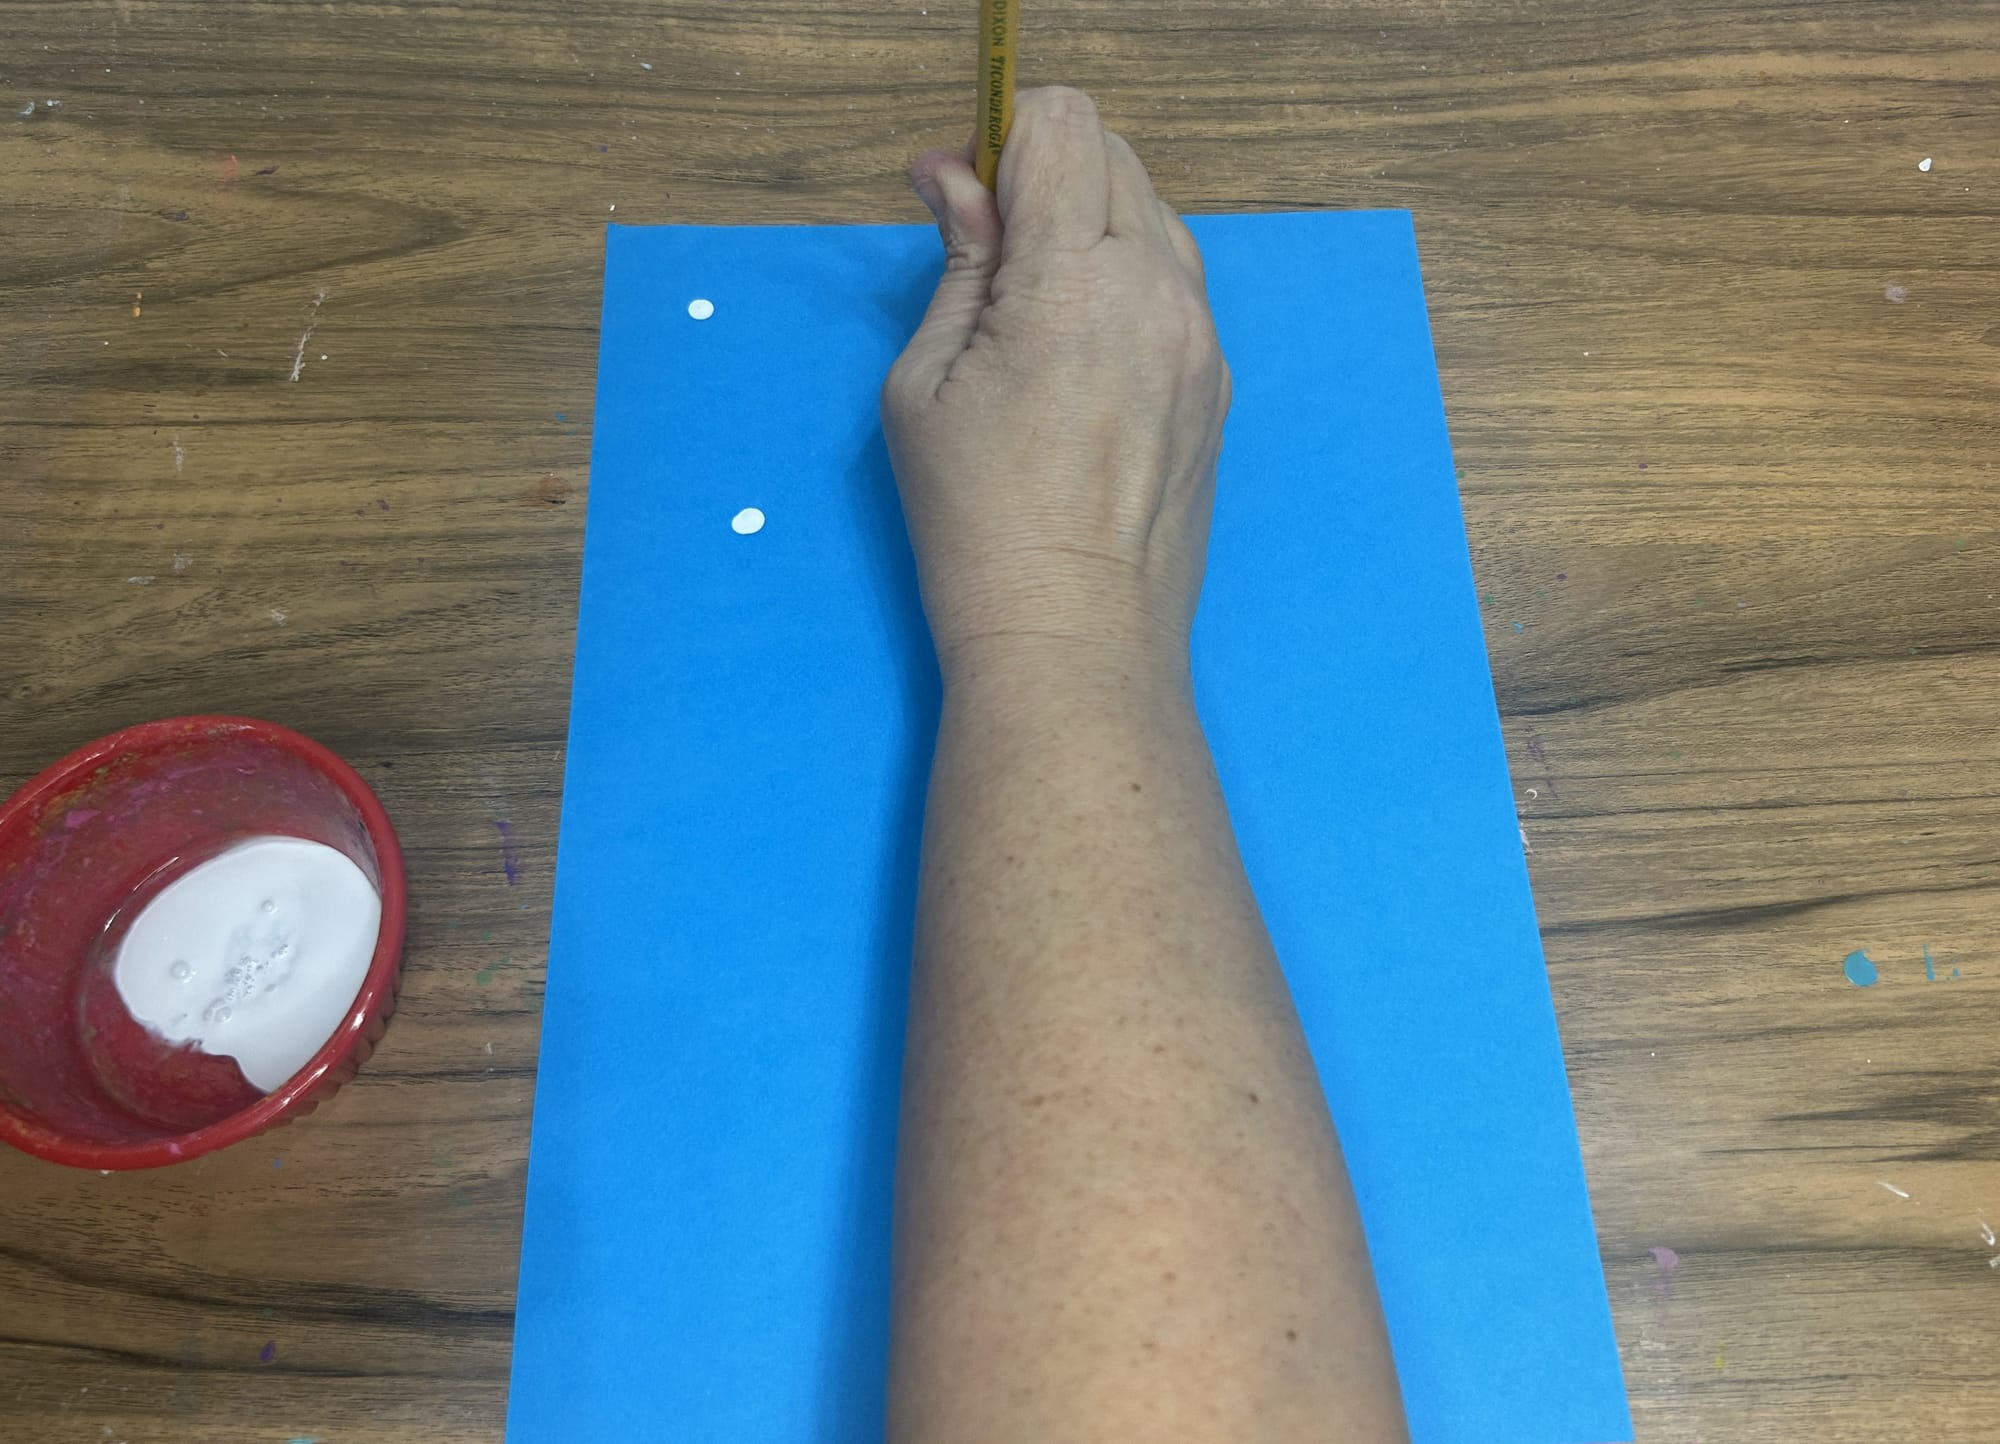
Use a pencil eraser to add snow dots to the background paper.
So easy to do, provide your child with a pencil. Use the end of the eraser dipped into paint and add dots to the paper. This will create a snow background on the paper.
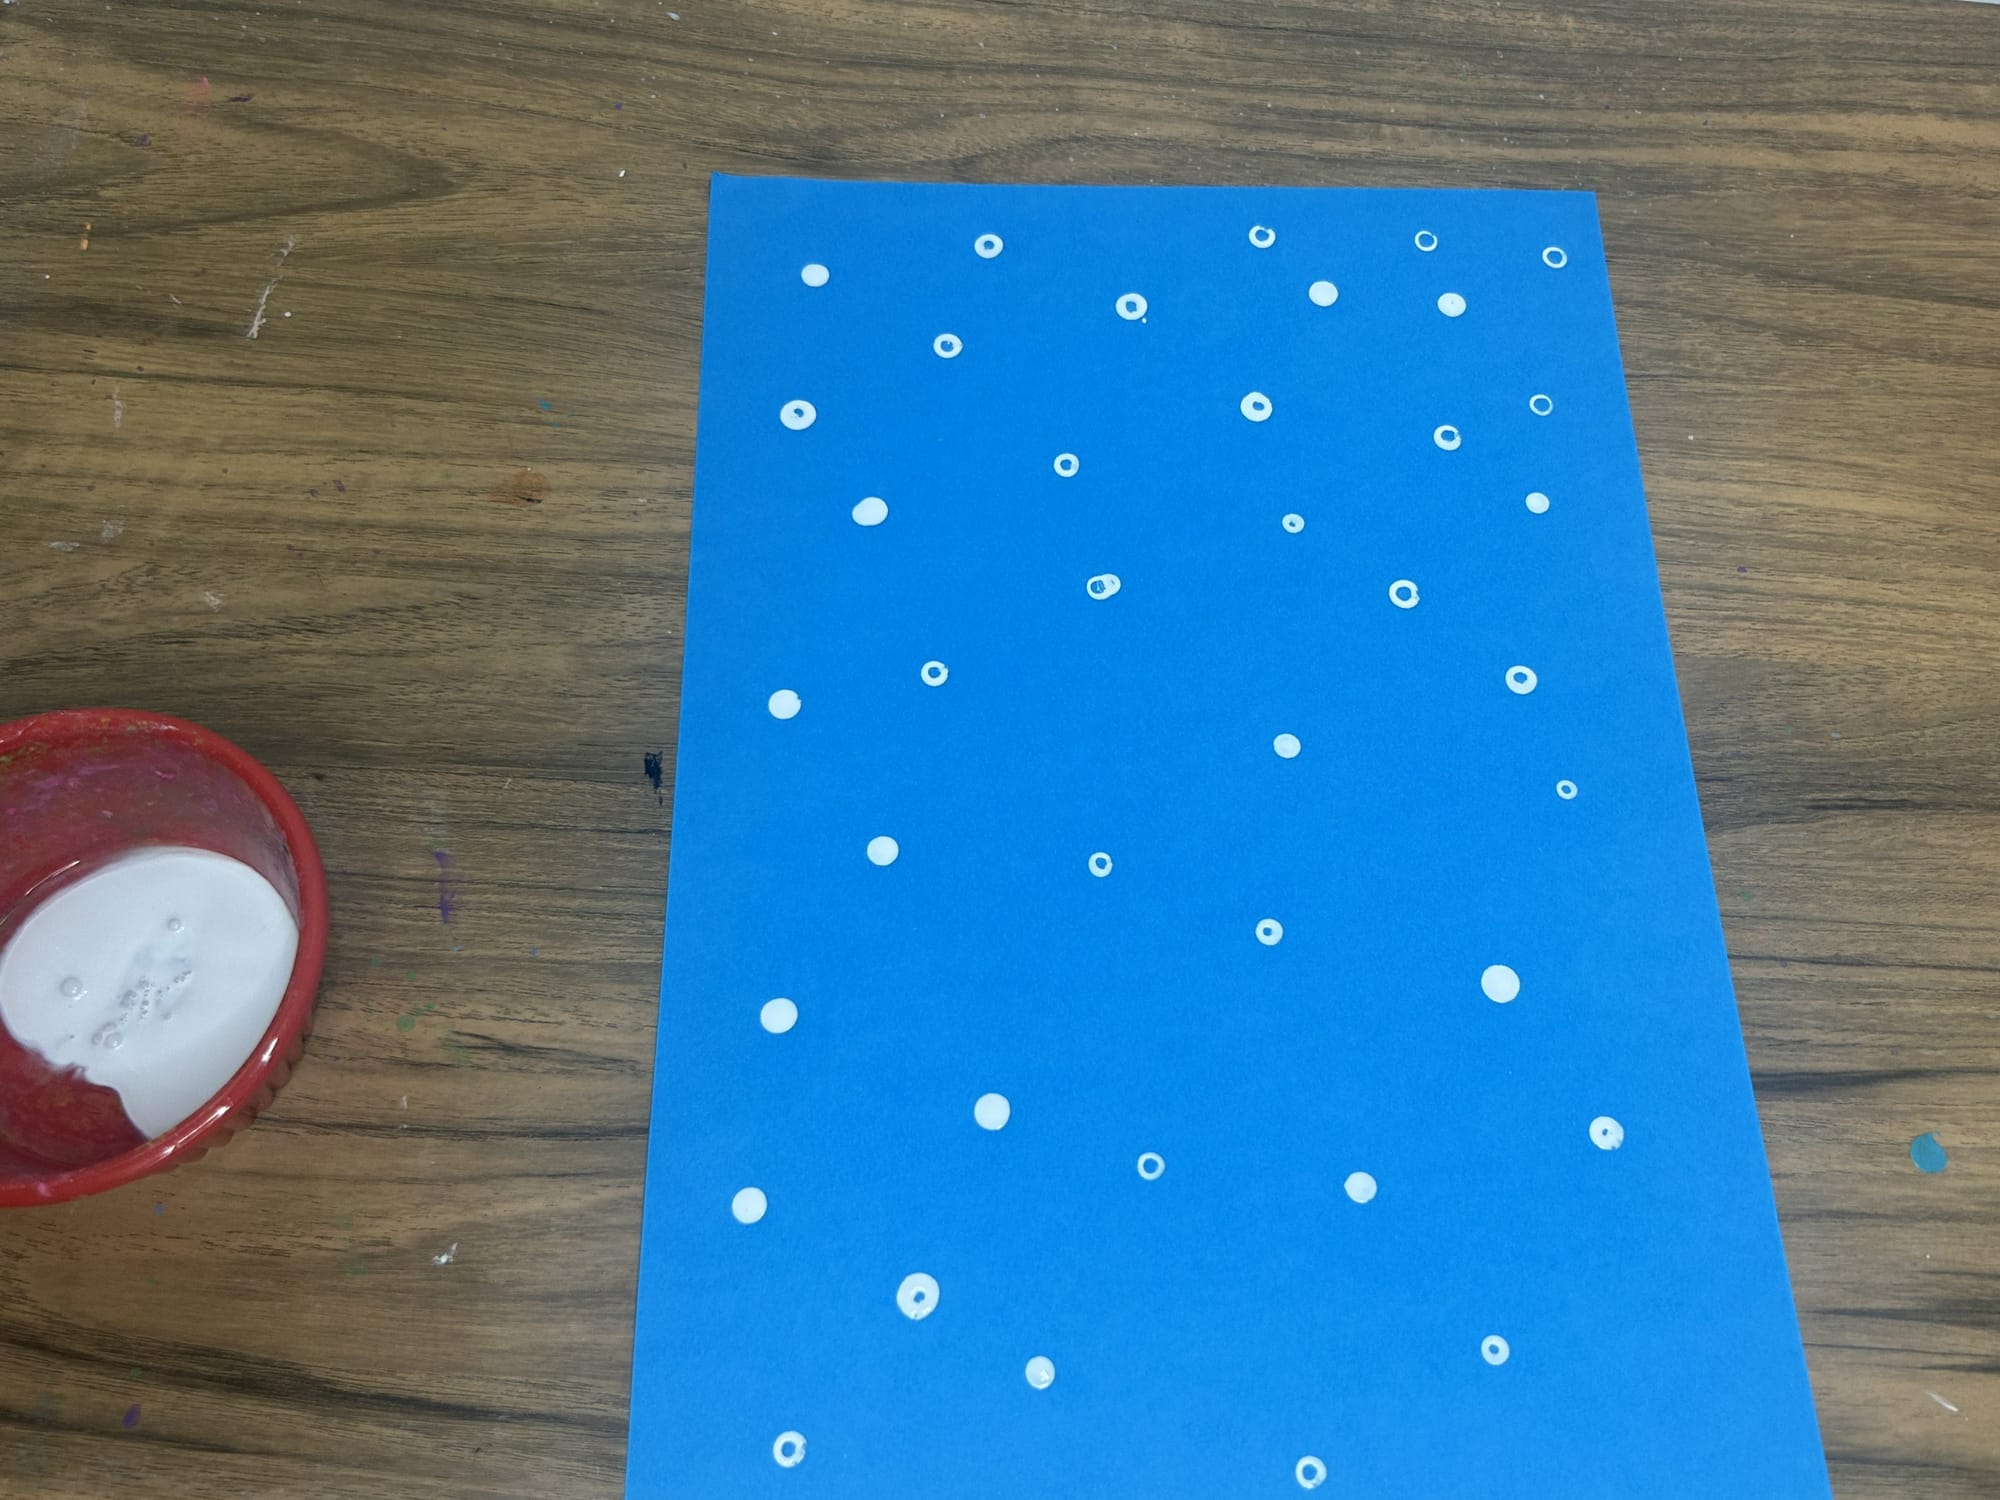
Q- tip painted
Use a q-tip to add dots to the paper with white paint
Dip a q-tip into white paint to add dots to the paper. After creating the snowy background paper, allow time for the paint to dry.
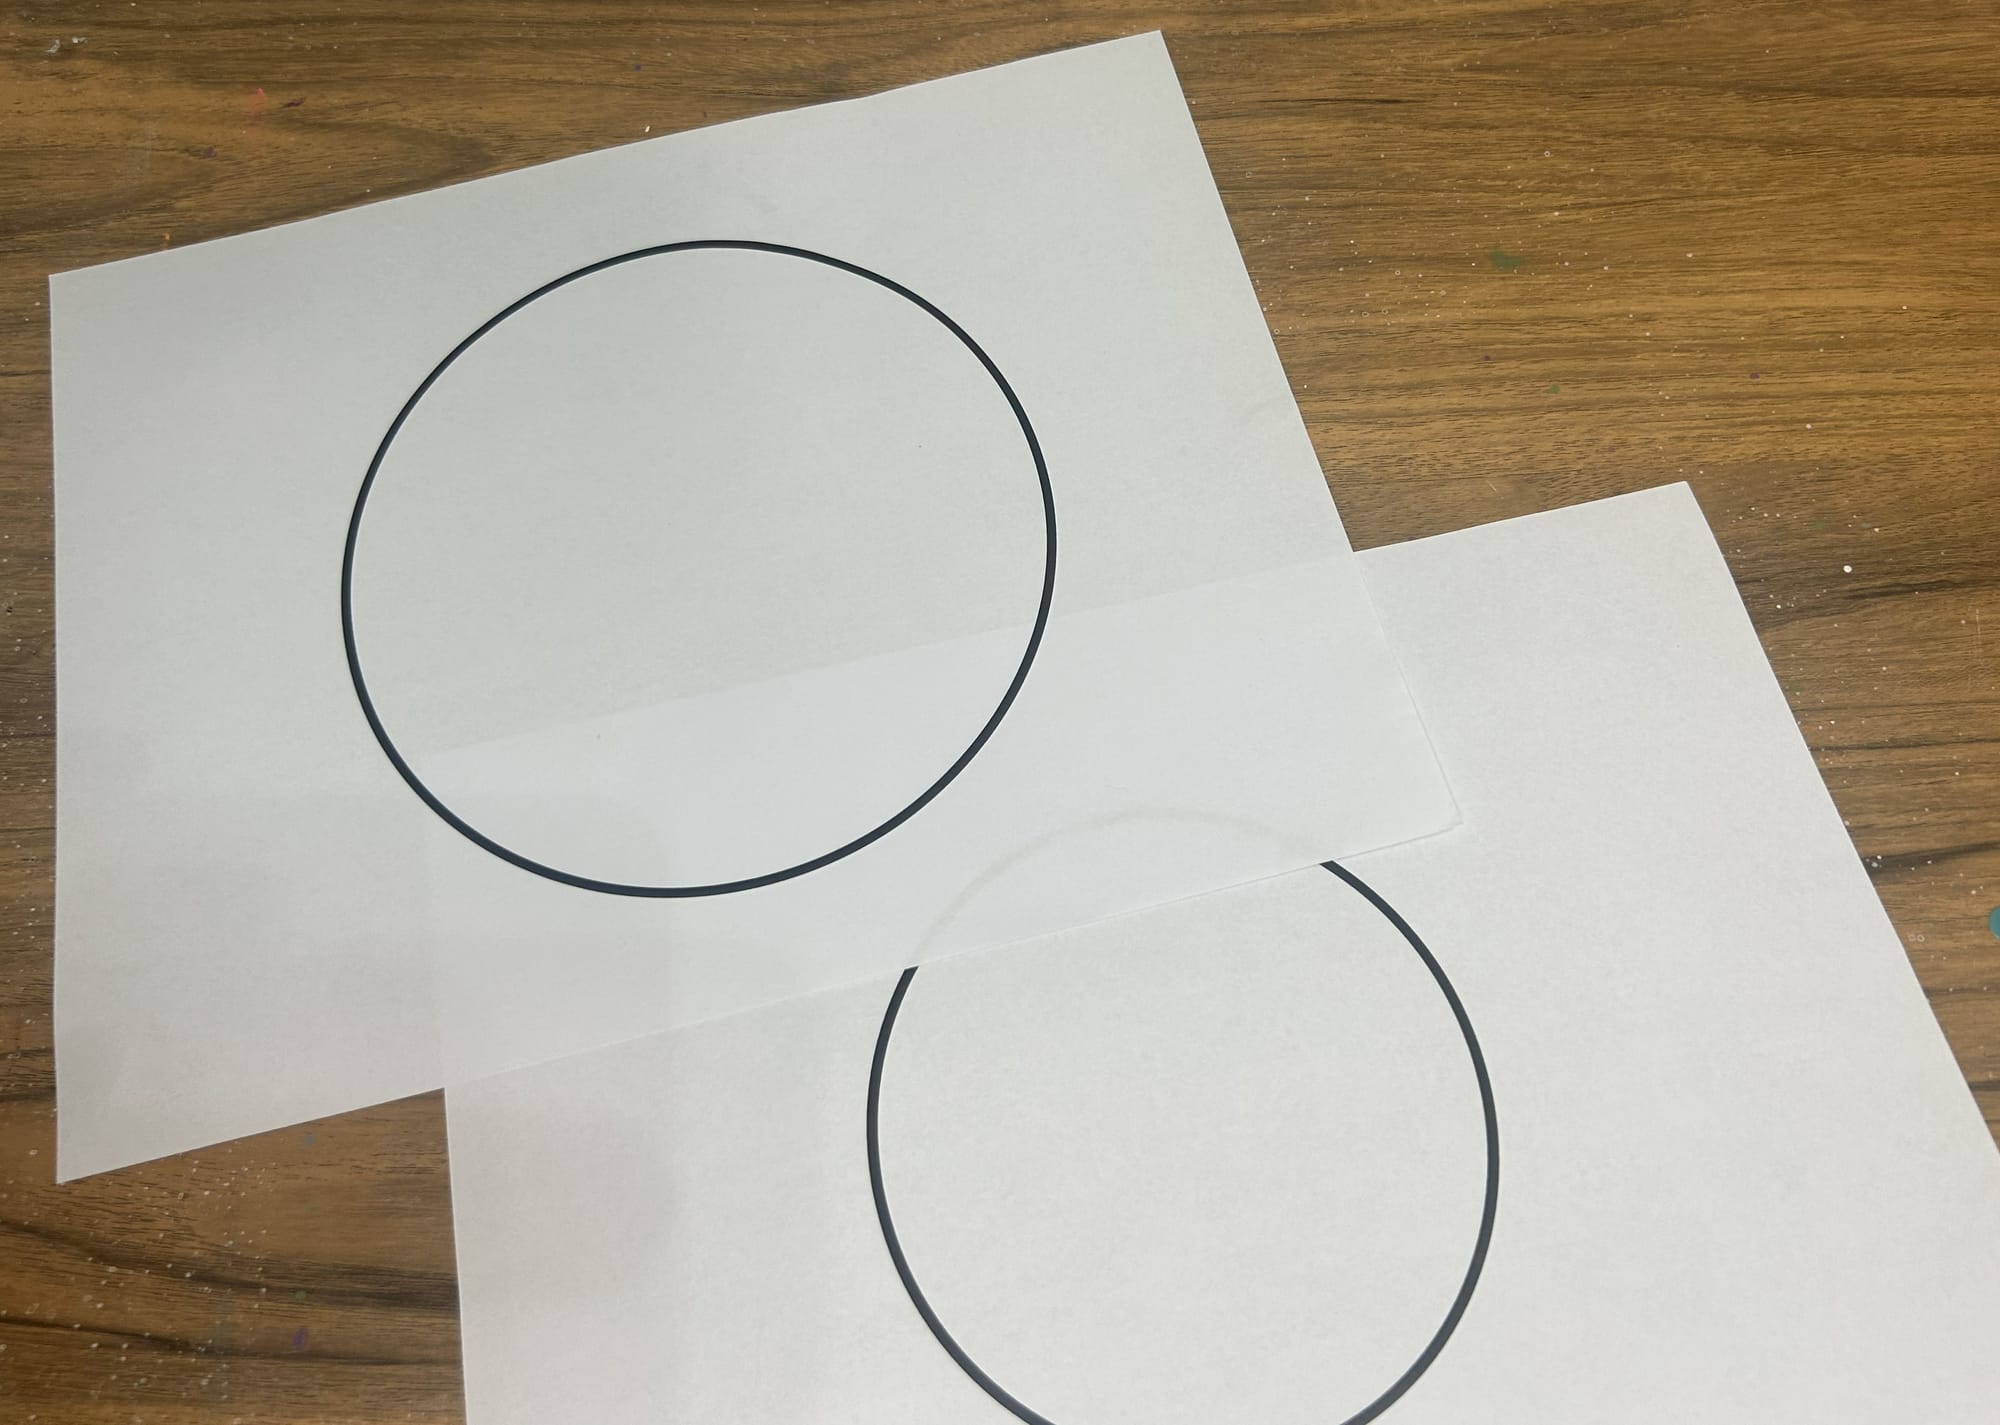
Step 2: Print and prepare templates
Print and cut out two white circles from the templates provided. You will also print and cut out arms for the snowman.
✨ Free Snowman Template PDF — Click to Download!
Print and cut out the pieces of the snowman.
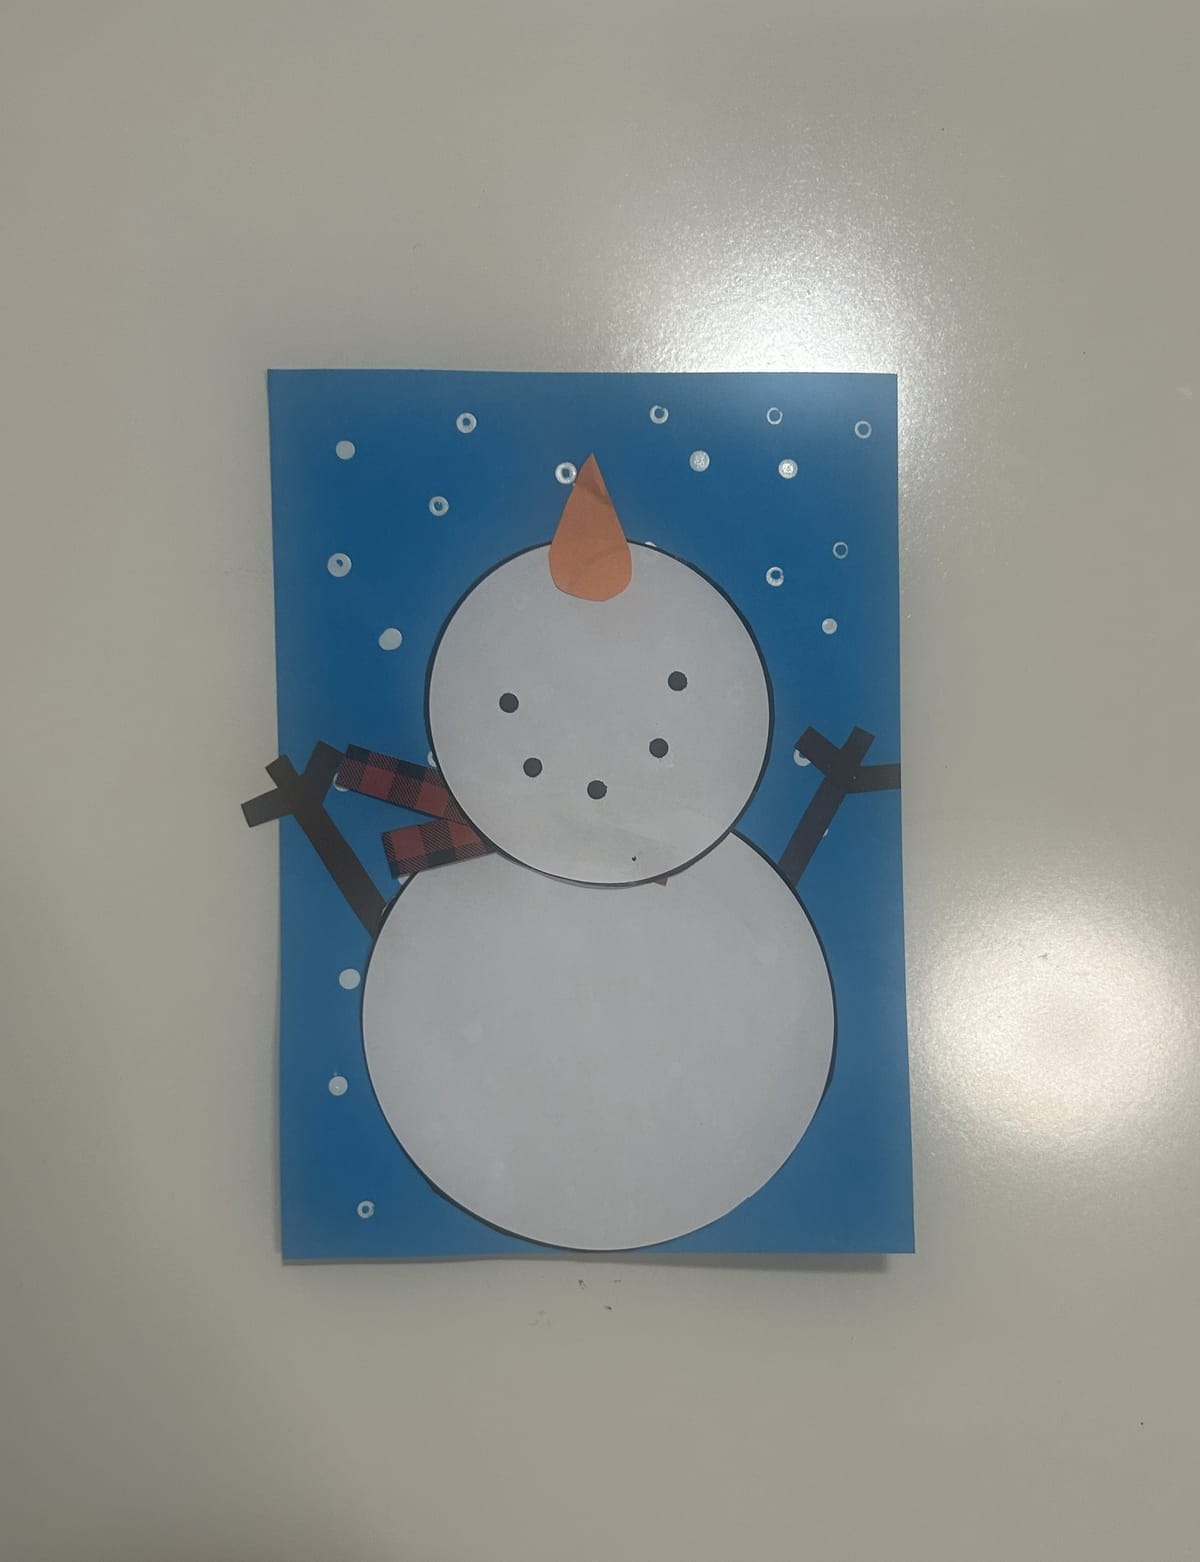
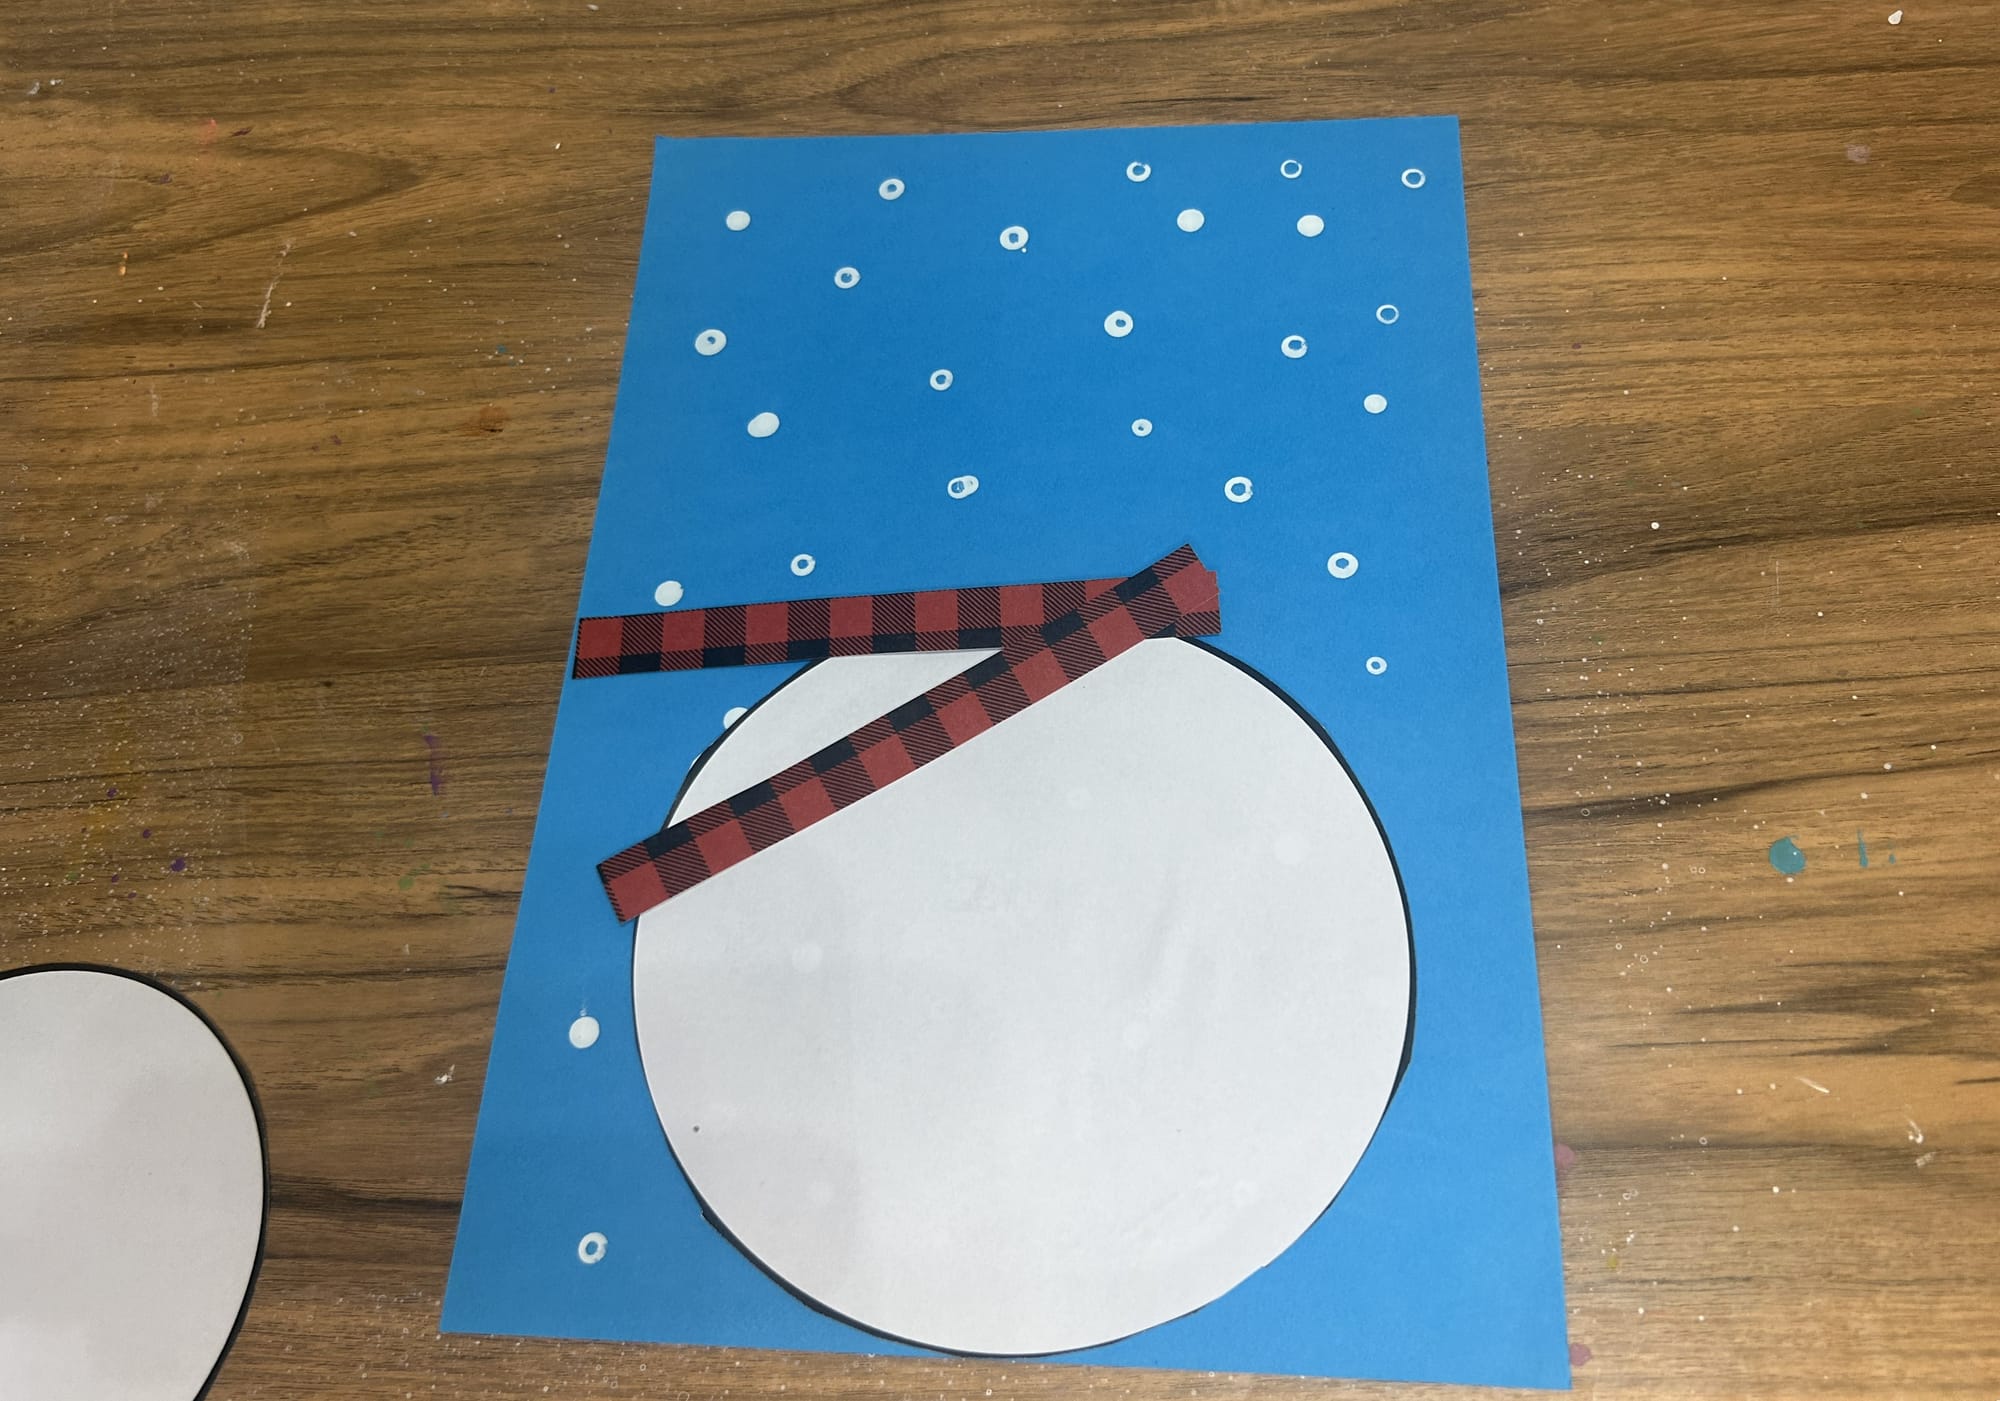
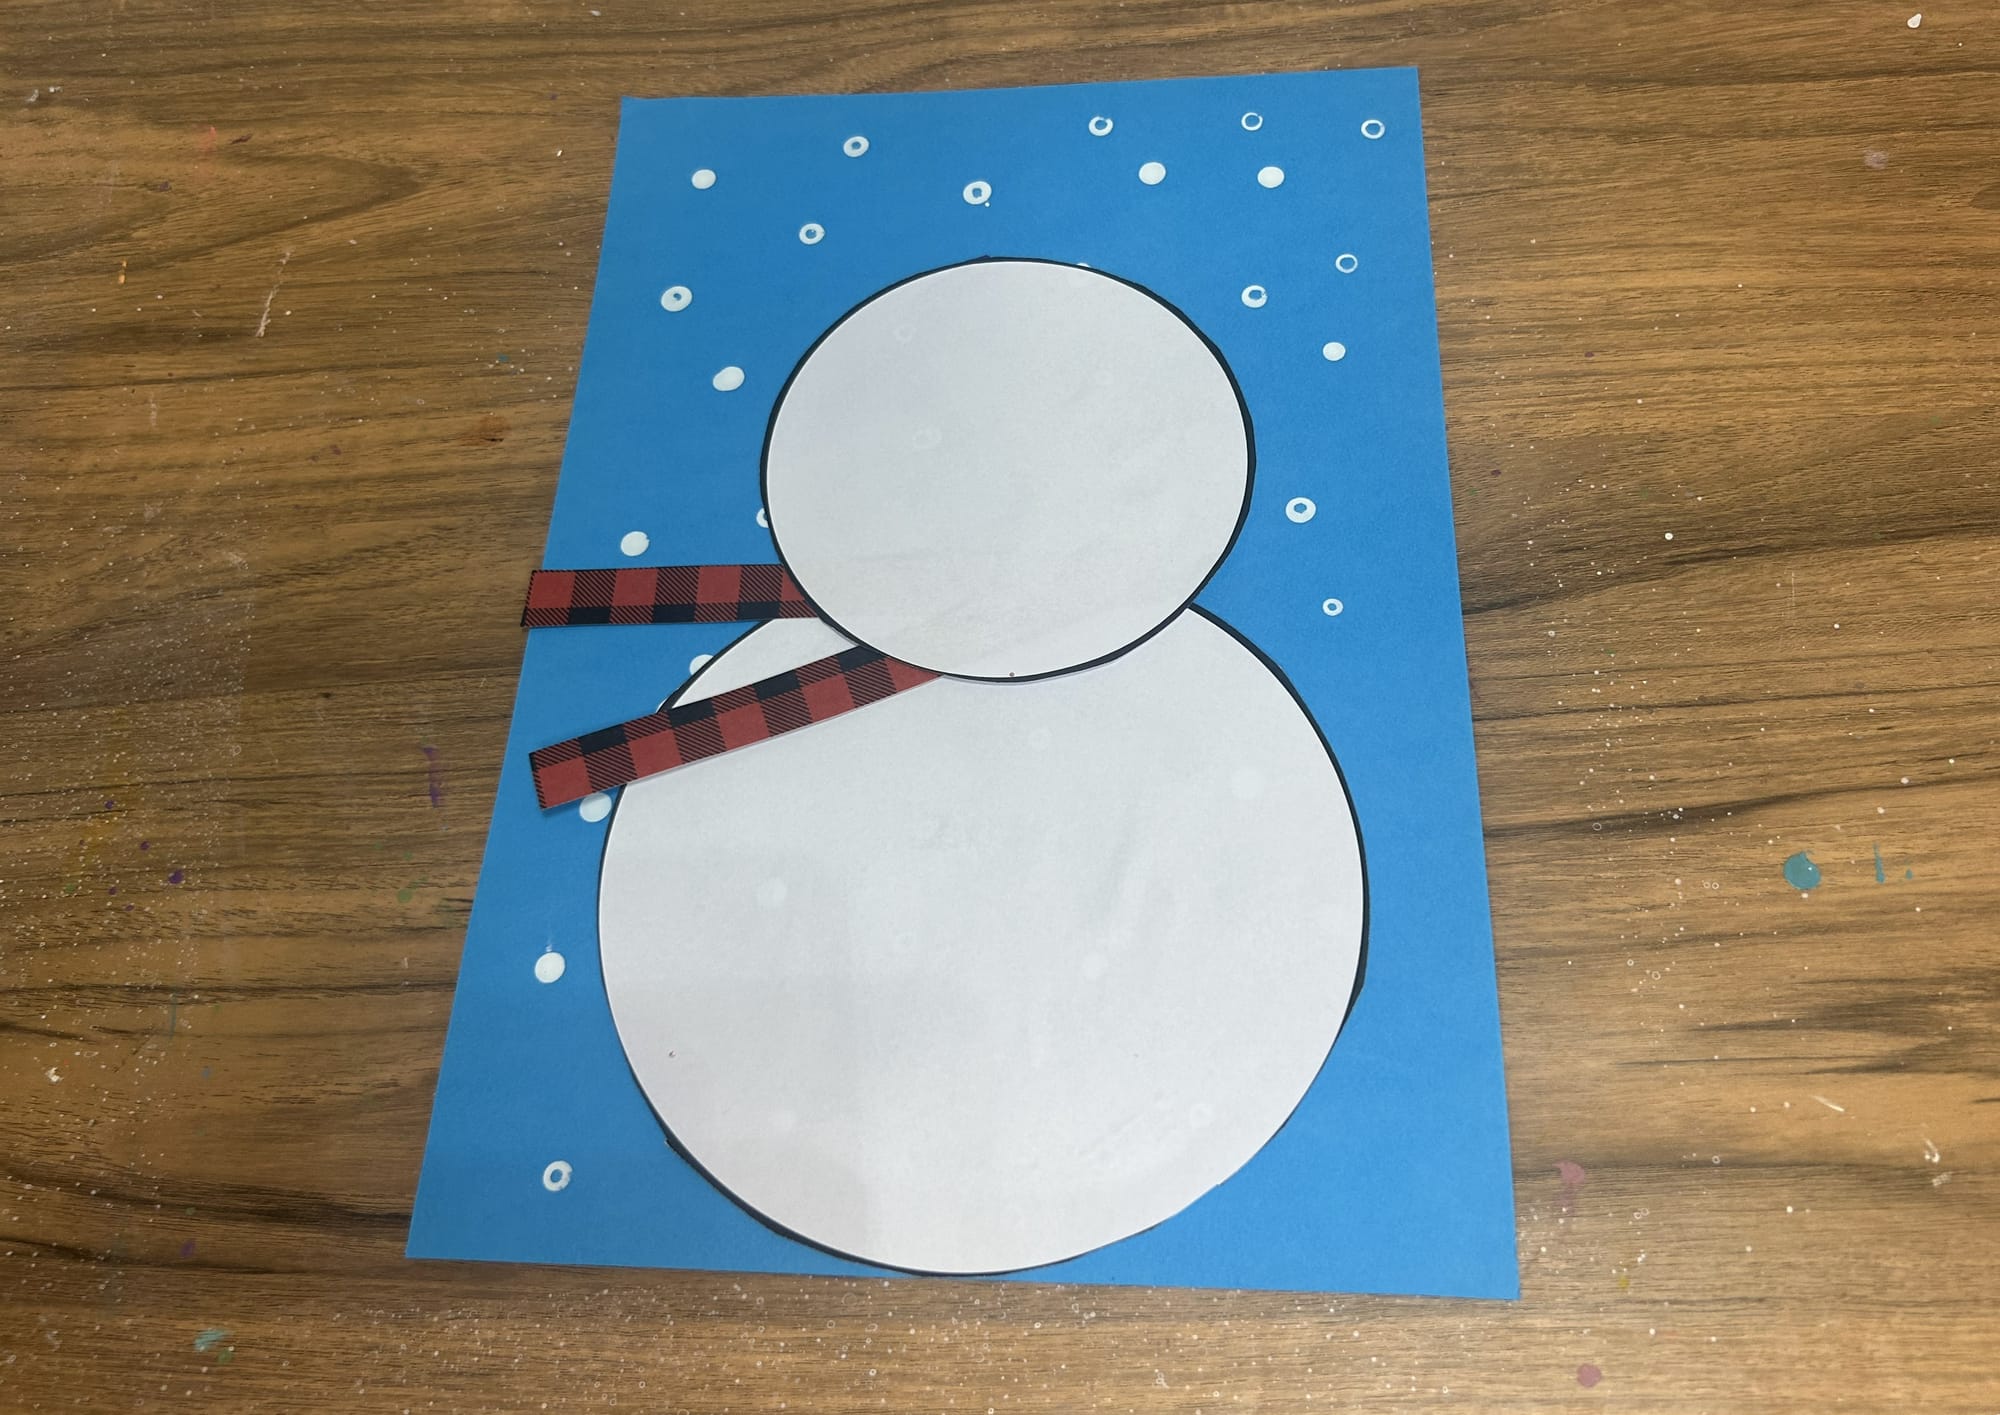
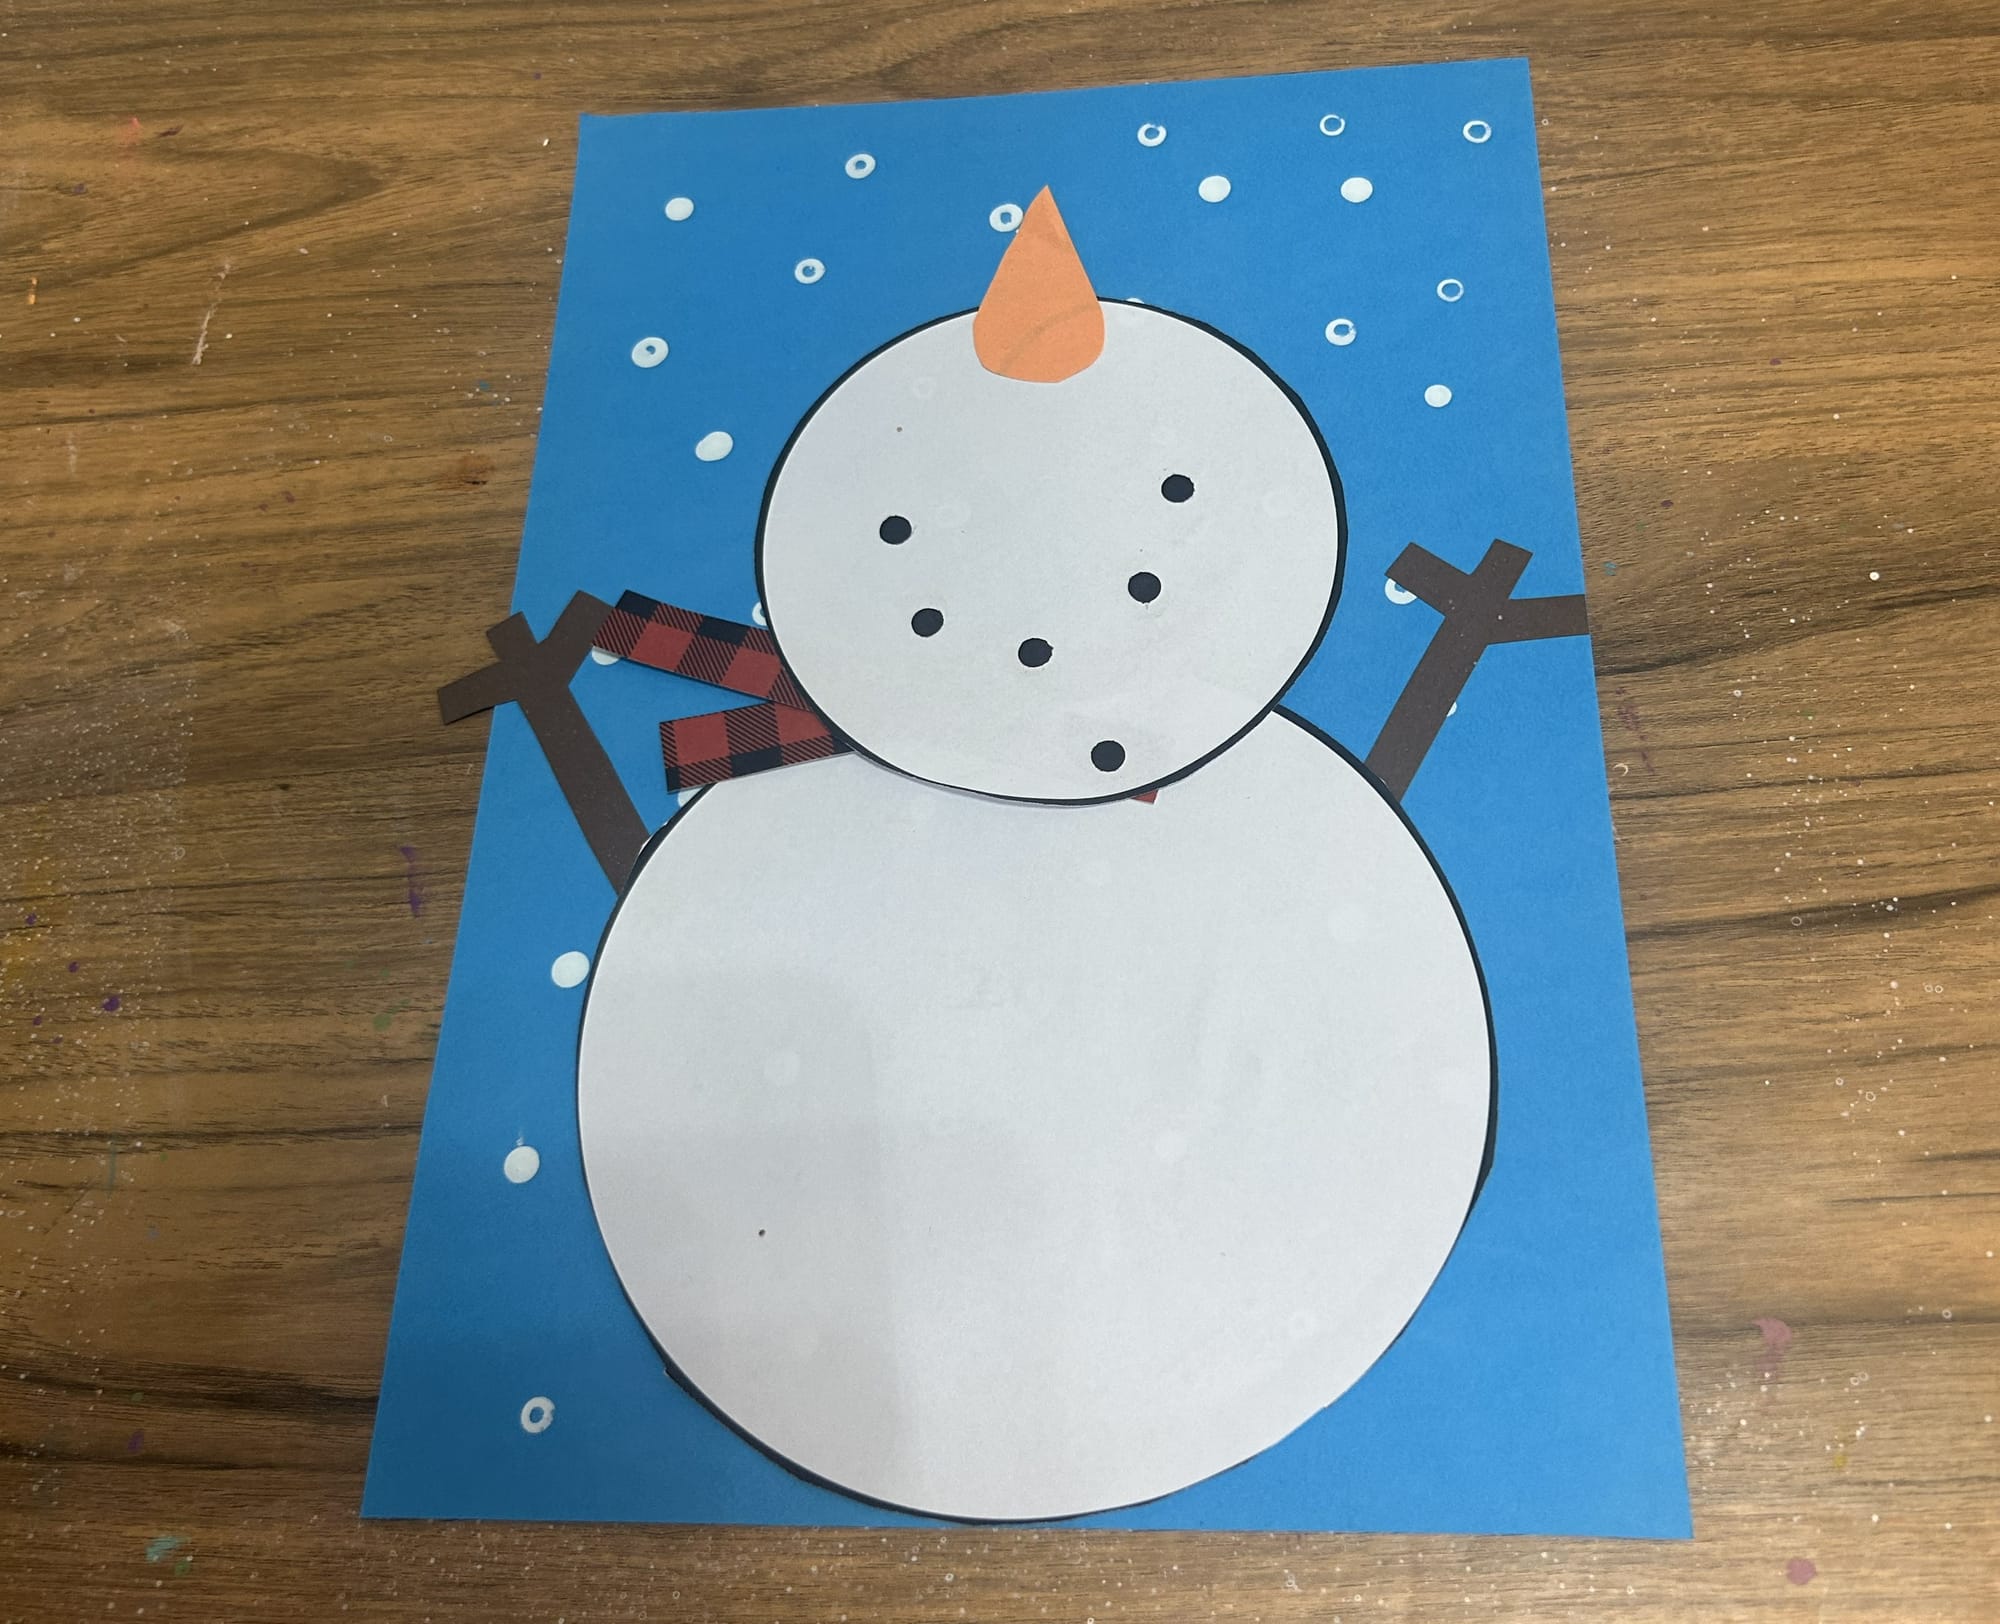
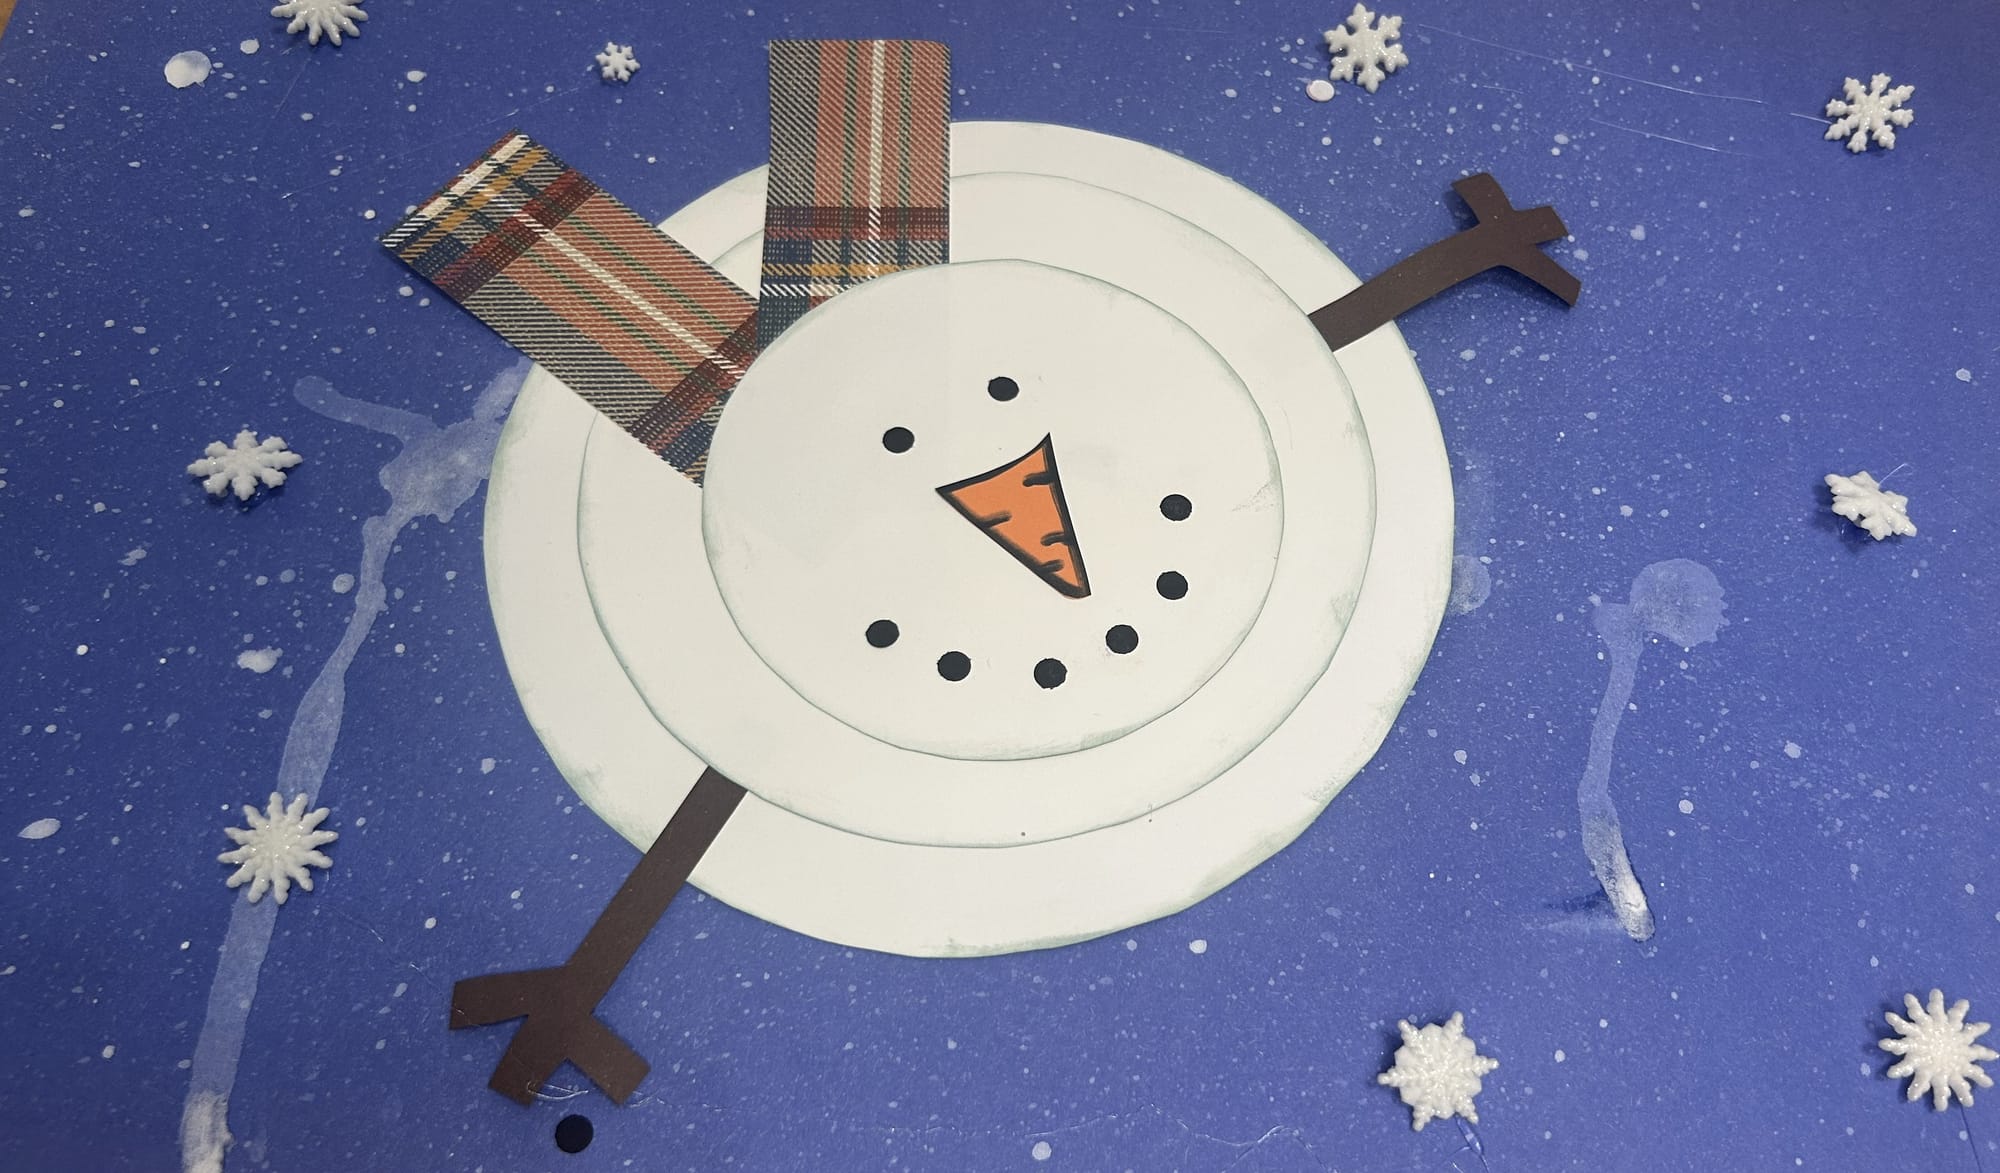
Step 3: Create the Snowman Body
Now glue the larger circle at the bottom of the paper. To add a scarf, cut 2 small strips of paper into rectangles. You can use a patterned scrap paper or plain colored paper. Add this this to the larger circle. After, add the smaller white circle on top of the larger circle.
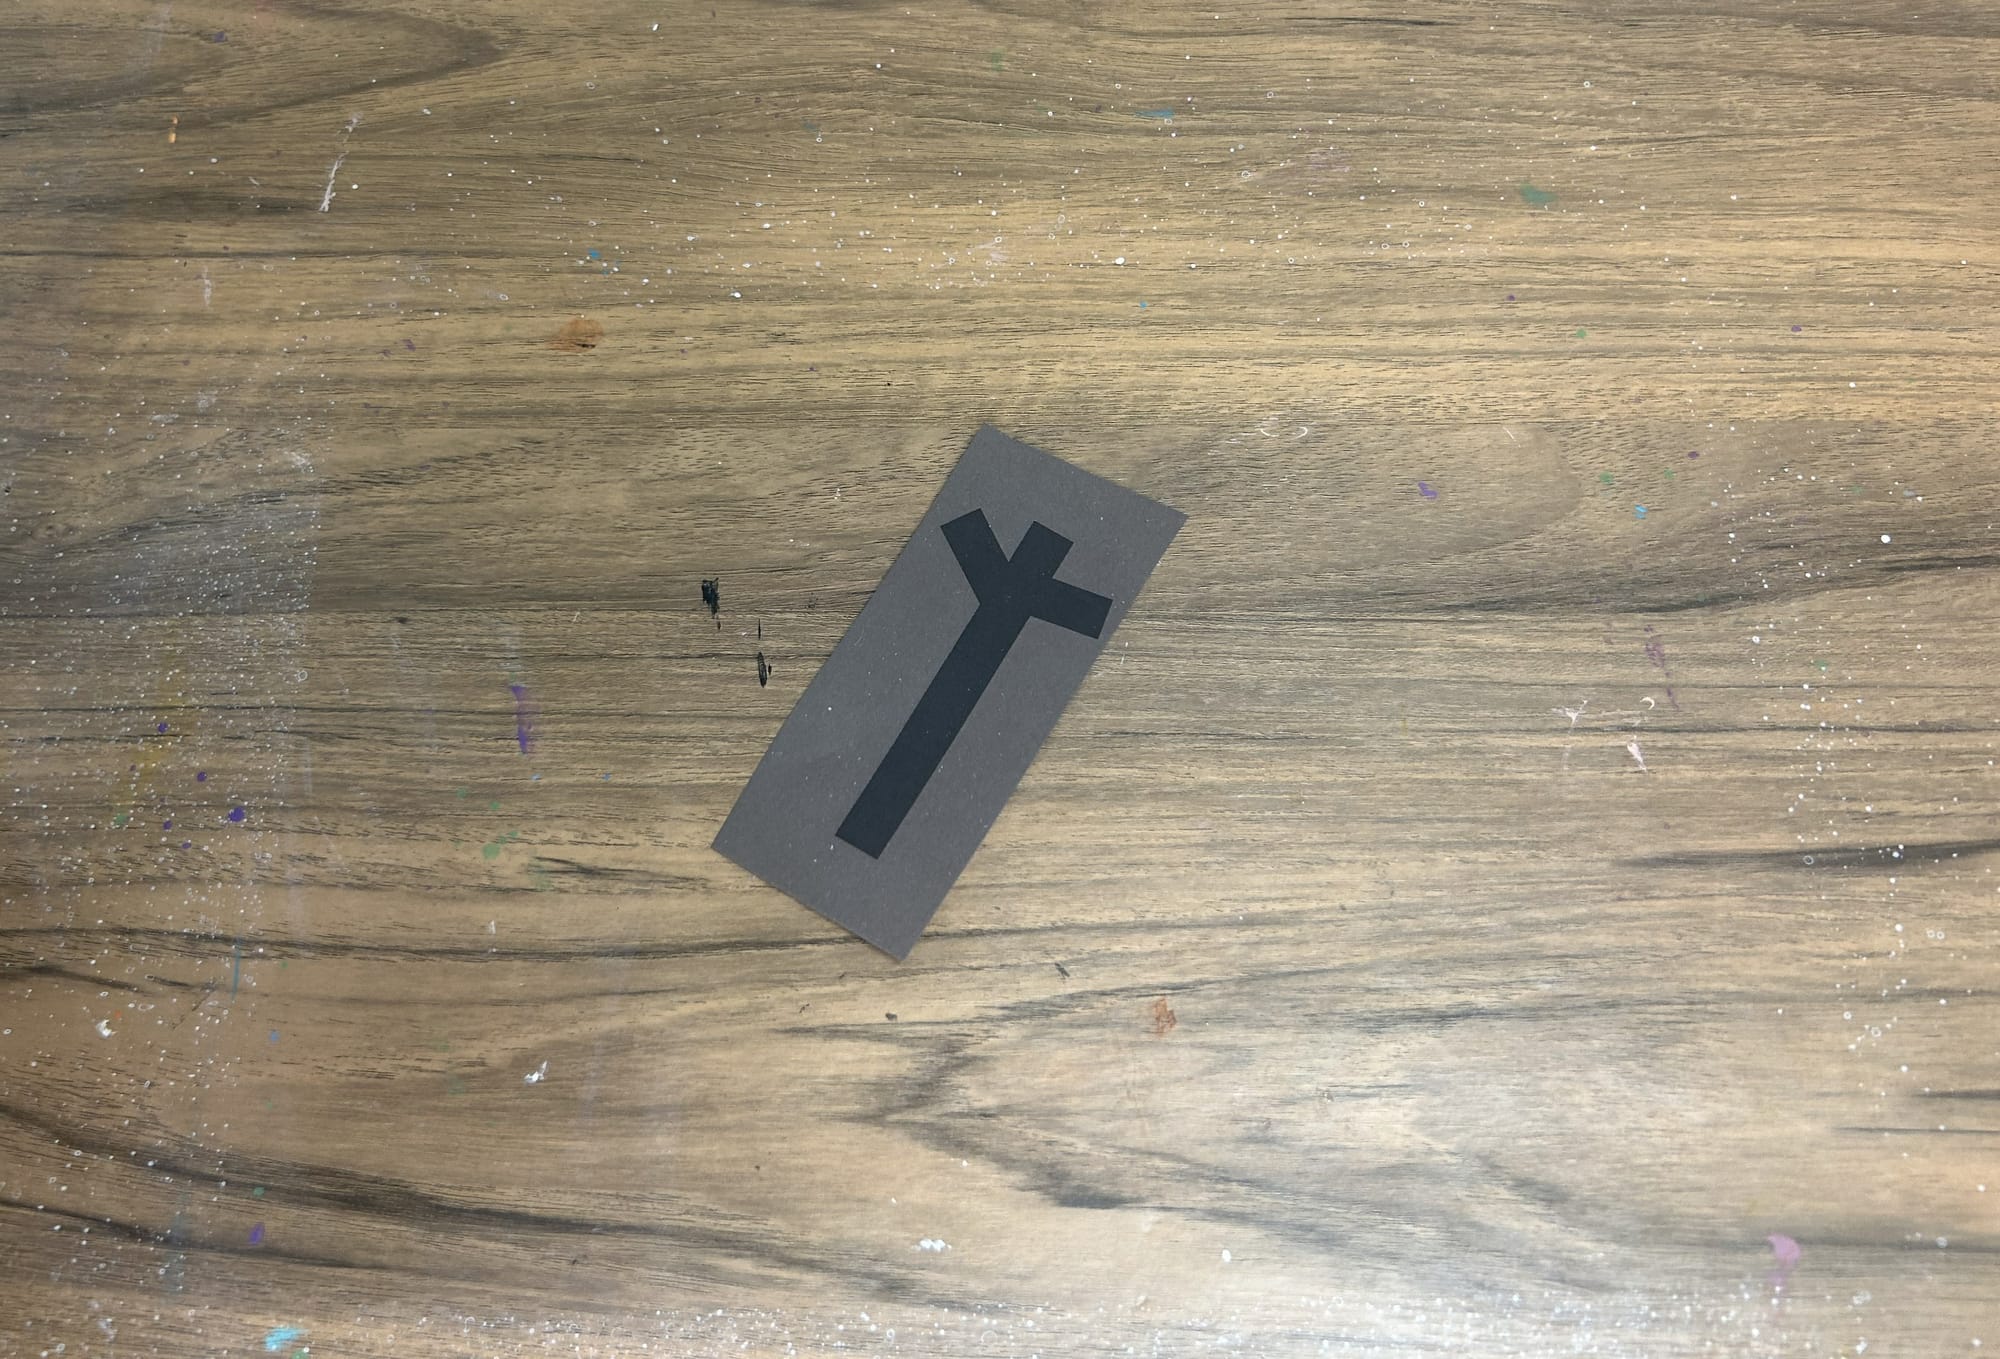
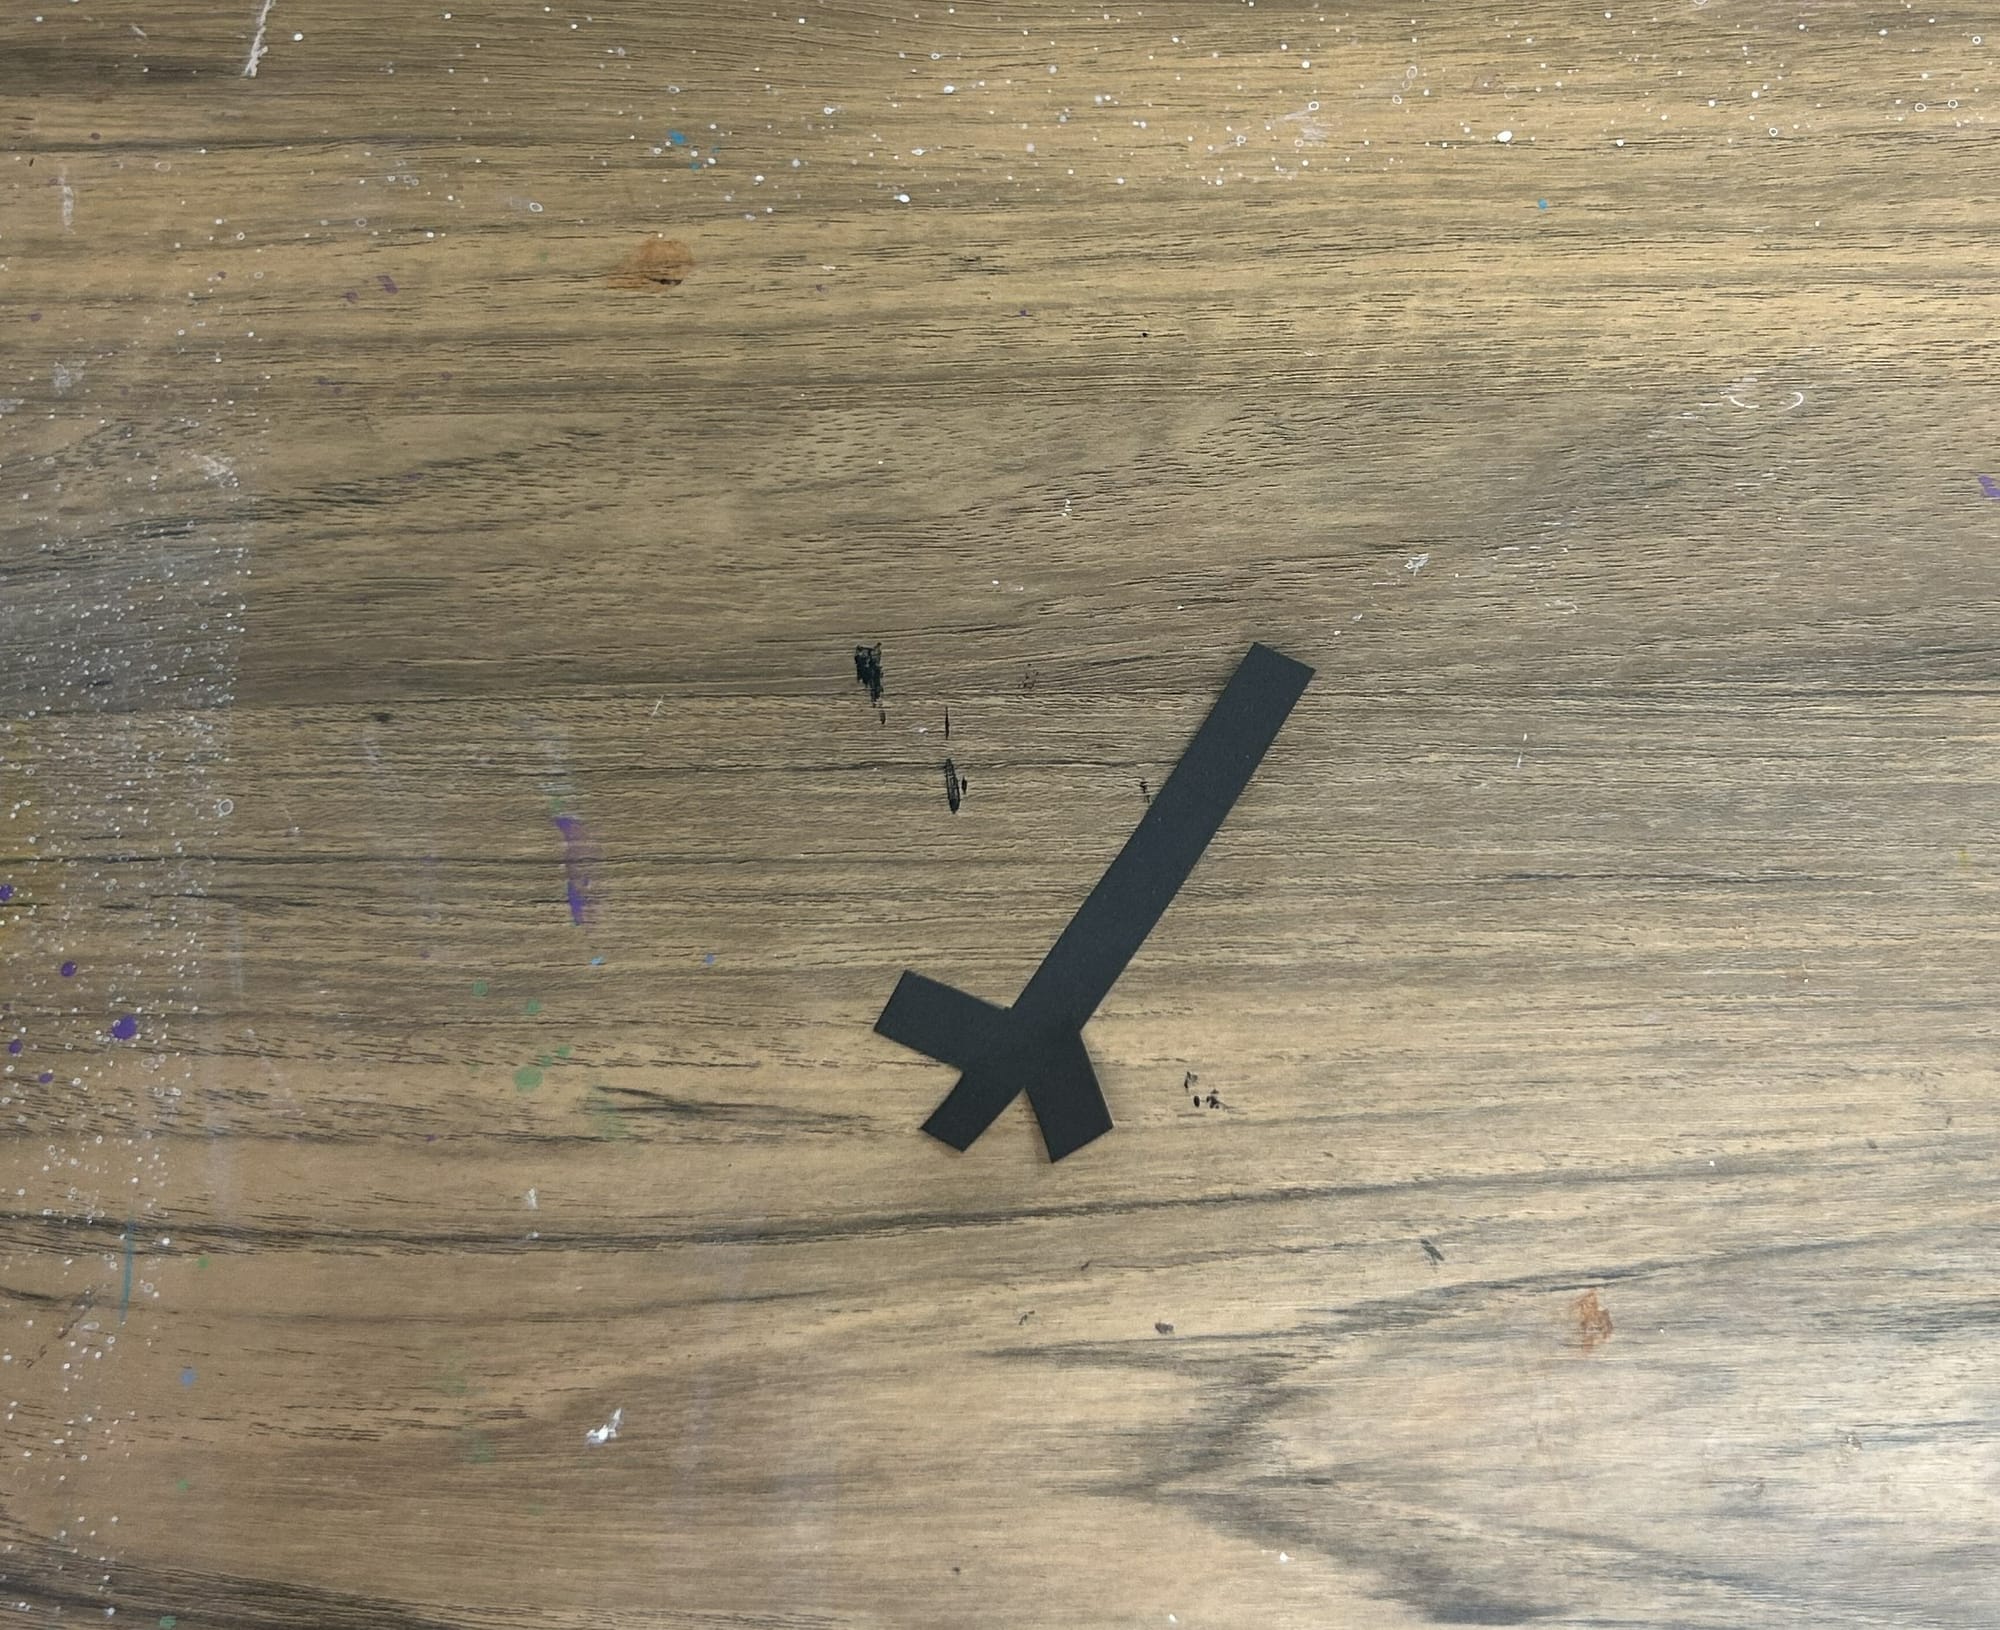
Step 4: Add Hands
Add the hands to the side of the larger circle. The hands are black, however you can choose to print them on brown paper. Then after printing and cutting out flip them over and add them to the snowman. You can glue them in any direction you choose.
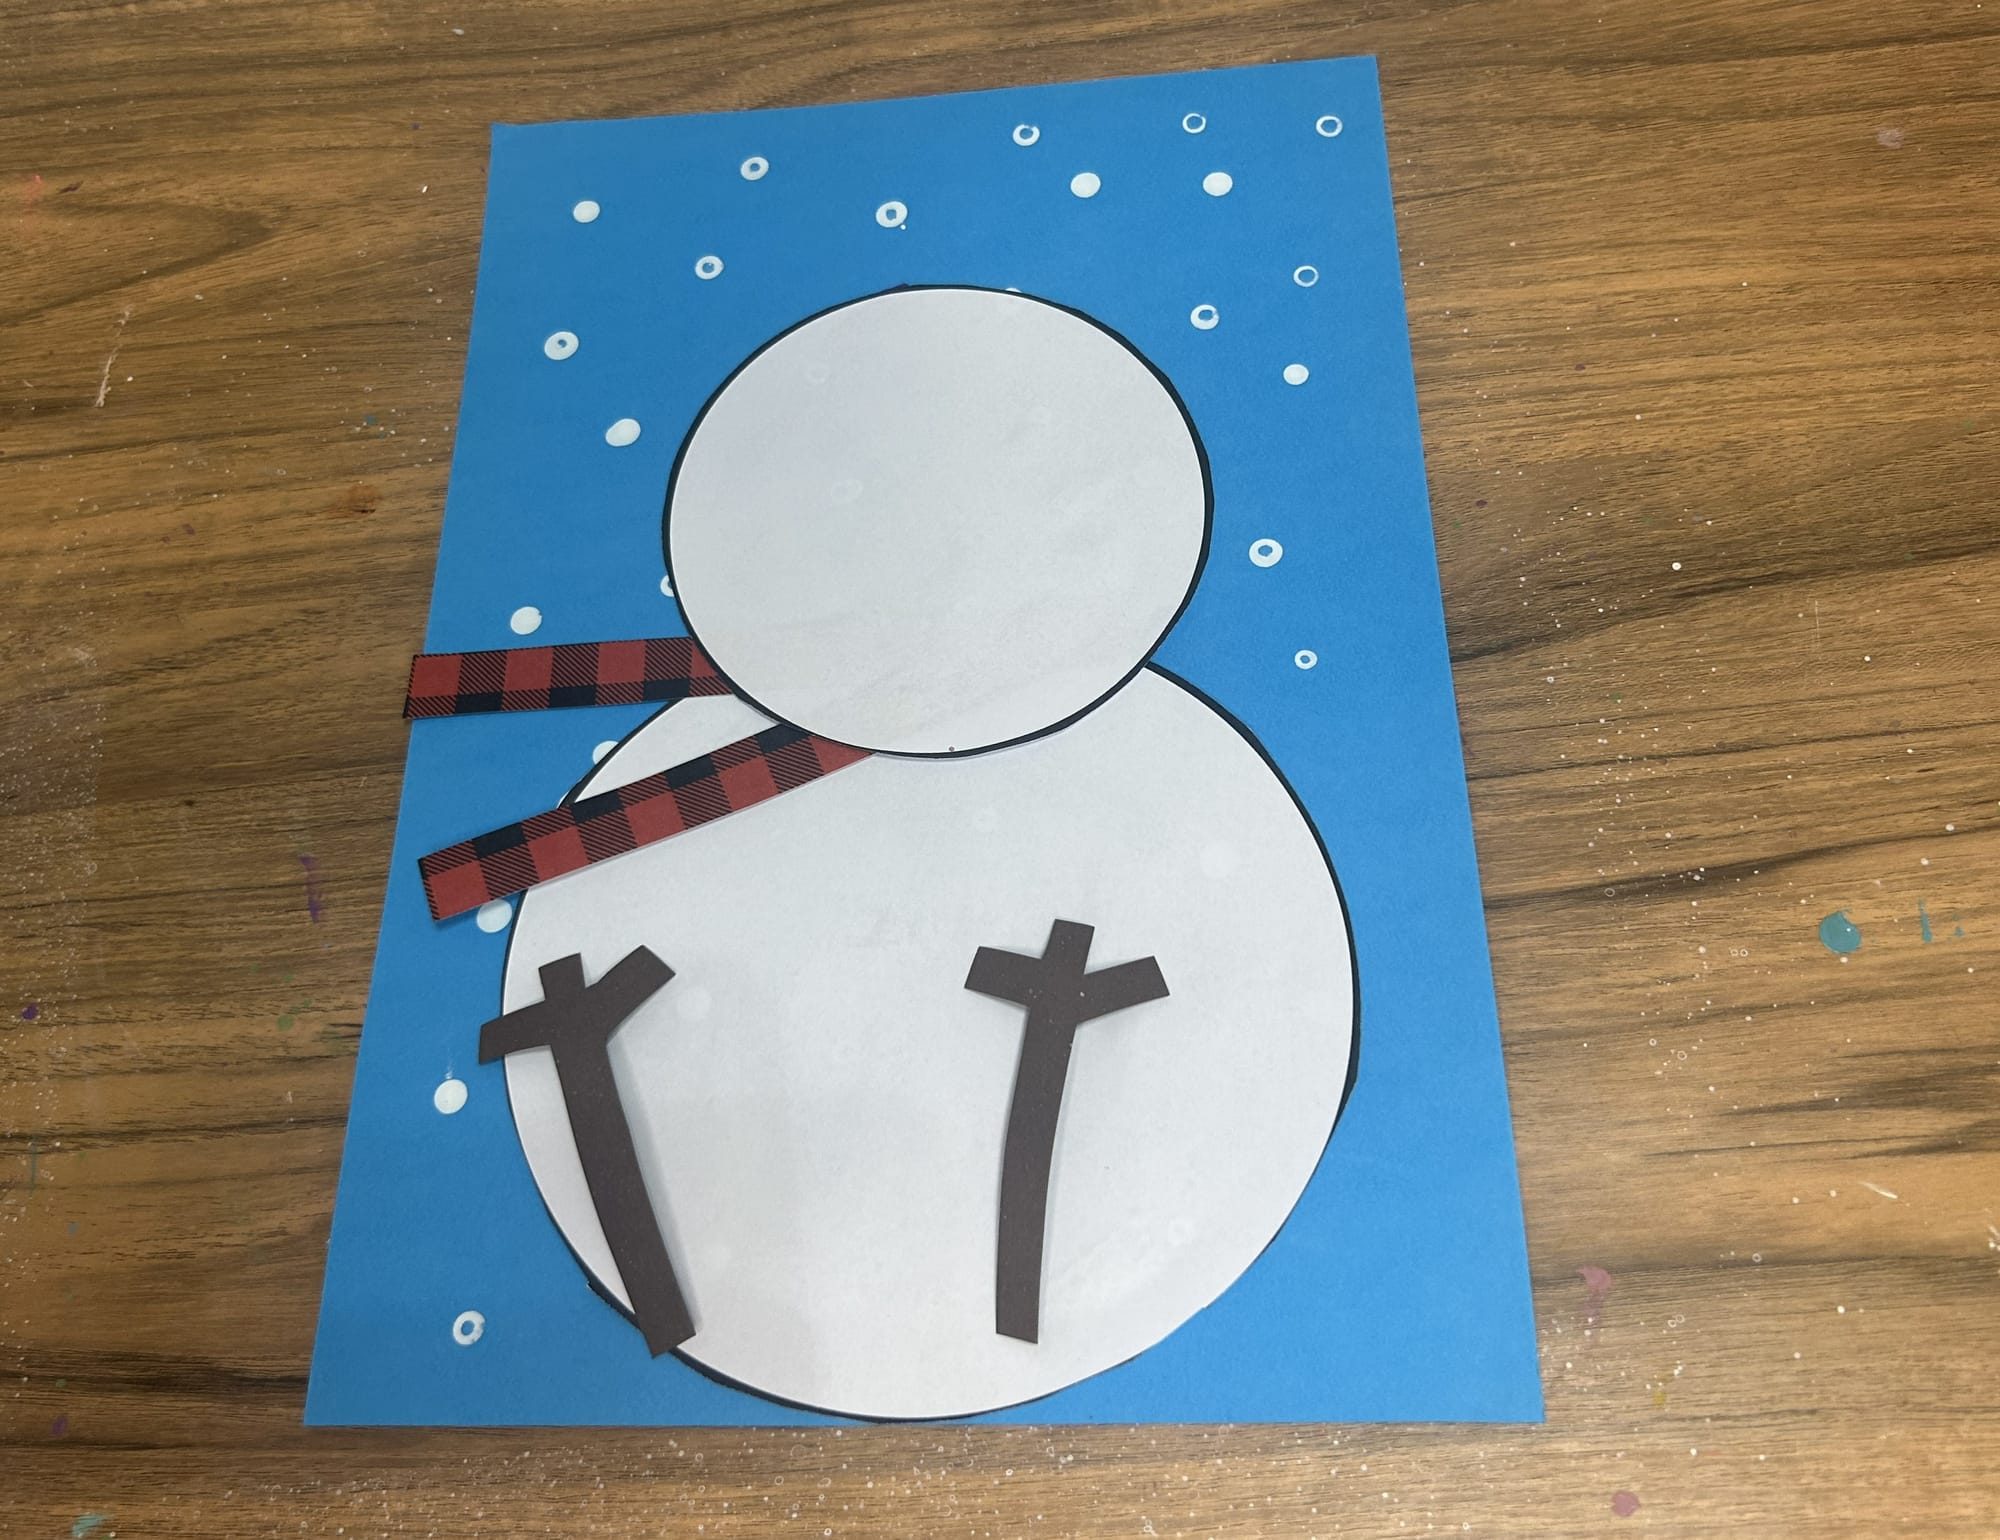
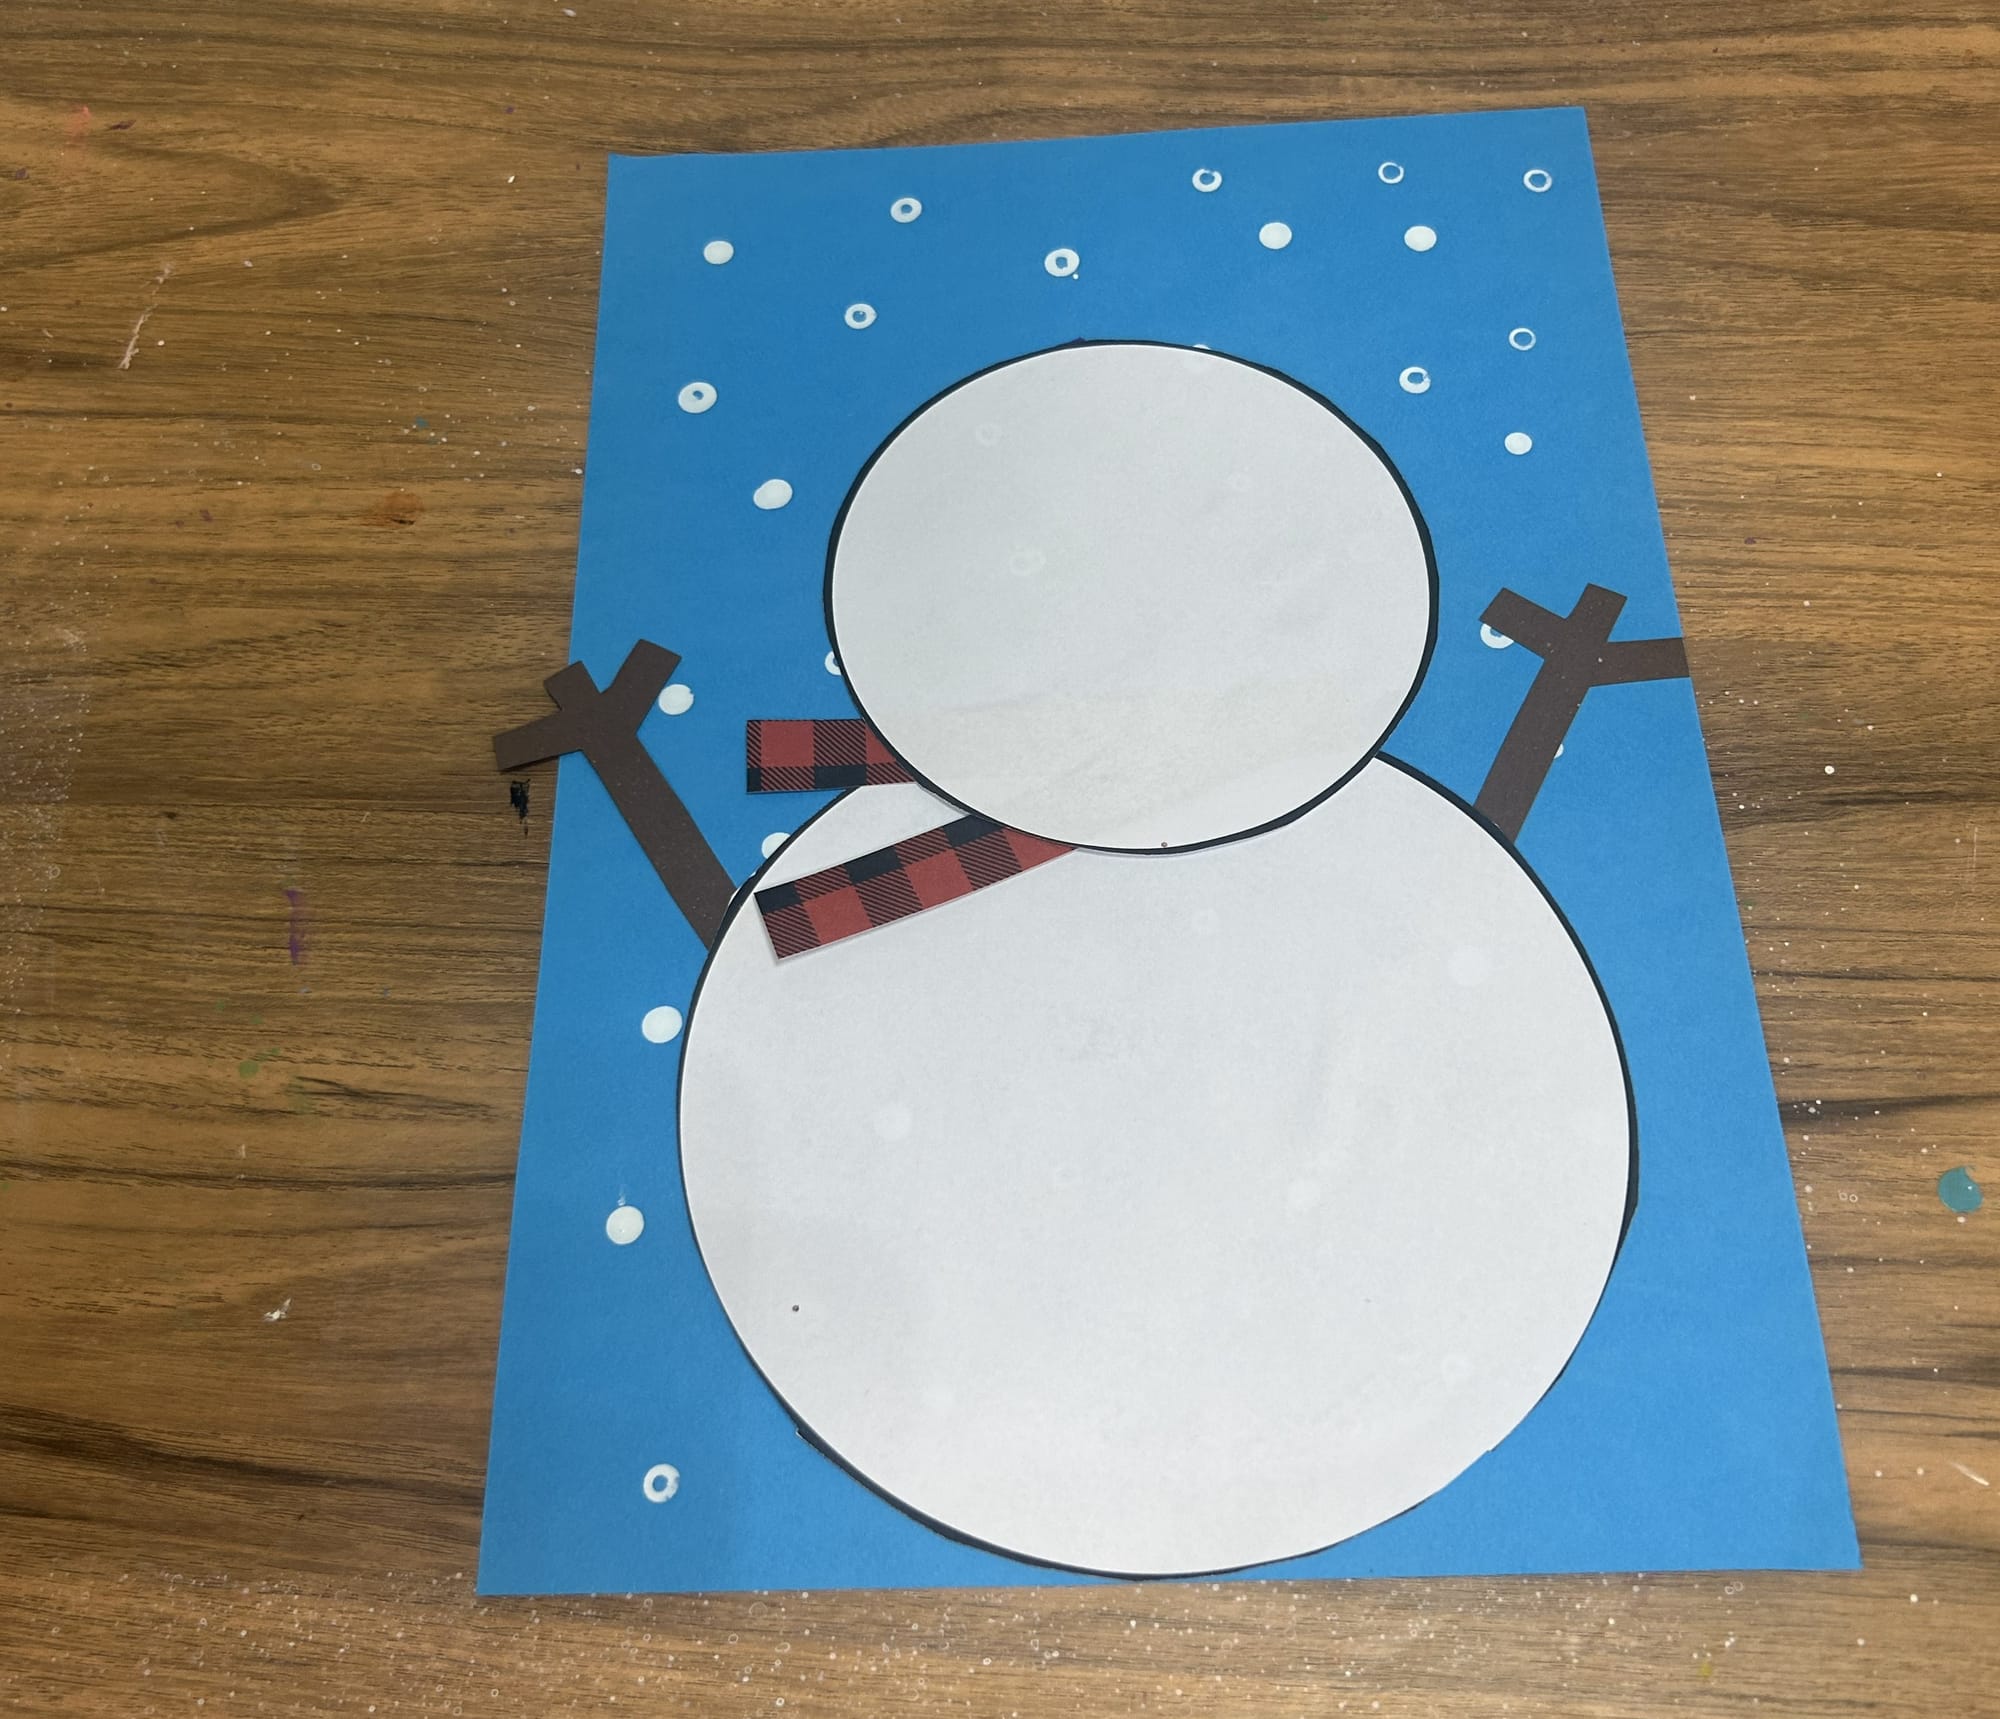
Add the paper arms to the side of the snowman.
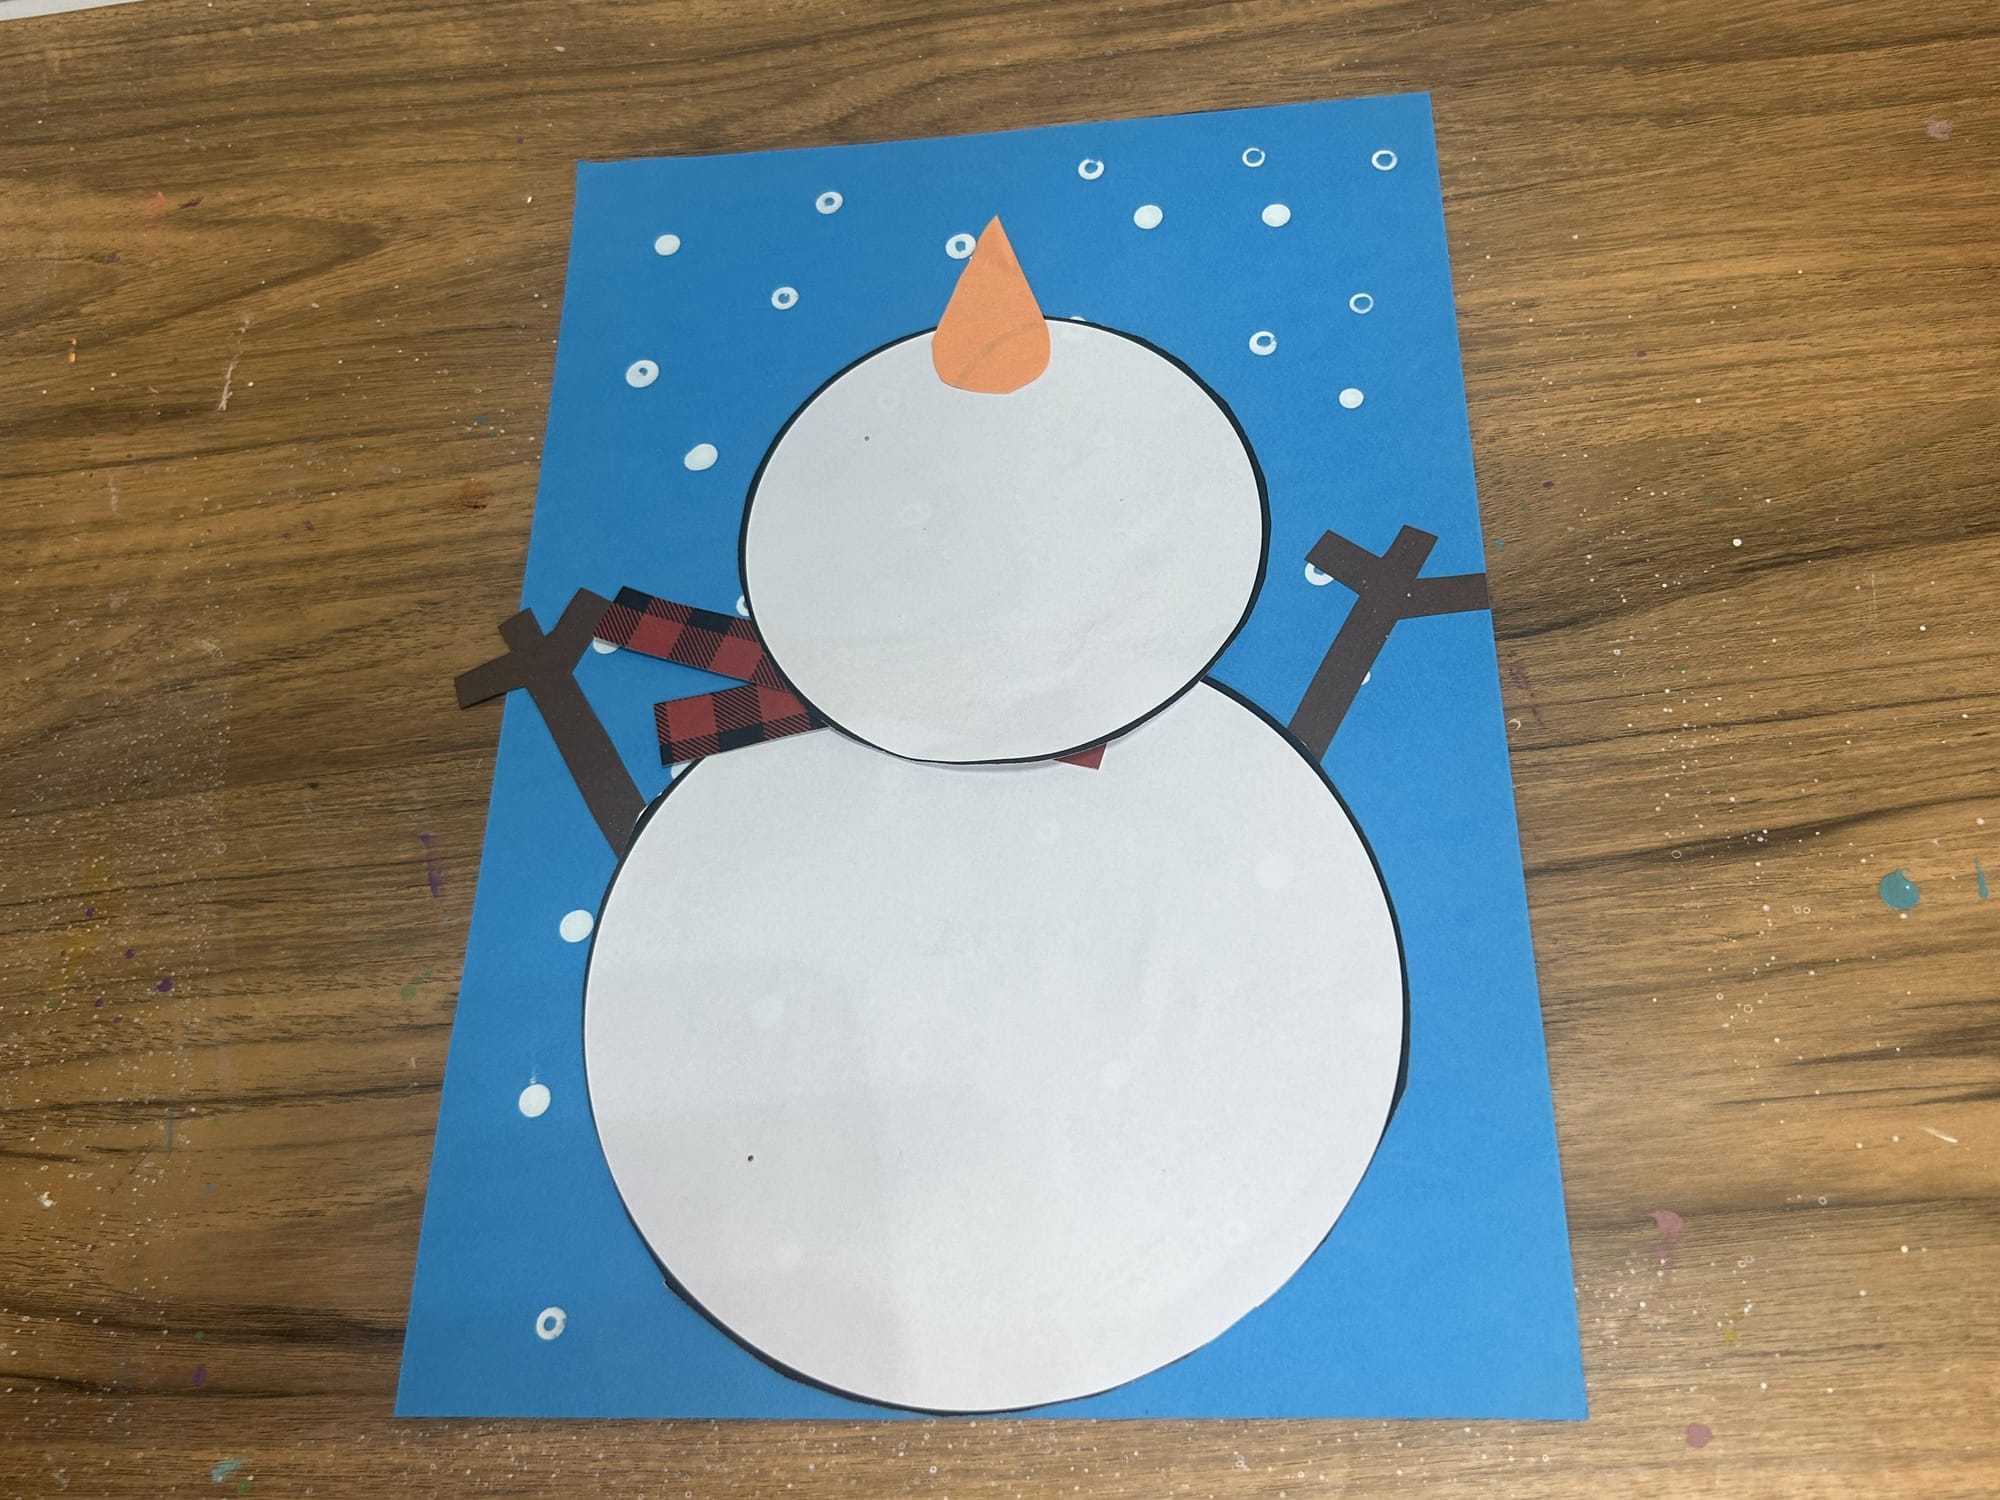
Step 5: Add the Nose
Use a piece of orange paper to add a nose to the snowman. You can round the nose at the bottom to make it look like a carrot. Glue the nose in the center of the small white circle pointing up to the top of the paper.
Step 6: Add the Smilie
To add a smile you can add black circles. To make these use a black piece of paper and a hole puncher. Punch out circles of the black paper. Glue these in place on the snowman. Alternatively, you can add dots with a black marker to create the smile.
Tips & Variations
- Use cotton balls or torn paper for a textured snow effect
- Let kids practice cutting skills by cutting their own shapes
- Add the child’s name or winter words to the snowman
- Turn it into a directed drawing + craft combo
- Pair with a winter book or snowman story
Looking for other Snowman crafts? Try some other crafts on my page!
Learning Benefits
This simple snowman craft helps children practice:
- Fine motor skills
- Shape recognition
- Creative expression
- Following step-by-step directions
It’s also a great addition to winter lesson plans and seasonal art units.
Perfect For
- Winter classroom crafts
- Snowman-themed units
- Preschool and kindergarten art centers
- Homeschool winter activities
- Indoor snowy-day fun
Display Ideas
- Create a snowman bulletin board
- Hang snowmen on a winter art wall
- Send home as a winter keepsake
- Display with cotton “snow” for extra fun
Final Thoughts
This simple snowman craft for kids is an easy, fun way to celebrate winter creativity. With just a few supplies, kids can create an adorable snowman they’ll be proud to display.
If you’re looking for a low-prep winter craft that works for a wide range of ages, this snowman project is a perfect fit ☃️❄️
If you try this craft, I’d love to see it! Share your creations or save this project for later.
- “Leave a comment with your favorite color combo!”
- “Tag #craftymamabirdnc on Instagram so I can see your snowman!”