Paper Plate Flowers

Looking for a fun and easy project to complete this weekend? These paper plate flowers come together quickly and will look great hanging up for a Spring or Summer display. Hang them in a window or as a bulletin board display in a classroom. I love how this project can allow kids to recreate a real flower's color or imagine their own flower.
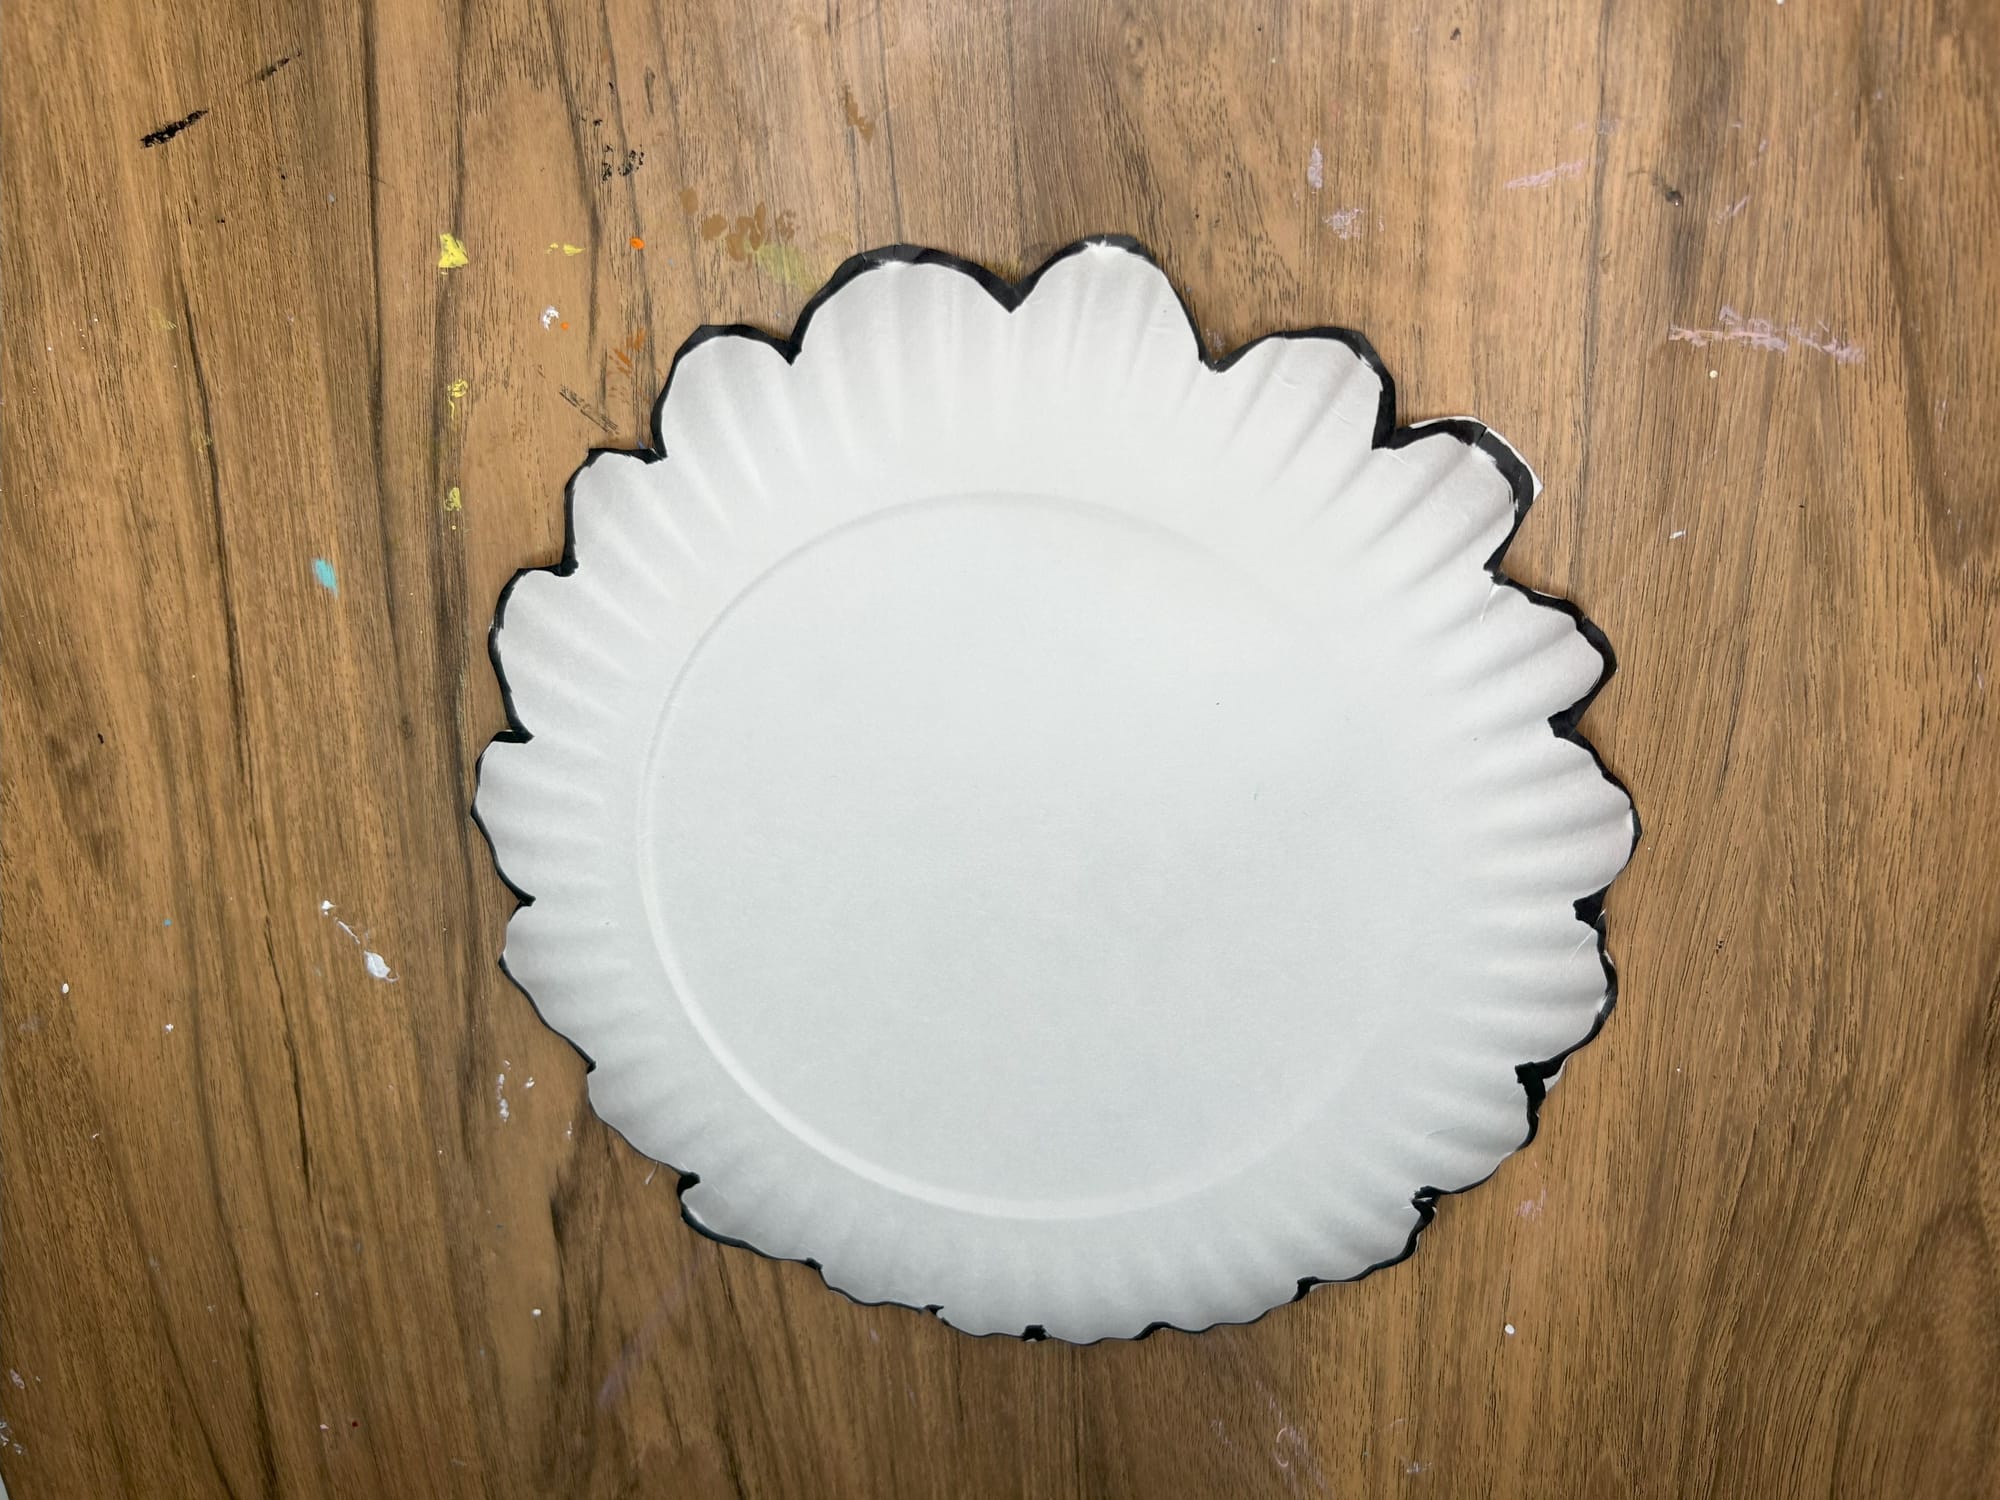
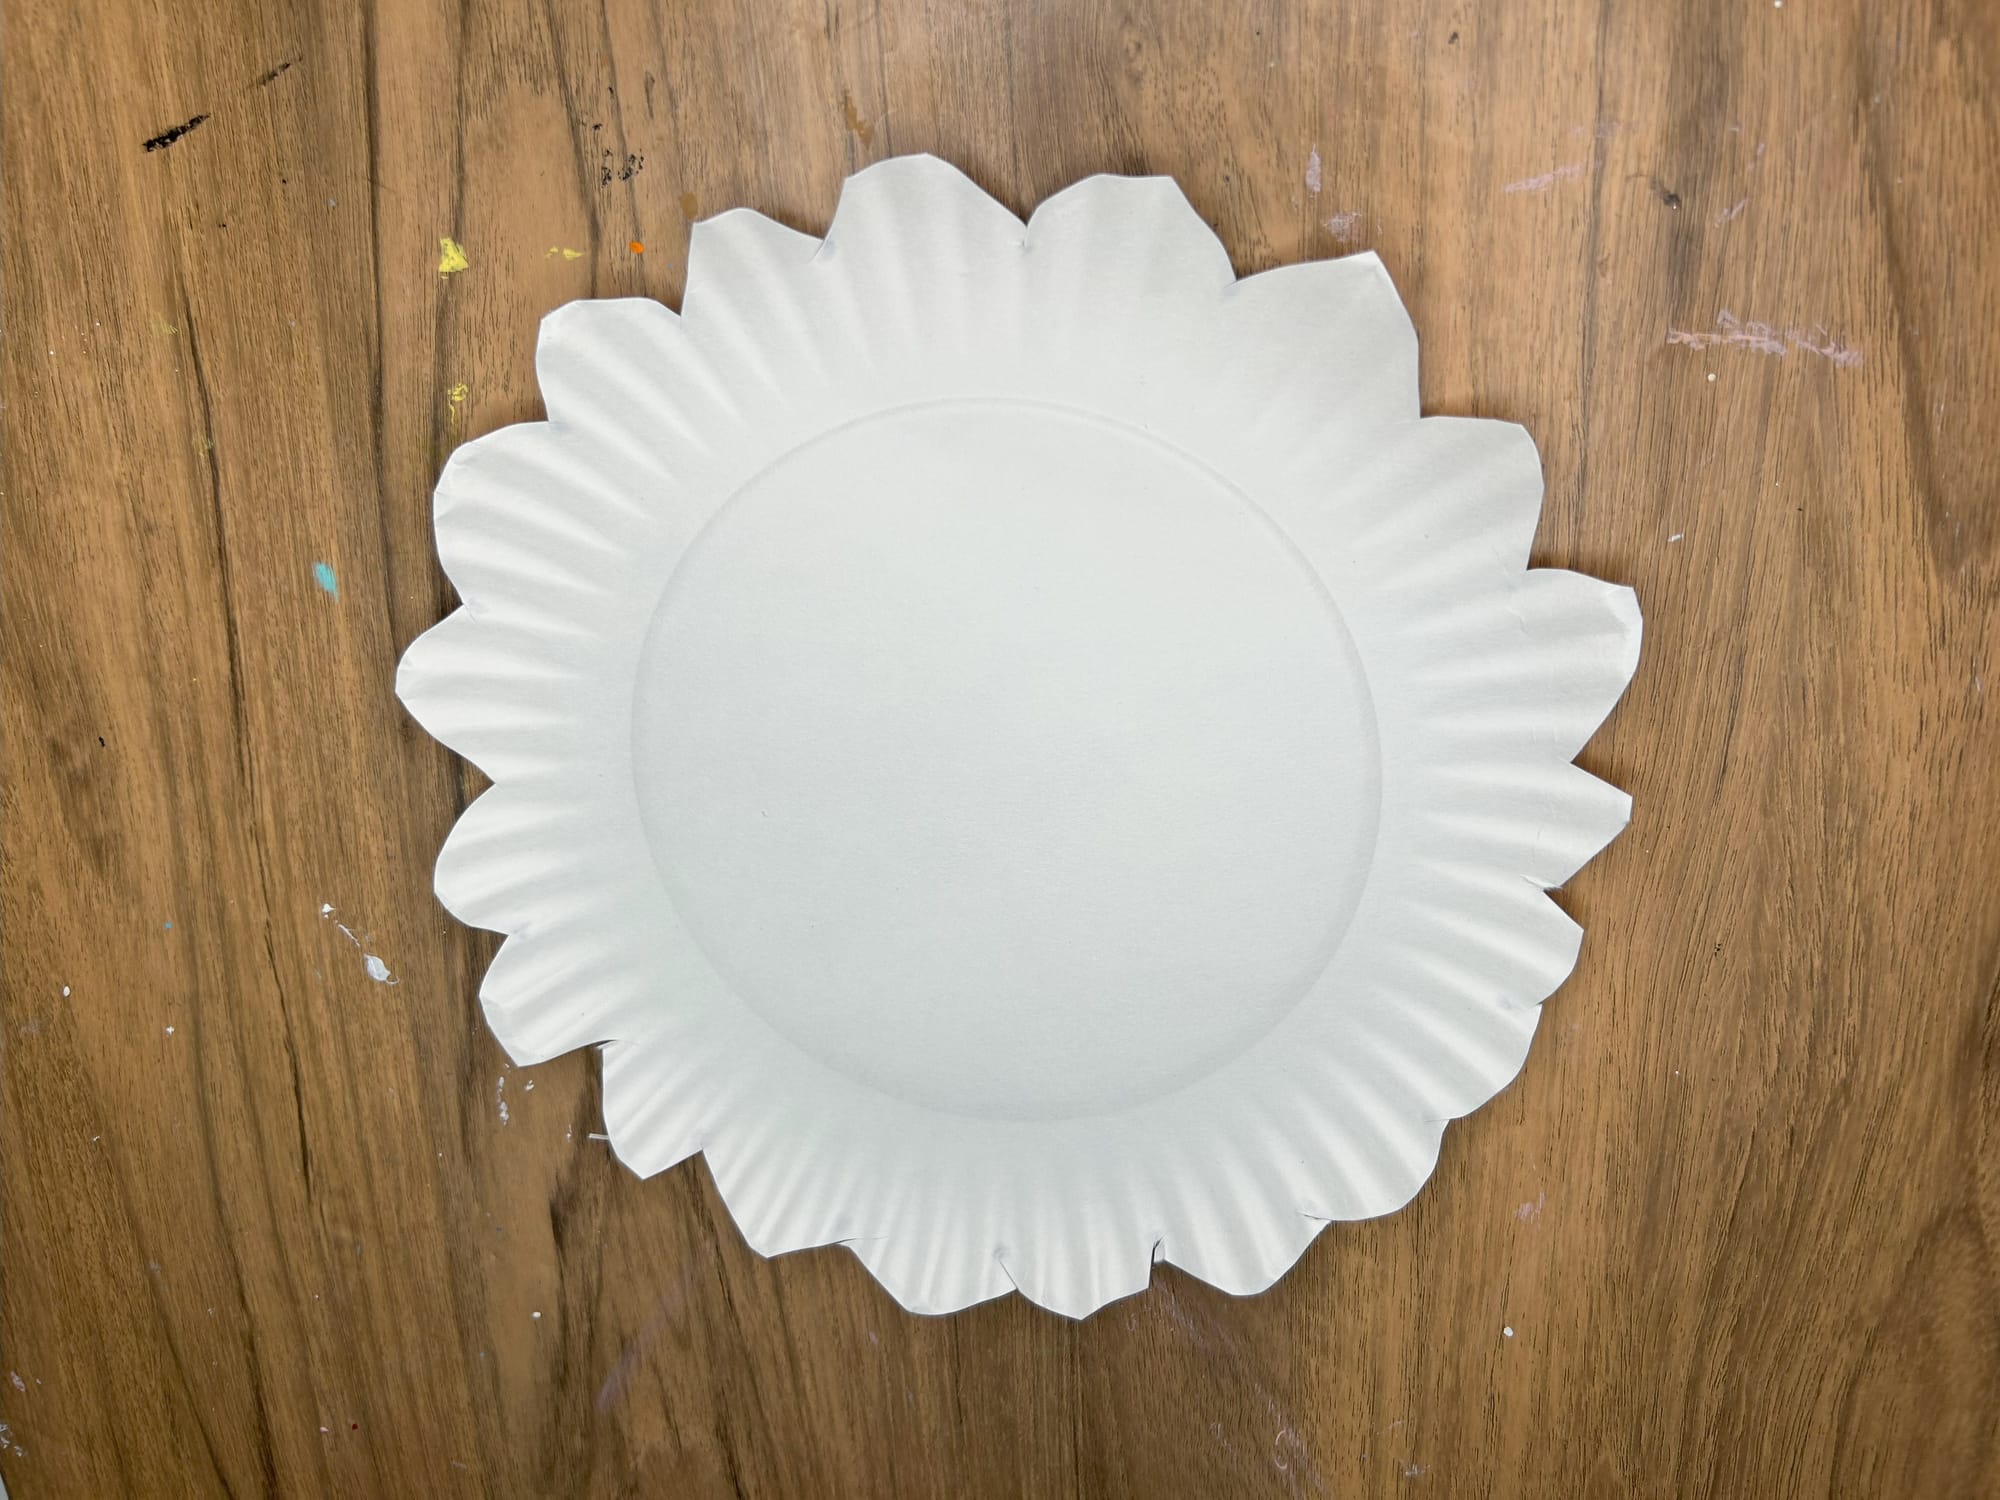
To start this project, use a inexpensive, thin paper plate. These work best for craft projects. Draw some flower petals, complete this on the back of the paper plate. This will ensure the drawing lines are not showing on the final project.
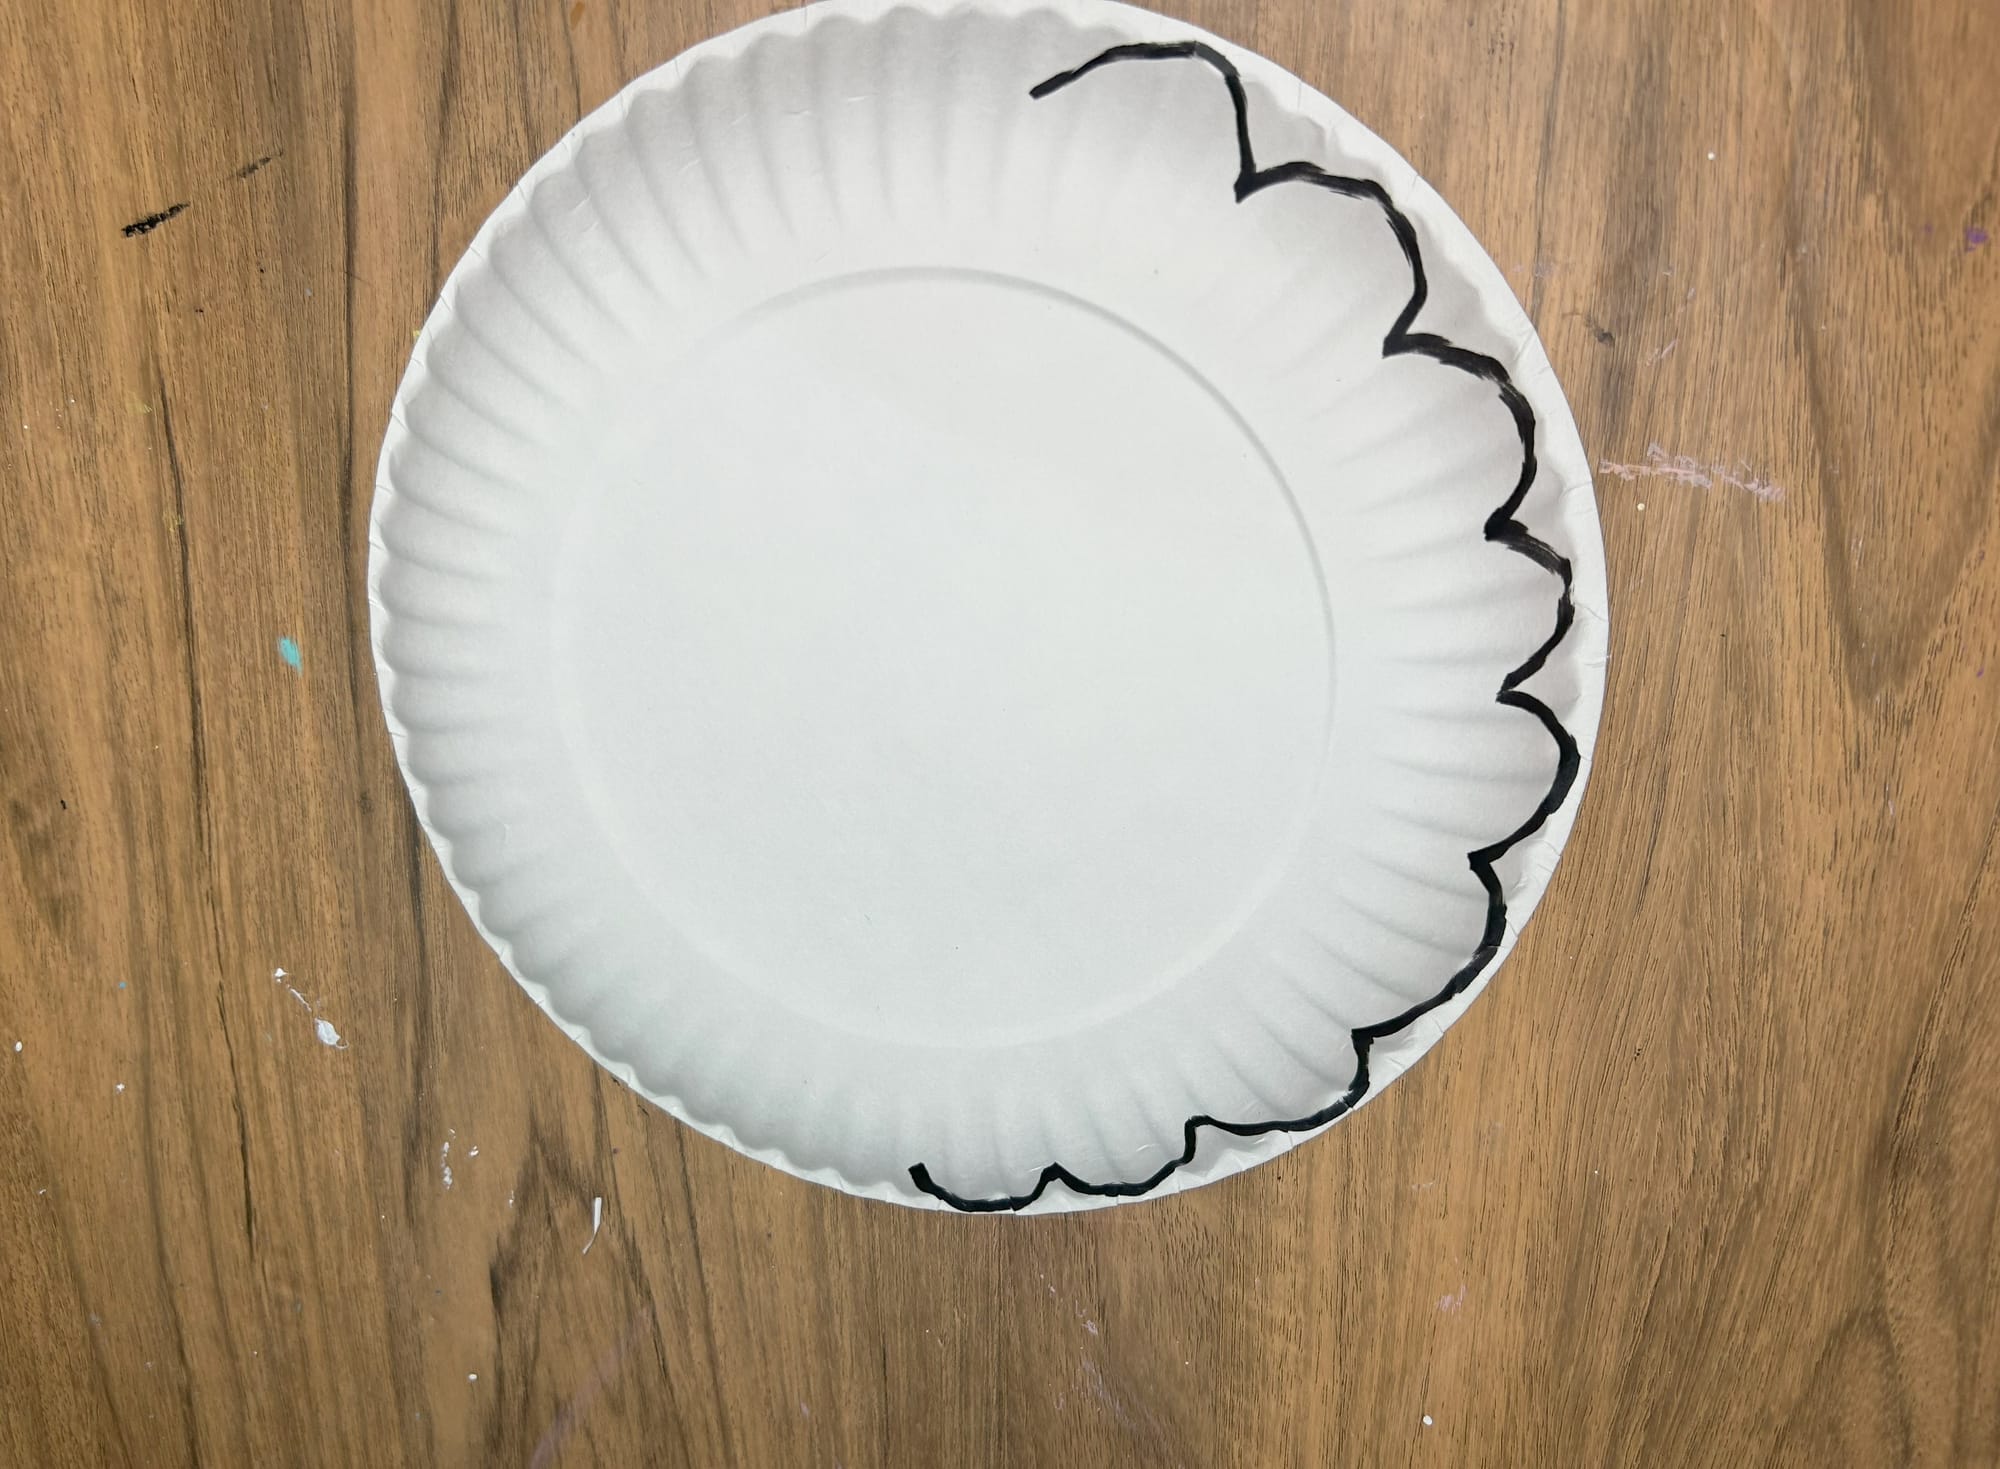
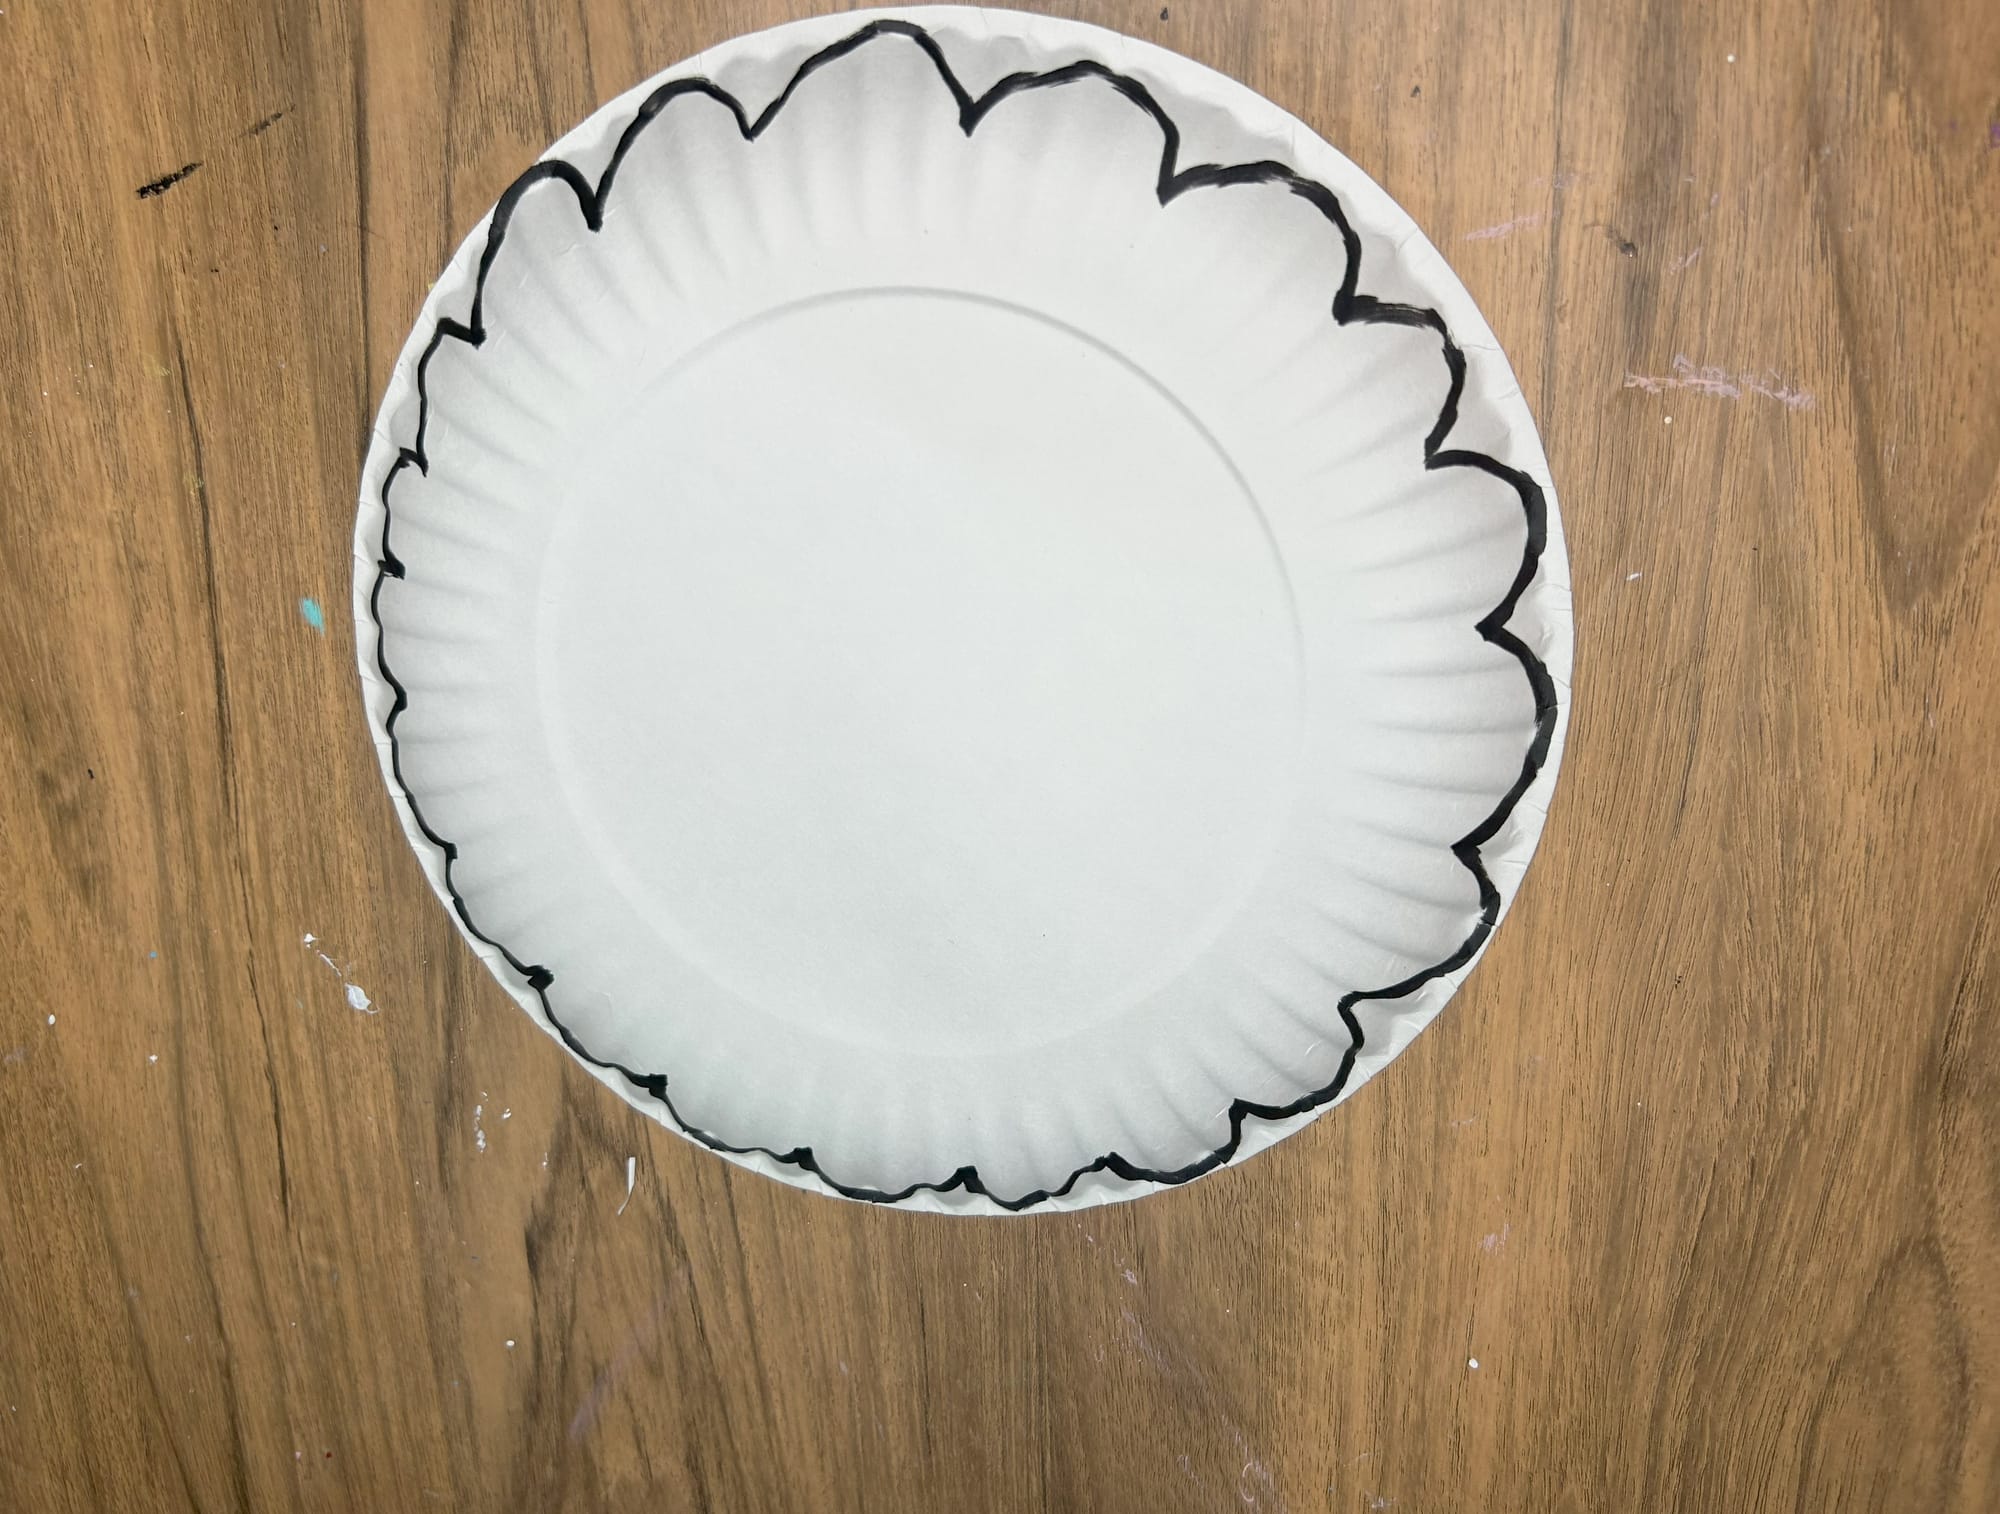
Draw petals of any shape on the back of the paper plate
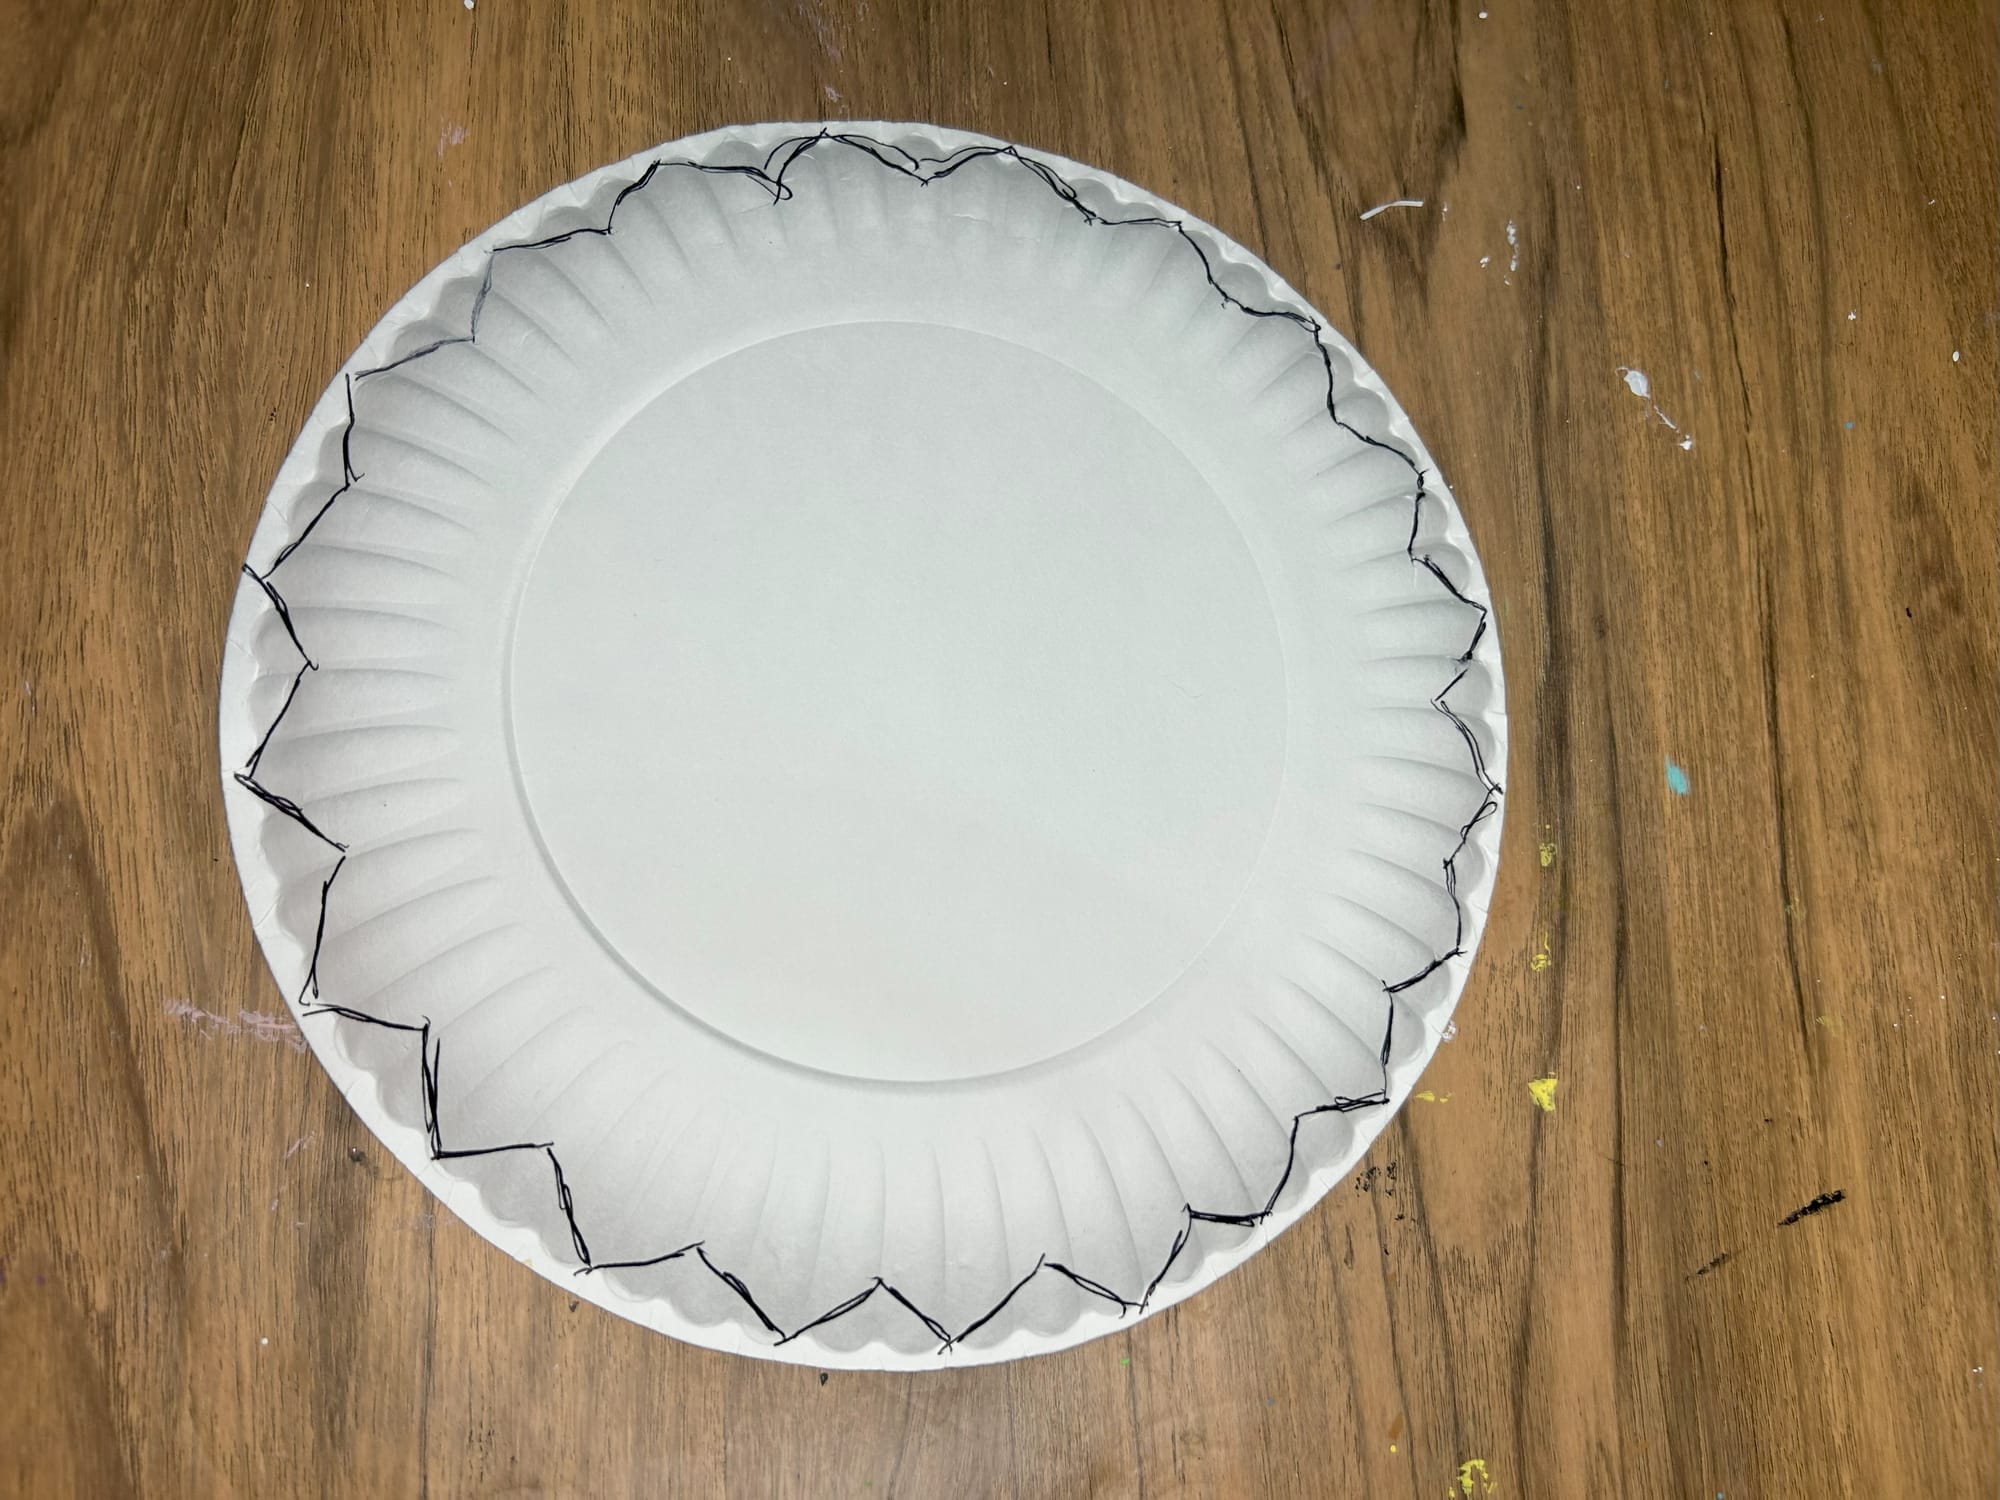
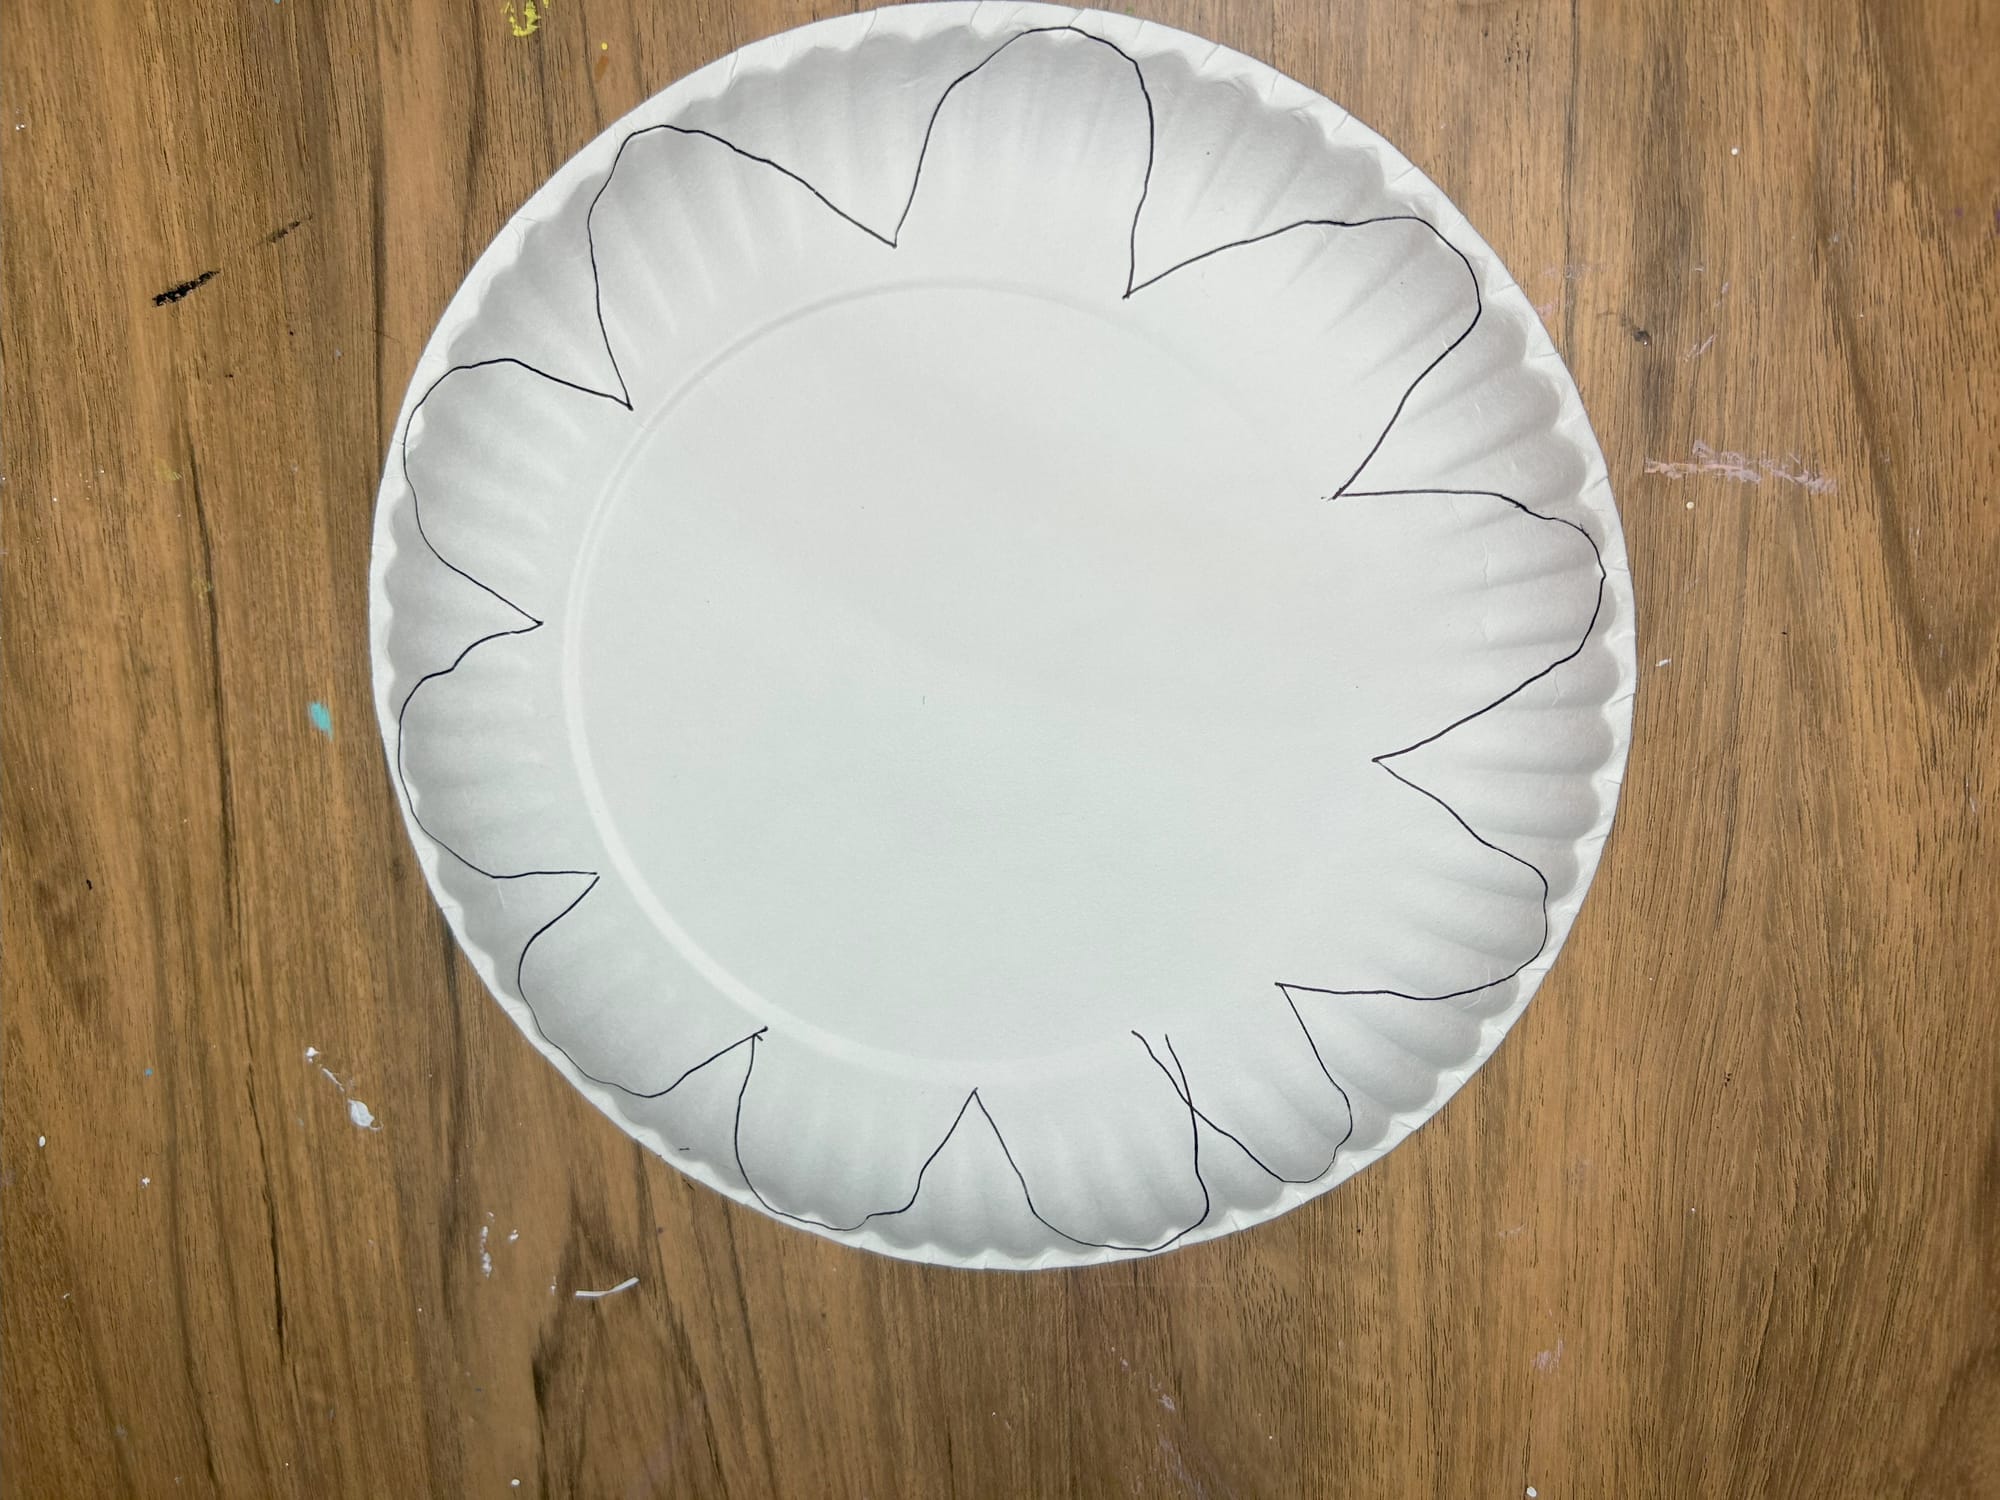
After cut around the lines drawn to make the flower shape. This cutting may take a little while, guide your child on how to cut slowly around the petals.
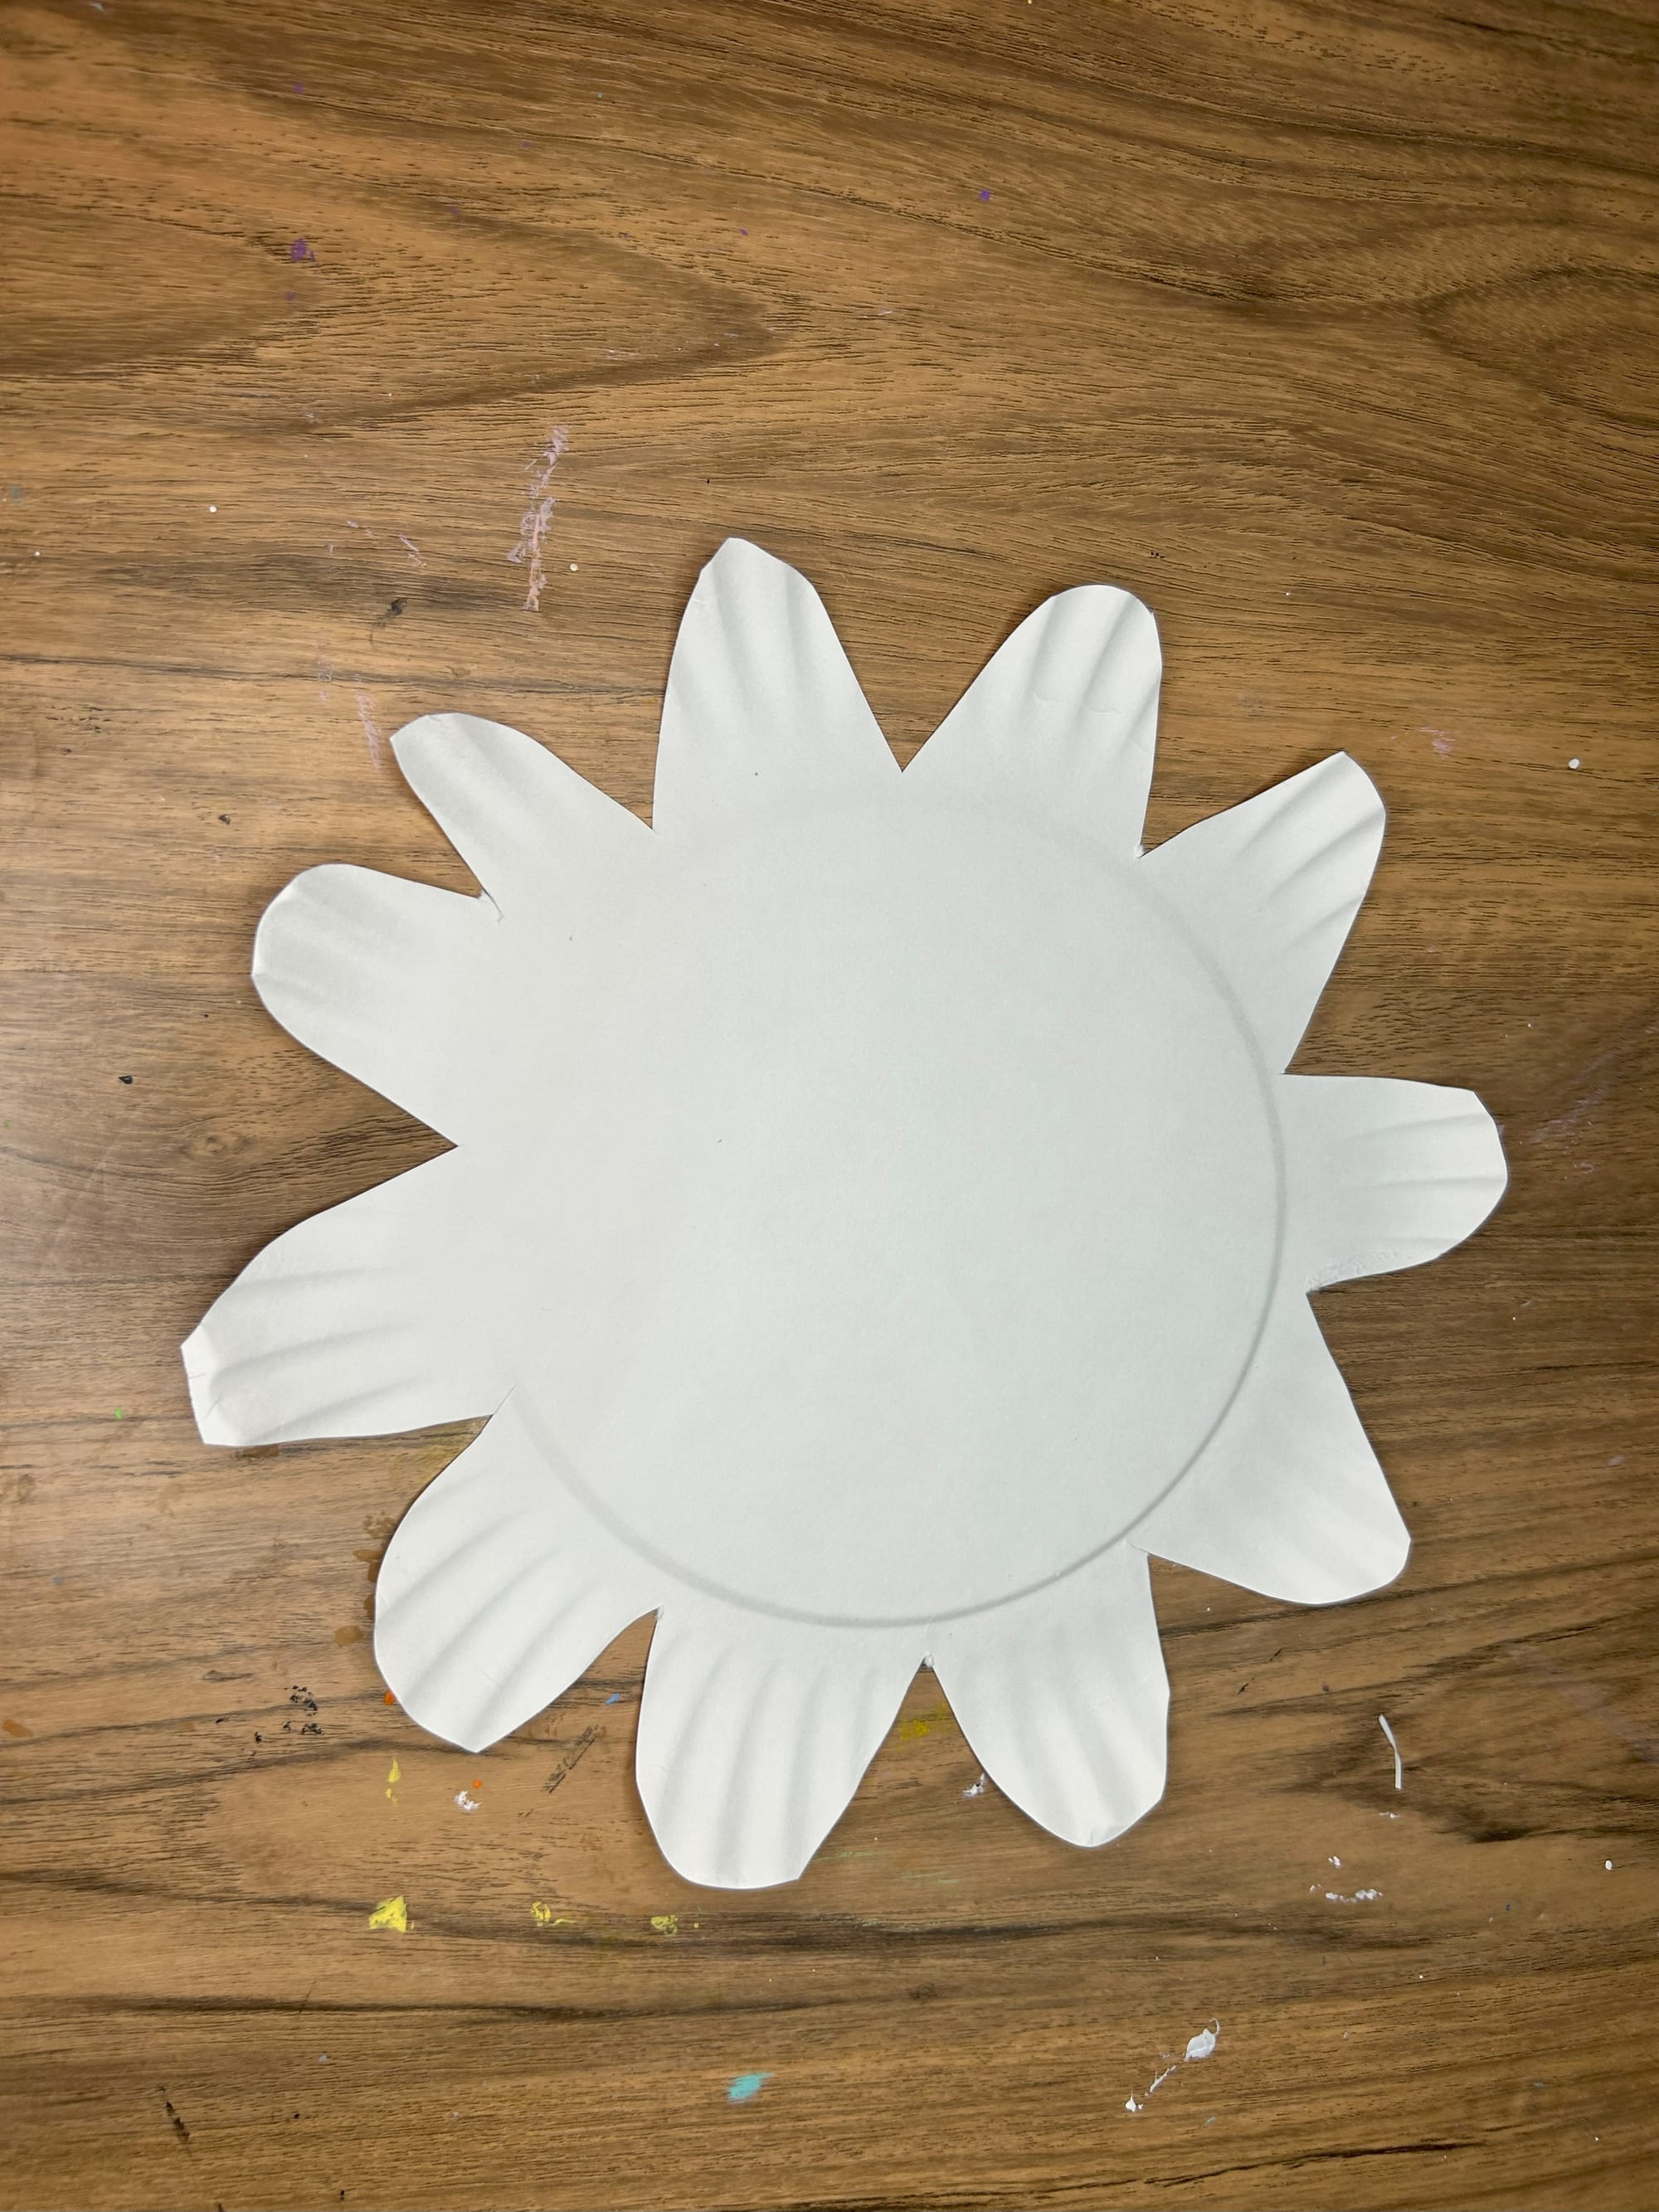
Cut out the paper plate flowers
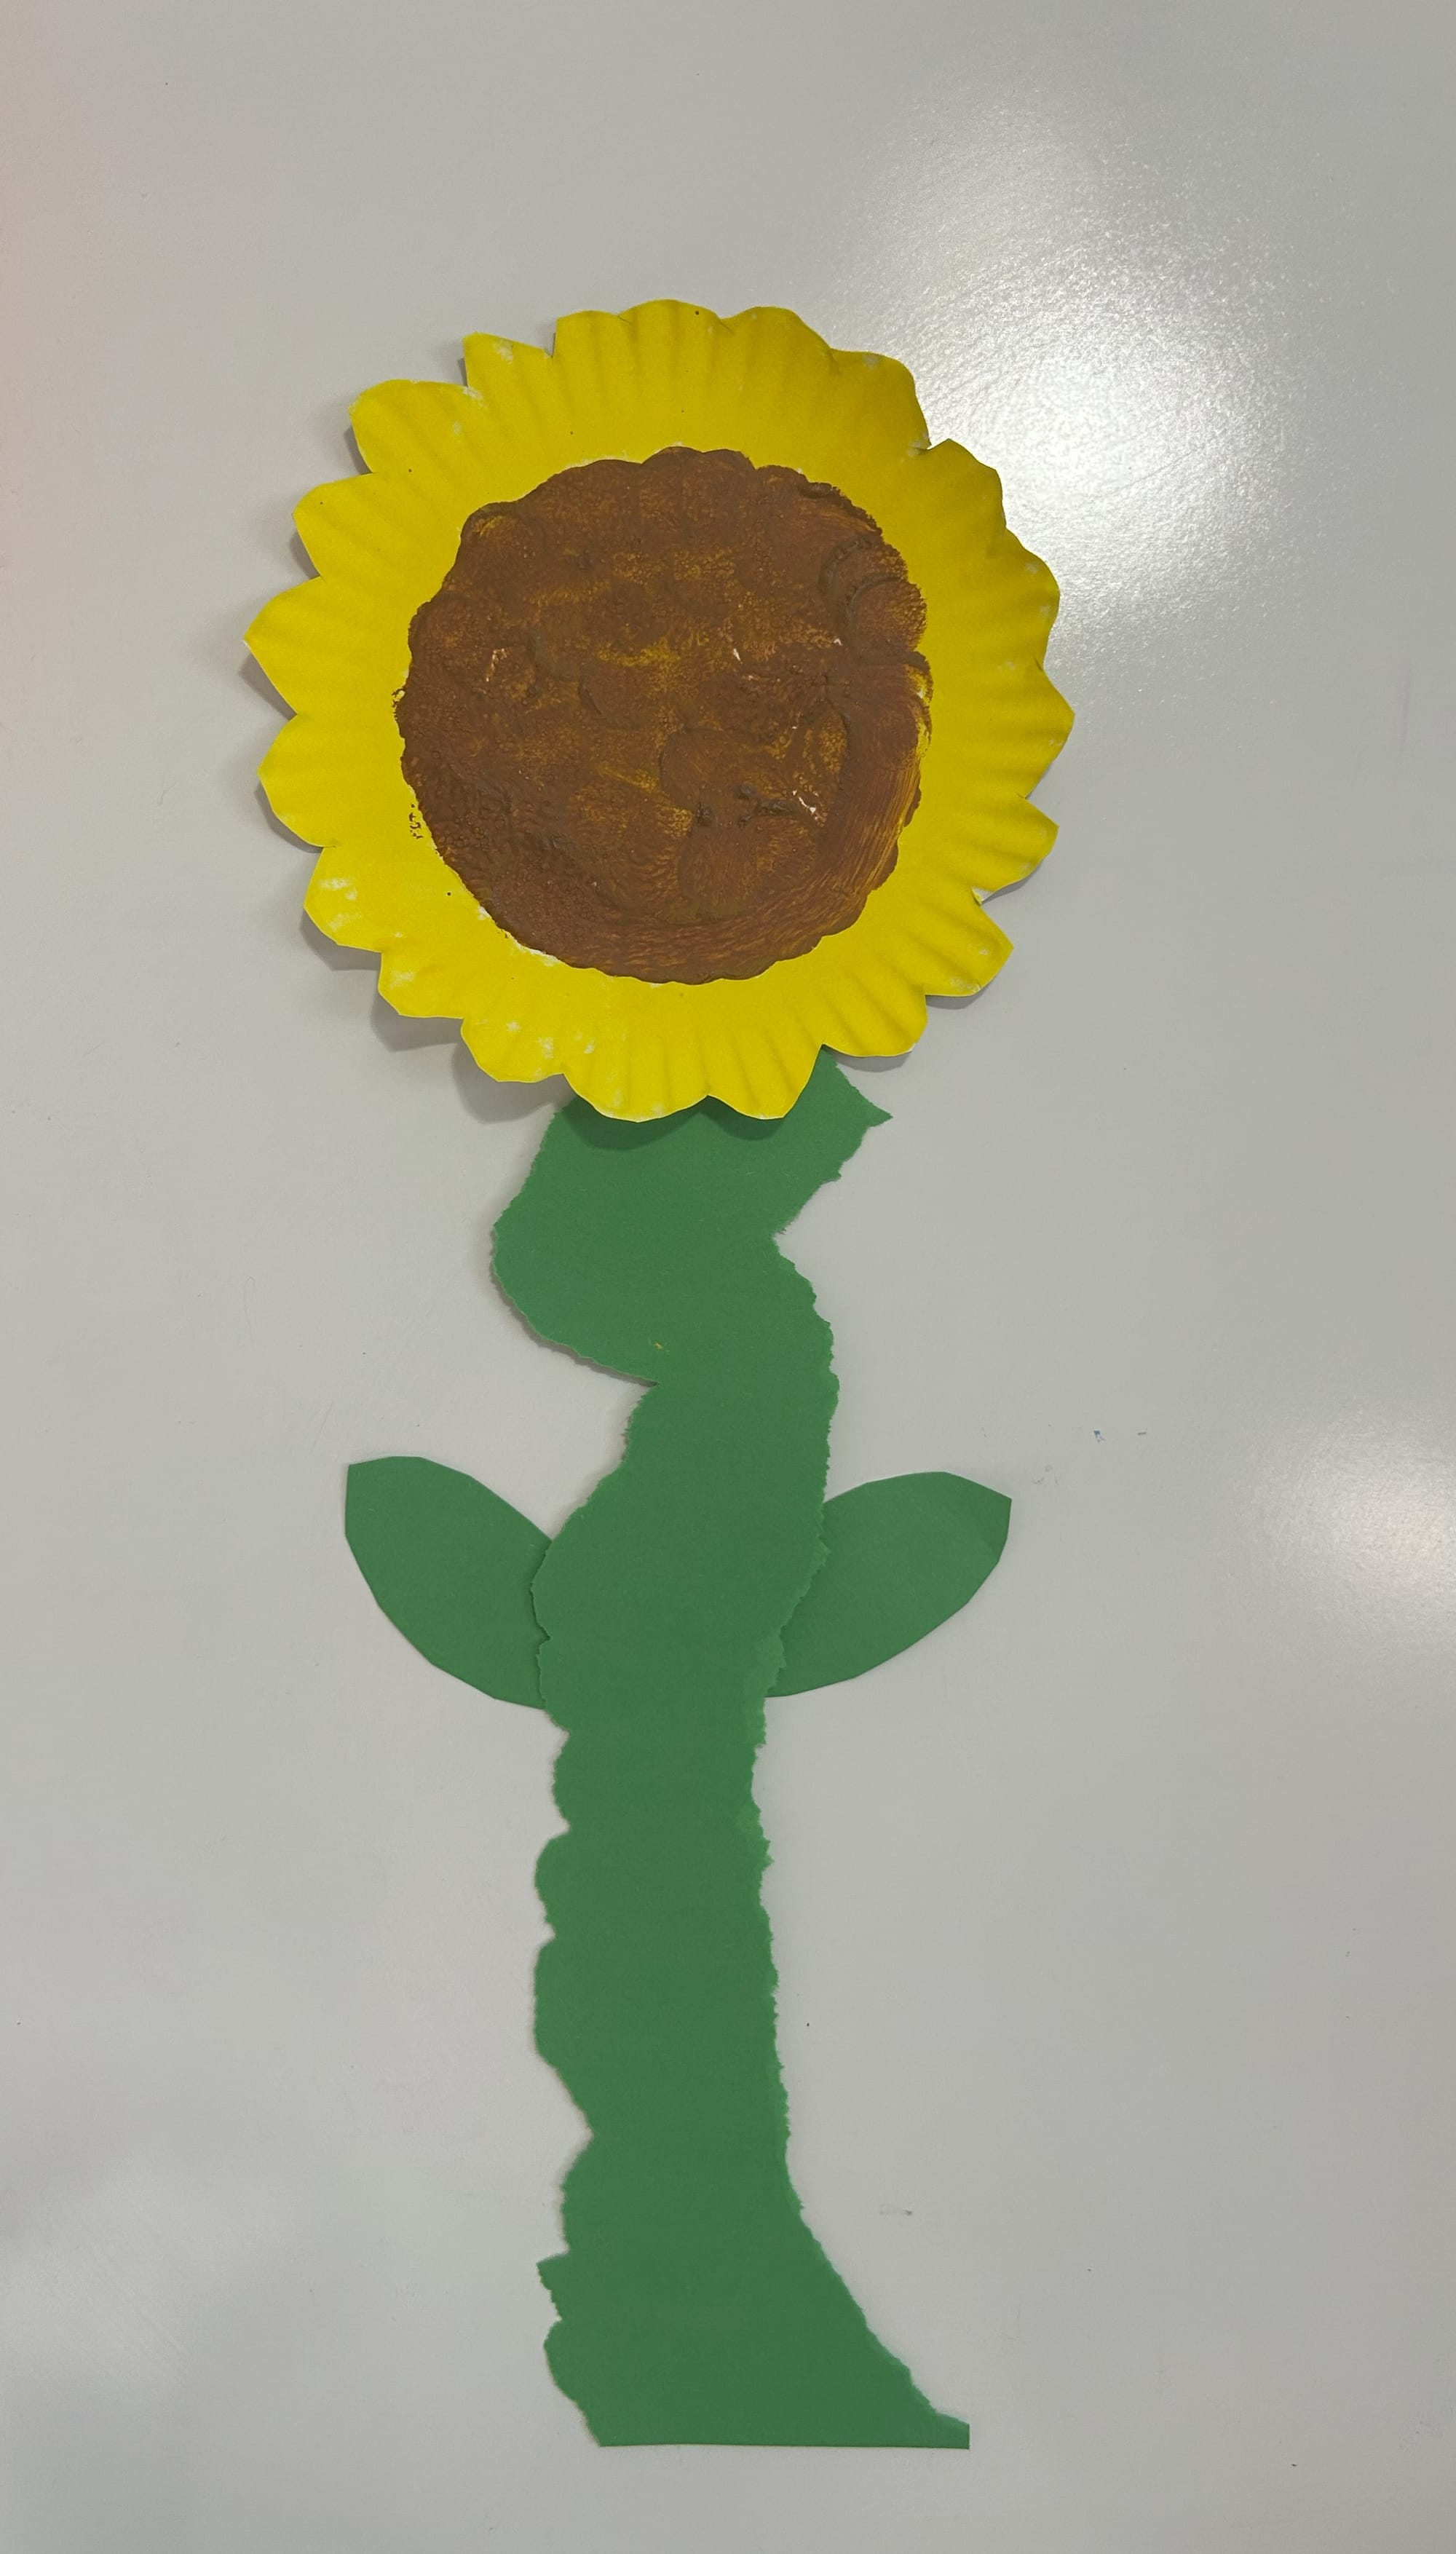
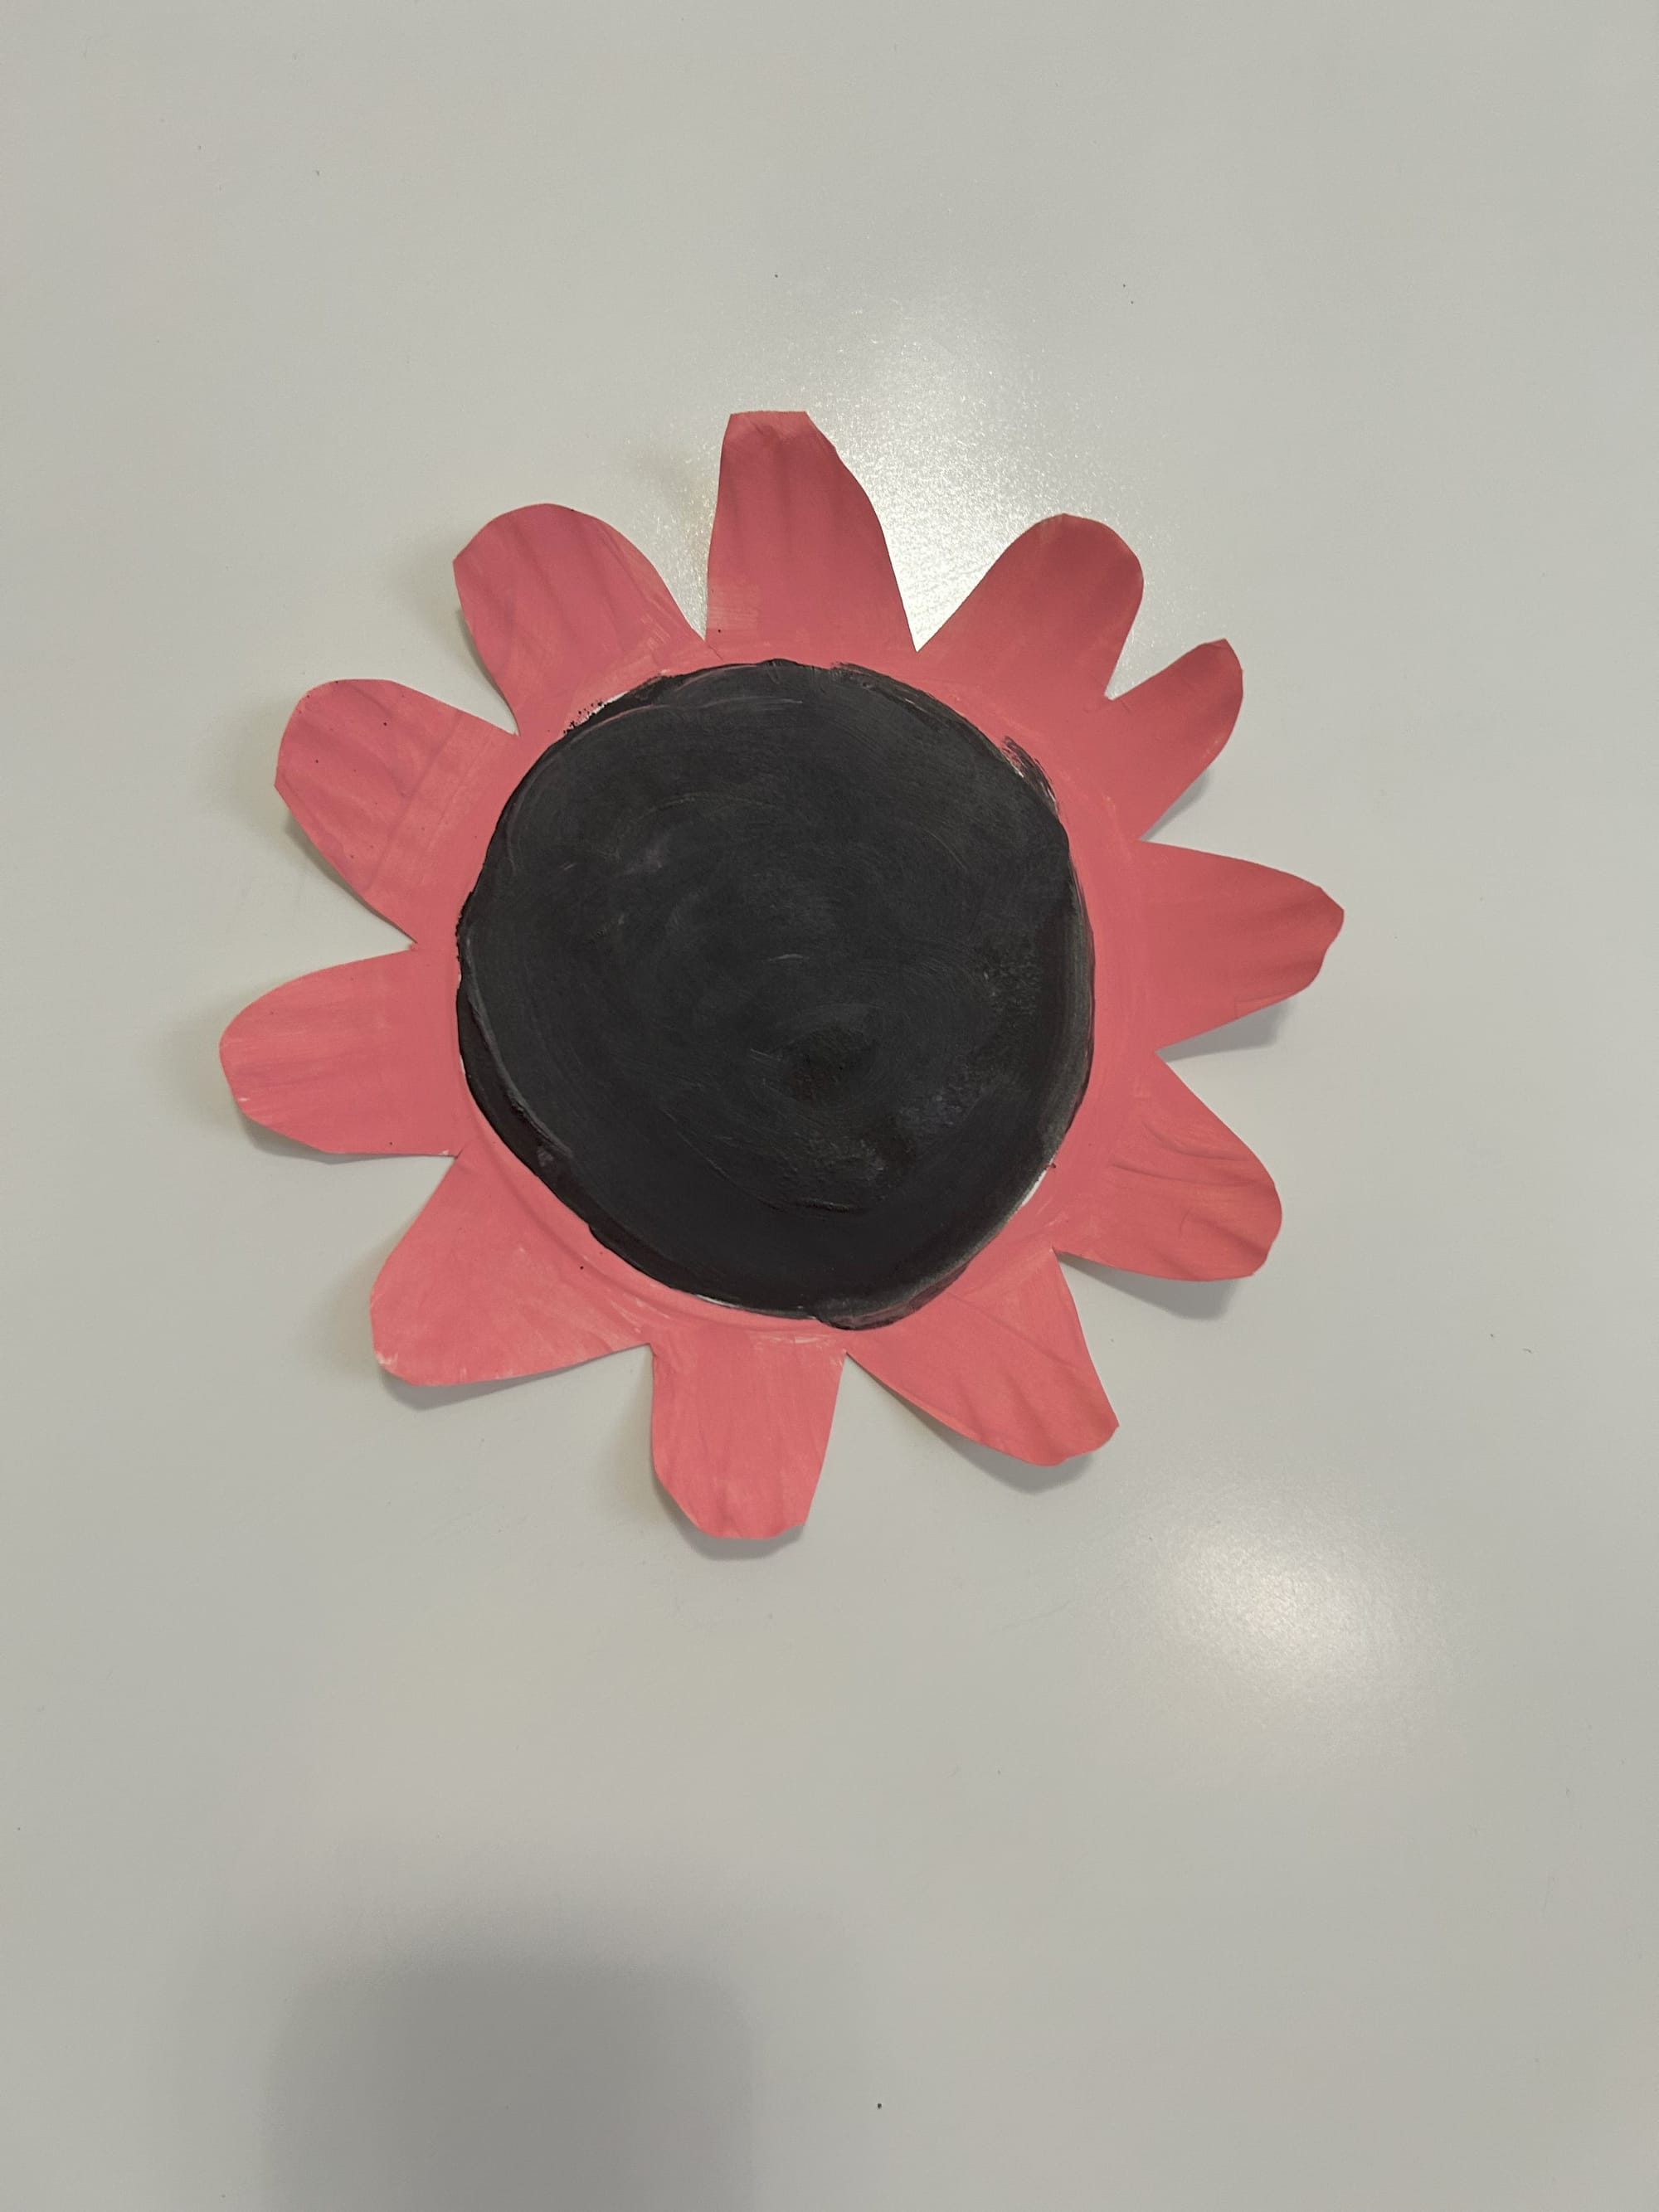
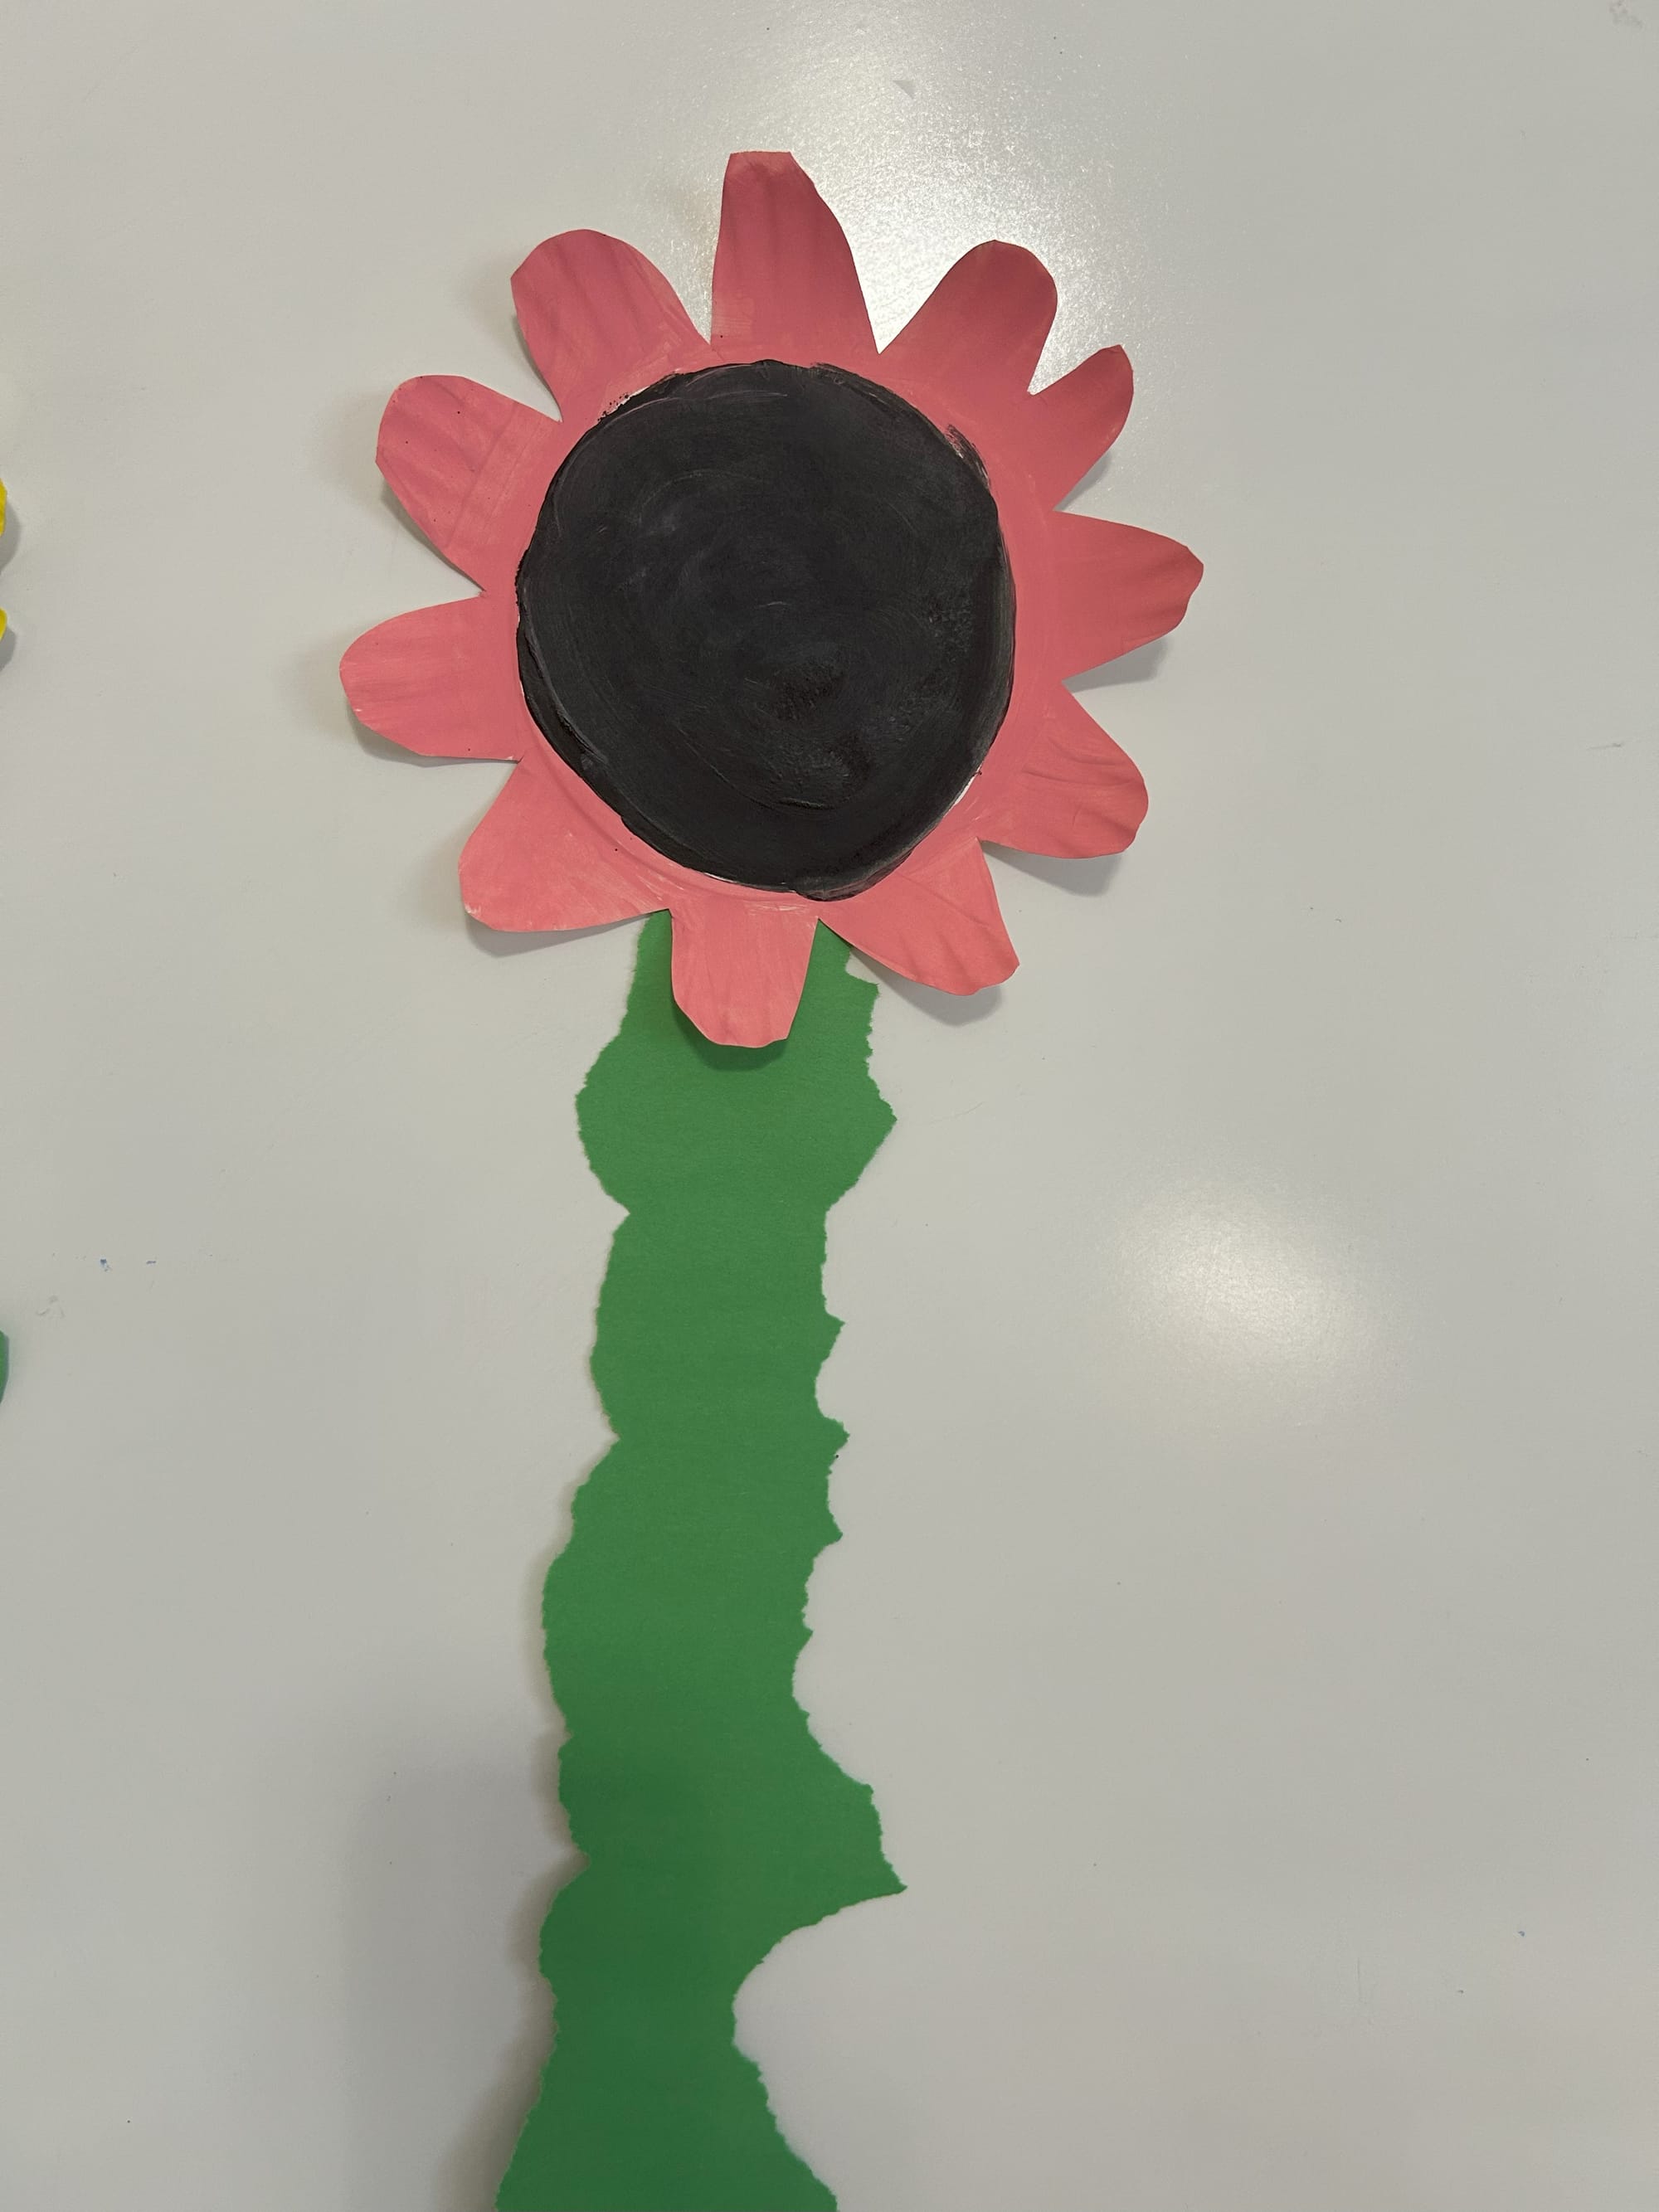
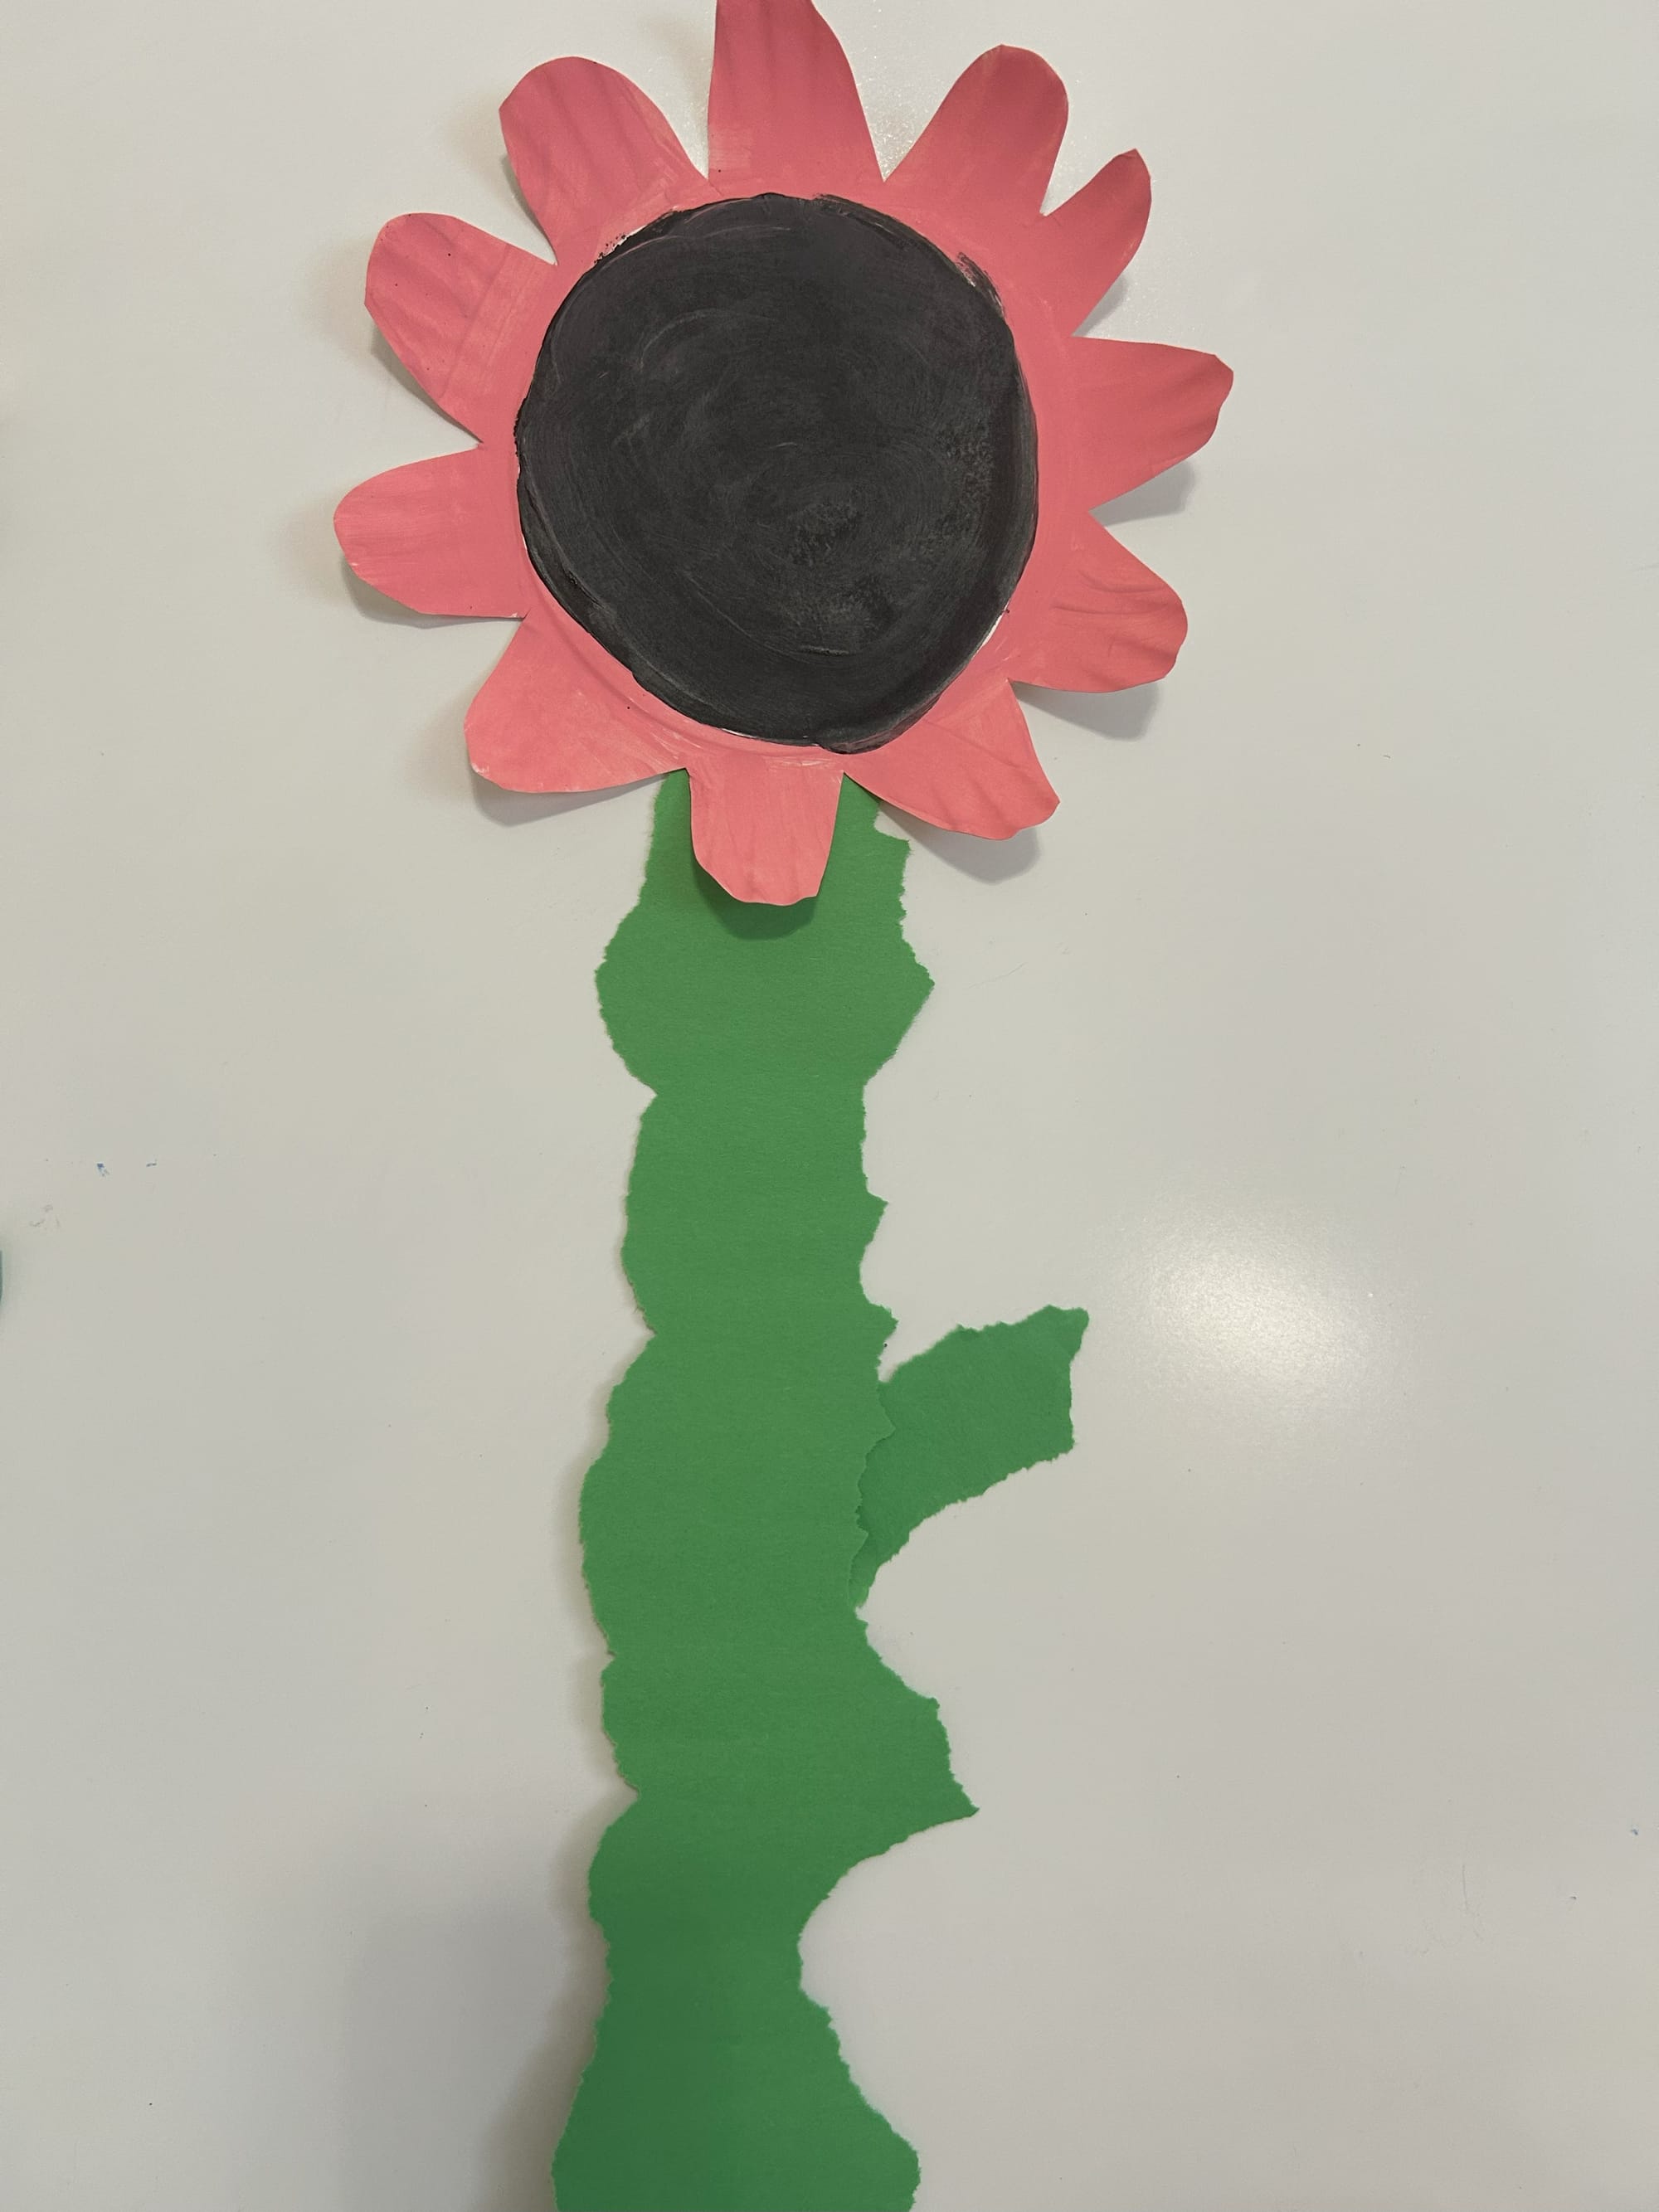
Next, allow your child to paint their flower. It would be a great idea to take your child out for a nature walk to explore different kinds of flowers. They can see the shapes and colors of real flowers. After, the may decide to paint a real flower or make their own flower.
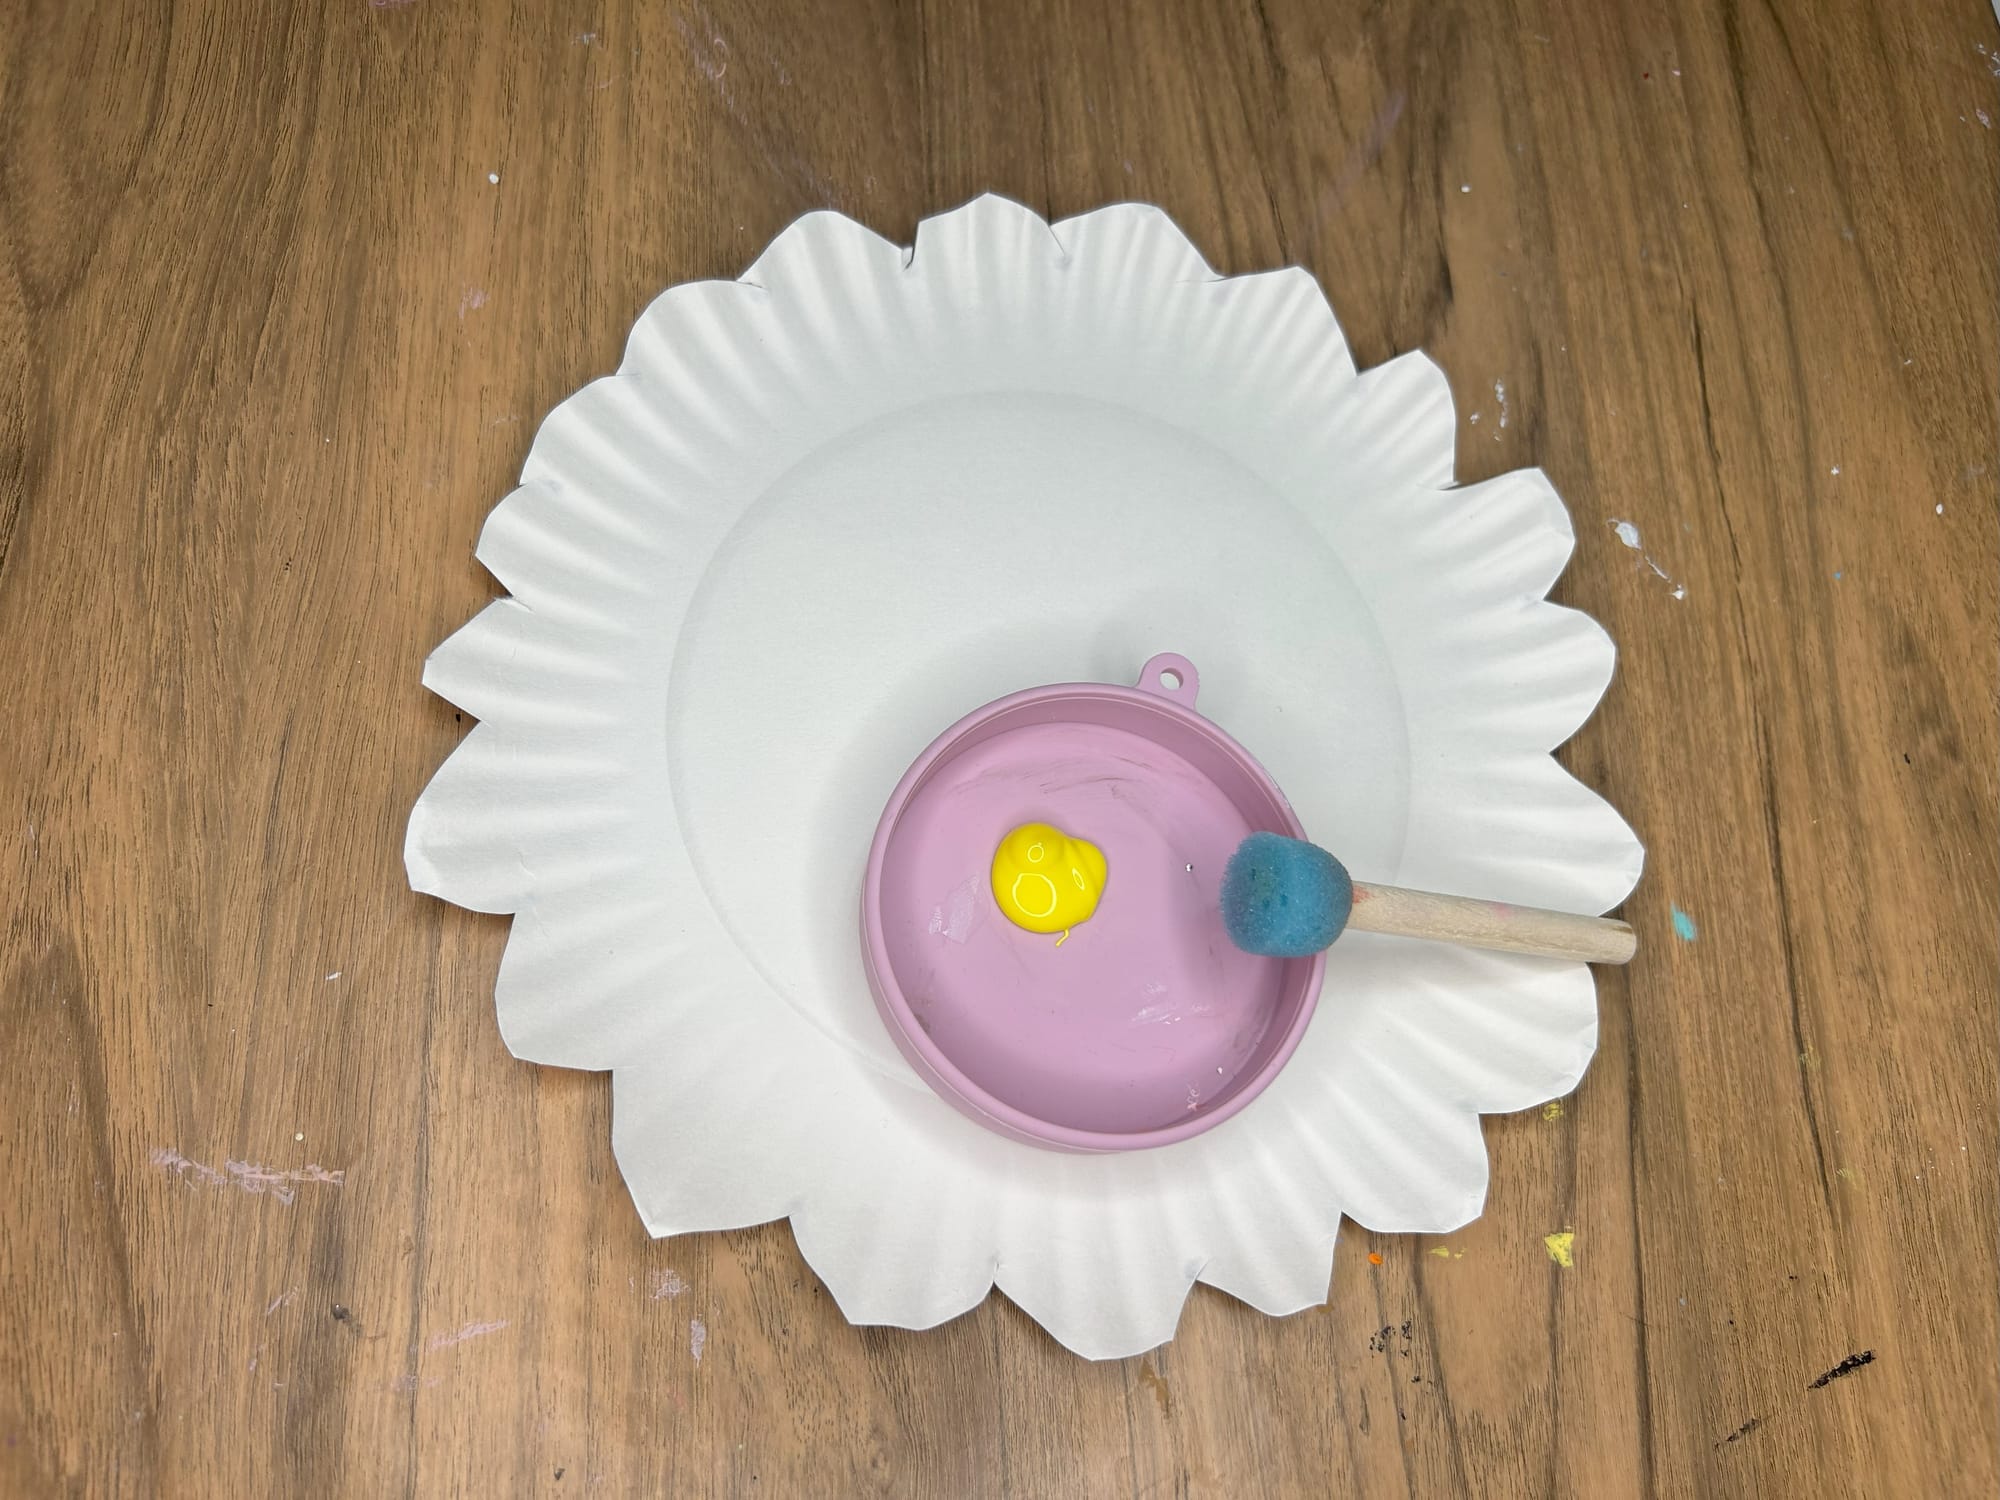
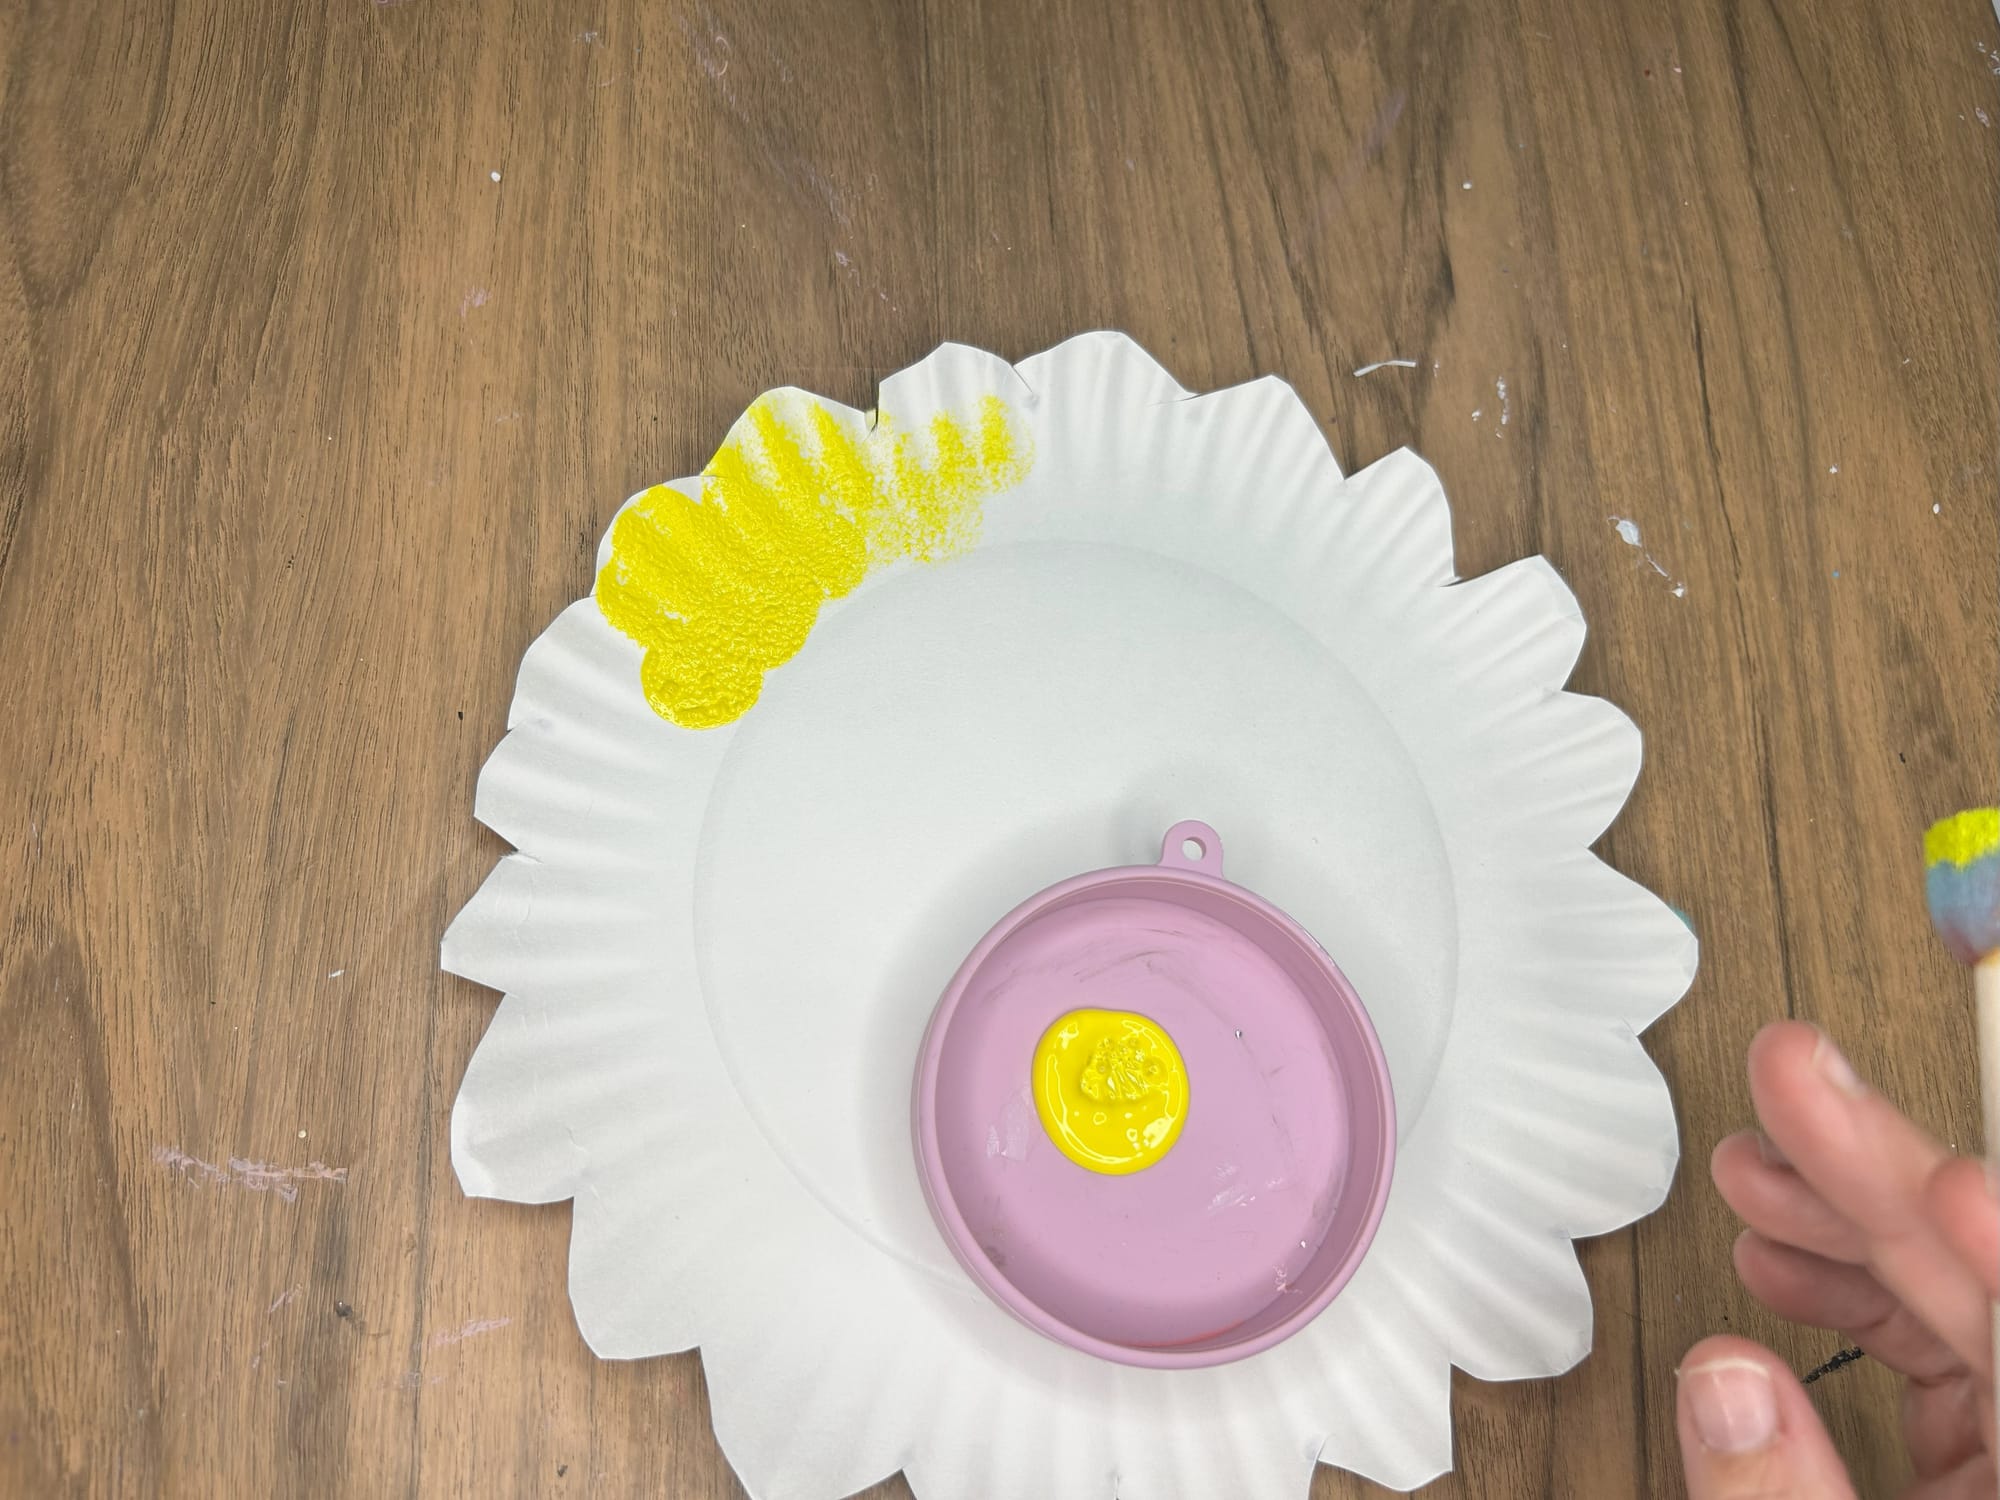
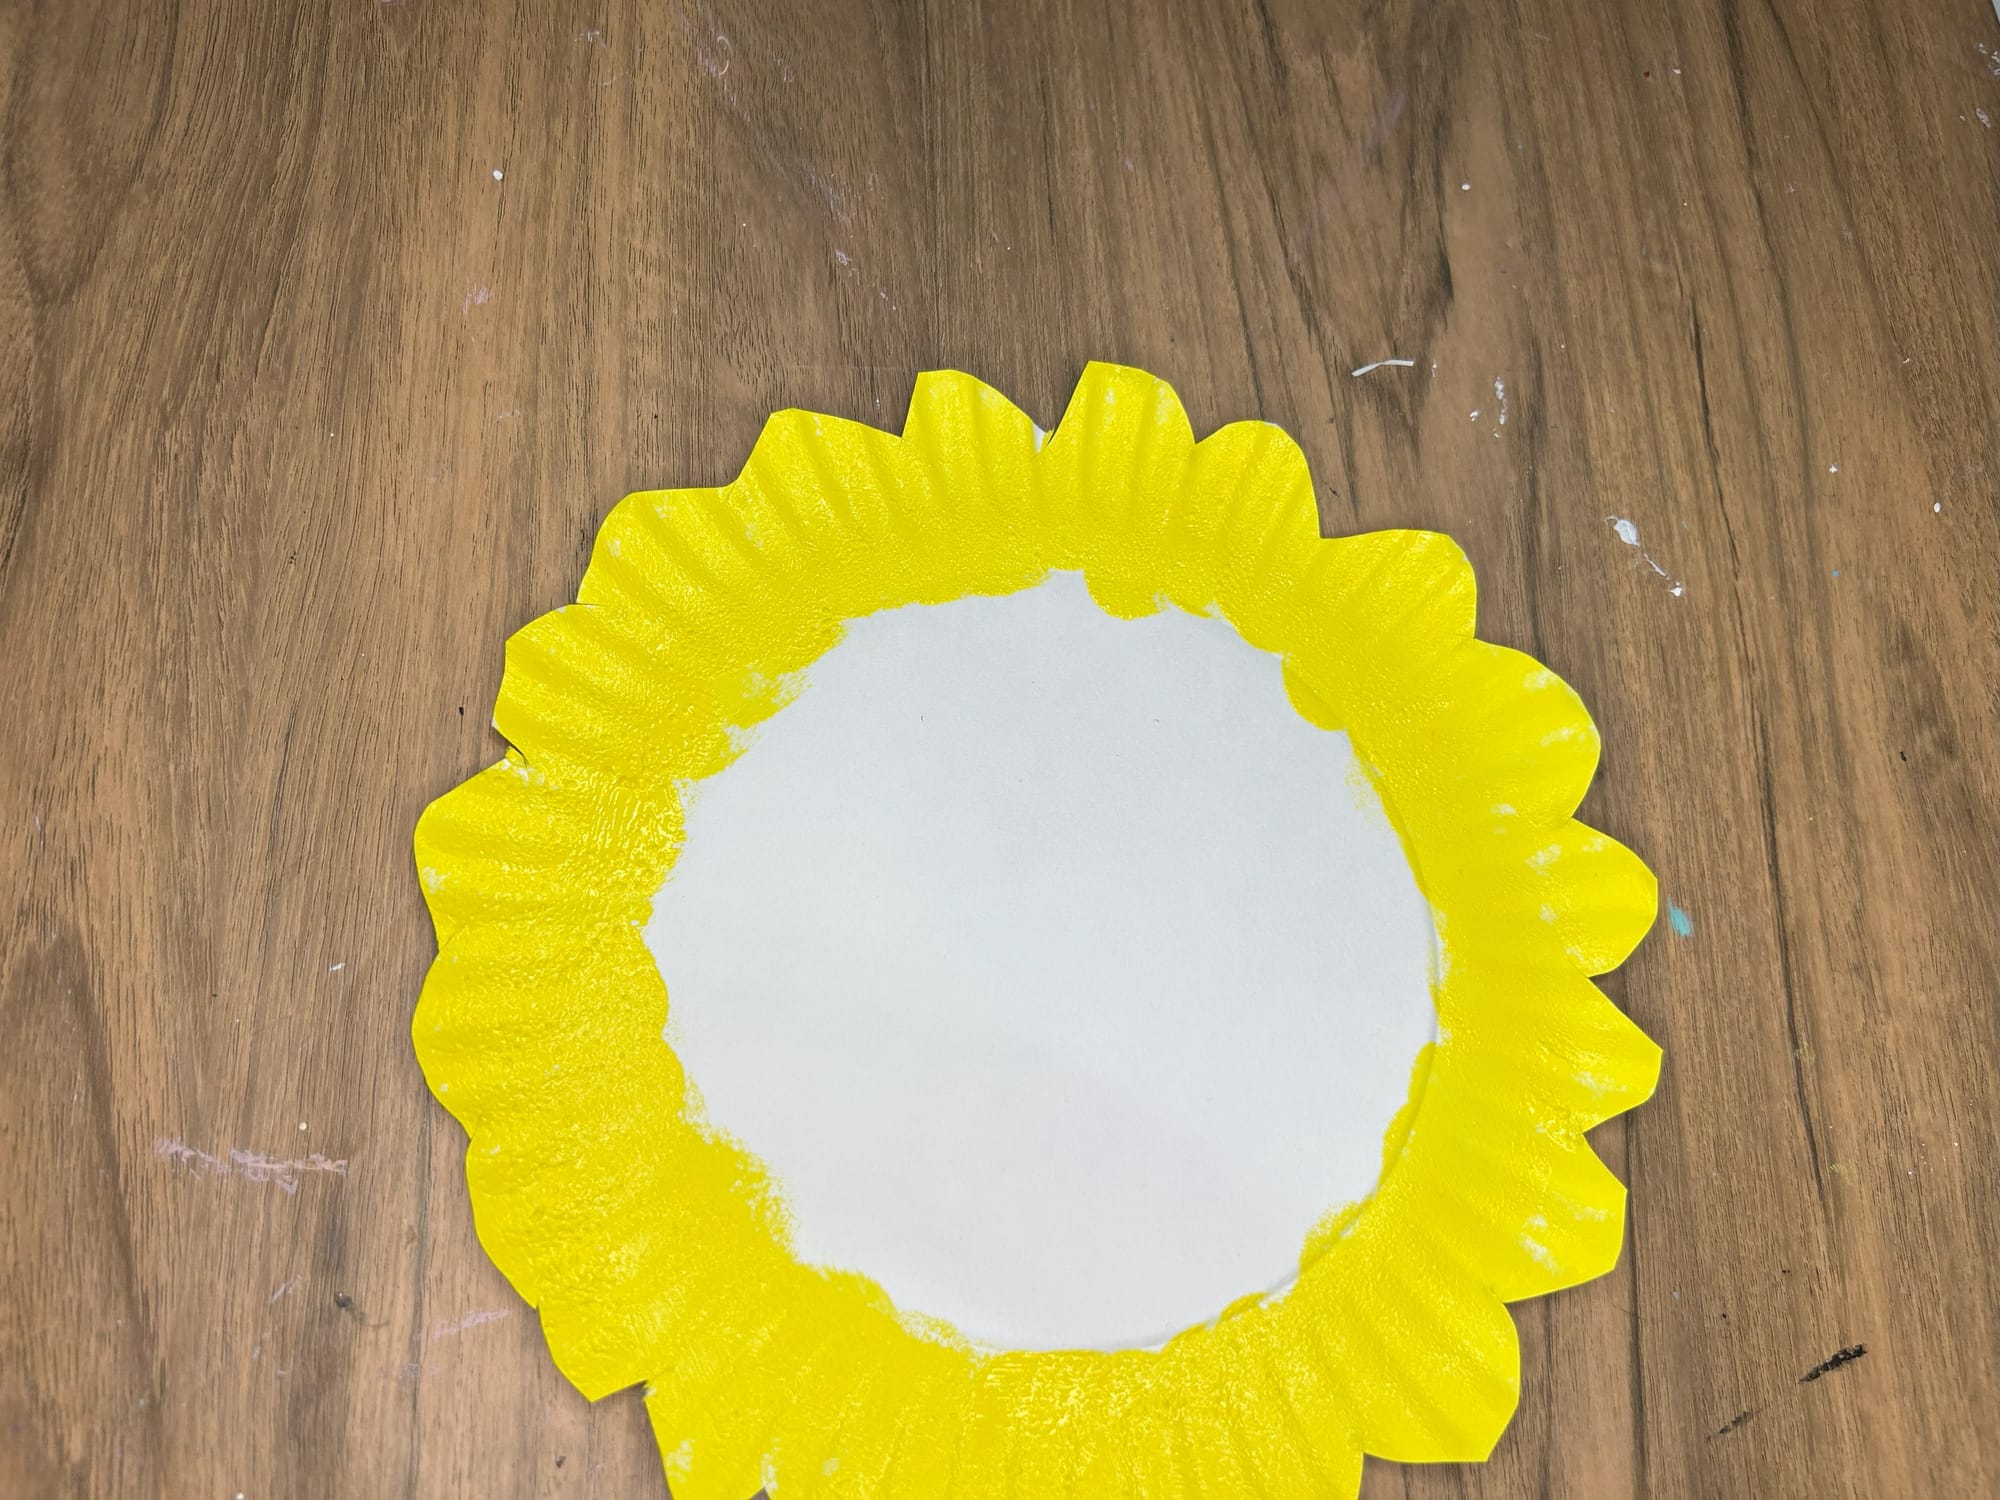
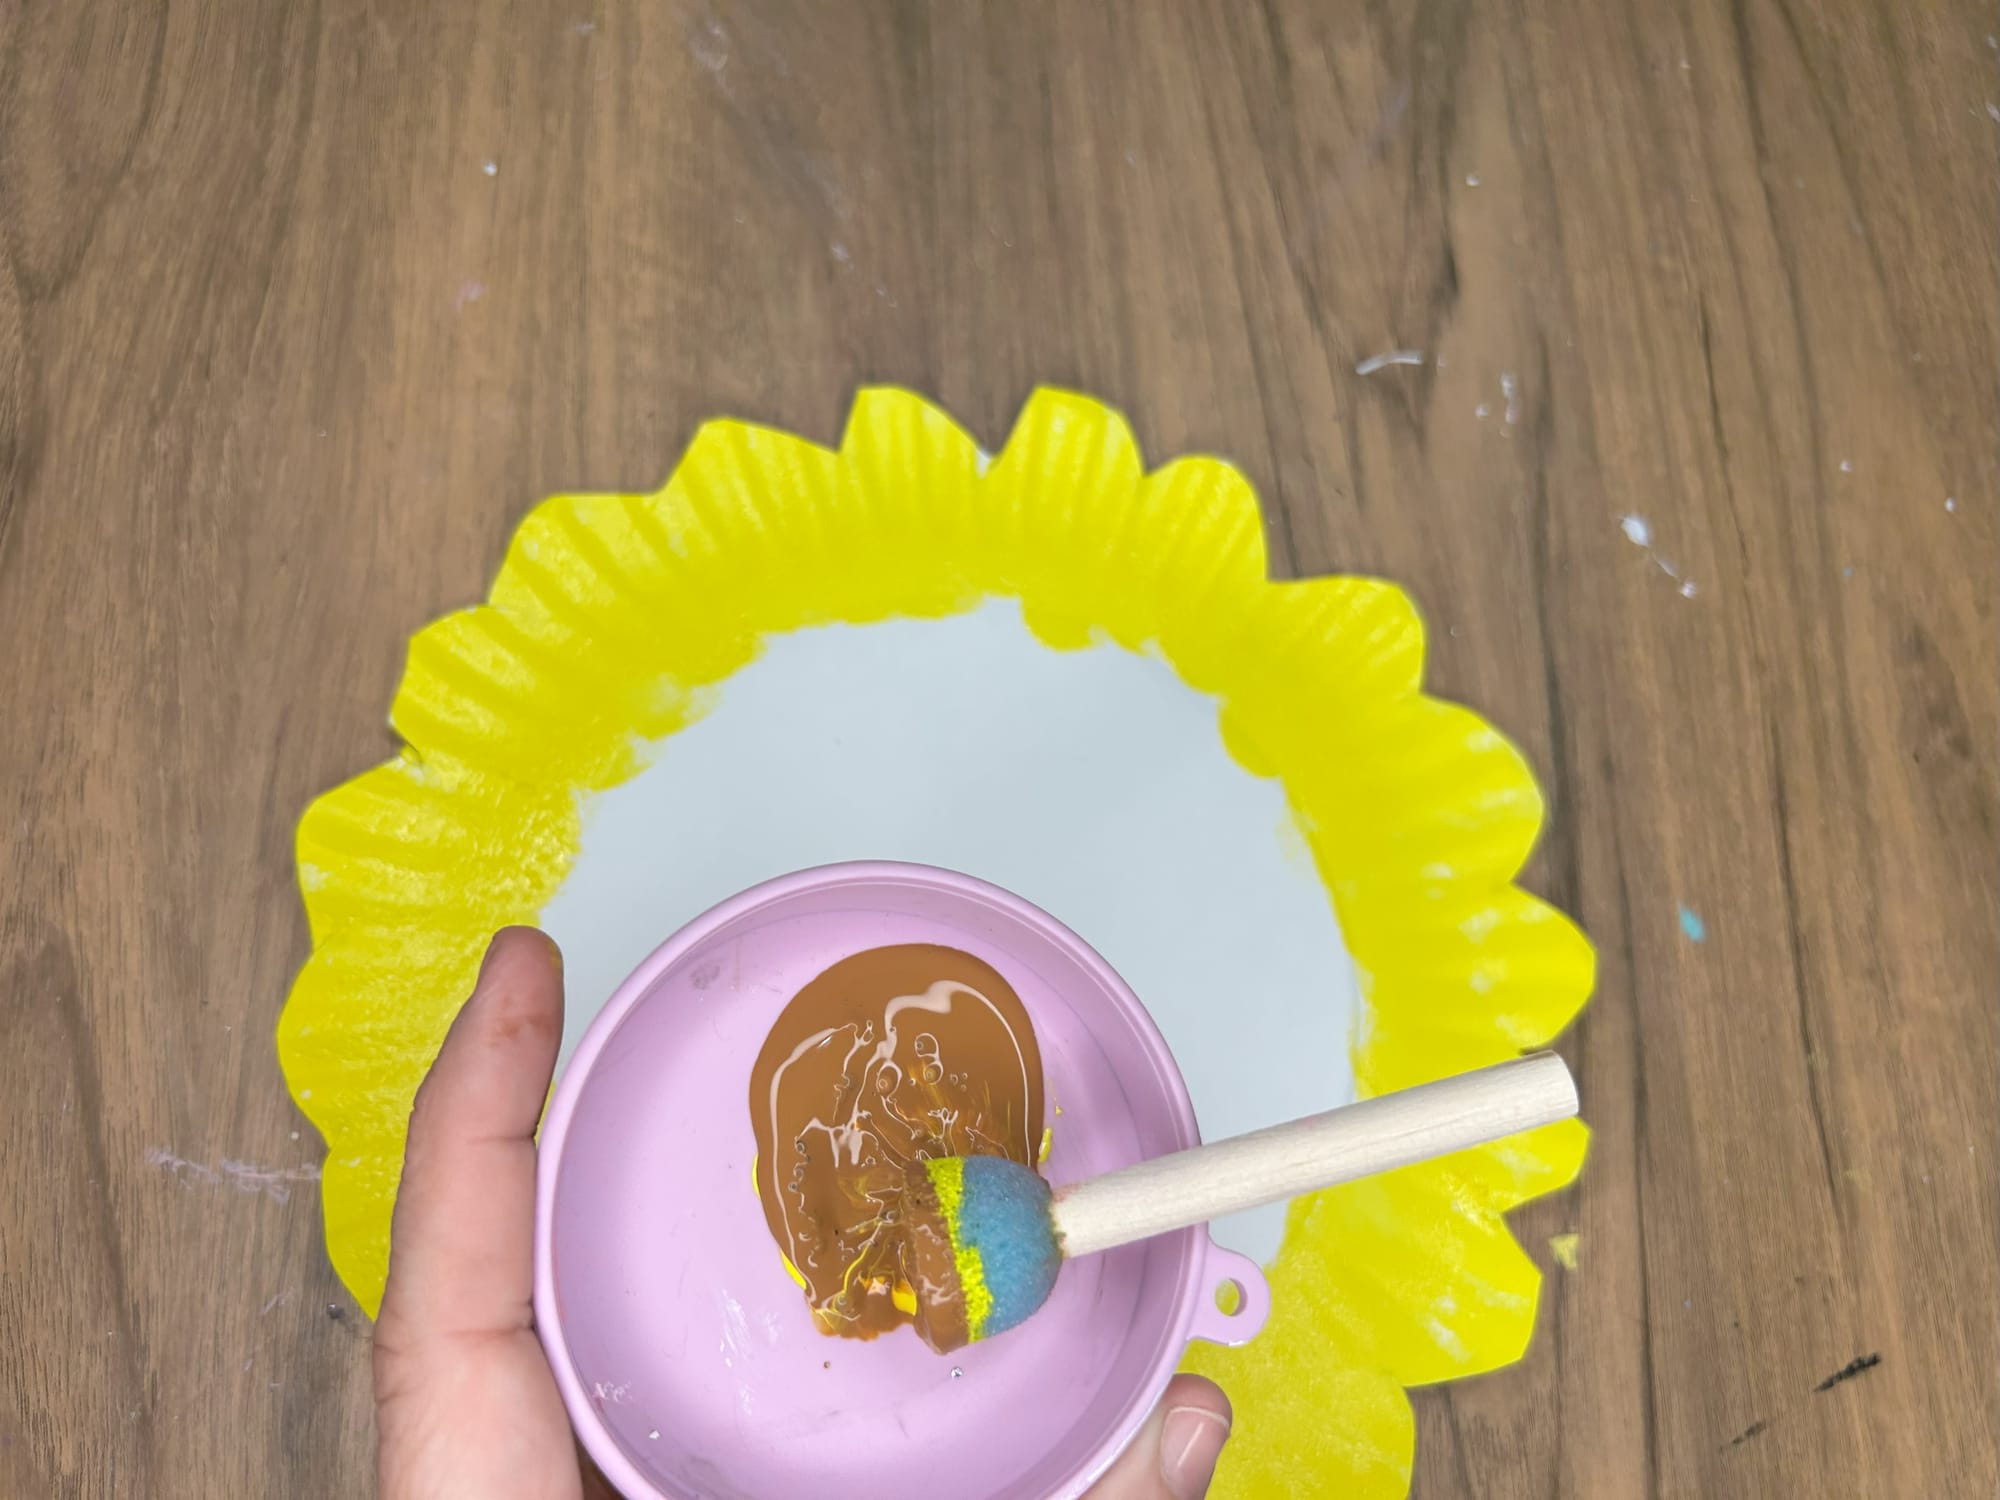
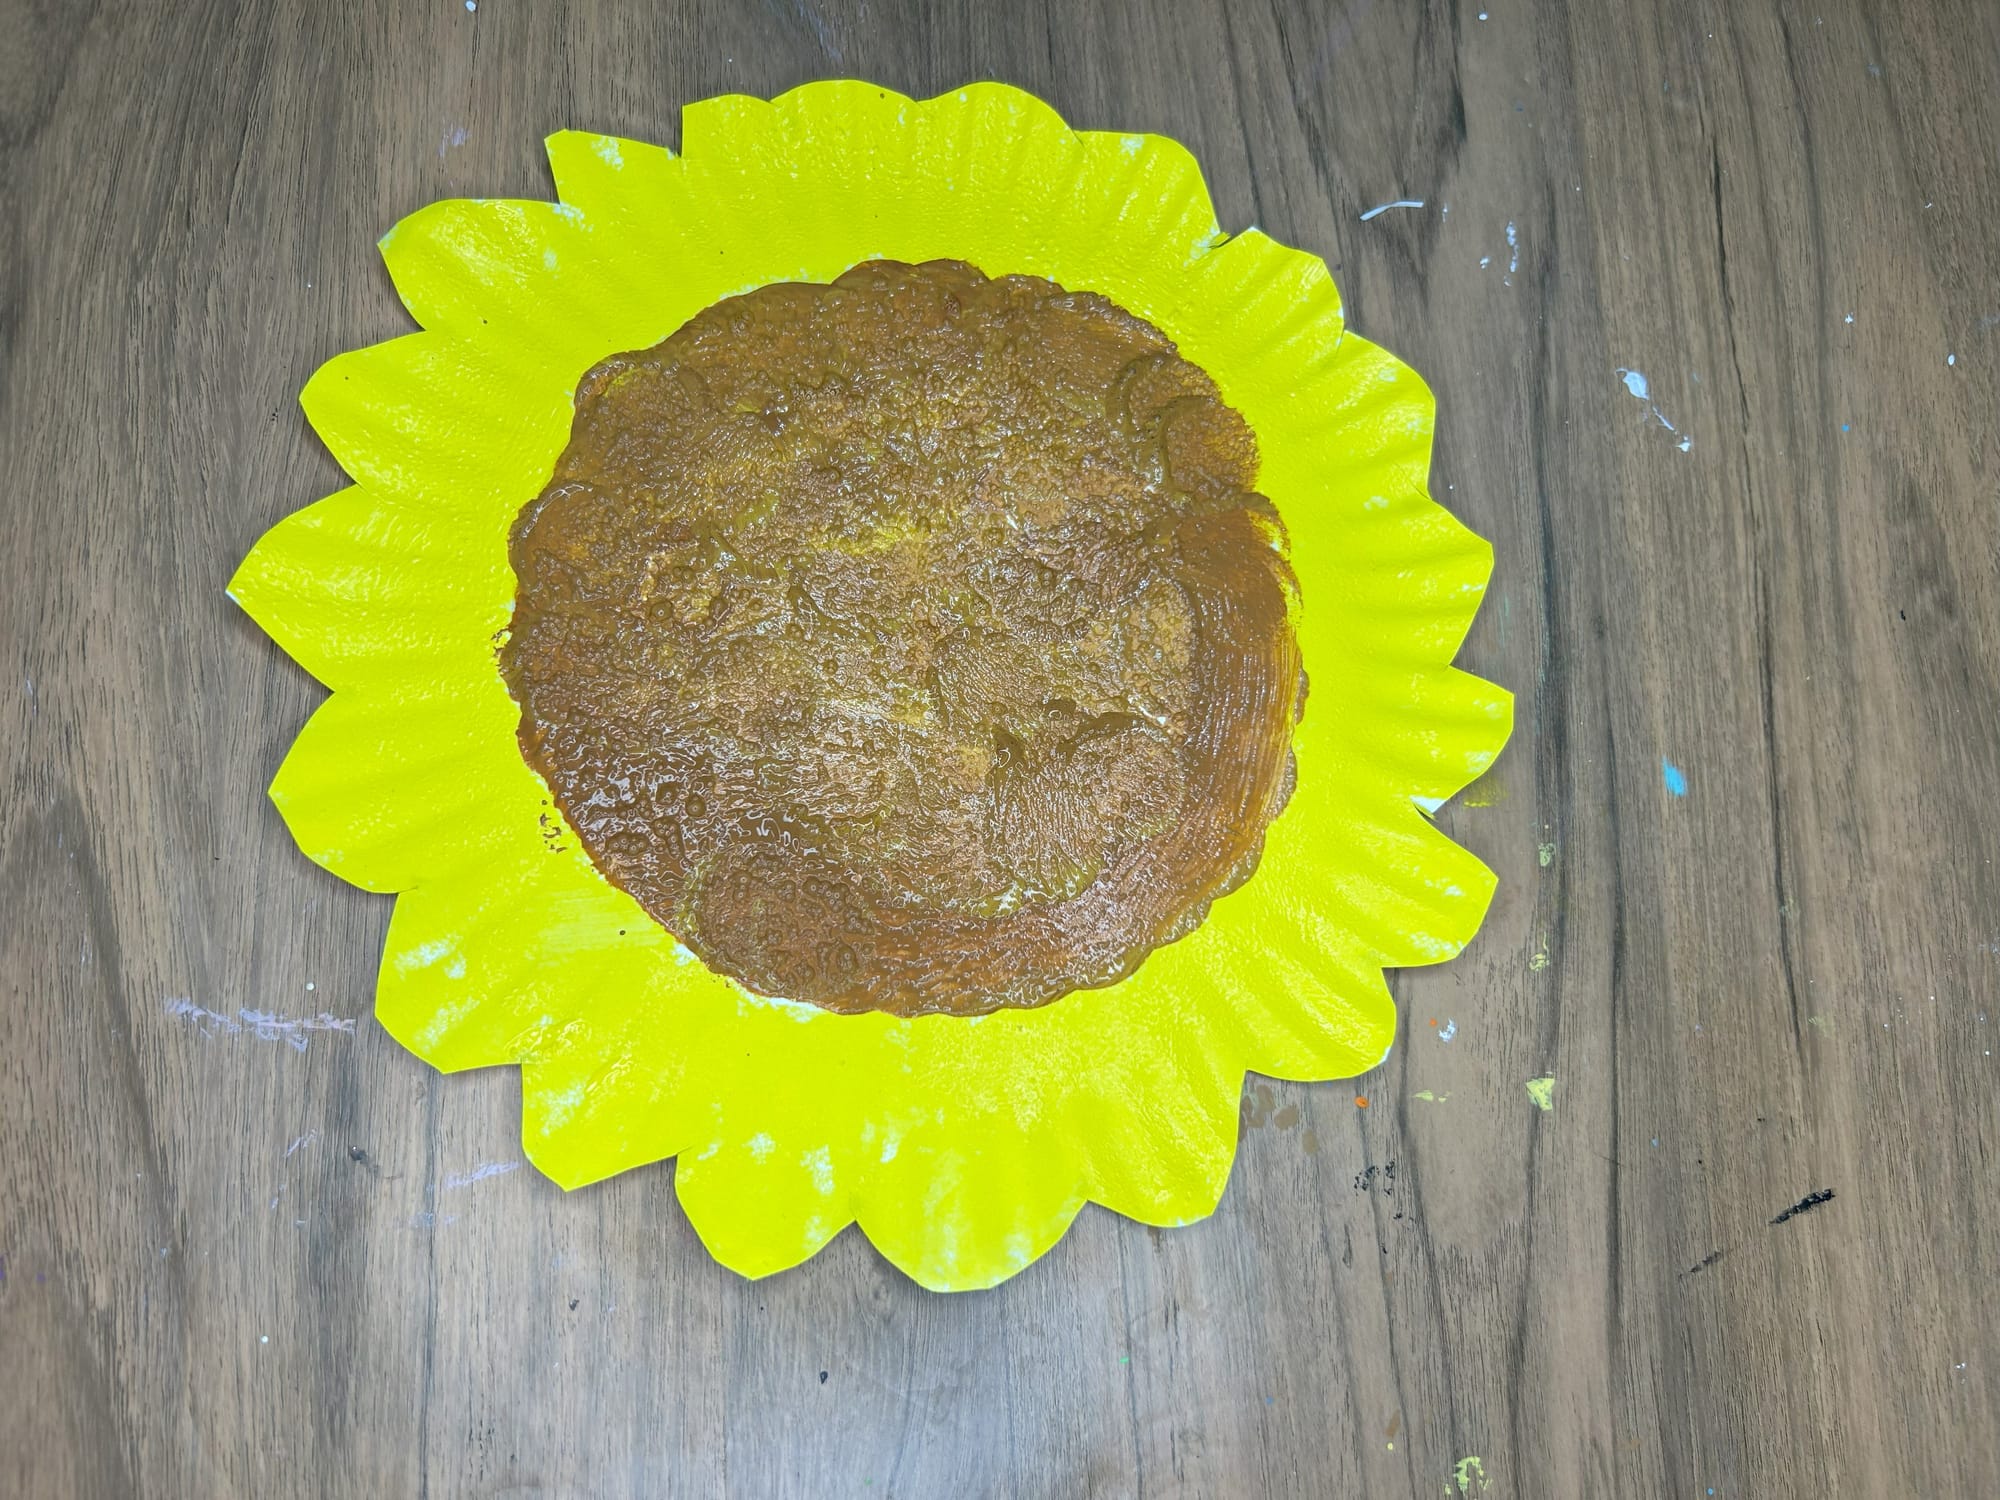
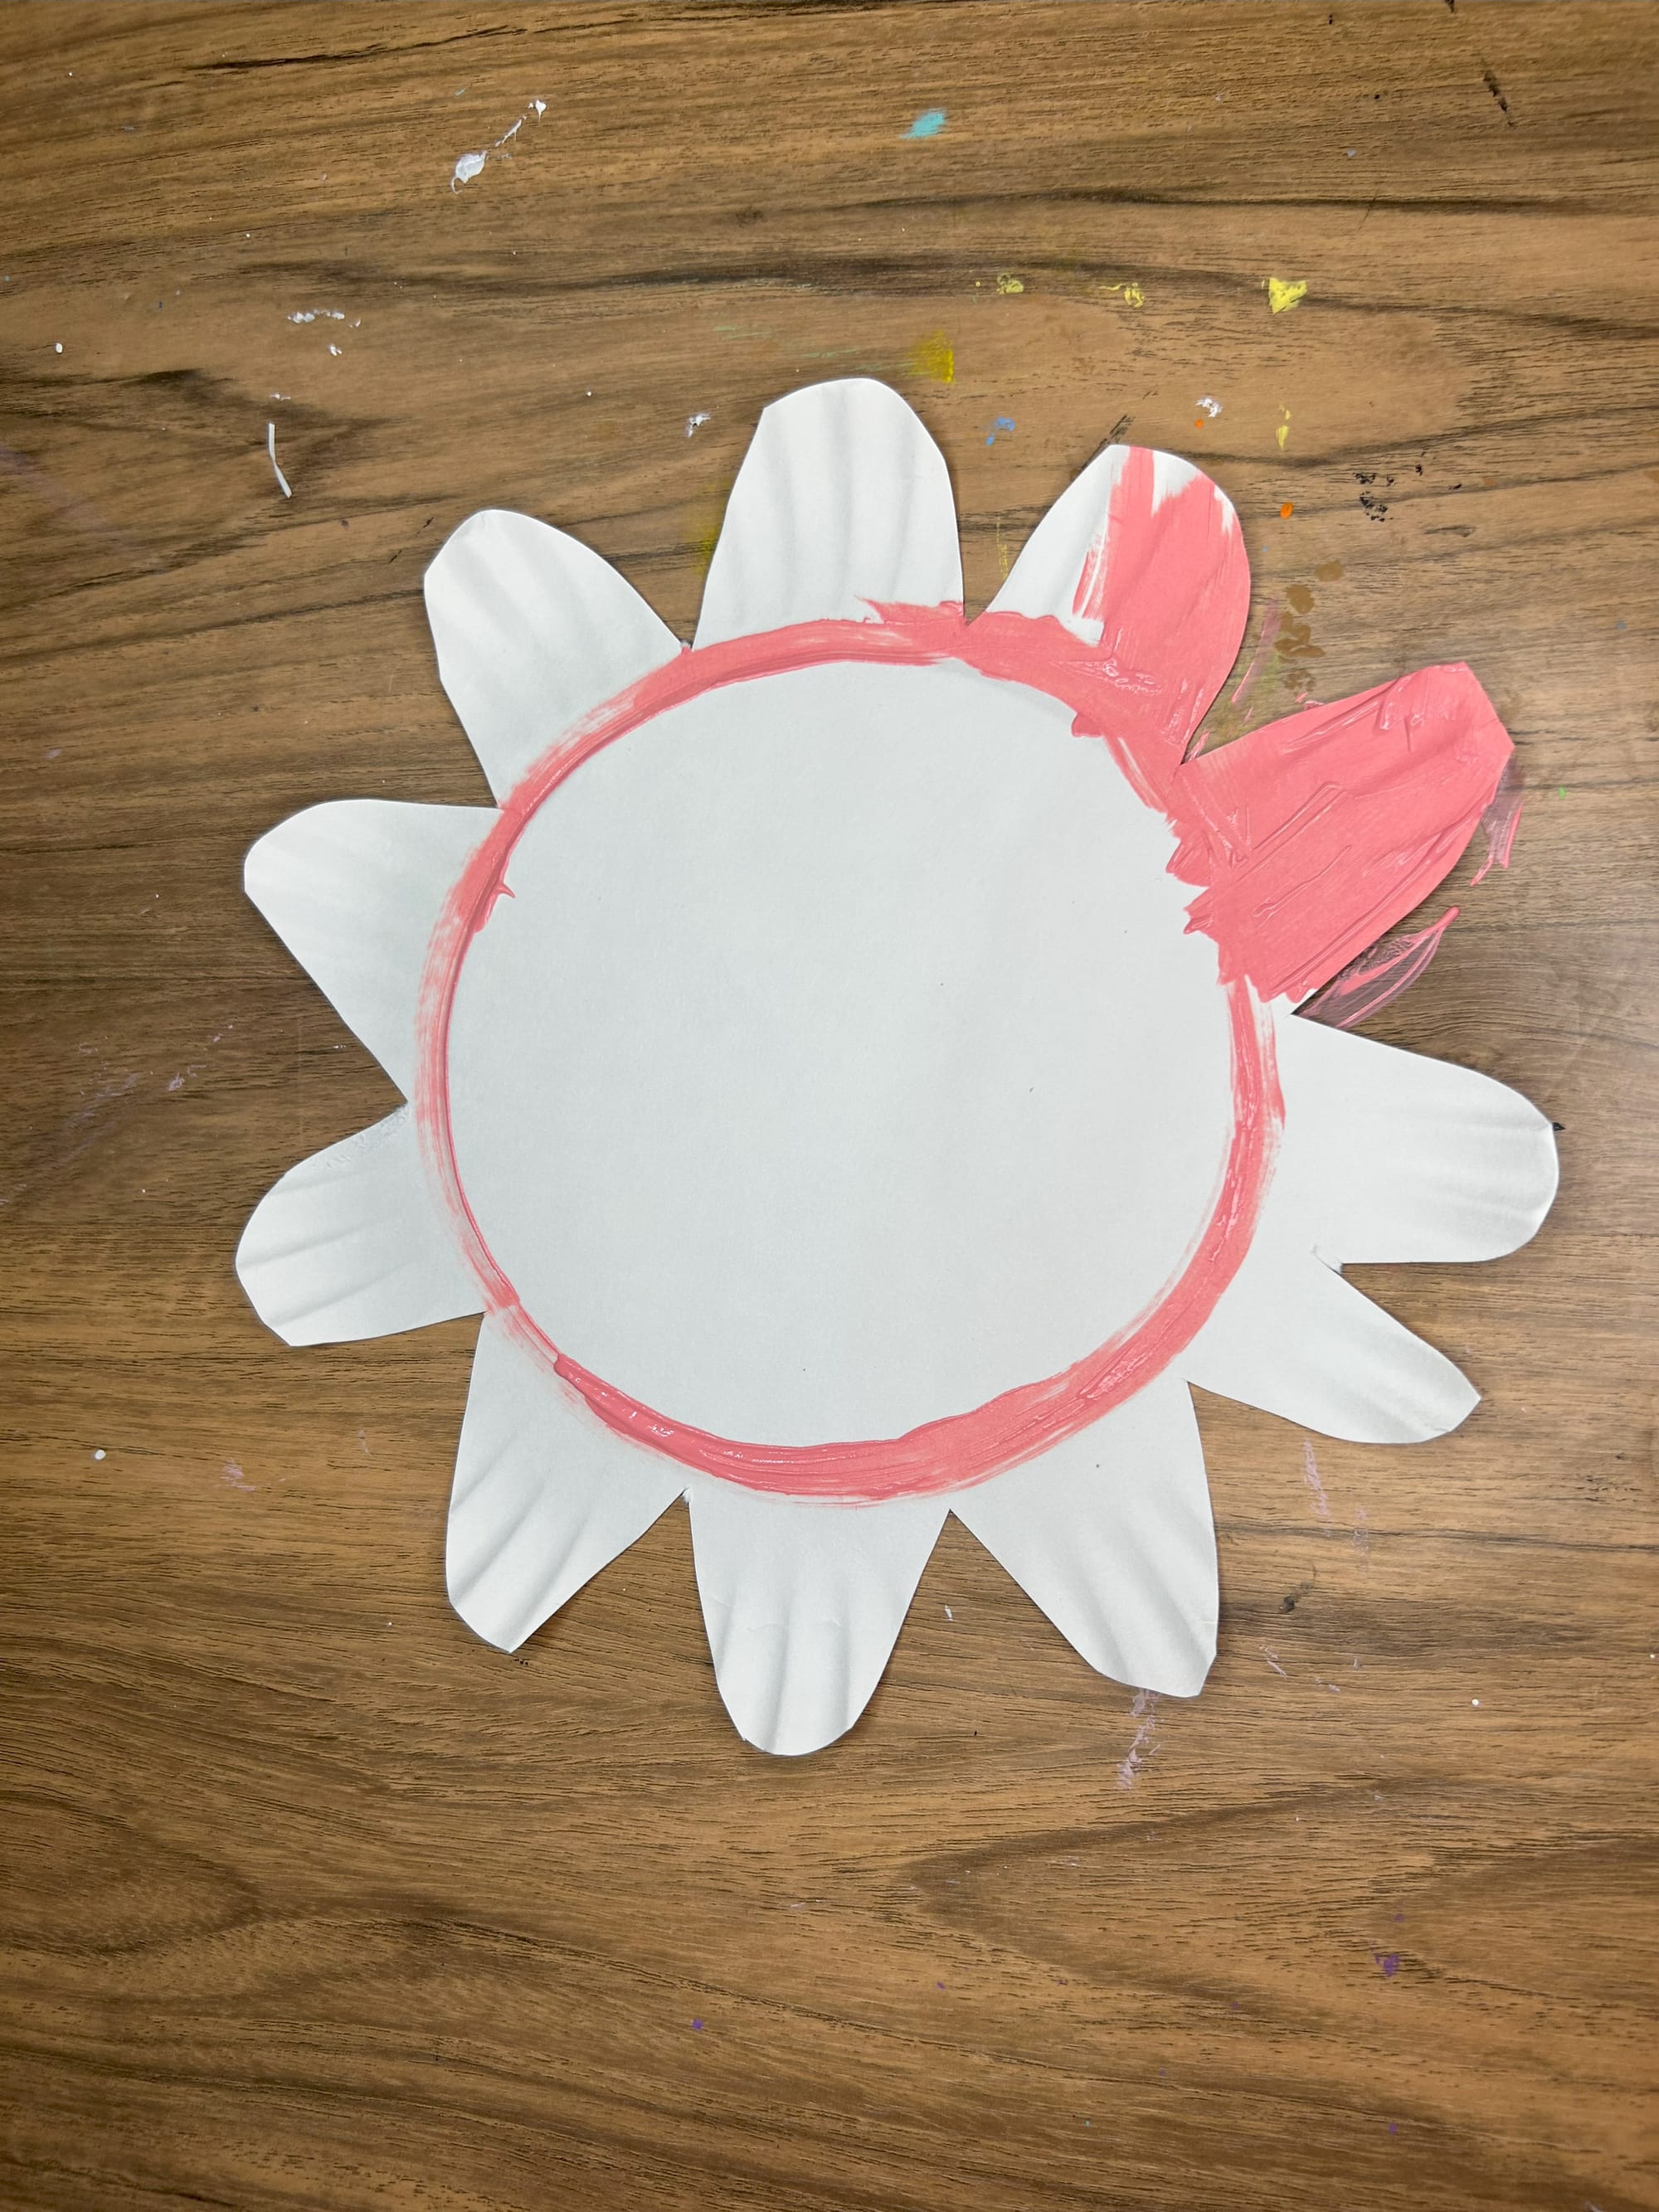
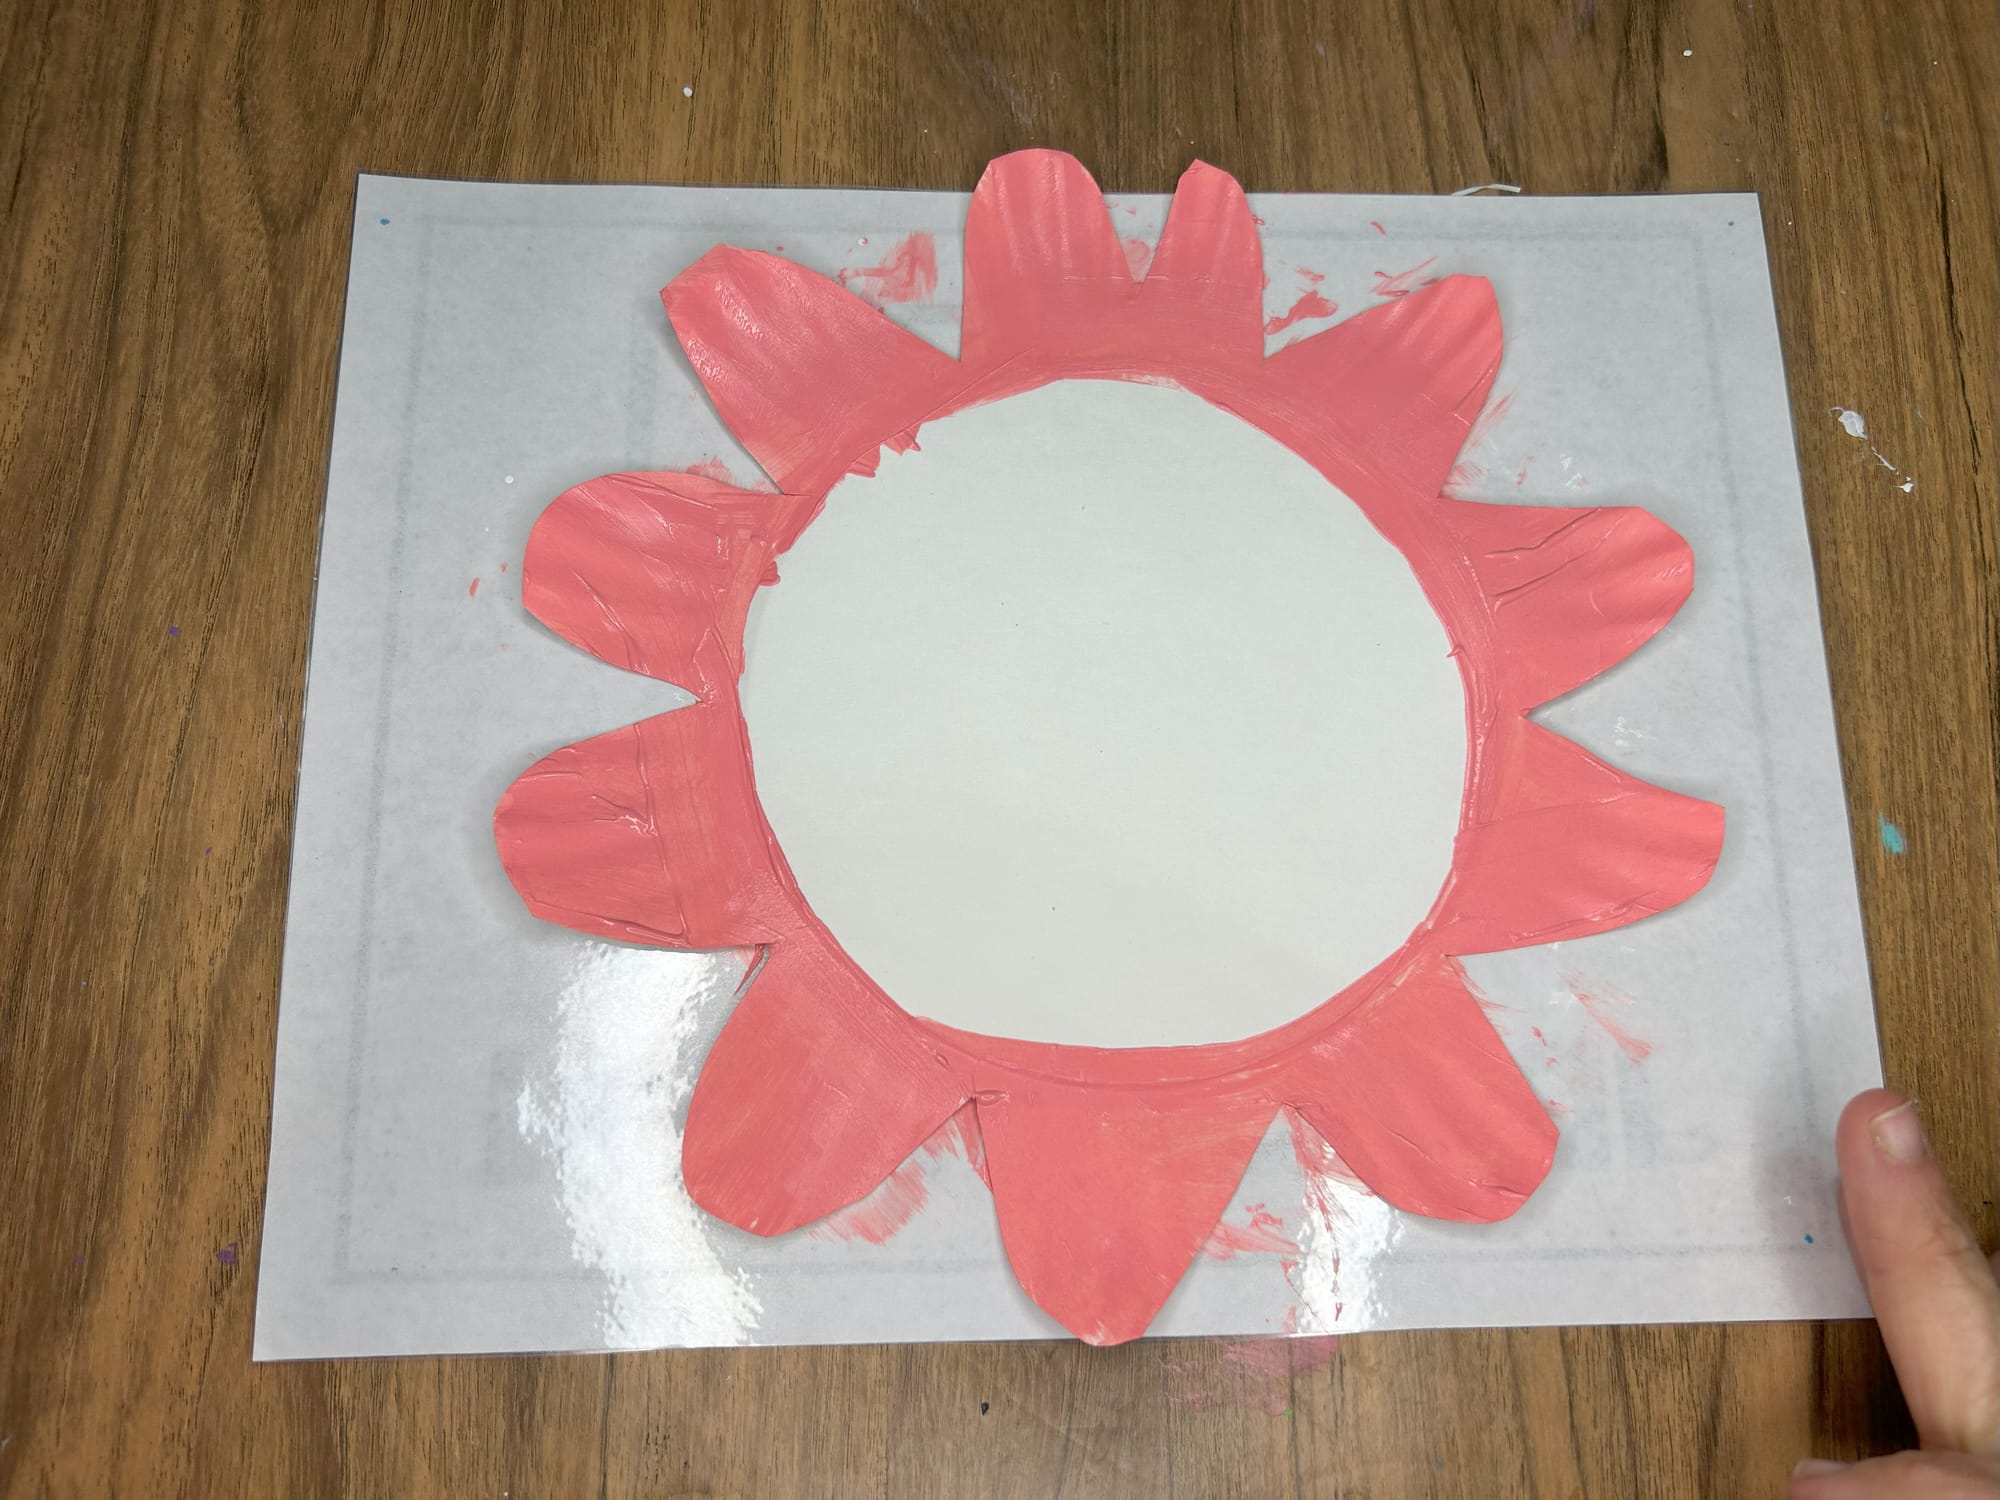
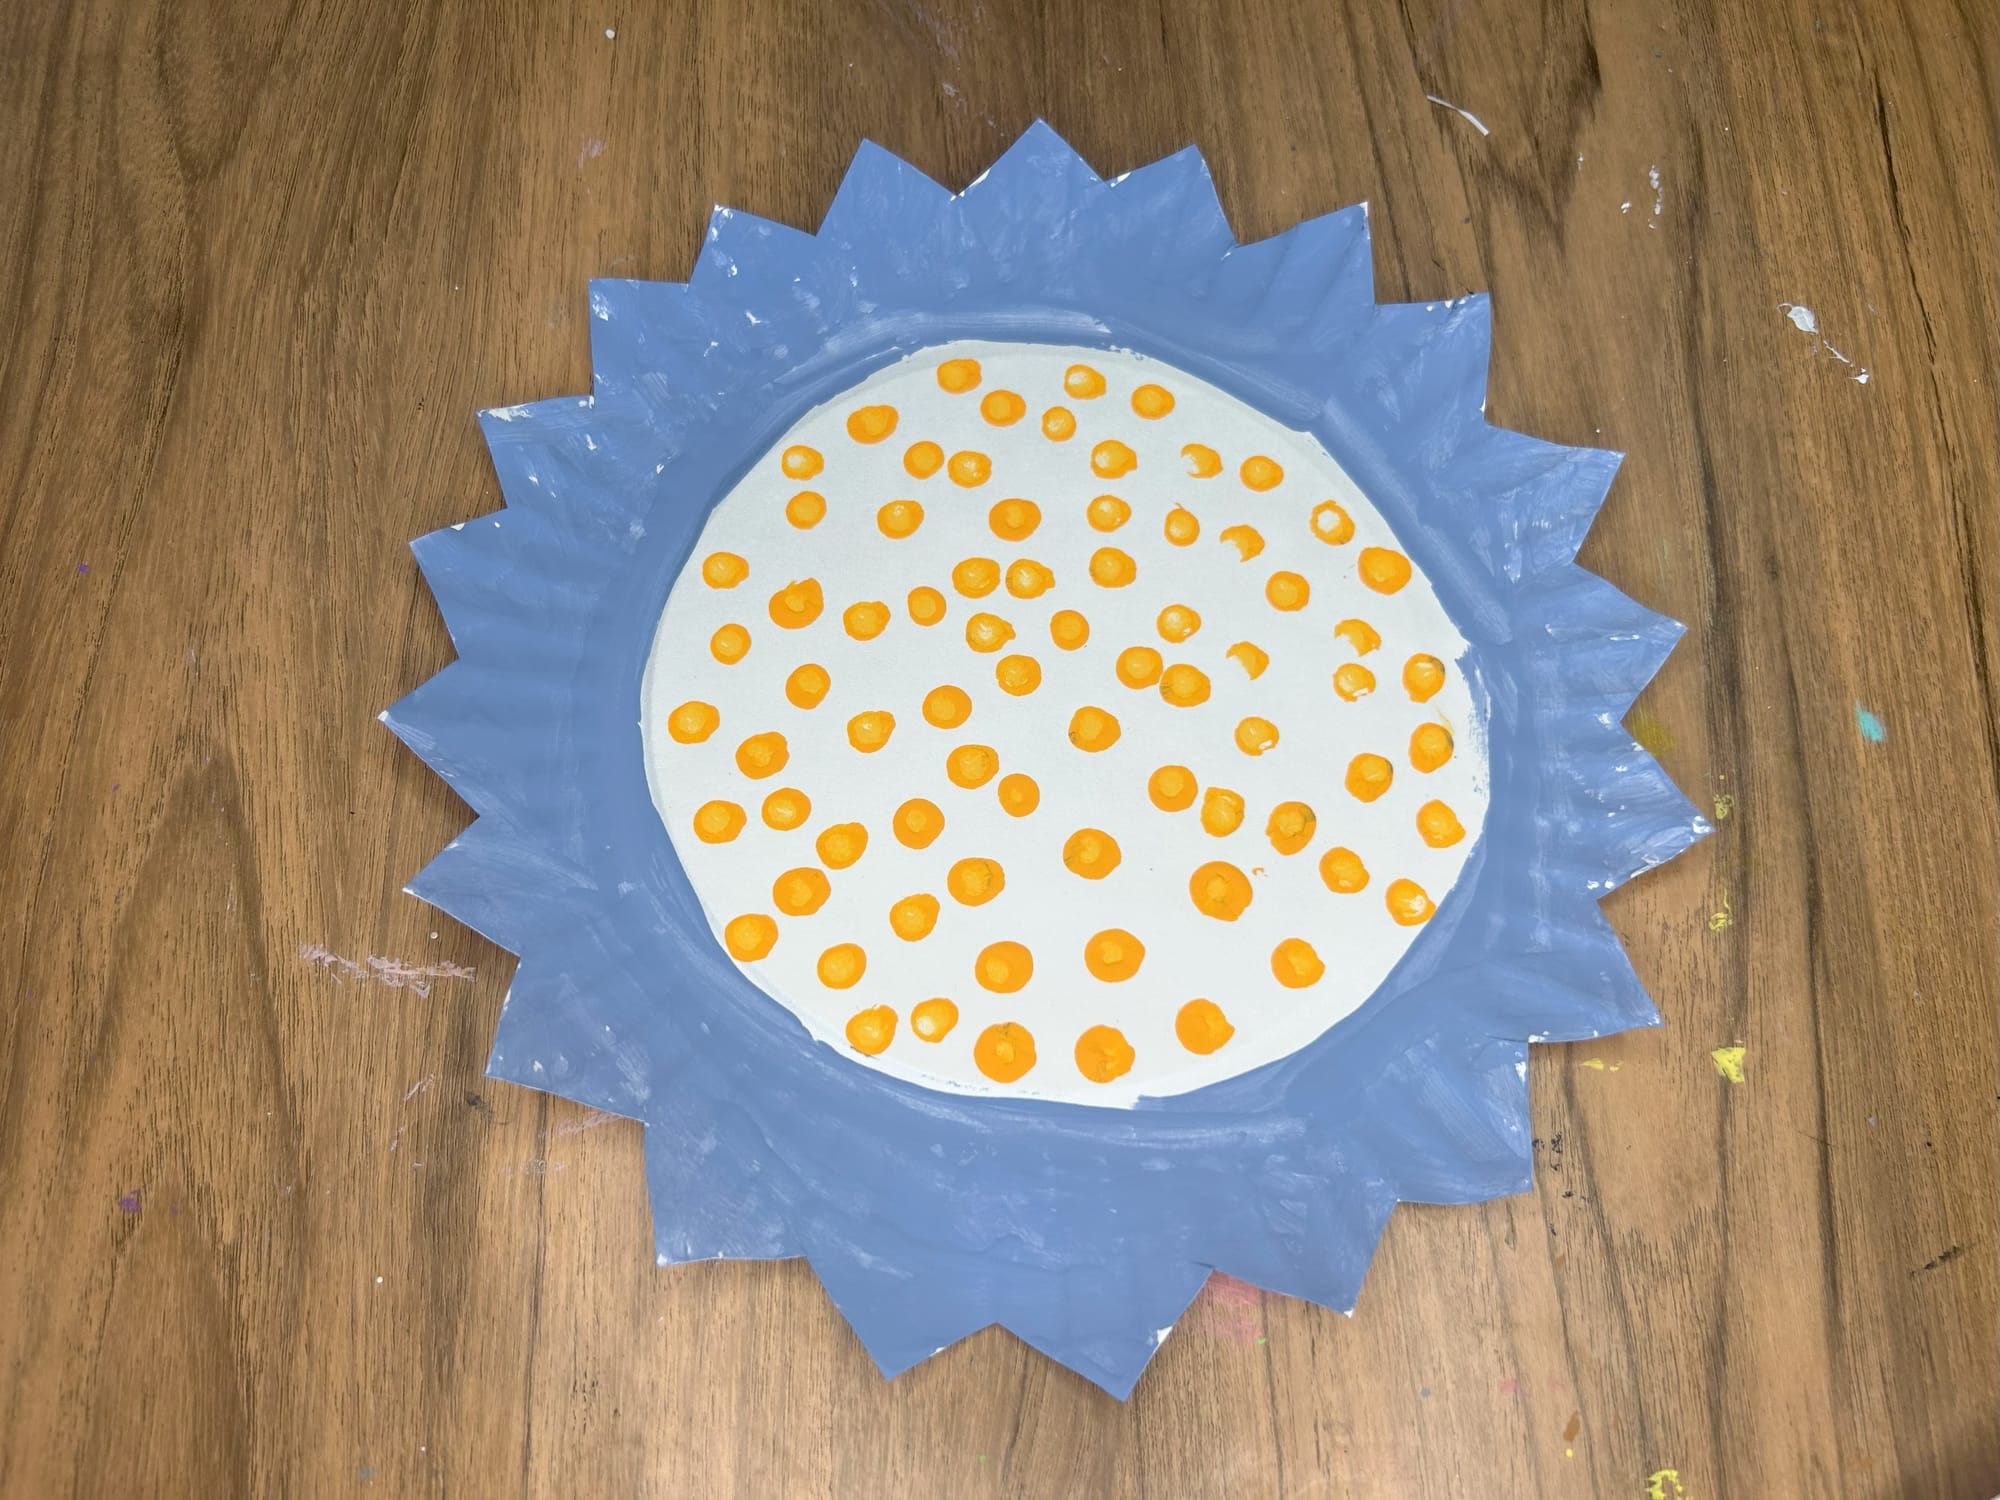
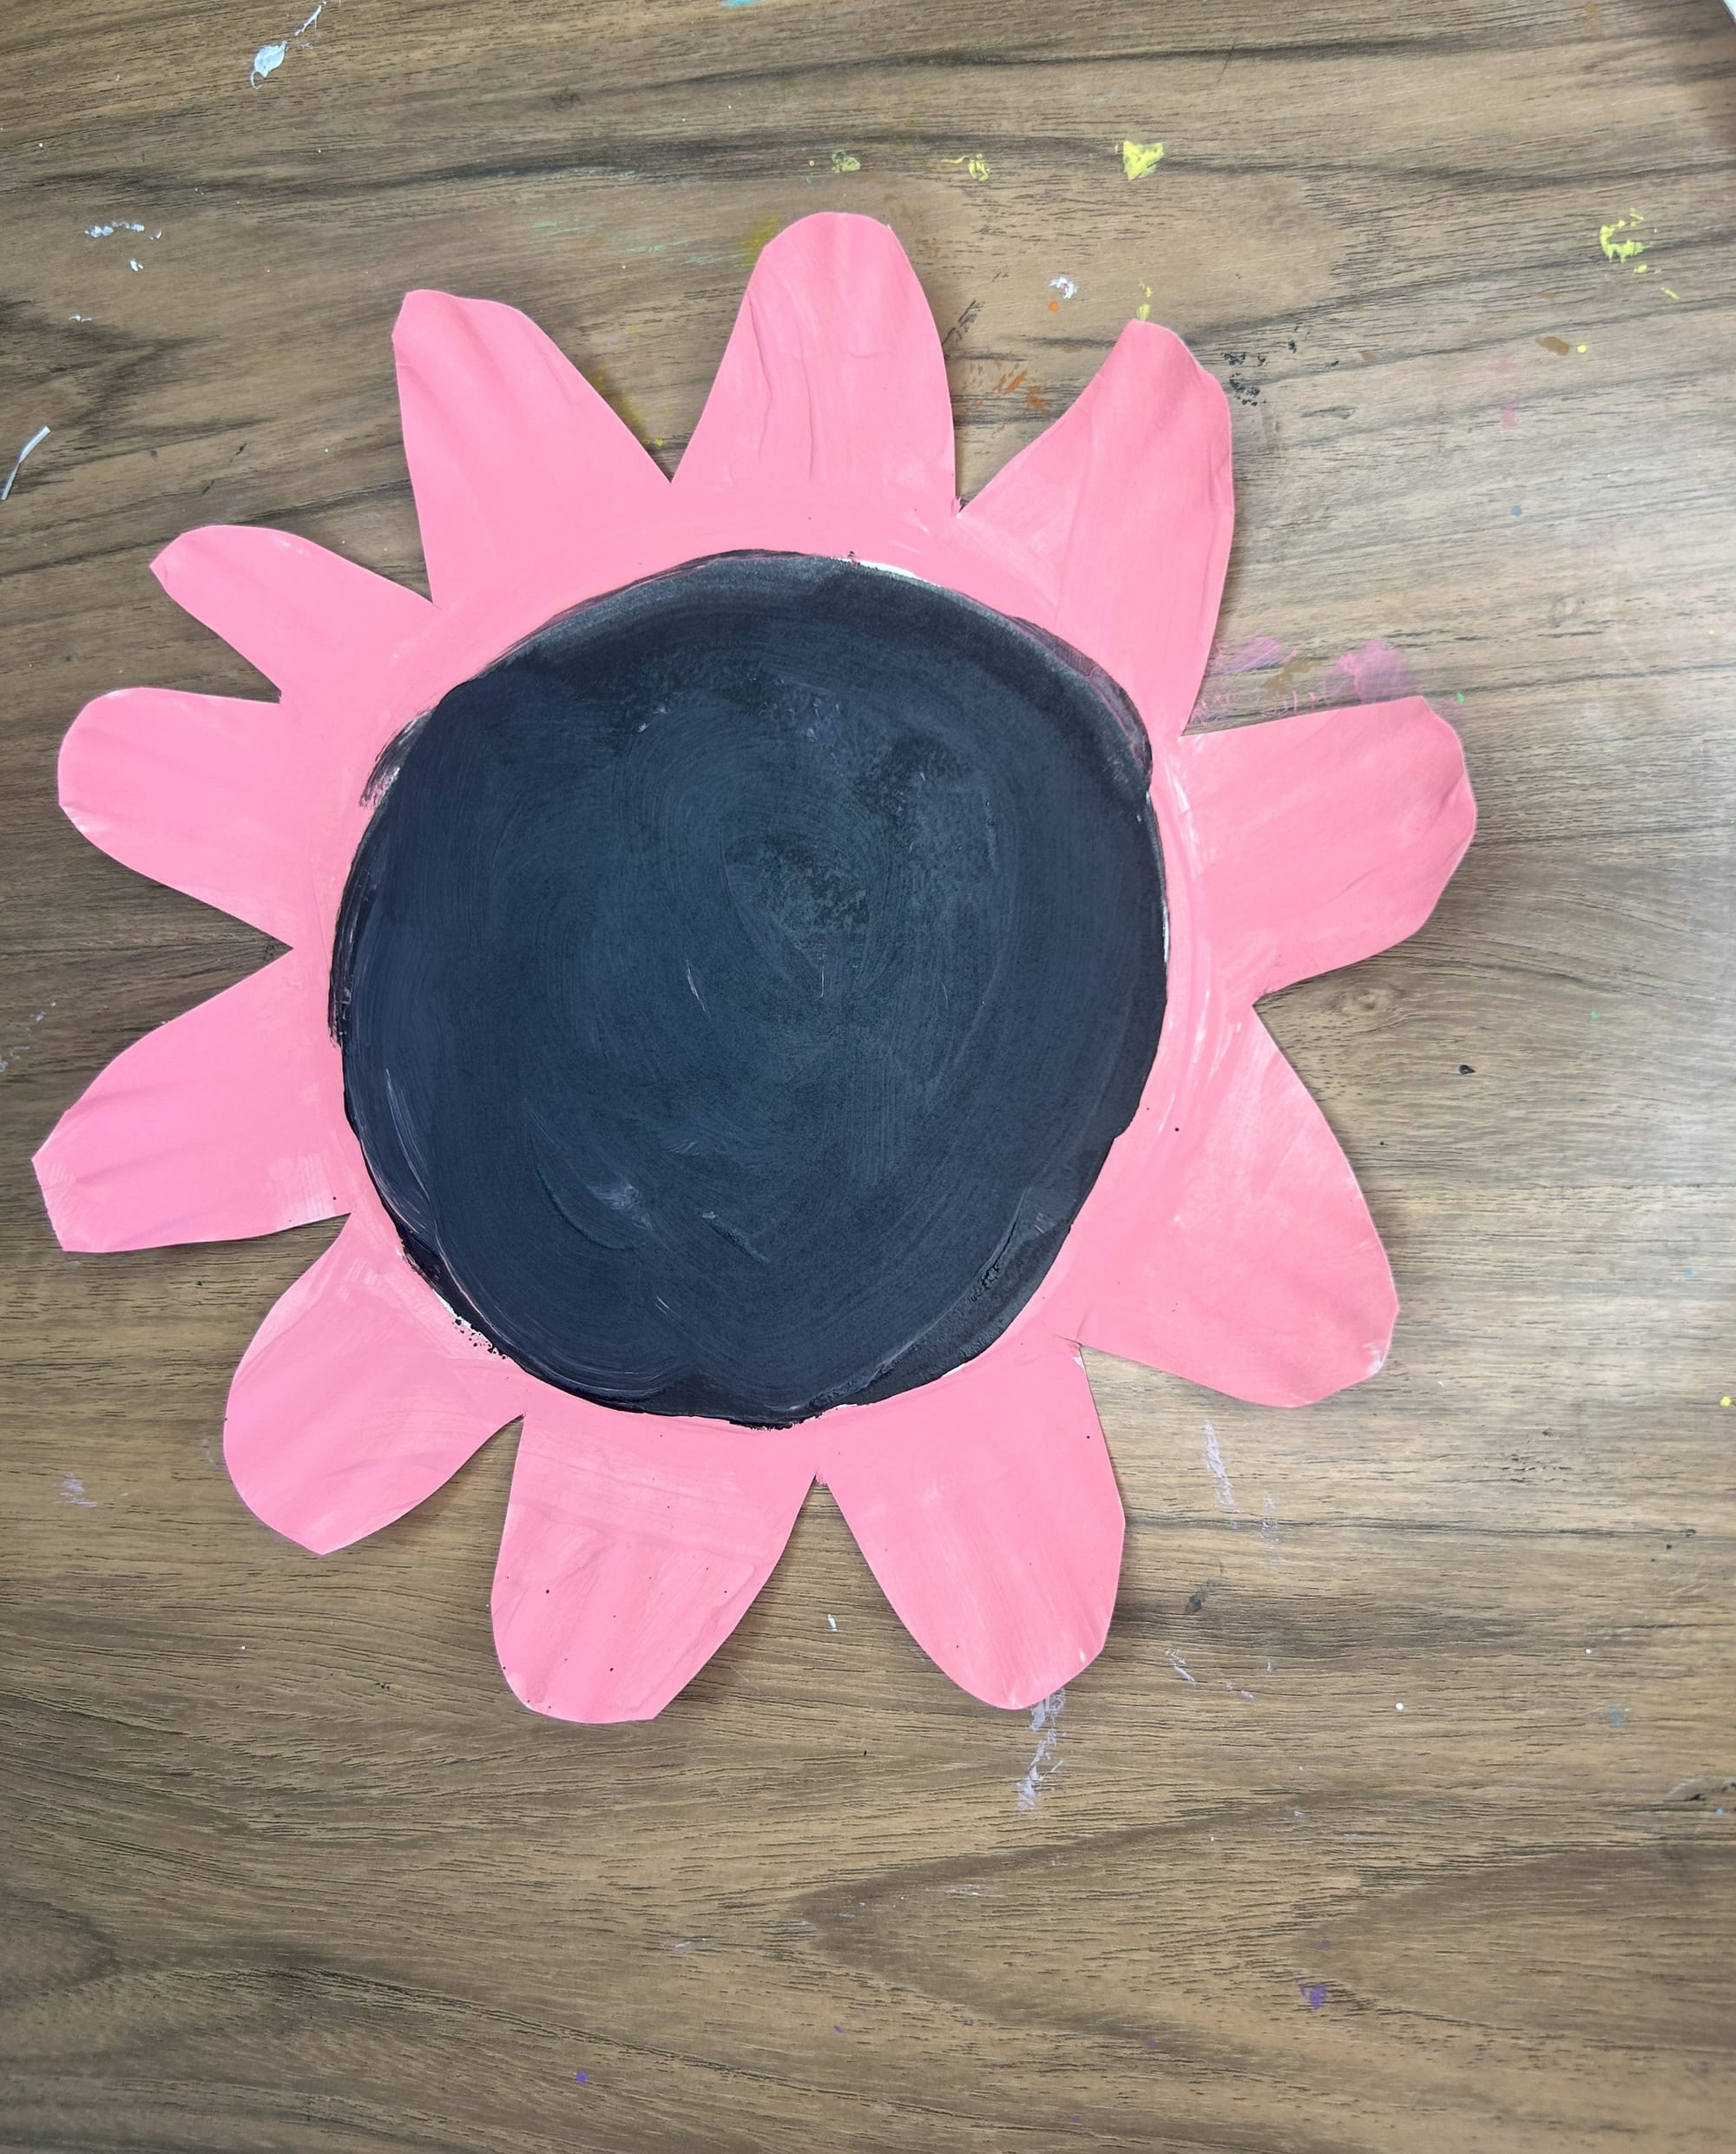
Use paint to make your own flower
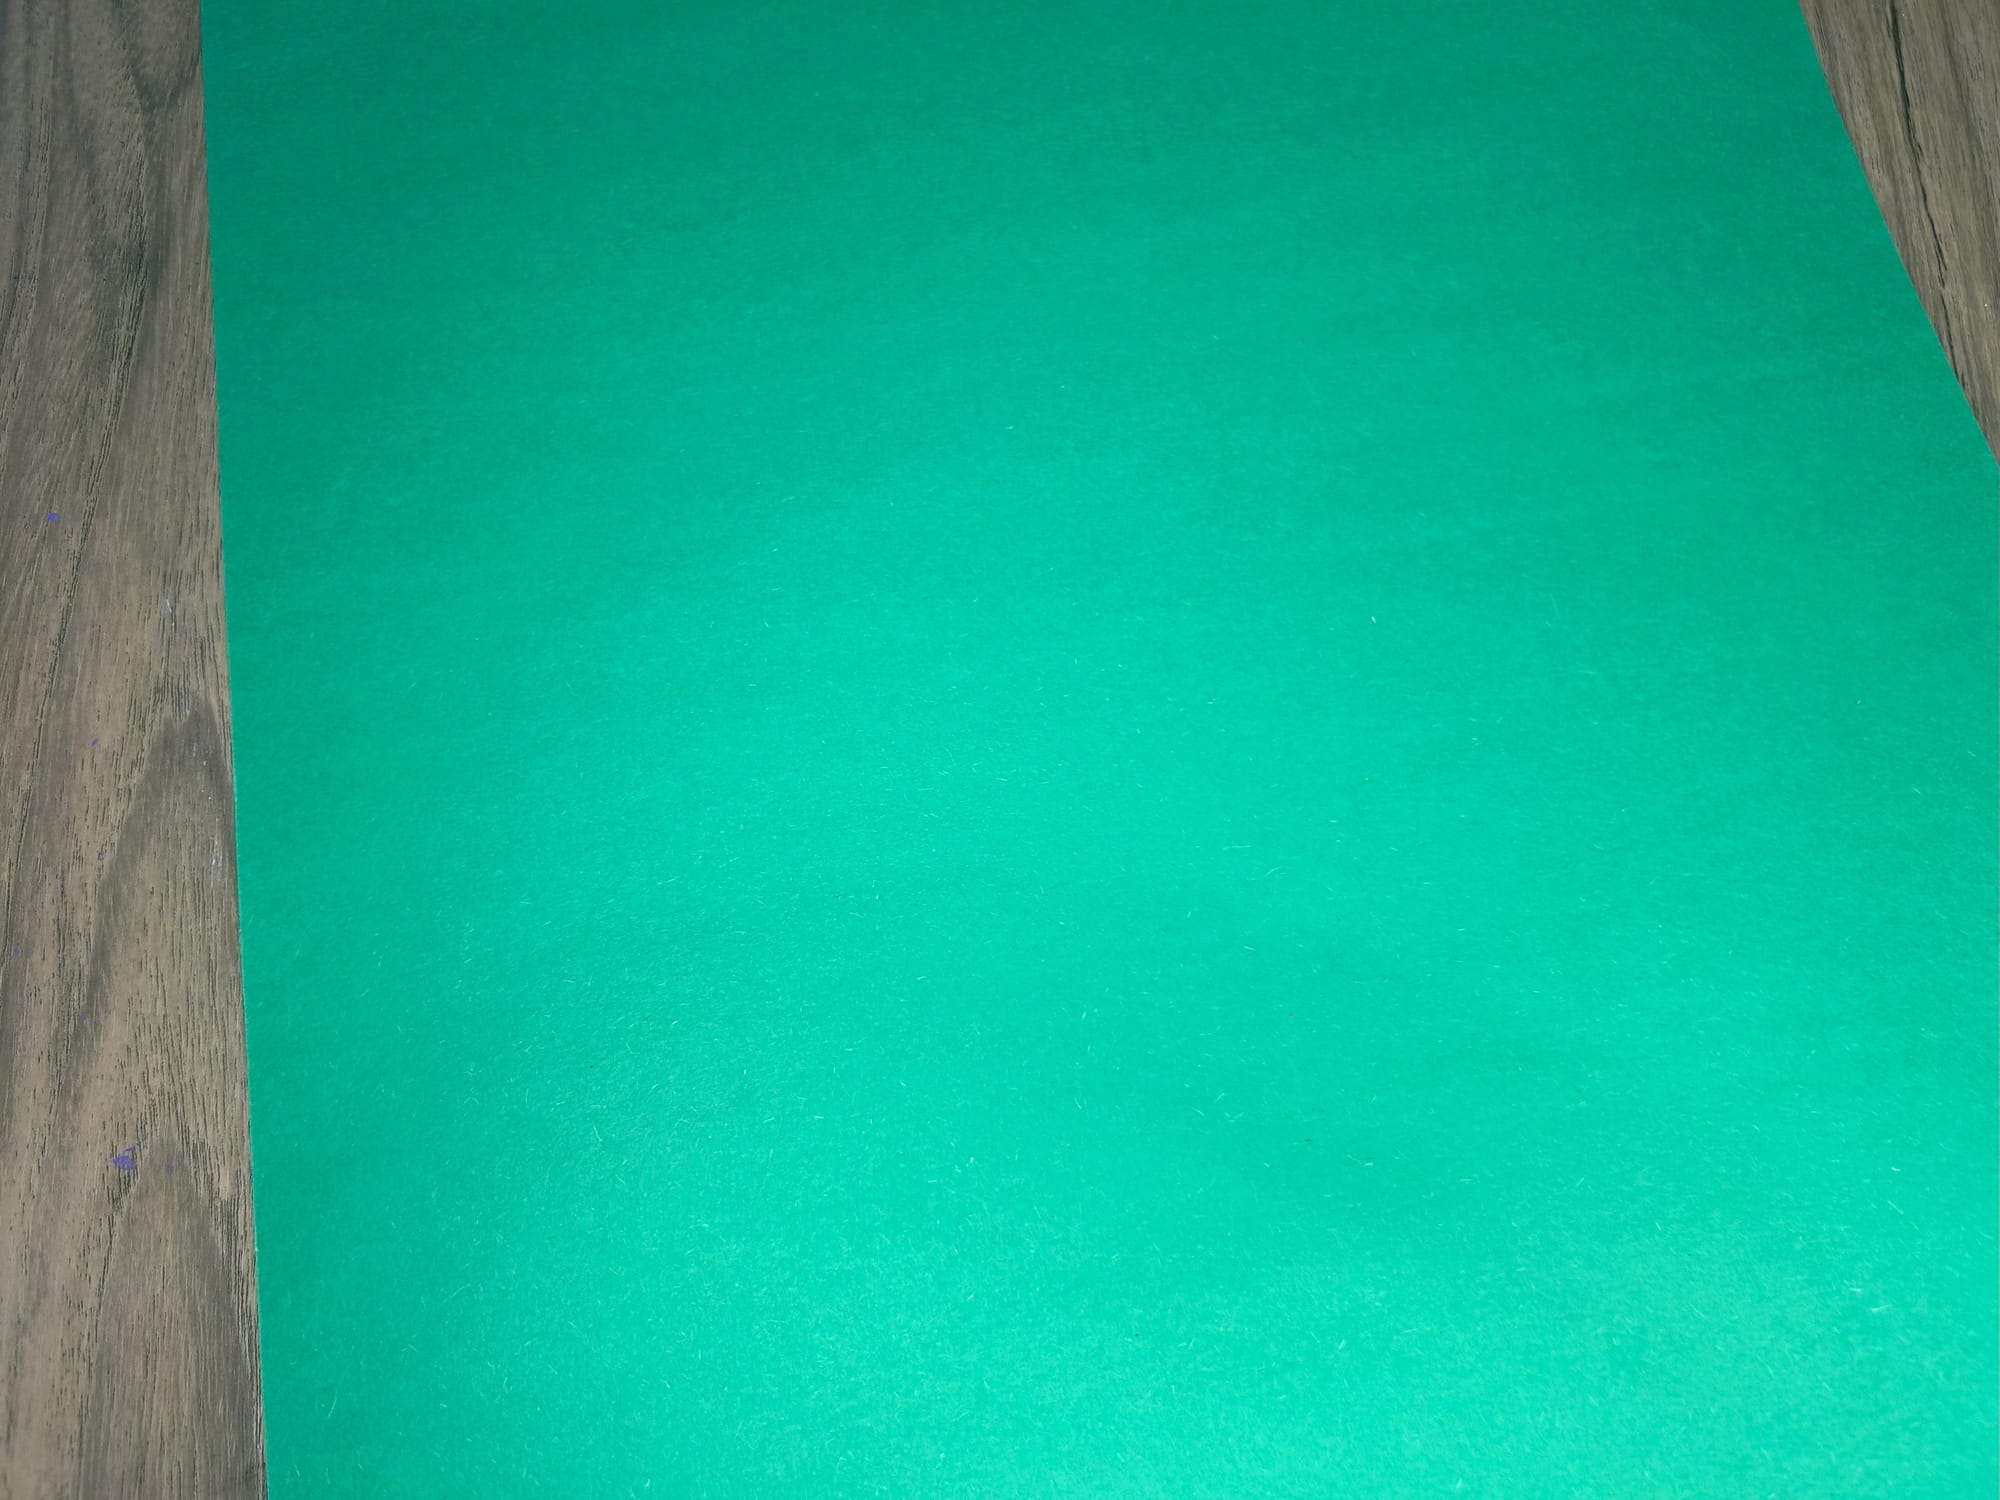
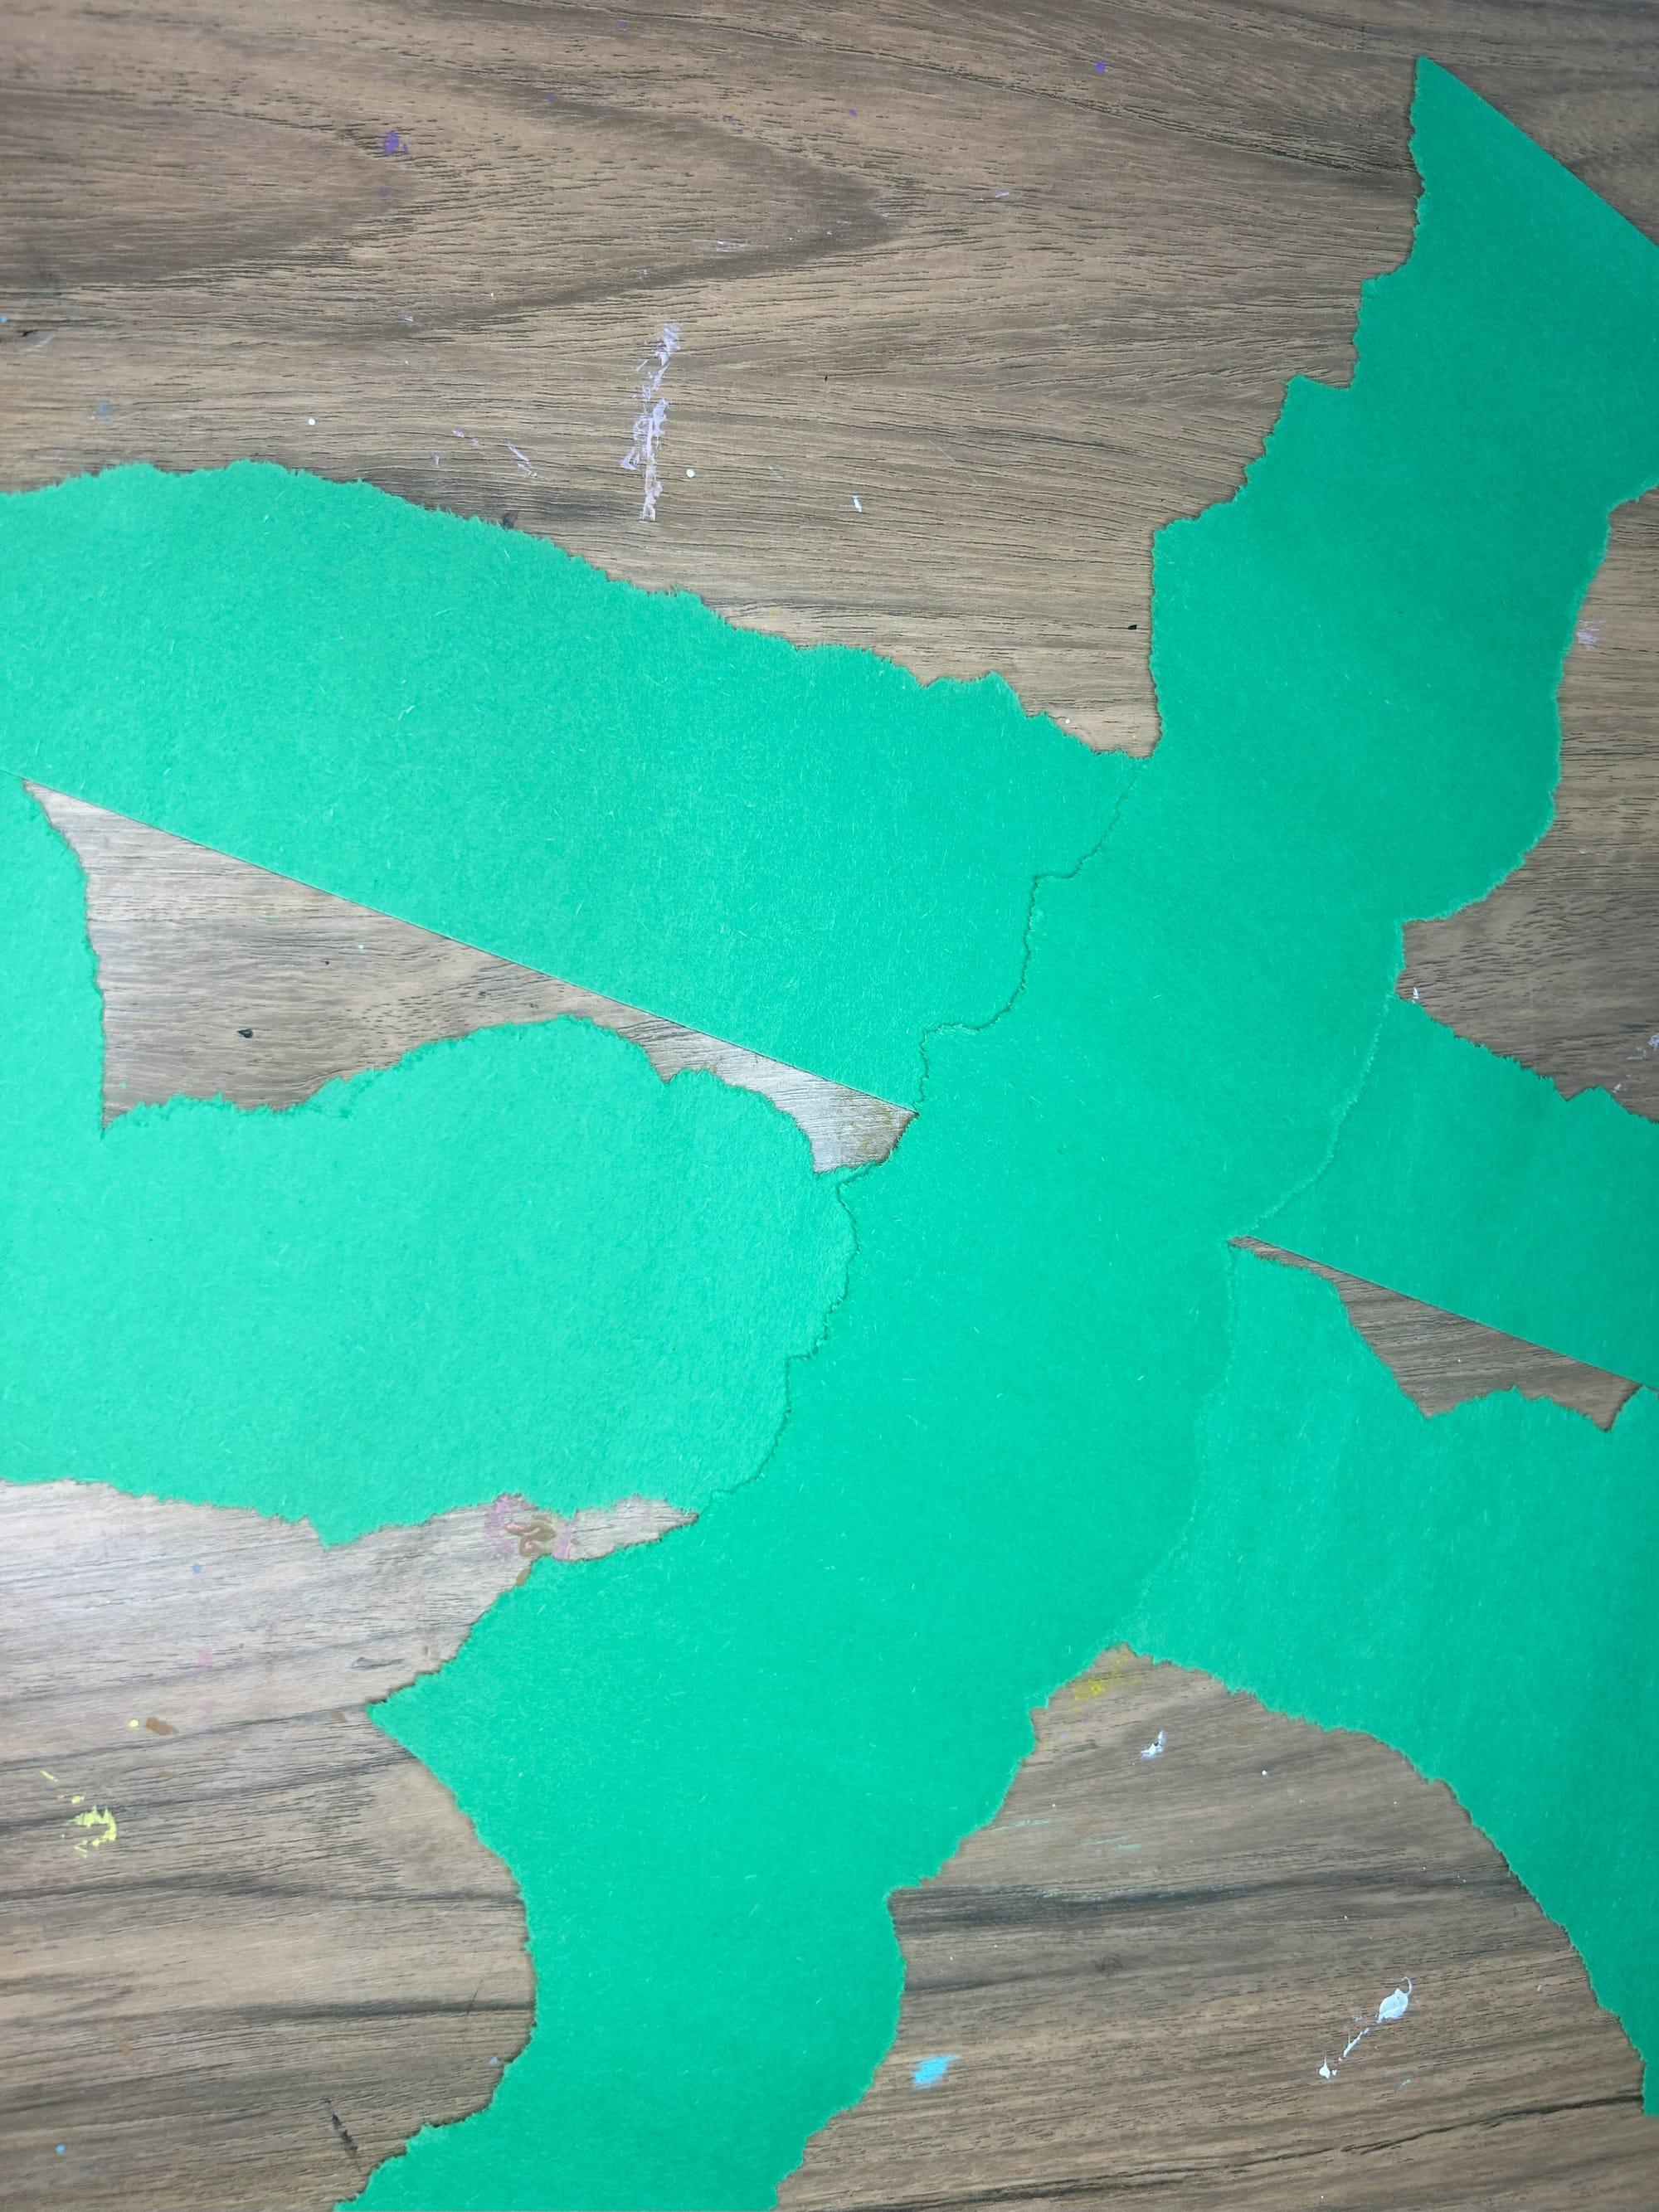
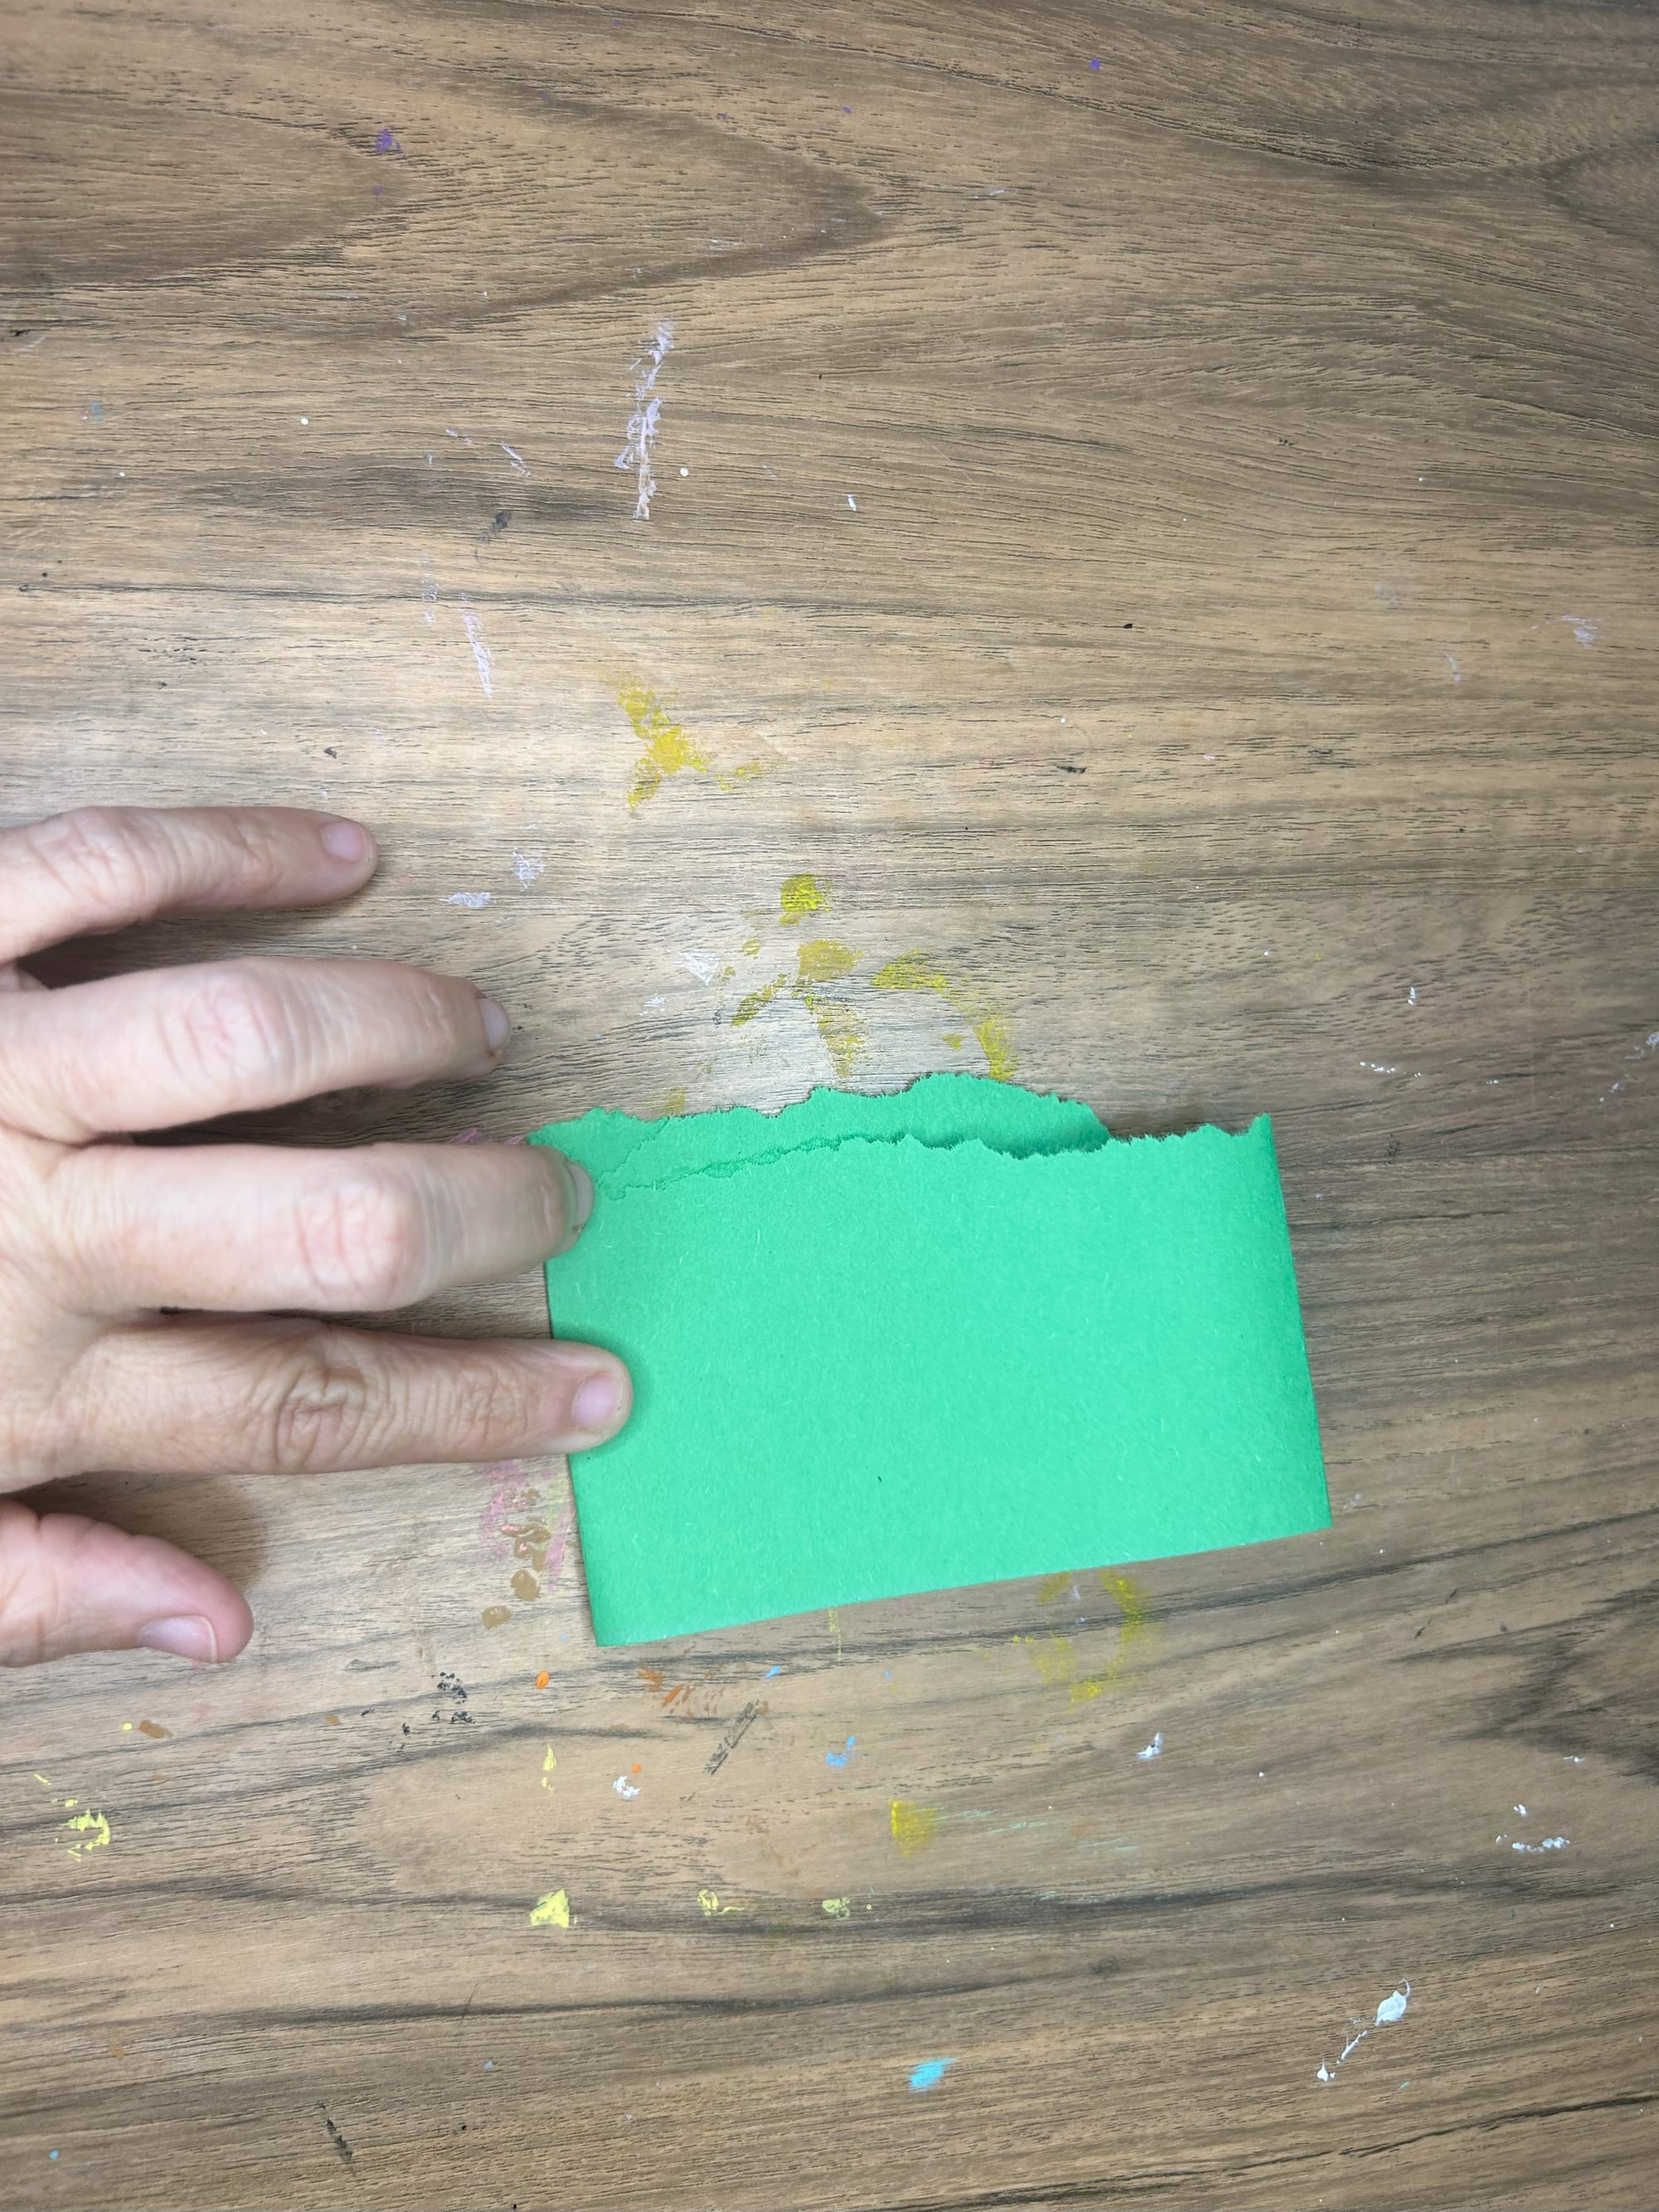
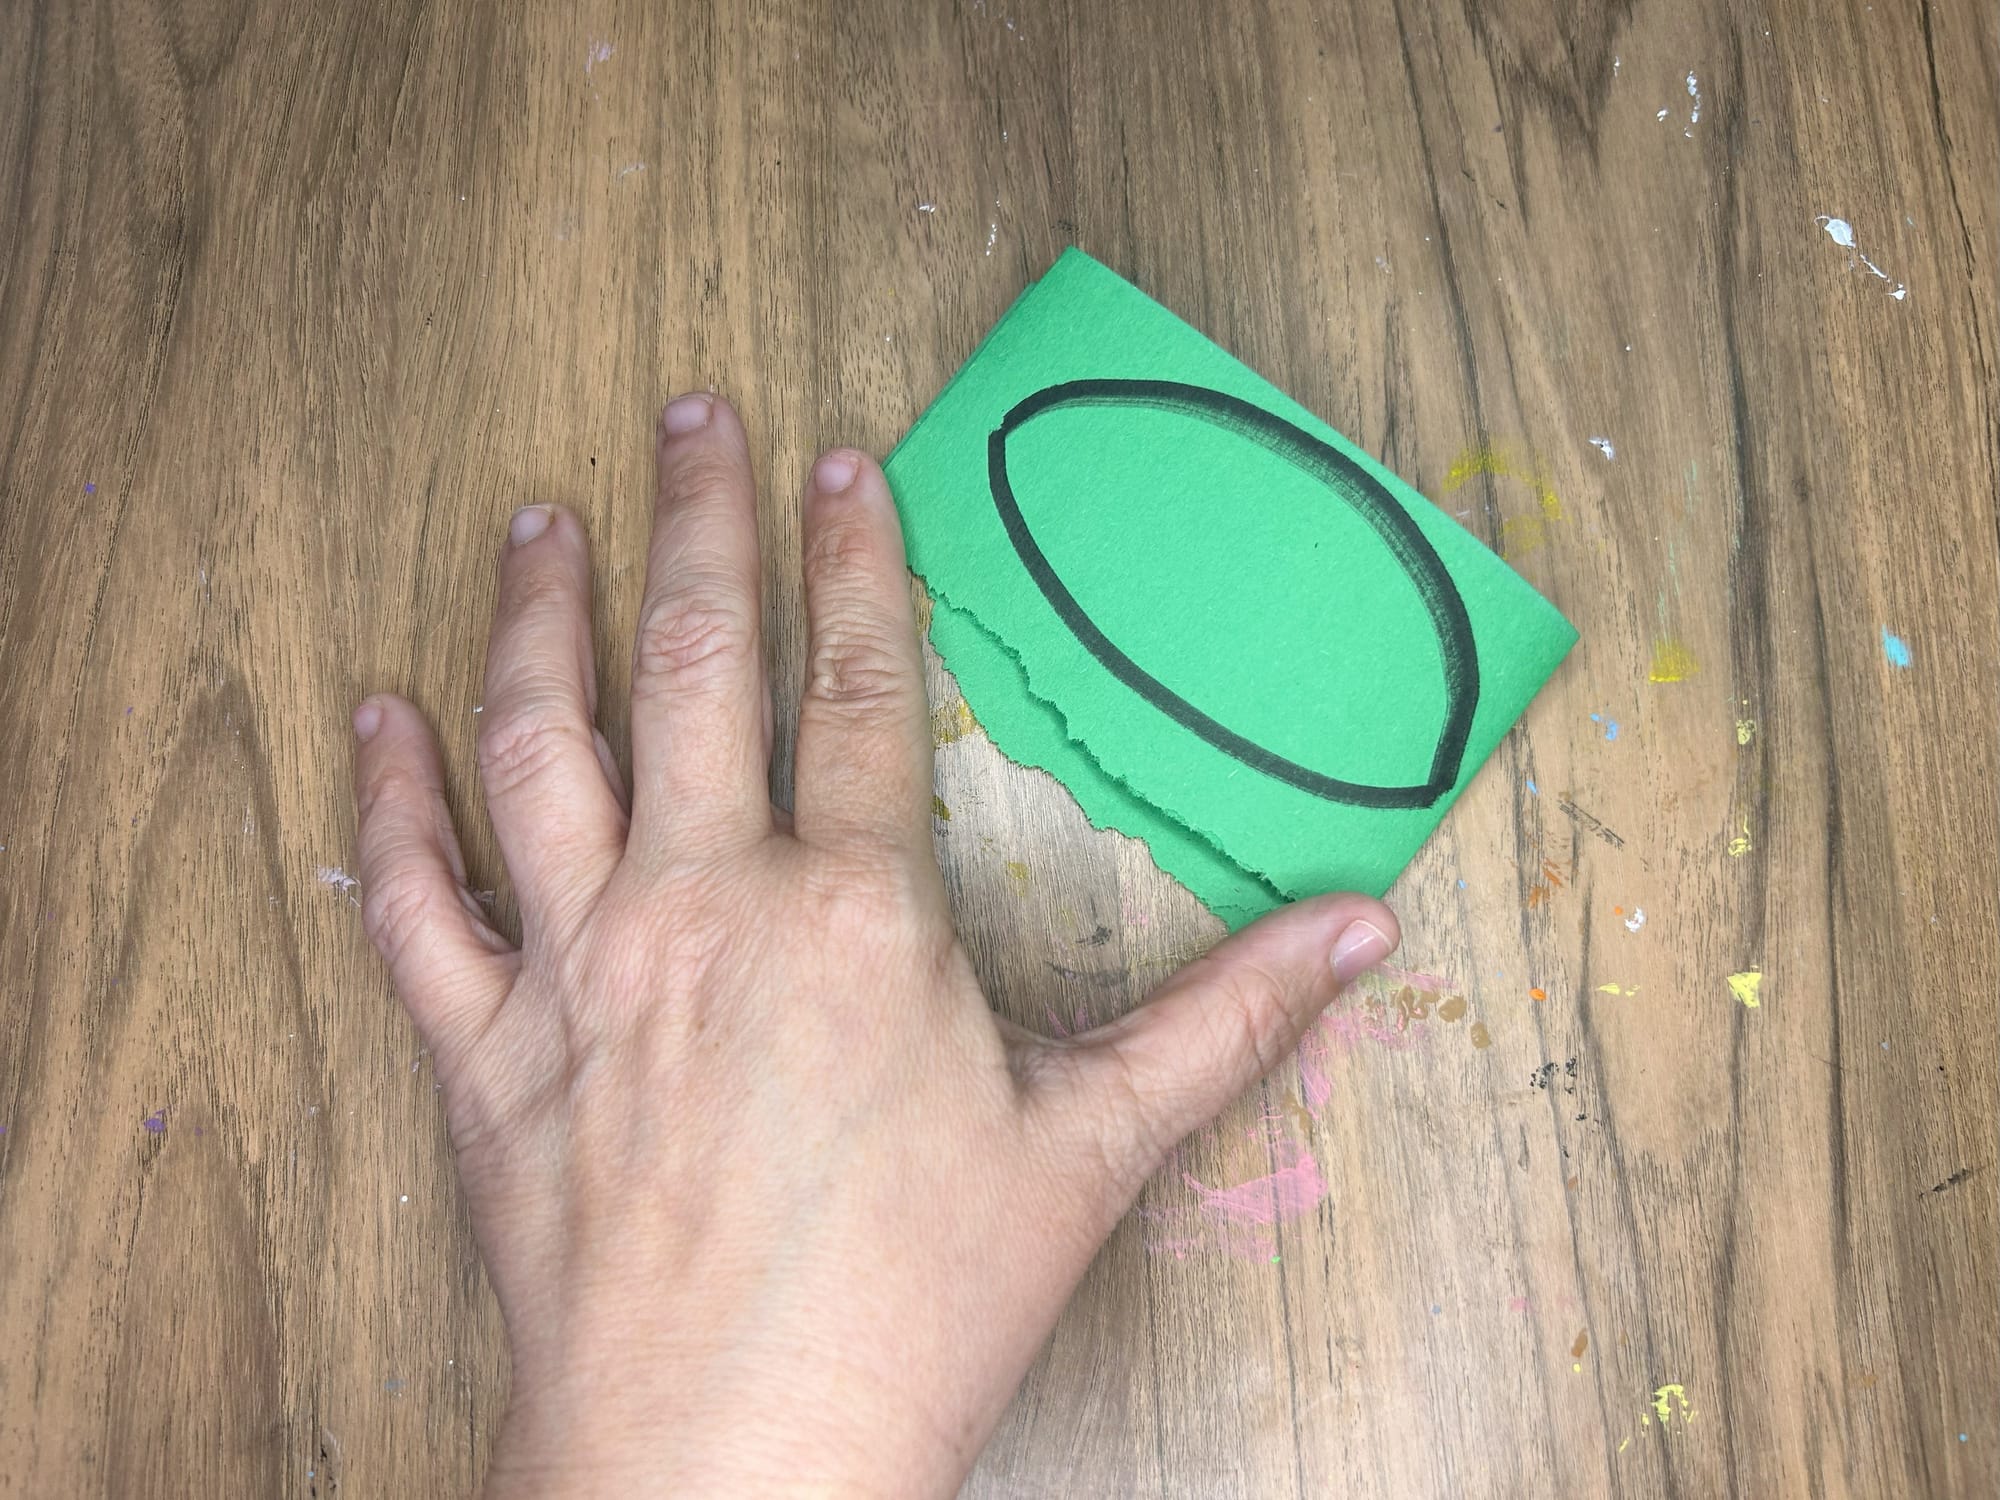
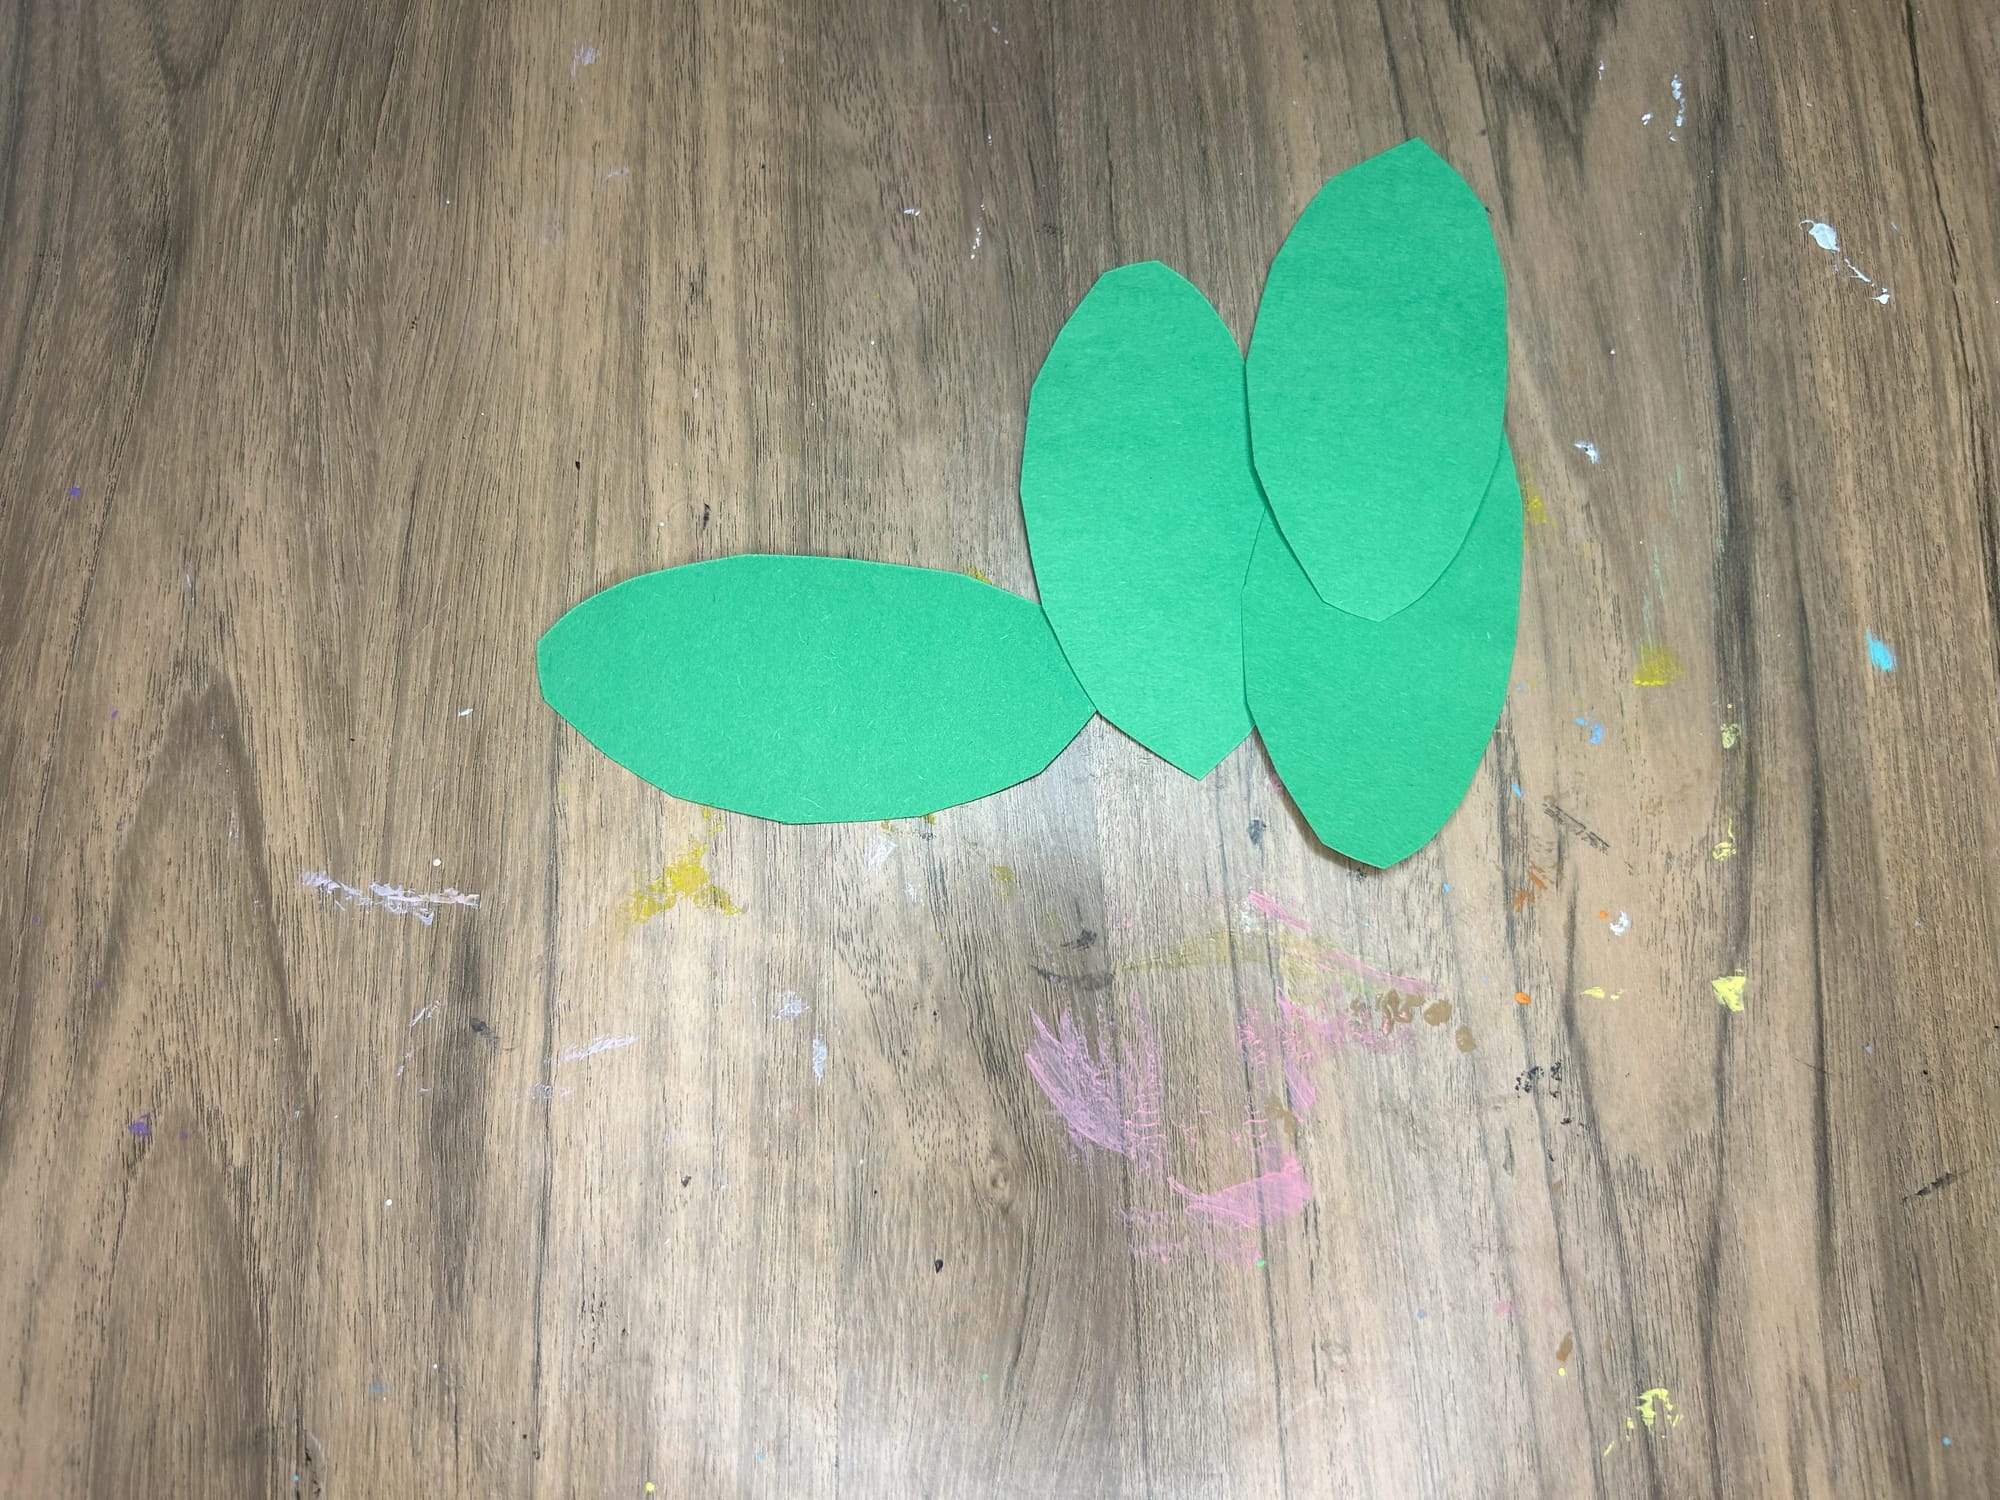
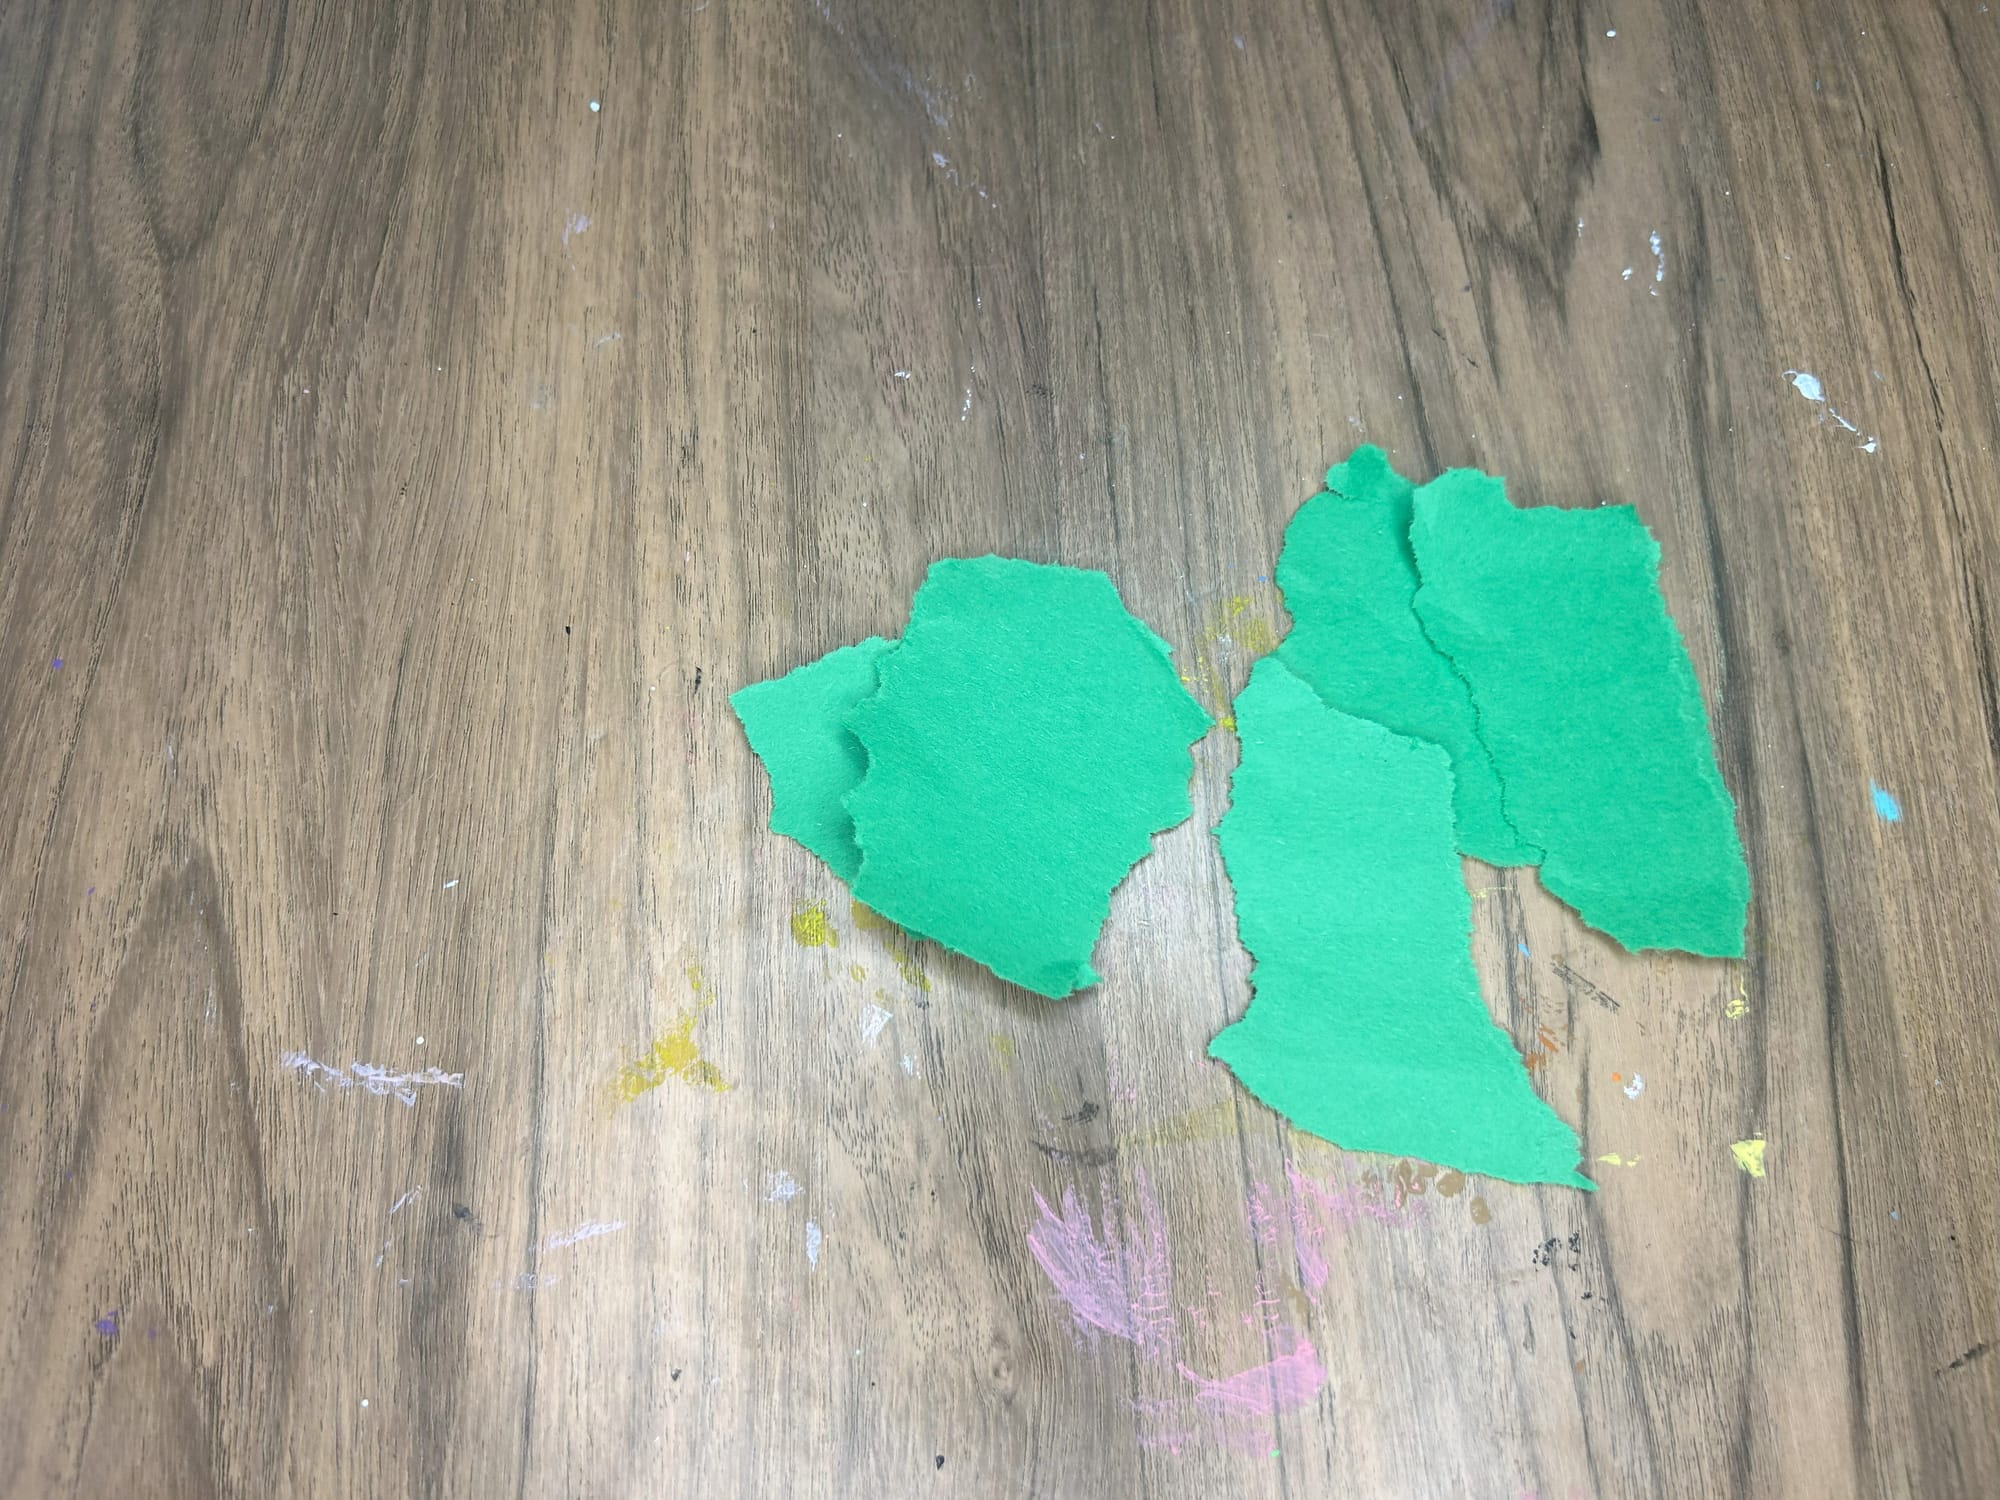
Next you can make the stems using green paper. You can cut a long or short stem for your flower. You can also simply tear the paper to make a stem and leaves as well.
Glue the flower, stem and leaves together to finish the flower. These look great displayed together in a classroom or you can display the family's flowers in a window at home.
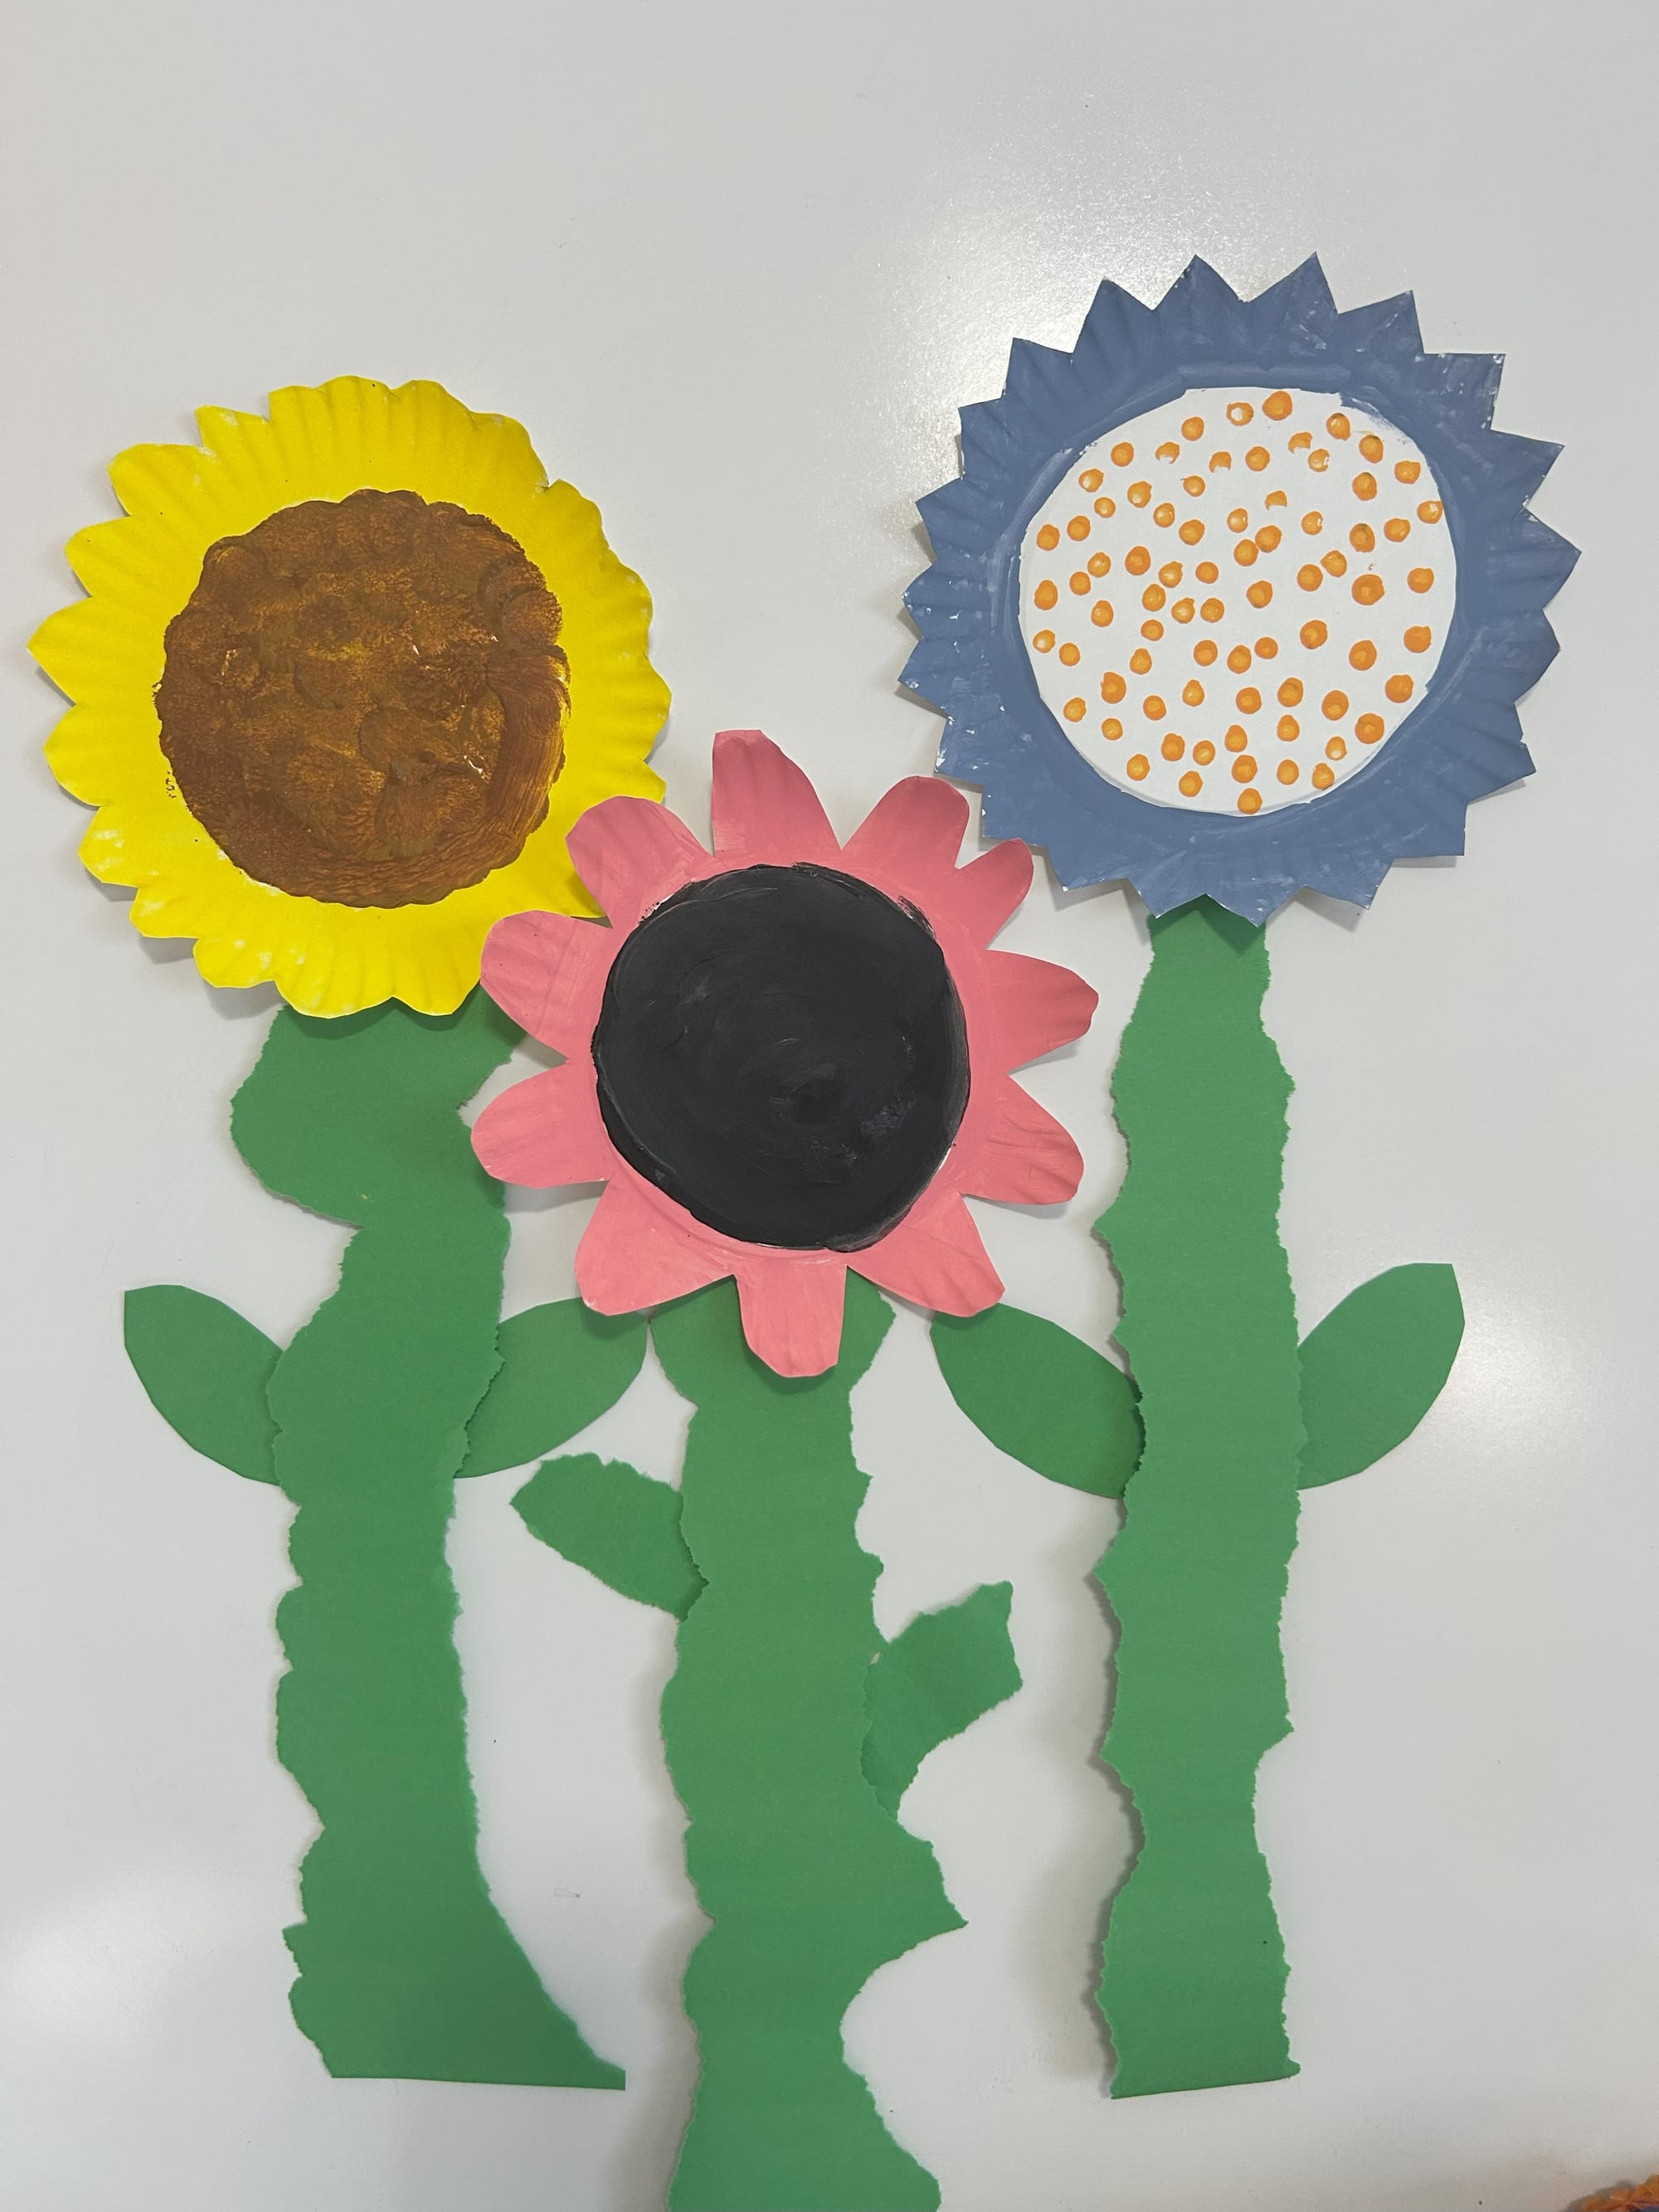
Create a beautiful flower garden of paper plate flowers.